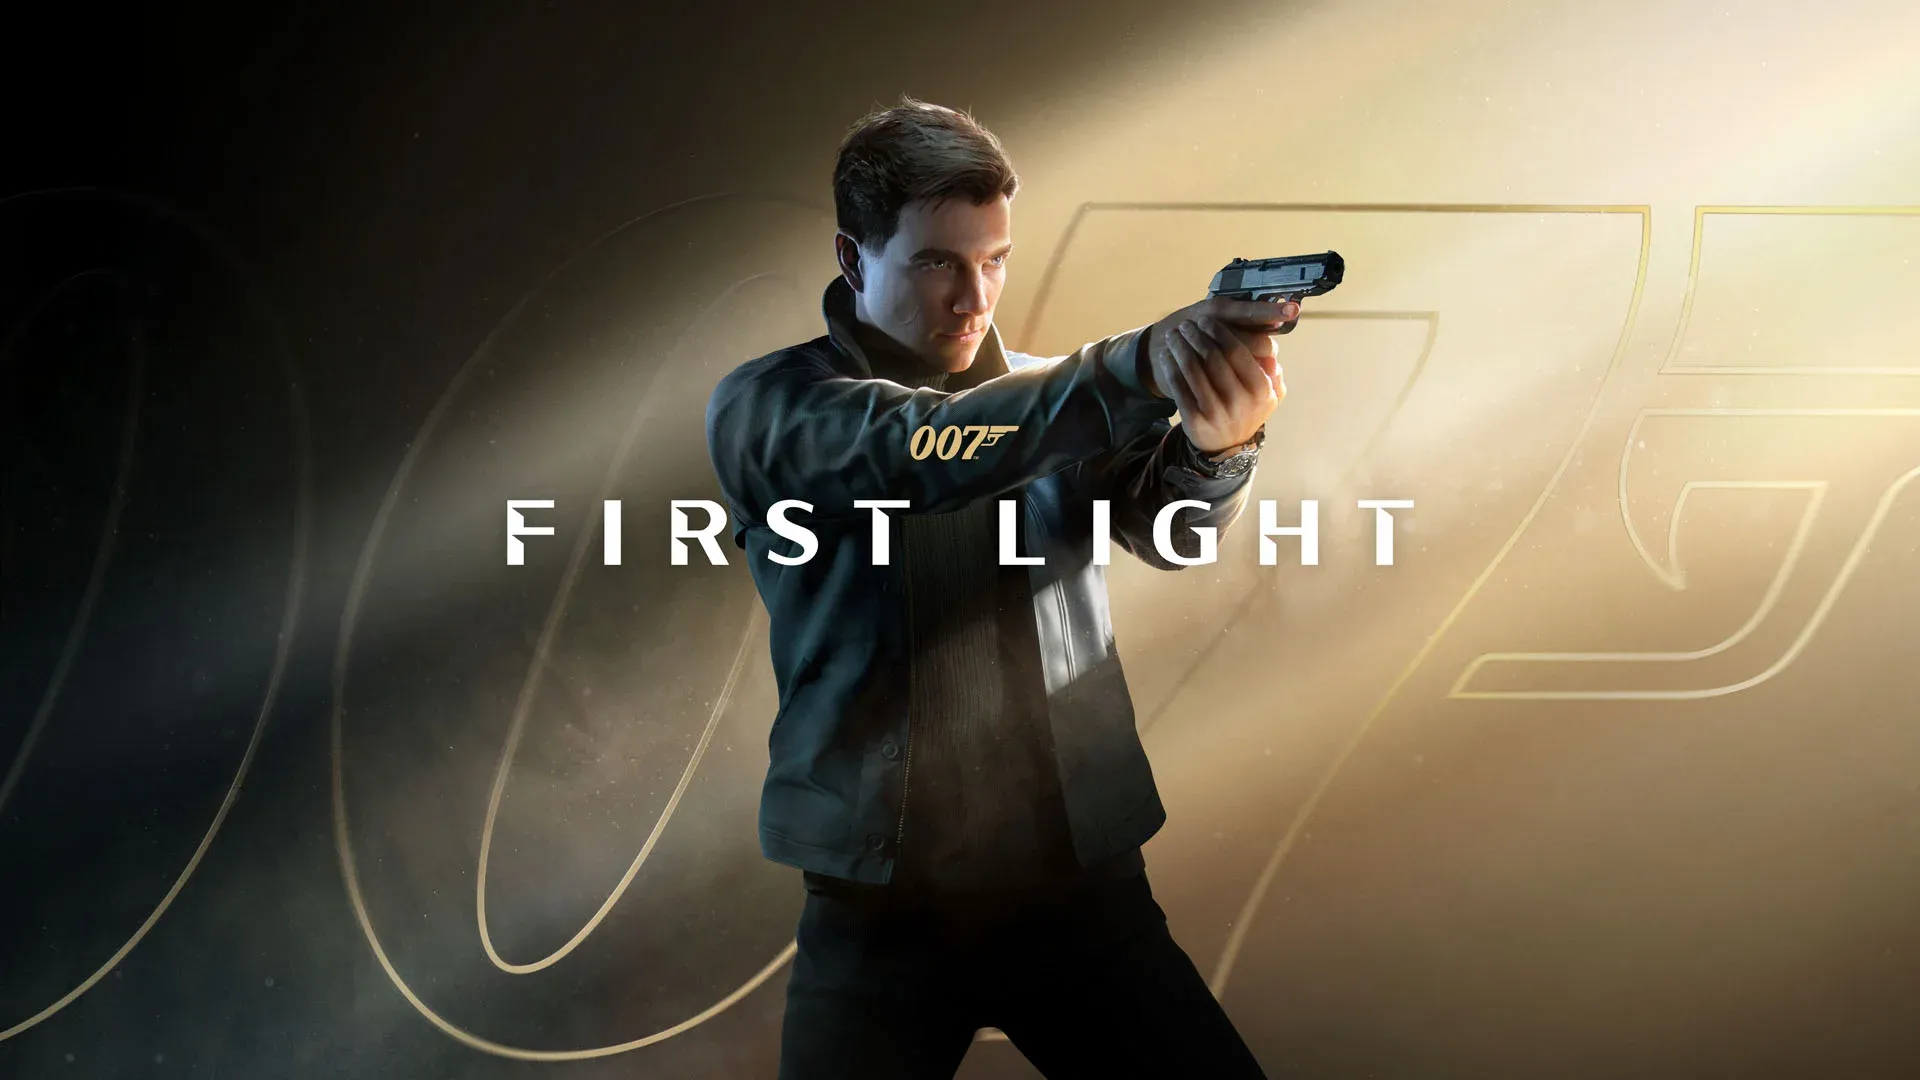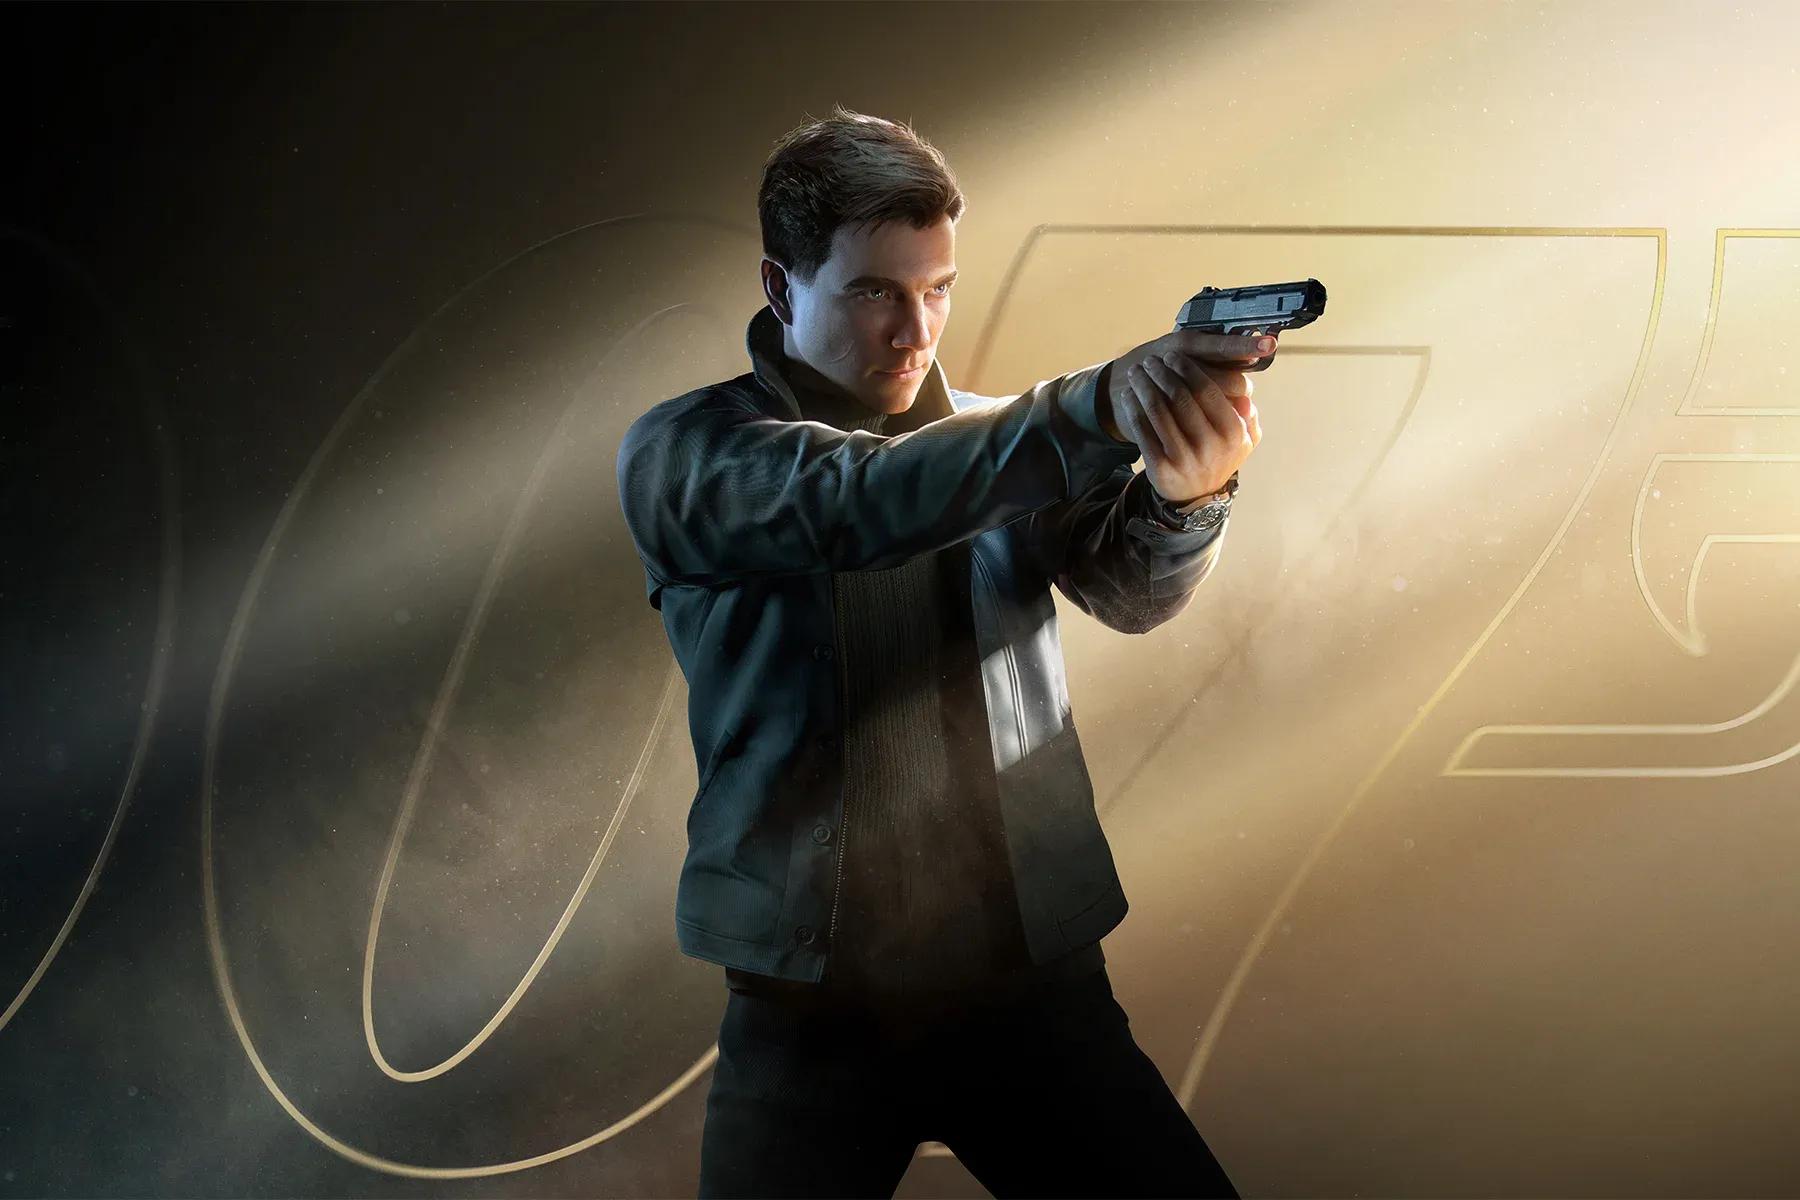

IO Interactive's 007 First Light puts you in the shoes of a young, unpolished James Bond finding his footing inside MI6's Double-0 program. After spending over 20 hours across every chapter, testing gadgets, breaking radio transmissions mid-call, and learning the hard way that button-mashing gets you killed fast, here are 18 tips that will genuinely change how you play from the first mission onward.
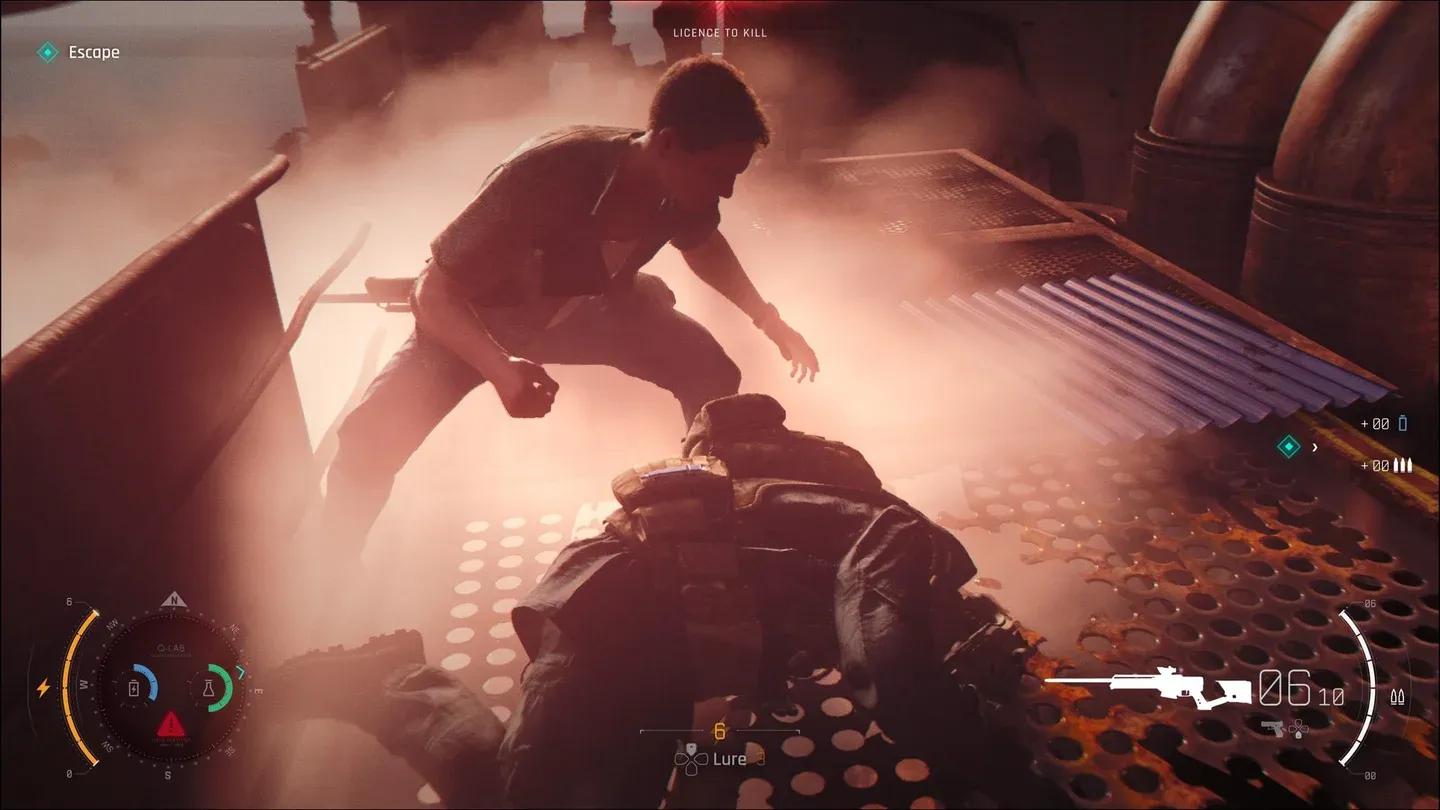
Q-Lens reveals hidden items
What is the Licence to Kill mechanic and how does it work?
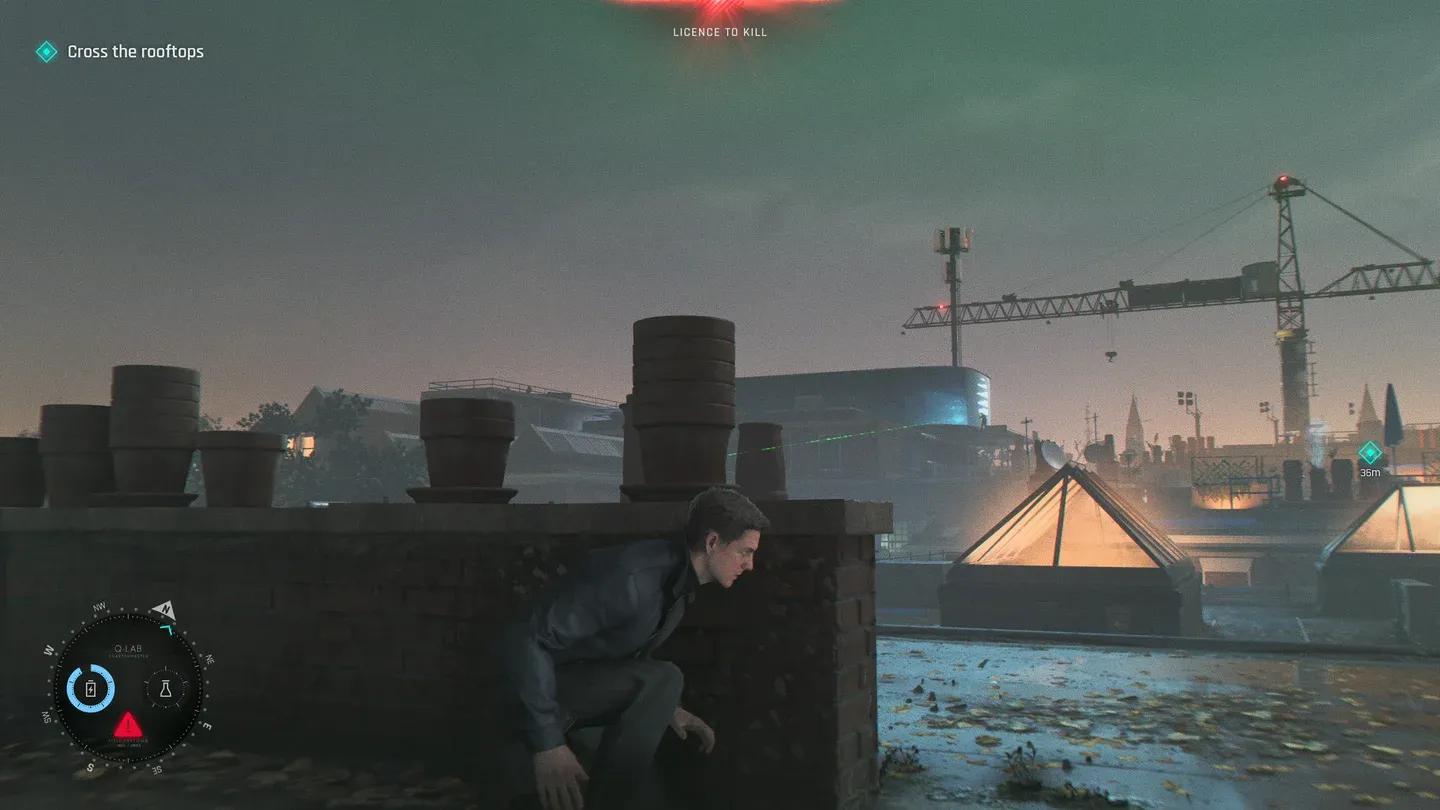
This is the single most important system to understand before you fire a single shot. Bond cannot draw a weapon freely. You can only pull out a firearm when enemies are actively shooting at you, which the game signals with the Licence to Kill text at the top of the screen, framed in red. Go into a mission expecting to spend long stretches without ever touching a gun, especially on stealth-heavy chapters.
Ammo is deliberately scarce. The game pushes you to pick up weapons from fallen enemies constantly, and you can even throw your gun at an opponent once the magazine runs dry. Shooting an enemy in the hand disarms them and flings their weapon into the air, letting Bond catch it mid-flight and return fire immediately. Once the threat is neutralised, Bond holsters his weapon and returns to standard espionage mode.


How do you stop enemies from calling for backup?
The moment you hear an enemy reaching for their radio, your window to act is very short. Look for the yellow antenna icon above their head. That is your target. Interrupt the transmission before the bar depletes completely and the call-in gets cancelled, which also opens the door to returning to stealth as long as guards outside the encounter have not spotted you. A direct hit works best, but gadgets also break the transmission reliably.
How should you use the Instinct system?
Instinct points sit at the bottom of the screen and power several of Bond's most useful abilities. The Bluff skill lets Bond talk his way past standard enemies, though it does not work on Watcher type enemies, identified by a white dot icon above their head. Disguises also fail around Watchers, so avoid them or neutralise them first.
The Lure ability draws enemies to your position, useful for setting up traps or clearing a path. In active combat, spending Instinct activates the Focus mechanic, a bullet-time effect that lets you line up precise shots or intercept grenades mid-air. Keep an eye on the meter in the bottom left during Focus so you know exactly how much slowdown you have left.
You earn Instinct by doing actual spy work: eavesdropping on conversations, silently knocking out enemies, and clean kills all refill the meter.
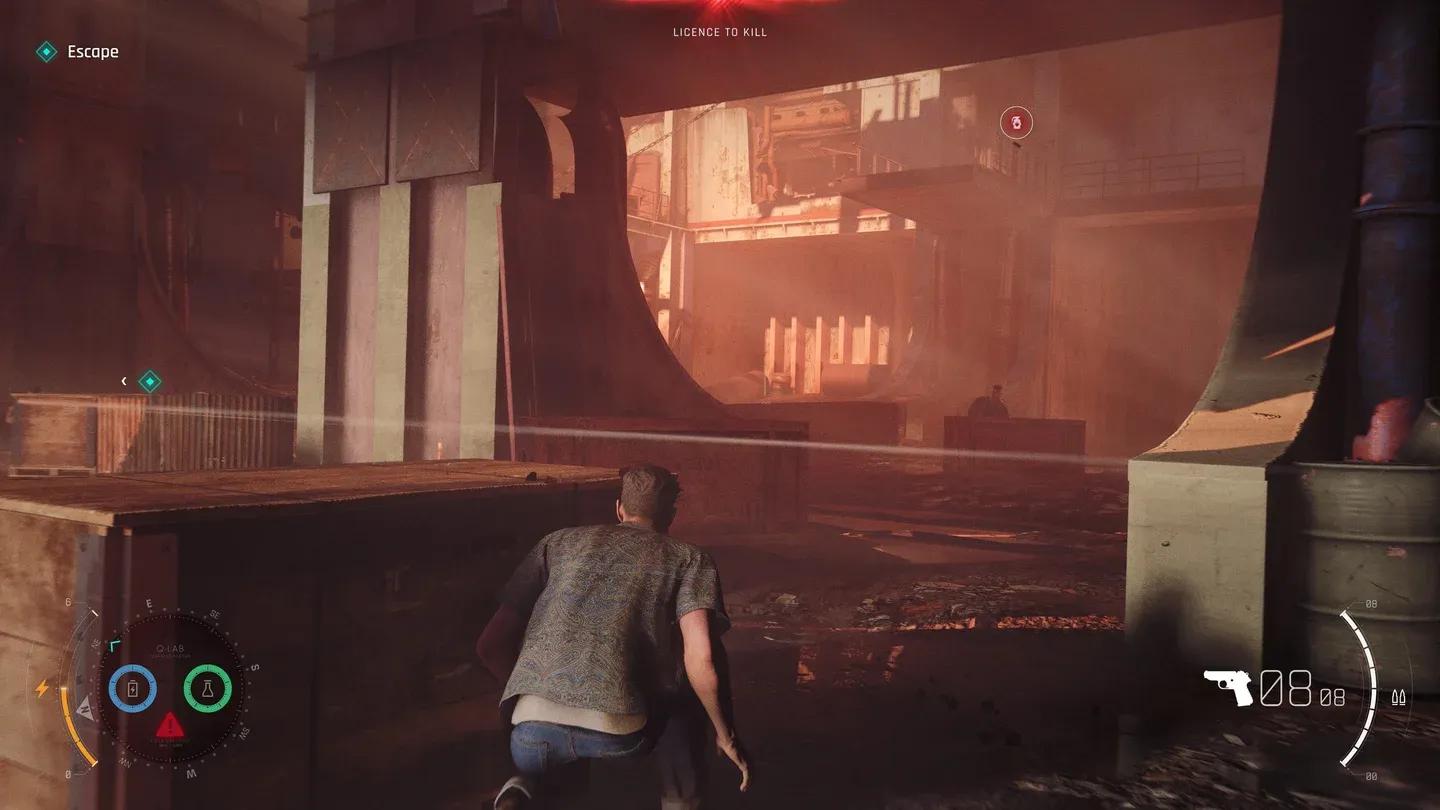
Instinct powers Bond's key skills
Which gadgets should you prioritise?
You carry three gadgets total, including the Q-Watch, which is always equipped. That leaves two slots to fill, and the choice matters more than it seems. The smart approach is to pair one gadget that runs on energy with one that uses chemicals, giving you two independent resource pools to draw from.
For stealth-focused runs, the four most useful options are the Q-Watch, Dart Phone, Laser Strap, and Smoke Pod.
| Gadget | Primary Use | Stun Duration | Resource Type |
|---|---|---|---|
| Dart Phone | Disorient, disperse, remote activation | Longest of all gadgets | Chemical |
| Smoke Pod | Blind groups of enemies | Medium (area effect) | Chemical |
| Laser Strap | Blind enemies, cut metal/wires | Short (a few seconds) | Energy |
| Q-Watch | Hack cameras, interact with objects | No stun | Energy |
| Missile Pen | Destroy objects, fast takedowns | None | Energy |
| Shockwave Camera | Loud area damage | None | Energy |
The Dart Phone is the standout choice for stealth. Its stun lasts significantly longer than every other gadget, which gives you time to pickpocket items or clear a path without rushing. The Laser Strap doubles as a cutting tool for metal barrels, locks, and wires holding up hanging objects, making it a flexible pick even if its stun window is brief. Heavier armoured enemies recover from stuns faster, so plan accordingly.
How do combat and melee actually work?
Button-mashing is a fast path to an early death. Enemies attack freely, even while Bond is locked into a strike animation against someone else. Queue up too many hits and you will eat a blindside punch you cannot react to.
The better approach is deliberate: use Strike combinations, Grabs, and Object Tosses in rotation. If an enemy is blocking, grab them instead of swinging. Once grabbed, you can aim the throw direction manually, sending opponents into walls or off ledges for massive or instant damage. Pick up environmental objects like mugs or keyboards mid-fight to stagger enemies between strikes.
For parries and dodges, timing is everything. Wait until the enemy's yellow glint reaches full brightness, which looks like a cross with a faint circle. Hit that moment and the parry always connects. A red glint means the attack is unblockable, so your only option is to dodge out immediately.
For groups, focus one enemy down completely before switching targets. Spreading damage across multiple opponents just means they all stay fighting longer.
Grabs counter blocking enemies
What should you know about headshots and leg shots?
In a firefight, ammo conservation is the real challenge. A single clean headshot drops an unarmoured enemy instantly. Heavily armoured opponents need 2 to 4 headshots, which is still far more efficient than body shots that can eat through half a magazine without a kill.
Leg shots are a useful alternative. One leg shot dazes an enemy. Shooting both legs incapacitates them entirely, taking them out of the fight without burning additional rounds.
Shooting an armed enemy in the hand disarms them and sends their weapon airborne, letting Bond grab it and keep firing without reloading.
How do you handle grenades?
Enemies use grenades to flush you out of cover. Three methods work to neutralise them. First, shoot the grenade out of the air before it lands. Second, use the Focus ability to trigger slow-motion and line up the shot more easily. Third, activate the Q-Watch, target the grenade directly, and hack it to disable the detonator before it goes off. Successfully hacking a live grenade also unlocks the Damp Squib trophy.
If an enemy shouts that they are cooking a grenade, snap your attention to them immediately. One shot or gadget hit interrupts the throw animation and causes them to drop it, which detonates in their immediate area.
How does the TacSim mode work?
The Tactical Simulation facility, unlocked at the end of Chapter 2 after speaking with Selina Tan at Q's Lab, is far more than a tutorial space. It functions as the online component of the game, with leaderboards, a progression system, unlockable cosmetics, and two mission types.
Escalations run you through a series of challenges that increase in difficulty with each tier. Operations are standalone missions built around lateral thinking, often with modifiers called game changers that adjust the rules. Most TacSim missions unlock after you complete the main story, though two Escalations open immediately: Advanced Tactical Training and Advanced Close Combat Training.
Spend time on those two Escalations before pushing through the story. They cover advanced strike combinations, parrying, sidestepping, and grabs in a risk-free environment that you can repeat as many times as needed. Completing all challenges in a chapter also unlocks Bond's mission outfit for use inside TacSim.
For a quick TacSim unlock, the Classified Papers challenge can be completed without running a single simulation. Enter TacSim mode, turn around from the terminal, walk to the table with the mannequin head wearing VR goggles, and pick up the Classified Files sitting there. This rewards 1000 Intel and 500 XP immediately.
How do the checkpoint and chapter select systems help with challenges?
Every chapter contains multiple dedicated checkpoints. From the main menu, navigate to Story, then Chapter Select, choose a chapter, pick a specific checkpoint, select your difficulty, and save to any of the five available slots. Collectibles carry over between saves, so you never lose progress on items already found.
At the start of every chapter, check the Challenges menu before doing anything else. These are optional, chapter-specific objectives covering stealth approaches, combat requirements, and specific item interactions. Reading the exact wording matters because Pacifist and Ghost challenges have specific stipulations that are not always obvious. Some Pacifist challenges allow knockouts; others do not. A "takedown" and "taking out" an enemy are described differently in the challenge text and mean different things mechanically.
After more than 20 hours with the game, the best approach is to finish the story first and then use chapter select to clean up challenges, since the checkpoint system makes targeted replay fast and efficient.
What collectibles are hidden across the game?
There are 5 collectible types spread across every mission: 36 Cards, 23 Intel, 14 Mementos, 10 Postcards, and 9 Legacy items. Each type has its own trophy tied to a full collection. Many are tucked inside optional rooms that require a Key, Keycard, or specific gadget interaction to access, and some only appear after story progression or particular conversations trigger them.
The Q-Lens highlights all interactable items in orange, and collectibles specifically display a bookmark-shaped HUD tag as you approach. After picking up an item, it gets added to the Collectibles menu where Intel entries include additional lore and backstory. All discovered collectibles are also displayed physically on the Field Missions Collection wall, located just left of the TacSim mission pedestal.
What difficulty settings are available?
Three options exist: Novice, Intended, and Purist. Players coming from Hitman, Splinter Cell, Metal Gear Solid, or Uncharted will find Purist rewarding and appropriately demanding. Intended is the balanced starting point for anyone less familiar with stealth action games. The game can be paused at any moment, including during cutscenes, with no online penalty since 007 First Light is a single-player experience.
For more on how long each difficulty affects your total playtime, the 007 First Light completion time guide breaks down the main story versus full completionist estimates across every playstyle.
Quick reference: key tips at a glance
- Use the Q-Lens constantly to spot keys, keycards, cash bundles on NPCs, and hidden interactables
- Take elevated positions whenever combat breaks out for cleaner headshot angles and airdrop takedown opportunities
- You do not need to eliminate every enemy; skipping unnecessary fights conserves ammo and keeps pacing clean
- Most destructible cover like wooden crates and corrugated sheeting breaks after a few hits; scout for metal beams and solid structures before engaging
- Resources replenish over time in larger open areas, so revisit looted locations if you run dry
- Use the centre dot on screen to pre-aim shots while behind cover, then pop out, fire, and retreat before enemies can react
- Sprint toward an armed enemy and tap punch to knock the weapon from their hands mid-sprint, then grab it from the air
- Swap between dropped weapons during a firefight rather than reloading to maintain pressure without pausing
For a full breakdown of every outfit Bond can wear during missions and inside TacSim, the 007 First Light suits and outfits guide covers every unlock method from free IOI account rewards to Deluxe Edition exclusives. If you want to go deeper on the stealth side, the pickpocket guide covers exactly how to distract NPCs, neutralise Watchers, and lift key items without triggering a single alert. The full 007 First Light guides collection has everything else you need as you work through the campaign.