
007 First Light puts IO Interactive's origin story for James Bond squarely in the realm of hand-to-hand combat, and the parry mechanic sits at the heart of every fight. Get it right and you flip a dangerous situation into a clean takedown. Ignore it and even lower-difficulty enemies will overwhelm you fast. Here's exactly how the system works, what the visual cues look like, and how to chain your counter-attacks for maximum effect.
What are the parry controls in 007 First Light?
The button mapping is straightforward across all three platforms. On PlayStation, the parry is bound to Circle. On Xbox, it's B. PC players press Q by default. You also have a separate sidestep option mapped to X (PlayStation) or A (Xbox), which moves Bond out of the path of an attack rather than stopping it cold.
| Platform | Parry Button | Sidestep Button |
|---|---|---|
| PlayStation | Circle | X |
| Xbox | B | A |
| PC | Q | (separate bind) |
Both options are genuinely useful, but the parry is the more rewarding of the two. A sidestep just avoids damage. A well-timed parry staggers the attacker and hands you a free counter window.
Watch for the yellow flash


How does the parry timing work?
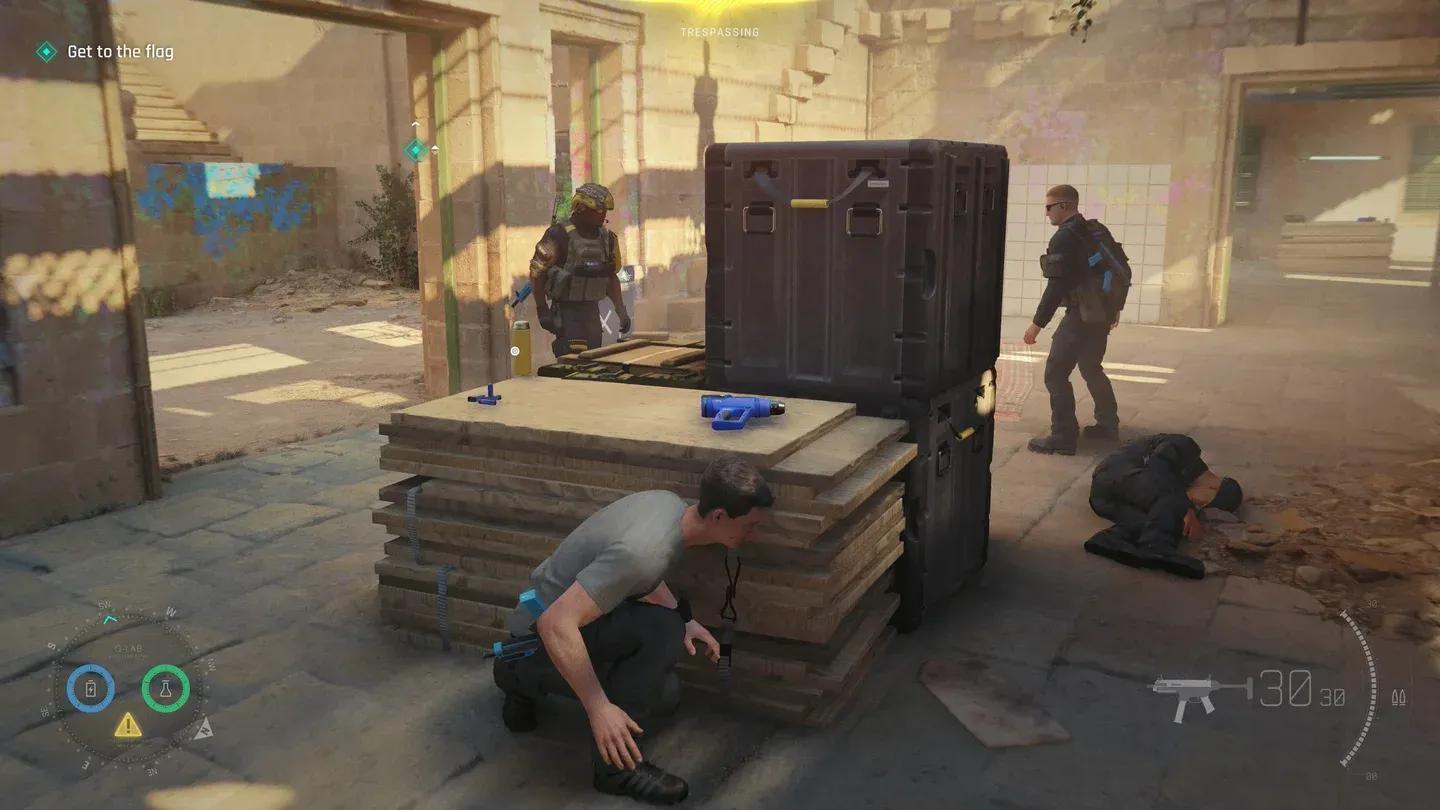
The game signals every parryable attack with a yellow flash on the enemy just before the strike lands. That flash is your cue. Press the parry button the moment you see it, and Bond intercepts the blow cleanly, staggering the attacker.
The timing window is noticeably forgiving on lower difficulty settings but tightens significantly on harder ones. If you're learning the system, starting on a lower difficulty to get the rhythm of the yellow flash is a reasonable approach before pushing into the harder settings where the window shrinks.
The mechanic draws comparisons to parry systems in other action games, but First Light's version is designed to feel particularly punishing for the enemy. A successful parry doesn't just negate the hit; it creates a brief stagger state that opens up your most damaging responses.

Chain into a takedown fast
What can you do after a perfect parry?
Once you've landed a parry and the enemy is staggered, you have two primary follow-up options.
Takedown combo: Press X and Square simultaneously on PlayStation to execute a takedown. This is the fastest way to remove a single enemy from the fight after a successful parry.
Grab and slam: Press R2 (PlayStation) or RT (Xbox) to grab the staggered enemy. From there, Bond can bash them against walls or hard surfaces to knock them out. This option is slower but works well in environments with plenty of geometry to use.
Choosing between them depends on the situation. The takedown is cleaner in open spaces or when other enemies are nearby and you need to finish quickly. The grab-and-slam is more satisfying in tighter corridors where surfaces are everywhere.
Why parrying beats sidestepping in most situations
Sidestepping has its place, particularly when you're dealing with an attack you can't time precisely or when you're managing distance. But a parry puts you in a fundamentally stronger position than a dodge. After a sidestep, you're safe but the enemy is still ready to attack. After a parry, they're staggered and you're already mid-counter.
The practical difference becomes clear in multi-enemy fights. If three opponents are pressuring you, sidestepping one attack just delays the next. Parrying one, executing a fast takedown, and then repositioning reduces the numbers against you. That's the loop the game rewards.
For players planning a full playthrough, understanding the game's completion time matters here too. Combat encounters are frequent enough that mastering the parry early pays dividends across the entire run, not just in one or two set-piece fights.
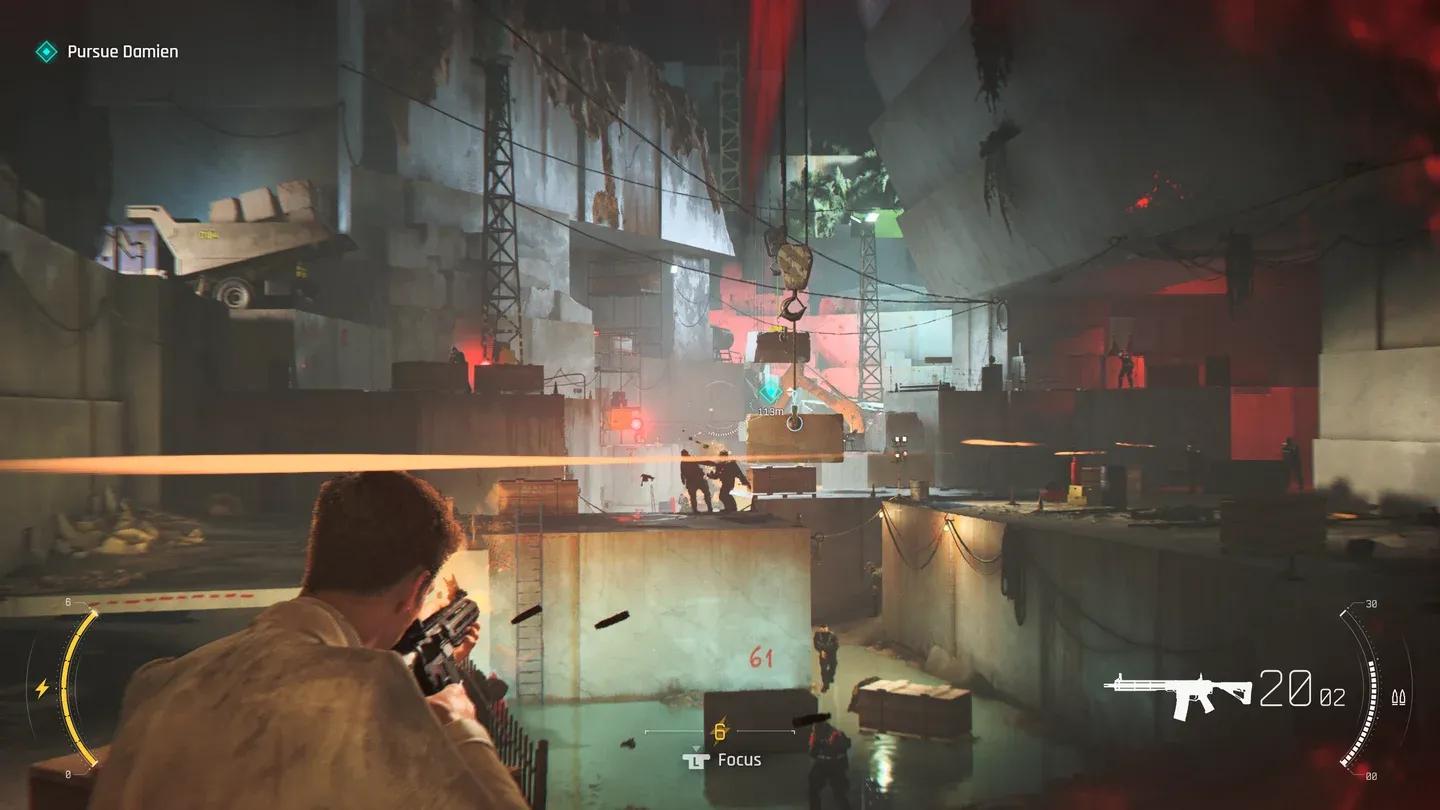
Parry first, reposition second
How do difficulty settings affect the parry window?
The source confirms that the timing window for a successful parry changes based on your chosen difficulty. On lower settings, the yellow flash appears with enough lead time that even players unfamiliar with parry-based combat systems can react comfortably. On harder settings, that window compresses, demanding faster reactions and a better read of enemy attack animations.
This makes the difficulty setting a meaningful choice for combat feel, not just damage numbers. If the parry system is frustrating you, dropping the difficulty isn't just about survivability. It's a legitimate way to learn the timing before scaling back up.
For players who want to plan their approach before launch, the preload guide for PC, PS5, and Xbox Series X|S covers how to get the game downloaded ahead of time so you can jump straight into learning the combat system.
For everything else you need before and during your playthrough, the full 007 First Light guide collection covers preloading, completion times, multiplayer details, and trophies in one place.