
Absolum throws four very different fighters at you and expects you to figure out which one clicks before the Crimson Order grinds you into the dirt. Developed by Guard Crush Games and published by DotEmu, this roguelite beat-em-up launched in October 2025 and rewards players who understand not just what their character does, but why each Inspiration and Trinket choice shapes the entire run. This guide covers every character's strongest build path, the Inspirations worth picking, and the combat fundamentals that make the difference between a clean clear and a wasted attempt.
All four playable characters
Who are the four Absolum characters?
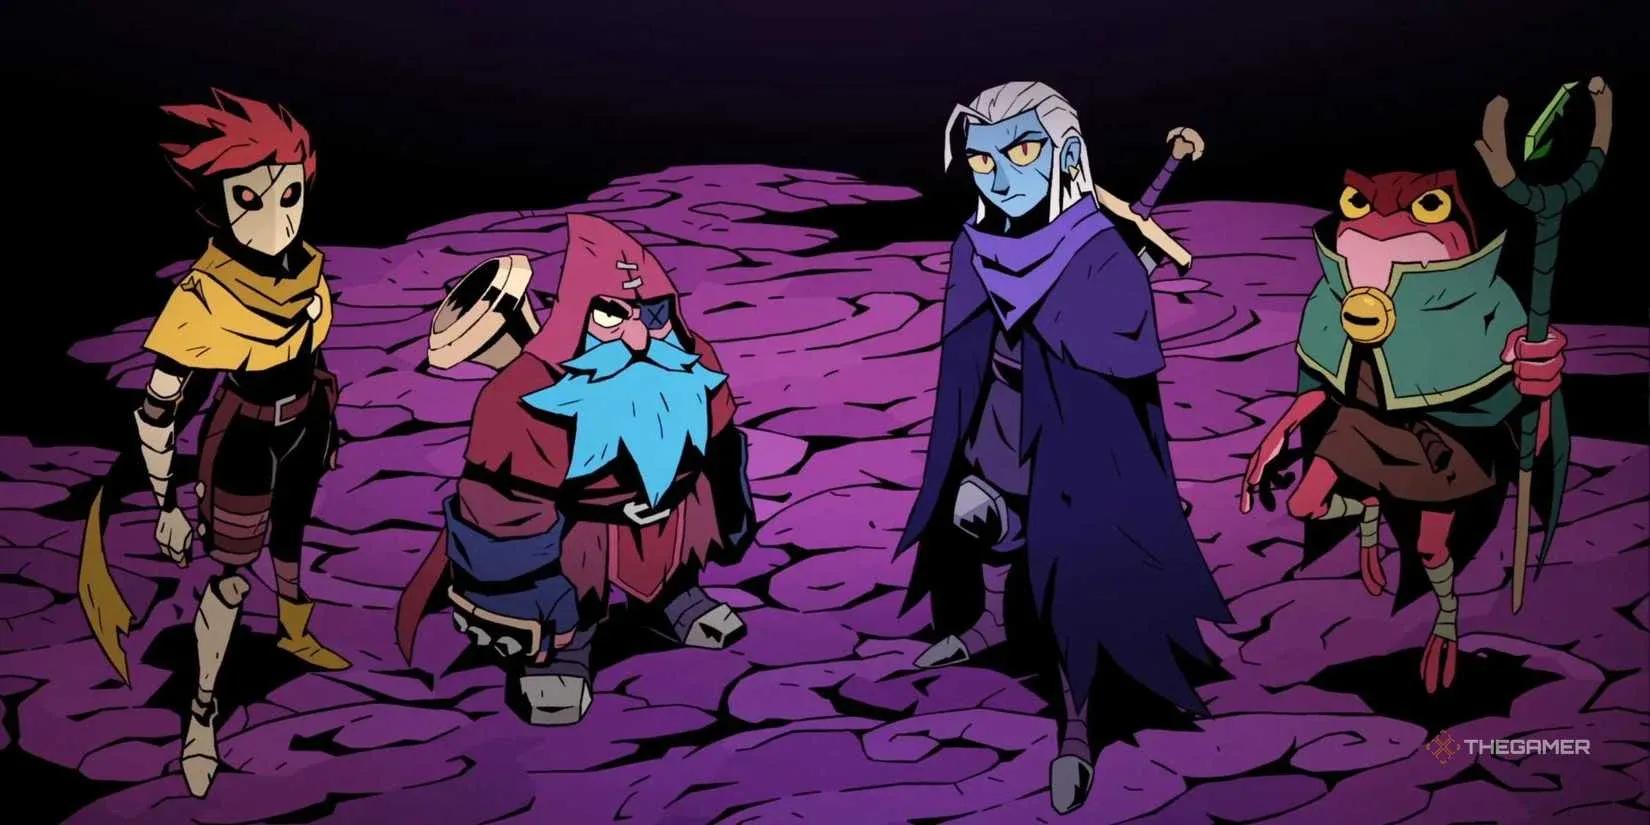
Before getting into builds, here's what each character actually does. The roster breaks down like this:
- Galandra is a necromantic knight who wields a massive sword. She excels at deliberate, heavy hits and can summon undead to apply pressure.
- Karl is a dwarven brawler who mixes close-range combat with a blunderbuss for mid-range poke. Versatile and forgiving.
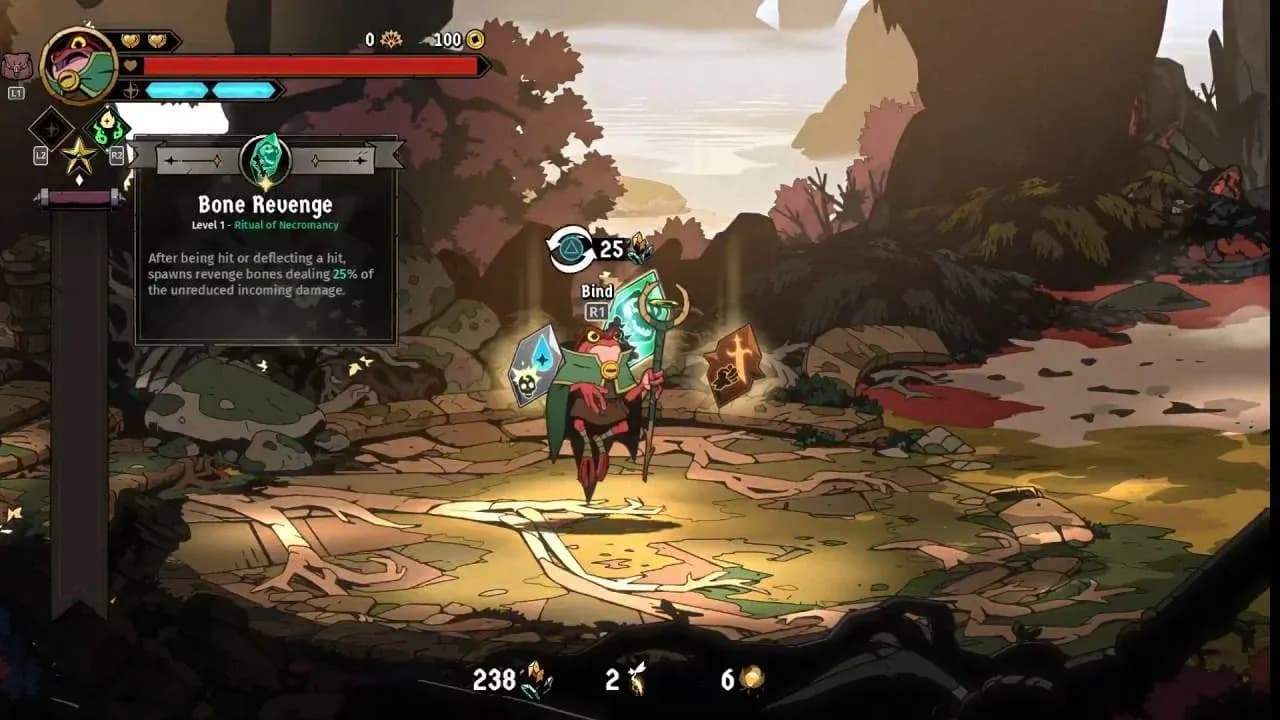
- Brome is a frog wizard who levitates and combines staff melee with area-of-effect spellcasting. Strong at controlling space.
- Cider is a construct-human hybrid built around speed, grapple hooks, and high-flying combos.
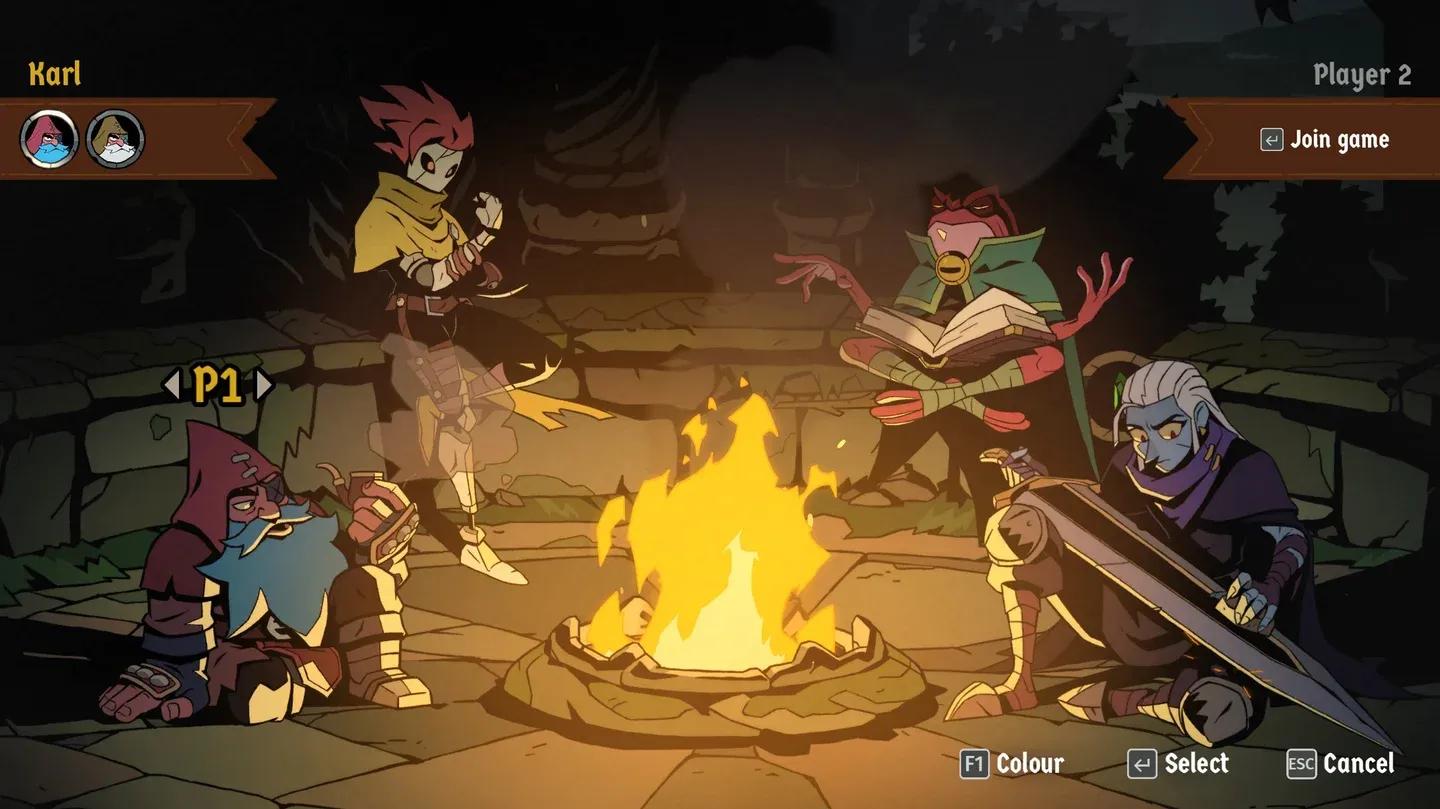
One piece of advice that holds up: stick with one character early. Arcana upgrades and unlocks are character-specific, so splitting attention slows your power growth considerably.
What is the best Galandra build?
Galandra's strongest setup centers on constant movement and damage chaining rather than standing still and trading hits.
Arcana: Reaper Cyclone
Reaper Cyclone is Galandra's top Arcana pick. It lets you spin while moving, hitting multiple enemies and sending them airborne. The key detail most players miss: using it near arena edges causes enemies to bounce off invisible walls and fall back into the cyclone's range, extending its effective damage window significantly.
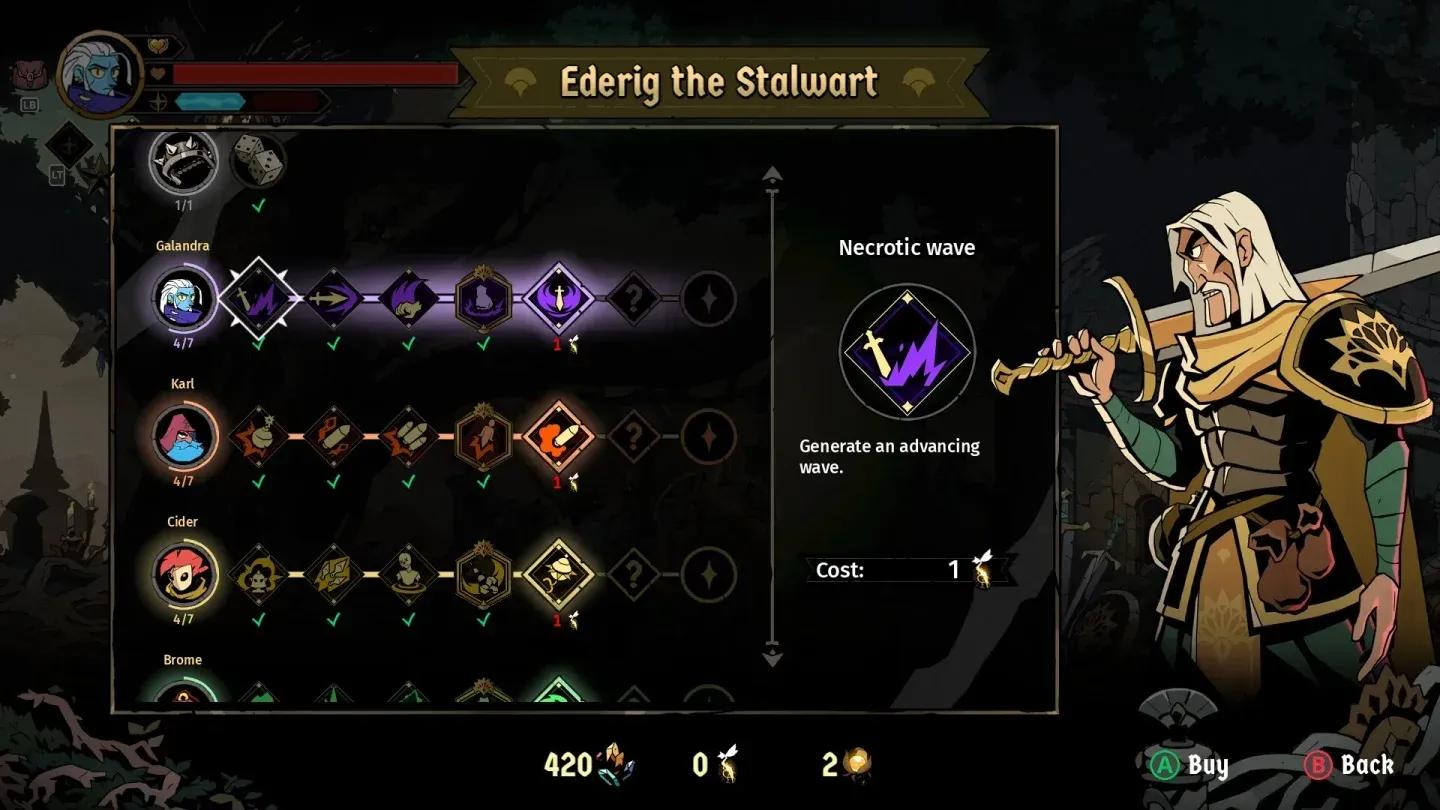
Inspirations: Burial Smash and Dark Grip
Start with Burial Smash, the first Inspiration available from Ederig the Stalwart. Pair it immediately with Dark Grip, which sustains your Mana while dealing consistent damage. These two create a rhythm of running, grabbing, and slamming enemies into the ground. The third Inspiration, Ghost Blade (also from Ederig the Stalwart), keeps attacking even after you go down in multiplayer, maintaining pressure throughout the fight.
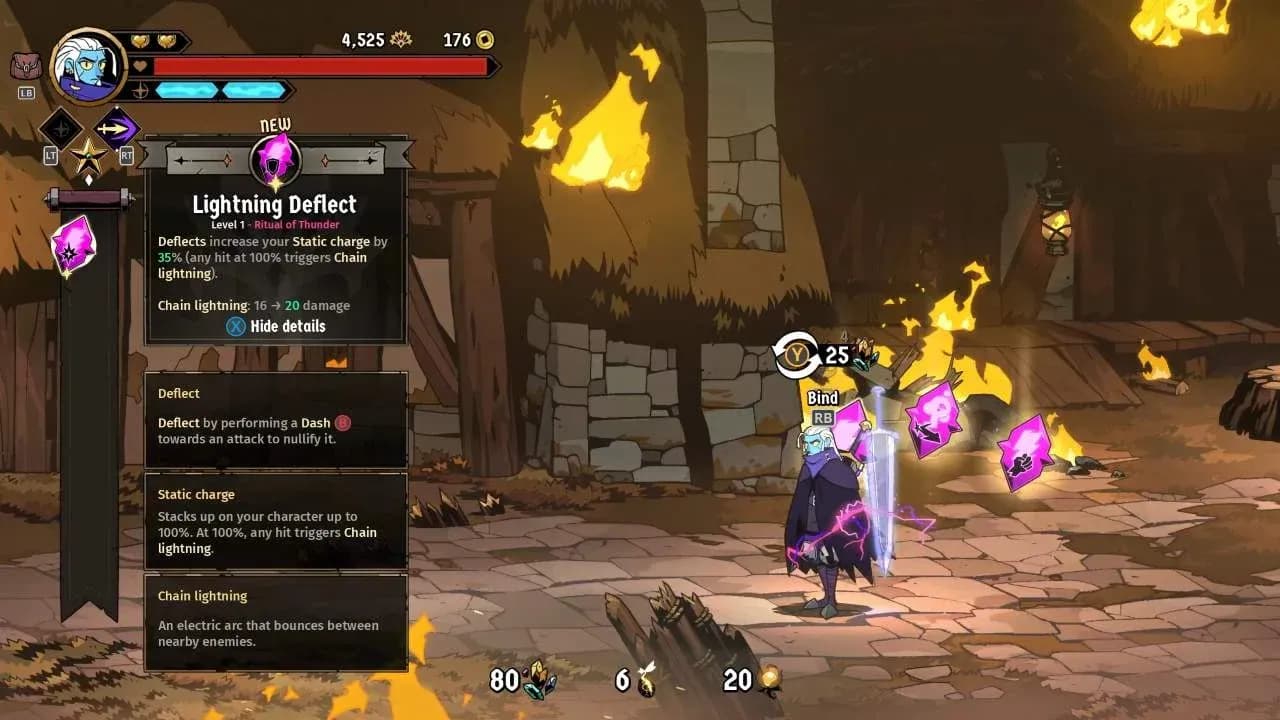
Rituals: Lightning Skill and Power Conduction
For Rituals, Lightning Skill and Power Conduction are the recommended pairing. Lightning Skill builds a static charge that eventually fires a Chain Lightning attack. Power Conduction doubles that Chain Lightning's damage output (100% more damage), making it reliable in longer encounters. Fire or Wind Rituals work as alternatives if you prefer a different elemental feel.
Trinkets: the full loadout
The Trinket setup looks like this:
If the slide from Jaroba Oil disrupts your positioning, stack a second pair of Boots instead. Deathvines pairs particularly well with Galandra's Skill since it amplifies damage against grounded enemies, which feeds directly into the grab-and-slam rhythm the build is built around.
Reaper Cyclone crowd control
What are the best Karl Inspirations?
Karl is a close-range brawler who mixes melee with firearm pressure. Choosing the right Inspirations determines whether he controls fights or gets overwhelmed. Here's how they stack up:
S-tier: Hammer Swing and Infused Shells
Hammer Swing ends each strike combo with a wide spinning attack that hits all nearby enemies while keeping you mobile. It's the best choice for area control in melee range. Infused Shells automatically sends spent shells toward enemies, staggering them on hit. Its effectiveness scales with your Arcana choice, so pairing it with Dragonbreath Bullet or Rifle Bullet maximizes impact.
A-tier: Ironhead Rush and Reload
Ironhead Rush keeps you moving by letting Karl headbutt enemies across the field, and it combines well with Skill-enhancing Rituals. Reload allows near-continuous Arcana firing with minimal downtime, though the reload animation leaves a brief vulnerability window. In co-op, having an ally cover that window makes Reload significantly stronger.
B-tier and below
Earthbreaker adds crowd control to Karl's grab game. Functional but not a priority. Throw Mastery rewards precision but takes time to master. Bouncing Bash shifts Karl toward aerial combat, which conflicts with his grounded strengths. Rocket Dwarf is visually amusing and practically useless. Take Aim requires safe charging windows that rarely appear in active fights. Extra Magazines cuts damage by 30% in exchange for more Mana capacity, a trade that almost never pays off for Karl.
Karl's Hammer Swing finisher
What are the best Brome Inspirations?
Brome's kit revolves around Mana generation and Arcana uptime. Anything that disrupts your ability to cast frequently is a downgrade.
S-tier: Drill Rush, Battle Rage, and Resonance Field
Drill Rush gives your Skill a running attack that benefits from equipped Rituals, hitting multiple enemies along its path. It fits naturally into almost any Brome build. Battle Rage increases Mana generation, which lets you cast Arcana more often, which in turn maintains your combo counter and generates even more Mana. The feedback loop is real.
Resonance Field is the ceiling option. After each Skill use, you gain 20% more Arcana damage, stackable up to 10 times for a total of 200% additional damage. To get full value, adjust your rotation so Skill hits land before each Arcana cast. The damage ceiling here is enormous.
A-tier: Arcana Overload
Arcana Overload doubles Mana cost but triples Arcana damage. Expensive on paper, but manageable with careful Mana tracking. You can trigger it by casting with only a single Mana segment filled, which keeps Arcana access open without burning your full reserve.
C-tier and below
Projectile Dispel returns enemy projectiles on a successful Clash. Situational and unreliable since Clash opportunities aren't consistent. Telekinesis pairs with Bramble Rituals for a Throwables-focused build, but Brome has no mechanics that generate extra Throwables, capping its value. Mana Burst and Channelling both require standing still to charge, which directly contradicts how Brome wants to play.
Resonance Field stacking damage
How does the co-op build work for Galandra and Brome?
The Galandra and Brome co-op pairing works as the classic elemental combo for good reason. Galandra applies frost slows to herd enemies into tight packs, and Brome's Chain Lightning bounces between those clustered targets for immediate wipes. The key is timing: Galandra needs to freeze and position enemies before Brome fires, otherwise the lightning spread is wasted on scattered targets.
Core combat mechanics every player needs
Builds only work if the fundamentals are solid. Three mechanics separate players who clear runs from those who don't:
- Deflect: Dash into an attack just before it lands. This parries the blow, stuns the attacker, and opens a counter window. It has a generous timing window and should be your default defensive response.
- Clash: A heavy attack timed against an incoming enemy attack. Higher risk than Deflect but creates a much larger punishment window. Karl's headbutt is the easiest move in the game to land a Clash with because of its quick start-up.
- Punish Damage: After a boss misses a big telegraphed attack, hitting them triggers a red hit spark and rapidly fills their stun meter. A stunned boss can be juggled for massive damage.
Galandra's running knee attack is an excellent tool for launching downed enemies into a juggle sequence.
Progression and economy tips
Absolum's roguelite loop means each run feeds permanent growth. The Tree of Talamh is your primary upgrade structure: spend Crystals collected during runs to permanently increase health, damage, and unlock abilities like self-revives. Prioritize the Tree over almost everything else.
For Gems, hold them for the upgrade tree rather than re-rolling Ritual choices. The only exception is late in a run when one strong Ritual could make the difference against the final boss. Before each run, always pick the glowing Arcana at the selection screen. It provides an experience bonus that accelerates overall progression.
For more character guides and roguelite strategies, browse the latest guides on GAMES.GG.
Quick-reference: Inspiration tiers by character
Note: Cider's Inspiration tier list wasn't covered in available testing. Based on what's documented, her strongest build path centers on constant movement, flow-state crits, and backstab damage spikes.
Absolum rewards players who commit to a character, learn their damage loops, and respect the combat system's defensive tools. Pick one fighter, build around their strongest Inspirations, and the runs get noticeably cleaner.