
Balatro (pronounced BAH-luh-tro) is the poker roguelike that took the world by storm, and its achievement list is as deep and rewarding as its gameplay. Whether you just played your first run or you're grinding toward the Platinum, there's a clear path through all 32 trophies. This guide breaks down every achievement into a structured roadmap so you always know what to focus on next, from your first win on White Stake all the way to earning a Gold Sticker on every single Joker.
Full achievements overview
What's the Fastest Way to Start Unlocking Achievements?
The first cluster of achievements all flow from a single goal: completing your first run. Balatro is split into 8 Antes, each containing a Small Blind, Big Blind, and Boss Blind, for 24 total rounds. The base Chip requirements scale with each Ante, starting at 300 at Ante 1 and reaching 50,000 at Ante 8 on White Stake.
Your First Run: Heads Up, Ante Up!, and Ante Upper!
- Heads Up (Win a Run) unlocks Blueprint, one of the strongest Jokers in the game.
- Ante Up! (Reach Ante 4) unlocks Showman, which lets duplicate cards appear in shops and packs.
- Ante Upper! (Reach Ante 8) unlocks Flower Pot, a x3 Mult Joker requiring one card of each suit.
For your first run, skip the Small Blind only if you see an Investment Tag (gives $25 after the Boss Blind) or a Coupon Tag (makes the next shop's initial offerings free). Most Tags are not worth the lost shop round. Aim to win each Blind in as few hands as possible, since every leftover hand earns $1 at round's end.
By Ante 2, start building Interest. For every $5 you hold at round's end, you earn $1, up to a maximum of $5 per round. This passive income is essential for affording strong Jokers later.
Understanding Scoring Order
Scoring in Balatro always resolves left to right in this sequence:
- Hand Type (base Chips and Mult from the poker hand level)
- Cards Played (each card's chips scored left to right)
- Cards Held in Hand (Steel Cards, Baron, Shoot the Moon, etc.)
- Jokers (remaining Joker effects trigger left to right)
- Observatory Voucher (xMult from Planet cards applied last)
This ordering is critical. Always position xMult Jokers to the far right of your Joker row so they multiply the largest accumulated value.
Stage 2: Miscellaneous Trophies and Unlocks
Once you've won a run, the next batch of achievements rewards experimentation. Some unlock new items, others are just checkboxes.
Joker unlock on achievement
How Do You Earn the Scoring Chip Trophies?
Three achievements track your single-hand chip totals:
For 100,000K, you need a dedicated high-score build. The most accessible combos include:
- Hanging Chad + Photograph: Both are Common Jokers. Together they retrigger the first scored card twice and give x2 Mult on the first face card, multiplying your score by x8.
- Triboulet: A Legendary Joker that gives x2 Mult for every King or Queen scored. Extremely powerful with a face-card-heavy deck.
- Baron + Mime: Baron gives x1.5 Mult per King held in hand, and Mime retriggers all held-in-hand effects. Pair with Steel Cards for x1.5 stacking.
- Bloodstone + Oops! All 6s: Bloodstone gives x1.5 Mult per Hearts ❤︎ card scored, and Oops! All 6s makes it trigger every single time.
- Blueprint / Brainstorm: Both copy adjacent Joker effects, effectively doubling any of the above strategies.
Glass Cards are especially valuable for high scores since a full five-card hand of them multiplies your Mult by x32. Steel Cards compound on top of that for held-in-hand builds.
How Do You Get Flushed, Royale, and Shattered?
- Flushed requires playing a basic Flush using exactly 5 Wild Cards. Wild Cards count as every suit simultaneously, so five of them auto-complete a Flush. Note: this does not trigger on a Straight Flush, Flush House, or Flush Five.
- Royale requires playing a Royal Flush (Ace, King, Queen, Jack, 10 of the same suit). The Checkered Deck makes this easier since it starts with 26 Spades ♠ and 26 Hearts ❤︎. Before playing the Royal Flush for the trophy, discard your first one to unlock Brainstorm, the Joker that copies the leftmost Joker's effect.
- Shattered requires breaking 2 Glass Cards in a single hand. Glass Cards have a 1 in 4 chance of breaking when scored. Stack as many as possible and use Oops! All 6s to double that chance to 1 in 2.
Economy and Grind Achievements
- Card Player (Play 2,500 cards) and Card Discarder (Discard 2,500 cards) come naturally over time. Grabber and Wasteful Vouchers (each $10 in the shop) permanently add +1 hand and +1 discard per round respectively.
- Nest Egg (Have $400 in one run) is the trickiest economy achievement. The Anaglyph Deck earns a Double Tag after every Boss Blind, and stacking Economy Tags (doubles money, max $40) can push you to $400 in Endless Mode. Bootstraps (+2 Mult per $5 held) and Bull (+2 Chips per $1 held) both scale with your cash pile.
- Speedrunner (Win in 12 or fewer rounds) requires skipping roughly half of all non-Boss Blinds. Investment Tags are the ideal skip reward. White Stake is the recommended difficulty.
- ROI (Buy 5 Vouchers by Ante 4) works best on the Yellow Deck (starts with +$10) or Anaglyph Deck. A Voucher Tag spawns an extra Voucher in the next shop, and Hieroglyph reduces your Ante counter by 1 at the cost of -1 hand per round.
- Retrograde (Get a poker hand to Level 10) is easiest with the Nebula Deck, which starts with the Telescope Voucher. Telescope guarantees that every Celestial Pack contains the Planet card for your most-played hand. Space Joker gives a 1 in 4 chance to level up the played hand each time, and Burnt Joker levels up the first discarded hand each round.
Stage 3: How Do the Eight Stakes Work?
Each stake adds a cumulative difficulty modifier. You must complete all 8 stakes on a deck to reach Gold Stake:
At Gold Stake, only 28% of Jokers appear without any sticker at all. Eternal Jokers can't be sold or destroyed, which is usually a downside but enables specific strategies: Madness won't delete your other Jokers if they're all Eternal, and Hex gives a free x1.5 if all your Jokers are Eternal.
Perishable Jokers last 5 rounds (debuffed after that), which still covers more than 20% of a standard run. Late-game xMult Jokers like The Family can still be decisive even with a Perishable sticker.
Rental Jokers cost $3 per round. Always ask: does this Joker's effect outvalue $3 per round and is the slot better used elsewhere?
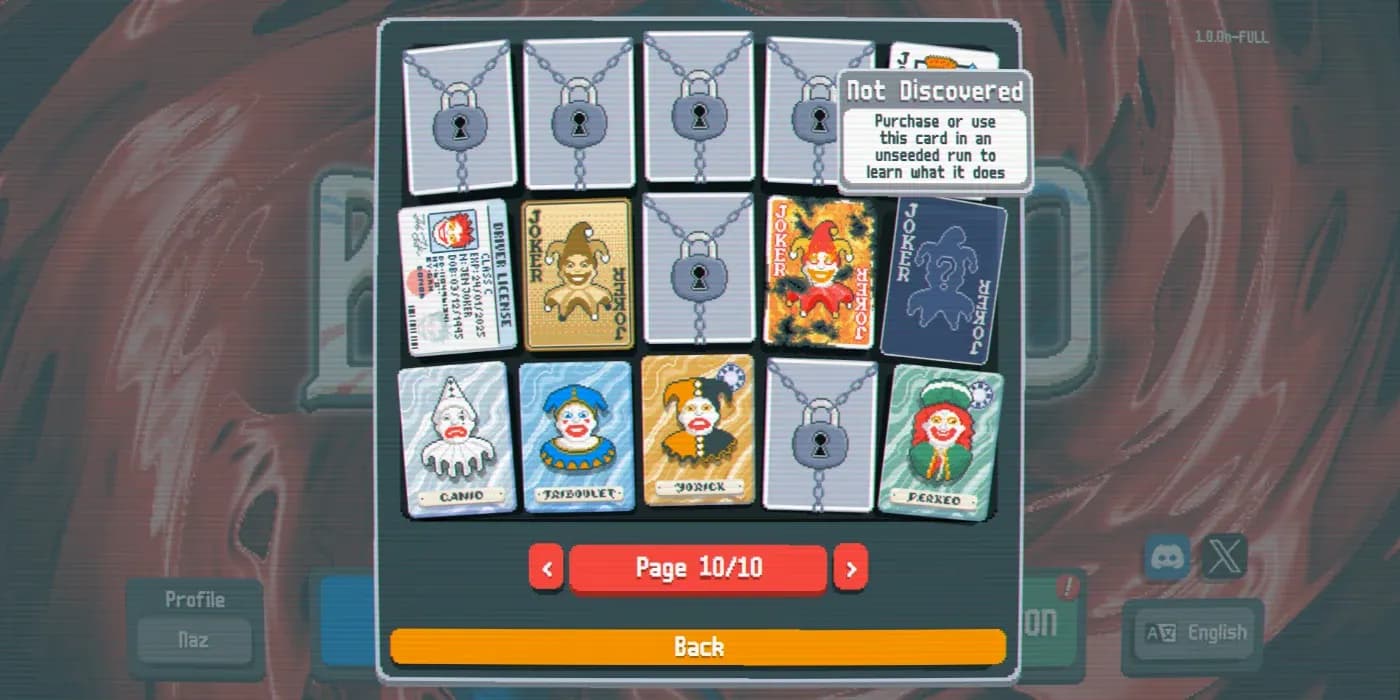
Stage 4: Collection Trophies
Four trophies track your discovery of every card type:
- Astronomy: Discover every Planet card. The three advanced Planets (Planet X, Ceres, Eris) only become available after playing Five of a Kind, Flush House, and Flush Five at least once. These require significant deck manipulation using Death, Cryptid, or DNA to create multiple copies of the same rank and suit.
- Cartomancy: Discover every Tarot card. All 22 Tarot cards can appear in Arcana Packs, the shop, and via Purple Seal discards. Unlocking this gives you Cartomancer, which creates a free Tarot card each time you select a Blind.
- Clairvoyance: Discover every Spectral card. Spectral cards are rarer, appearing mainly in Spectral Packs. The Ghost Deck spawns Spectral cards in the shop, making this easier. Black Hole (upgrades every poker hand by 1 level) has a 0.3% chance to replace any card in Celestial Packs.
- Extreme Couponer: Discover every Voucher. Each Voucher's second tier unlocks after meeting specific conditions (for example, Overstock Plus unlocks after spending $2,500 total in the shop). You must purchase each Voucher during a normal, non-seeded, non-challenge run.
- Legendary: Discover a Legendary Joker. The Soul has a 0.3% chance to replace any card in Spectral or Arcana Packs. Use "tag fishing": restart runs until a Charm Tag appears in the first two skip opportunities, then check if The Soul is among the five Tarot options.
The Completionist trophy (100% collection) requires every Joker, Deck, Voucher, Tarot, Planet, Spectral Card, Edition, Booster Pack, Tag, and Blind to be discovered. 45 of the 150 Jokers have specific unlock conditions ranging from playing 200 hands to discarding 5 Jacks simultaneously.
For a full breakdown of every achievement condition, the Balatro Wiki on Fandom has detailed unlock requirements for every item in the collection.
Stage 5: Completionist+ and Completionist++
These are the two hardest trophies in the game, requiring 120 total wins across all 15 decks on Gold Stake, followed by earning a Gold Sticker on every one of the 150 Jokers.
How Does Completionist+ Work?
Completionist+ requires winning with every deck on Gold Stake difficulty, totaling 120 wins (15 decks x 8 stakes each). Each deck has a distinct strategy:
- Abandoned Deck: No face cards makes it ideal for Ride the Bus and Four of a Kind builds.
- Checkered Deck: 26 Spades ♠ and 26 Hearts ❤︎ enables consistent Flush and Flush House play. Build toward Bloodstone and watch for The Goad and The Head.
- Plasma Deck: Balances Chips and Mult when scoring, so additive Chips and Mult Jokers (like Bull, Runner, Hiker) shine here. The x2 base Blind size is the tradeoff.
- Anaglyph Deck: Double Tags after every Boss Blind. Save them for Negative Tags to stack extra Joker slots.
- Ghost Deck: Start with a Hex card, giving early xMult. Spectral cards in the shop make deck manipulation much easier.
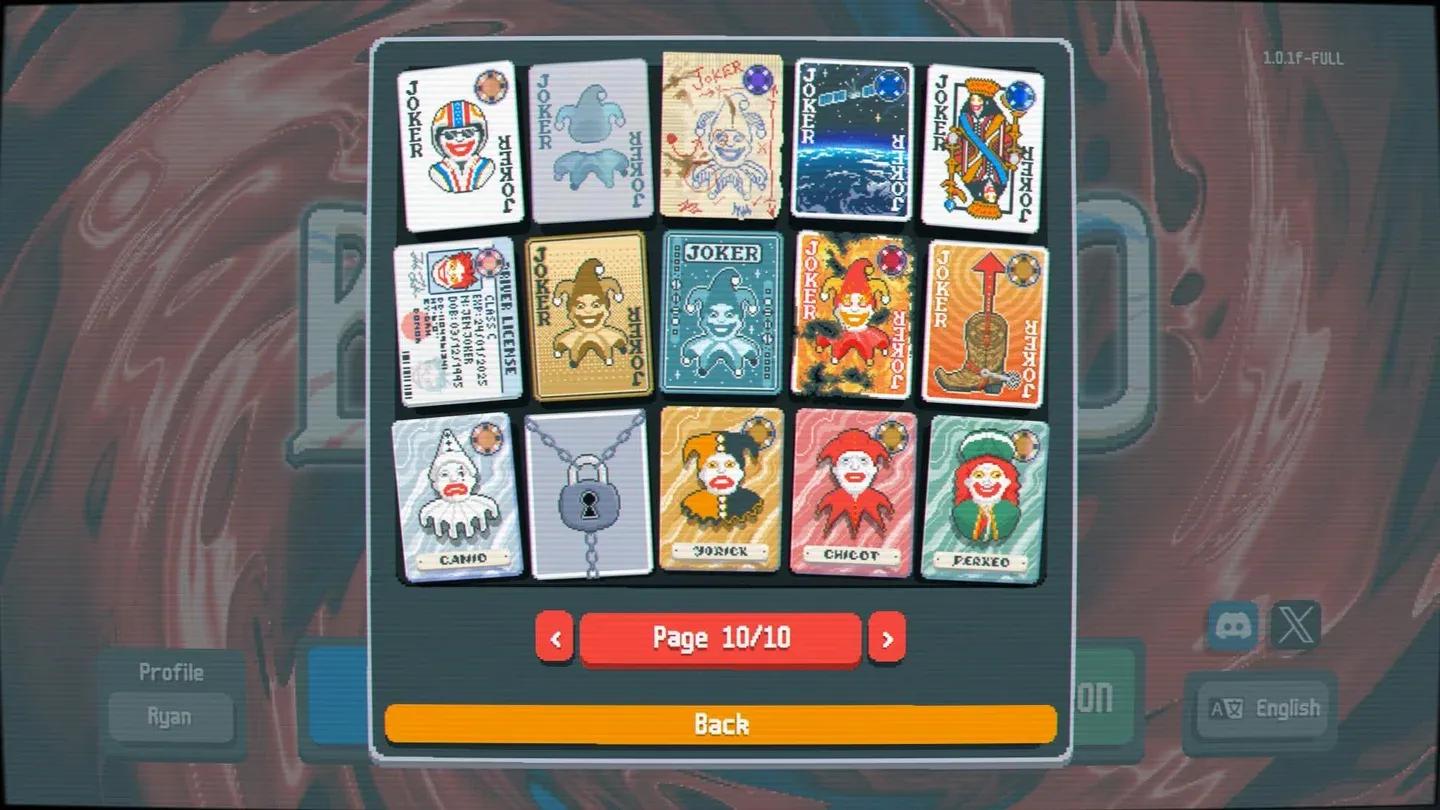
How Do You Earn Gold Stickers on All 150 Jokers?
Completionist++ is the final grind. After each Gold Stake win, every Joker you held at run's end receives a Gold Sticker. The goal is to hold as many unstickered Jokers as possible per win.
Key strategies for this achievement:
- Anaglyph Deck is the top recommendation early in the hunt. Its Double Tags can chain into Negative Tags, letting you hold extra Jokers without using up Joker slots. Each win can net several new stickers at once.
- Ghost Deck becomes more useful later when you need specific Jokers. Starting with Hex gives any weak Joker a Polychrome edition and some scoring power.
- Prioritize Rare Jokers over Uncommon, and Uncommon over Common, since rarer Jokers appear less frequently in shops.
- Avoid taking Eternal Jokers that already have Gold Stickers unless they're part of your scoring build. They waste a Joker slot.
What About Jokers That Self-Destruct?
Some Jokers cannot receive the Eternal sticker and will destroy themselves before the run ends. These include:
For all of these, the best approach is to build a strong winning run first, then buy one of these Jokers in the Ante 8 shop before defeating the final Boss Blind. If a Joker destroys itself before the "You Win!" screen appears, it will not receive the sticker. A Perishable sticker on these Jokers is actually helpful, since debuffed Jokers cannot self-destruct.
Gold Sticker on a Joker card
Stage 6: Challenge Runs
Rule Bender (complete any challenge run) and Rule Breaker (complete every challenge run) round out the trophy list. All 20 challenge runs use White Stake. Most are manageable within a few attempts, but two stand out as genuinely difficult:
- Golden Needle: Only 1 hand per round, 6 discards, and discards cost $1 each. You need a money-generating Joker immediately or you'll spiral into debt. Build into a 5-card poker hand since you need to win each Blind in one hand.
- Jokerless: Zero Joker slots. Deck building, Planet card leveling, and Glass Cards are your only tools. Straights are recommended early for flexibility, and Glass Cards should be saved for the final Antes.
For the easier challenges, specific starting items often carry the run. Five-Card Draw gives you Card Sharp (x3 Mult if the played hand was already played this round), making Pairs trivial. Blast Off gives Constellation and Rocket with Planet-focused Vouchers, so just stack Planet cards and let xMult do the work.
Final Tips Before You Grind
- Turn on Display Stake Stickers during Run in Settings so you can see which Jokers already have Gold Stickers mid-run.
- The Completionist++ bug also applies here: the trophy only checks when you defeat the final Boss Blind, not at the "You Win!" screen when stickers are applied. After collecting your 150th sticker, complete one more run on any difficulty to trigger the achievement.
- This achievement represents one of the most demanding grinds in modern roguelikes. Even the game's developer earned this trophy on June 20th, 2025, which shows just how much dedication the full completion requires.
- For more strategies and deeper dives into every game system, browse the latest gaming guides to keep your skills sharp across every run.