

Blood Strike is not a game that rewards hesitation. Slide mechanics, instant respawn pressure, and ability-driven combat mean your setup matters from the very first match. Whether you're brand new or returning after the Blood Purge Alpha update shook the meta, picking the right Striker and weapon pairing is the difference between carrying your squad and feeding the enemy team. This guide breaks down every viable build, explains the current weapon tier list, and gives you faction-specific tactics for the new Humans vs. Zombies mode.
What Makes a Strong Build in Blood Strike?
Your build in Blood Strike comes from three connected pieces: the Striker you select, your weapon loadout, and how you time abilities during fights. None of these work in isolation. A mobility-focused Striker paired with a slow, heavy rifle creates a mismatch. A support Striker rushing solo is a wasted asset.
Before picking anything, ask yourself two questions:
- Am I playing solo or with a coordinated squad?
- Do I prefer aggressive entry or controlled, positional play?
Your answers should shape every choice below.
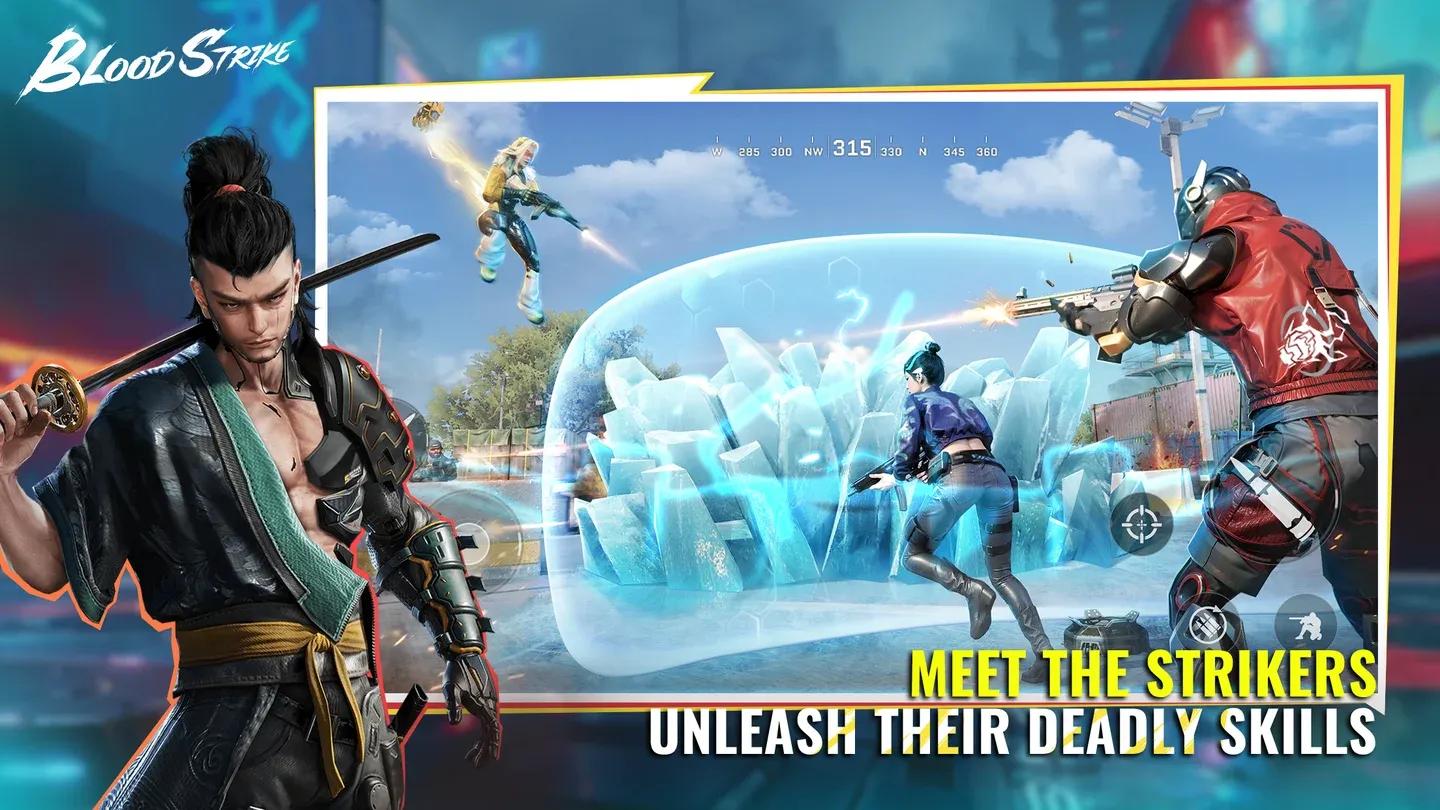
Striker selection screen
Striker Tier List: Which Role Should You Play?
The pattern here is clear: mobility and reliable damage win early games. Flashy abilities that require perfect execution punish beginners far more than they reward them.
S-Tier: The Assault Rusher
The Assault Rusher is the strongest starting identity in the game because it teaches fundamentals without punishing small mistakes. You pair a stable assault rifle with a movement-oriented Striker, which lets you pressure enemies and disengage safely when things go sideways.
Recommended loadout:
- Assault rifle with stability attachments as primary
- SMG as secondary
- Frag grenade
The core habit to build: engage first, reposition immediately after cracking a shield, and never stand still in the open after firing.
S-Tier: The SMG Aggro Flanker
SMGs dominate tight buildings and anything under 20 meters. Combined with a Striker that has a mobility or escape ability, you control interior combat entirely. Prioritize high fire rate, quick reload speed, and movement upgrades when building this identity.
This build thrives in constant pressure situations where you never give enemies time to breathe.
A-Tier: Tactical Support
In squad modes, a well-played support Striker is often worth more than two aggressive players. Healing boosts and revive acceleration swing long fights decisively. Your job is simple: stay alive, avoid unnecessary solo pushes, and enable teammates to do their best work.
Strikers like E.M.T. fit perfectly here, with healing stations and armor drones that can sustain a fortified position through extended zombie or enemy sieges.
A-Tier: Sniper Control
Landing early knockdowns forces enemies to burn resources or retreat, creating pressure without requiring full commitment. The risk: missed shots waste tempo entirely. Positioning is not optional with this identity, it is the entire strategy.
B-Tier: Shotgun Specialist
High risk, punishing if you miss, and extremely situational. Only run this if you are genuinely confident in close-range fights. Beginners tend to overcommit indoors and get caught reloading.
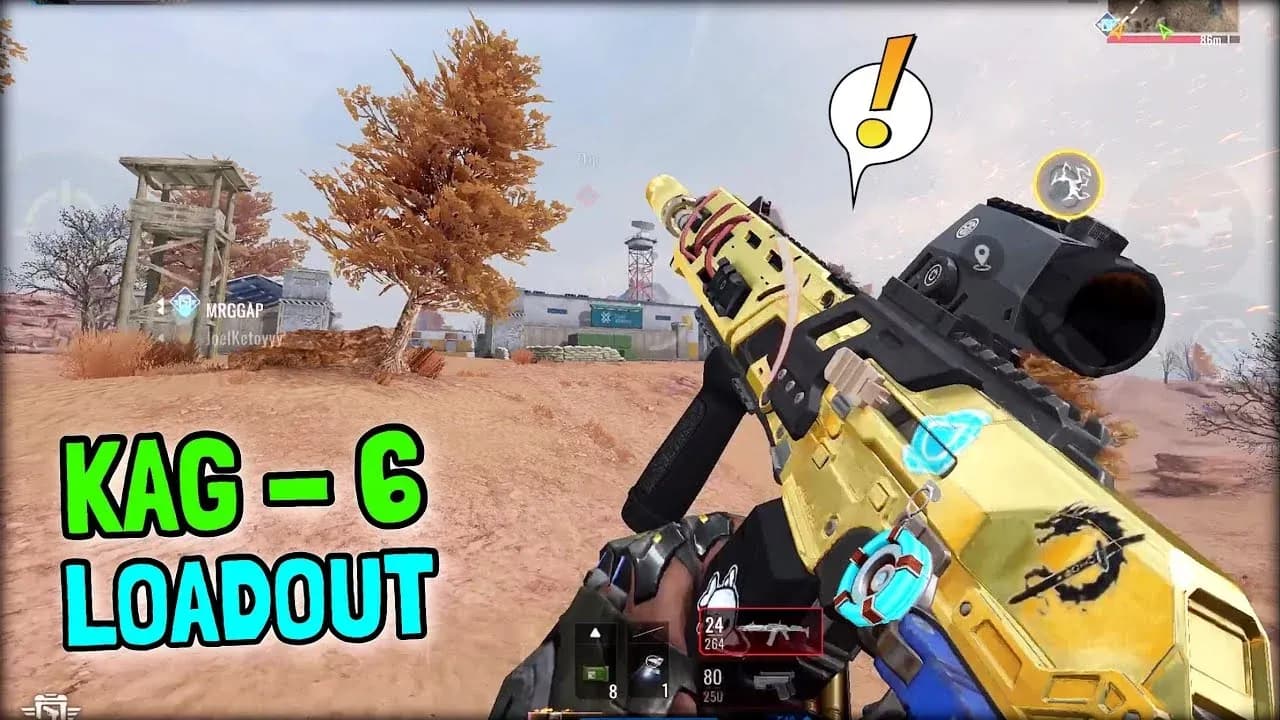
KAG-6 attachment menu
Top 5 Weapon Loadouts: Current Meta Breakdown
1. FAL: The Semi-Auto Precision Machine
The FAL has quietly become one of the most dominant weapons in the game, appearing in roughly 70% of tournament loadouts. It fires semi-auto at an effective cap of 705 RPM and deals exceptional damage in the 50-100 meter range. Two headshots or one headshot plus one body shot drops most targets.
Optimal FAL setup:
- Muzzle: Compensator (approximately 25% vertical recoil reduction)
- Optic: 4x Scope
- Underbarrel: Extended Vertical Grip (additional 20% recoil reduction; combined with Compensator you reach 30-40% total)
- Stock: Tactical Stock for ADS mobility balance
- Magazine: Extended Mag
Treat the FAL like a designated marksman rifle. Find a strong angle, tap heads, and stay out of close quarters without a secondary ready. In Blood Purge Alpha, FAL is ideal for human defenders picking off zombies before they close the gap.
2. KAG-6: The Reliable All-Rounder
About 70% of competitive players run a KAG-6 in their lineup, and the reason is simple: it does everything adequately and nothing poorly. With 18 damage per shot, a fire rate of approximately 63, and moderate recoil, it performs at 0-50 meters without asking much from the player.
Optimal KAG-6 setup:
- Muzzle: CQB Muzzle (or Compensator unlocked at level 38)
- Optic: Romeo4T Red Dot (unlocked at level 42)
- Barrel: Extended Barrel (unlocked at level 20, adds roughly 25% range)
- Underbarrel: Extended Vertical Grip (unlocked at level 40)
- Magazine: Extended Mag for 10 extra rounds
For new players especially: KAG-6 with minimal attachments still performs. It only gets better as you unlock more for it. Do not try to out-snipe a Kala user at 100 meters with it, but inside 50 meters you will rarely lose a fair fight.
3. P90: The Hip-Fire Bullet Hose
After hip-fire accuracy buffs, the P90 surged to the top of the SMG category. It carries a fire rate of 78, solid accuracy, and a large default magazine. Damage sits around 21 per bullet, but the DPS at close-to-medium range is exceptional, with roughly 80% damage effectiveness maintained at medium range (high for an SMG). Pro teams favor it in about 60% of close-quarter fights.
Optimal P90 setup:
- Muzzle: CQB Muzzle for hip-fire and sprint-to-fire
- Laser: Hip-fire Laser to tighten spread (choose one that does not expose your position)
- Stock: Light Stock for maximum mobility
- Underbarrel: Vertical Grip for hip-fire grouping
- Magazine: Extended Mag
The P90 pairs excellently with KAG-6 if you run two primaries. That combination covers 0-100 meters with no gaps.
4. Kala .50 Sniper: Long-Range Dominance
The Kala deals 125 base damage and retains one-hit-kill headshot potential out to 200 meters with minimal bullet drop. It appears in 90% of pro sniper selections because a clean headshot simply deletes any target regardless of range. Body shots typically leave enemies at 5-10 HP, making cleanup trivial.
Optimal Kala setup:
- Scope: 8x or 6x high-power
- Barrel: Extended Barrel for maximum range and bullet velocity
- Muzzle: Compensator or Suppressor (Suppressor hides minimap signature in public matches)
- Stock: Stabilizing Stock or Bipod
- Ammo: High-Velocity rounds if available for easier hits on moving targets
Always carry a secondary for close combat. A Kala user caught without a quick SMG or pistol is helpless the moment someone pushes their position. Reposition after every two kills.
5. Vector: High-Skill Close-Quarters Shredder
Despite the nerf, the Vector remains the fastest-killing gun at point-blank range. Its roughly 1200 RPM fire rate means anyone within spitting distance evaporates before they can react. The tradeoff is a hard damage drop-off beyond 10-15 meters and a tiny default magazine.
Optimal Vector setup:
- Muzzle: CQB Muzzle
- Underbarrel: Extended Vertical Grip
- Optic: Holographic or small Red Dot (or skip for a Laser)
- Stock: UBR Stock for recoil stability
- Magazine: 35-Round Extended Mag (unlocked at level 3)
The Vector rewards players who close the gap aggressively using slides and jumps, then unleash hip-fire at barrel-stuffing range. It is a specialist weapon, not a general-purpose pick.
Bonus: Bizon SMG (New Contender)
The PP-19 Bizon entered the game with a large helical magazine and high mobility. Its signature attachment, the BAS 32-Round R.I.P. Drum, adds rounds and boosts damage against unarmored targets. Early testing suggests it excels against zombies in Blood Purge Alpha and in suppressive roles where sustained fire matters more than raw TTK. It is too early to rank definitively, but watch for it to reach high A-tier as more data comes in.
FAL vs sniper loadout stats
Blood Purge Alpha: Humans vs. Zombies Faction Guide
Blood Purge Alpha is a faction-based mode splitting players into Human Strikers and Zombies across all maps. Humans use standard loadouts and hero abilities. Zombies rely on melee, special skills, and evolution powered by Blood Crystals collected from fallen players and fixed spawn points.
When a human dies, they respawn as a zombie, which means every human death strengthens the opposing faction. Zombies get unlimited respawns but need evolution and numbers to overcome human firepower.
Human Striker Abilities Worth Knowing
- ETHAN deploys a one-way bulletproof barrier with 400 HP lasting approximately 30 seconds. Place it at chokepoints so teammates can shoot through while zombies cannot return fire effectively.
- JET fires a missile volley, excellent for clearing clustered zombies mid-evolution.
- E.M.T. drops healing stations and armor drones, sustaining fortified positions through extended sieges.
Zombie Evolution and Abilities
Base zombies are fast and melee-only. Collecting Blood Crystals unlocks evolution into the Bloat form with significantly more power:
- Charged Jump: Hold Jump to charge distance. Longer hold equals farther leap. Use it to reach rooftop snipers who think they are safe.
- Throw Contamination: A sludge grenade that slows and damages humans in an area. Ideal for softening fortified doorways.
- Blood Rage: Roughly 12 seconds of wall-hack vision, increased speed, and higher damage. Coordinate with teammates before activating for maximum impact.
- Acid Fog (Bloat): A cloud that blinds and damages anyone inside. Devastating against rooms with tight cover.
- Summon Zombies (Bloat): AI zombie minions add chaos just before a coordinated push.
- Self-Destruct (Bloat): Massive area damage as a last resort. A well-timed self-destruct trading one Bloat for two human defenders is often worth it.
Zombie evolution crystal UI
How to Win as Humans
Layer your team composition across ranges: one long-range player on Kala or FAL, one mid-range on KAG-6, and one close-quarters player on P90 or Vector watching doors. This covers every stage of a zombie push.
Secure objectives early while zombies are still weak. The faster you lock down capture points, the more zombies have to come to you rather than the reverse. Focus fire on Bloat zombies first as their abilities (Acid Fog, AI summons) create the most chaos.
How to Win as Zombies
Never rush alone. A group of three base zombies can overpower a single human, but one zombie is just a free kill that bolsters the enemy. Coordinate via pings: use Contamination to slow a doorway, then push with Blood Rage active, then follow with a Bloat dropping Acid Fog. Humans cannot handle all three simultaneously.
Prioritize Blood Crystal collection early over immediate aggression. A Bloat zombie is dramatically more dangerous than three base zombies, and patience in the first two minutes pays off for the rest of the match.
Recommended Beginner Build for Your First 20 Matches
If none of the above feels clear yet, start here and build from this foundation:
- Pick a mobility-focused Striker
- Equip a stable assault rifle (KAG-6 is the obvious choice)
- Carry one close-range backup (P90 or SMG)
- Avoid solo pushes without squad support
- Focus on repositioning after every engagement
This setup builds consistency, improves survival rate, and teaches the fundamentals that every advanced build relies on anyway. Strong habits formed early are worth more than rare cosmetics or flashy abilities you cannot execute reliably yet.