
The Power Switch Relic is one of two Grim Relics hiding in Call of Duty: Black Ops 7's Totenreich map, and getting it requires a bit of map knowledge that most players won't figure out on their first run. The relic itself randomizes your lethal and tactical equipment at the start of each round, which sounds chaotic but is actually one of the more manageable Cursed Mode drawbacks you can slot in. Here's everything you need to unlock it without wasting rounds.
What you need before starting the Power Switch puzzle
The good news: you can attempt this on any Tier of Cursed and during any round. The requirements are light. You need a Combat Axe in your loadout, and a Sniper Rifle with a scope is strongly recommended. The four altars you need to read are placed in the far distance across the map, and without magnification, counting deer skulls accurately is genuinely difficult. The Shadow SK from Tyr's Shoulder is a solid option for this.
Make sure you have at least 10,000 Essence banked before you open the trial portal. Once inside, you cannot earn points, so going in underfunded will leave you stranded if you need to reactivate the trap multiple times.
Grab the Shadow SK sniper from Tyr's Shoulder before hunting altars. Trying to count deer skulls at distance without a scope is a reliable way to misread the sequence and waste a round.
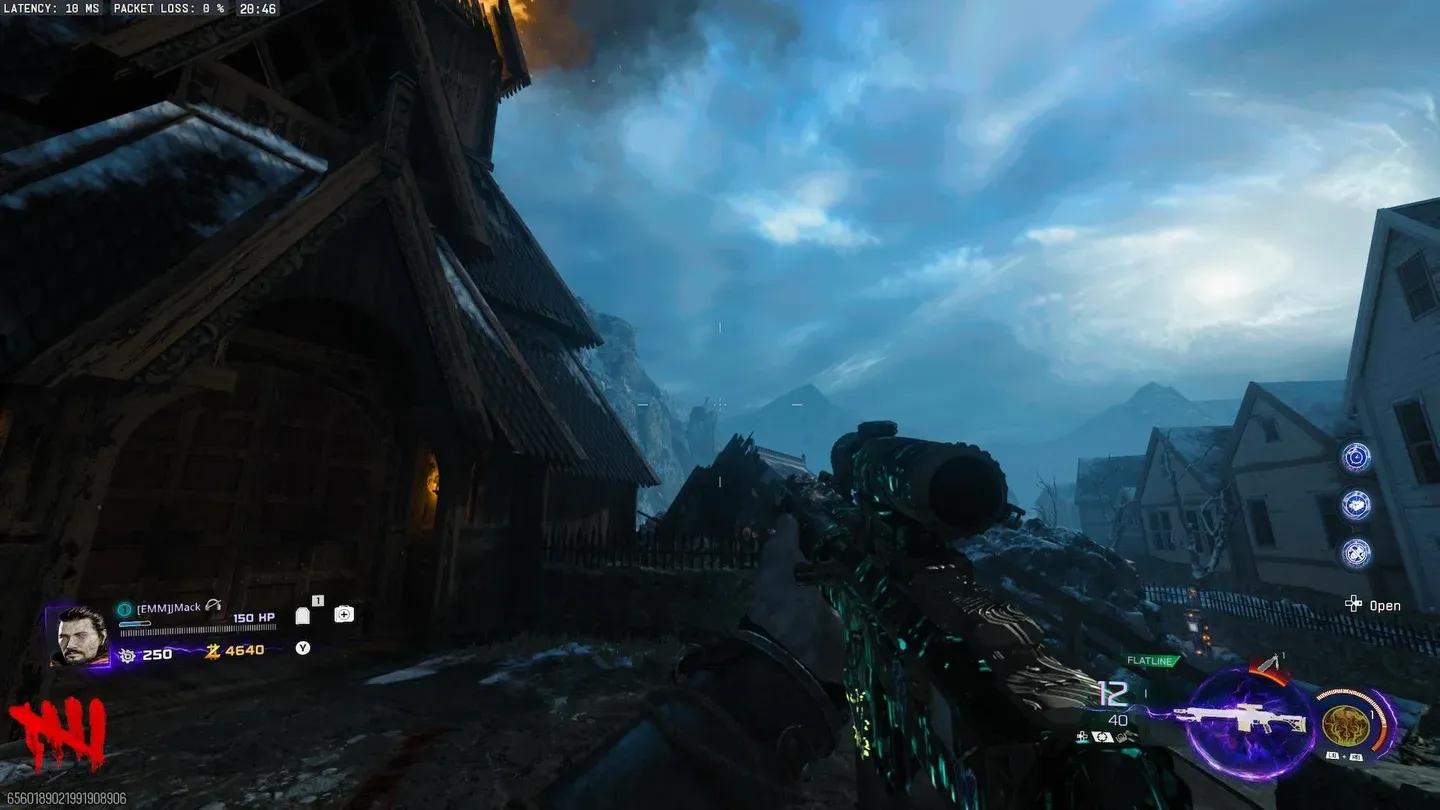
Scope in to read skull counts
How to find all four altars and read the sequence
Each altar displays a randomized number of deer skulls, from 1 to 4. Your job is to record which location holds which skull count, then use that ordering to throw your Combat Axes at the correct bear pelts in sequence. The sequence changes every game, so there's no fixed answer to memorize.
Here's where each altar is located:
Once you have all four skull counts recorded and know which location ranks first through fourth, head to Blodheim Hall where Vulture Aid is located.
How to solve the bear pelt puzzle in Blodheim Hall
In the center of Blodheim Hall, you'll find four bear pelts mounted on the south and north walls. Each pelt corresponds to one of the four altar locations on the map.
Throw your Combat Axe at the pelt representing your first-ranked altar (the one with 1 deer skull), then the second, third, and finally the fourth. If you hit the wrong pelt, there's no penalty. You can simply throw again and correct the order without waiting for the next round.
Once all four pelts are struck in the right sequence, the Relic portal spawns immediately on the south wall of Blodheim Hall, between the two sets of pelts. Walk through it to begin the trial.
Don't enter the trial portal unless you have 10,000+ Essence ready. Weapons deal no damage to zombies inside, so the Flammenfalle Trap is your only kill method, and each use costs 1,000 Essence.
How to complete the Power Switch trial
The trial is three waves of zombies, including Acid and Frost variants. No HVTs spawn here, which makes it one of the easier Totenreich trials. The catch is that your weapons deal zero damage, so every kill must come from the Flammenfalle Trap, which costs 1,000 Essence per activation and is found at multiple points across the map.
The recommended approach: take the zipline to Beacon Island, where a Flammenfalle Trap is available. Train the zombie horde into the trap's kill zone, activate it, then hold position in the back-left corner. When the trap expires, wait 60 seconds for the cooldown, train the horde again, and reactivate.
Bring Aether Shroud or a Disciple Injection as an emergency escape if the horde corners you. With only three small waves and no HVTs, most players won't need it, but it's cheap insurance.
The Flammenfalle Trap has a 60-second cooldown after each use. Plan your zombie kiting around that window so you're not standing idle with a full horde on top of you.
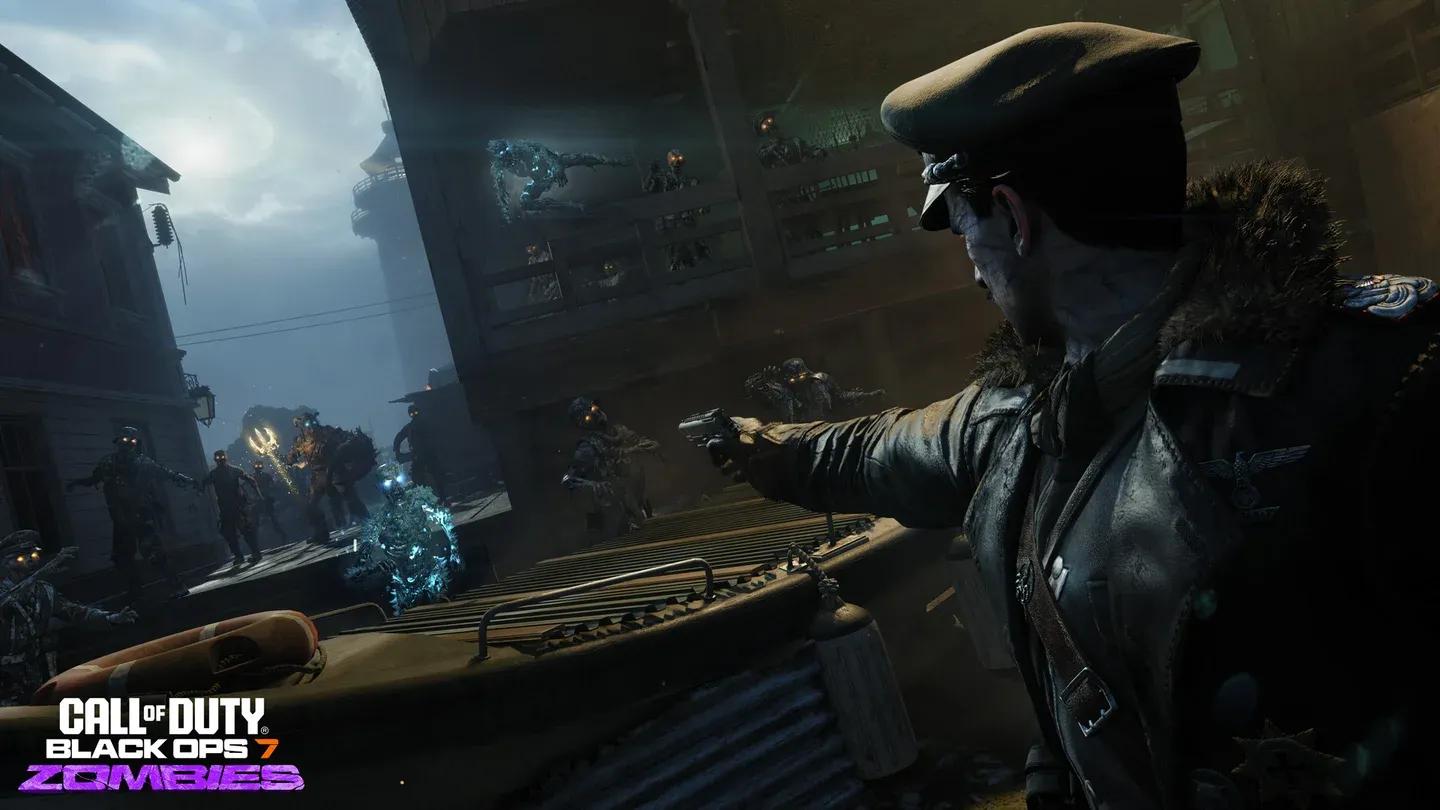
Trap clears waves at Beacon Island
Is the Power Switch Relic worth equipping?
Honestly, it depends on how much you rely on equipment. The relic randomizes your lethal and tactical slot at the start of every round, which is disruptive if you build around specific grenades or tacticals. The saving grace is the Crafting Table, which lets you swap out whatever the game hands you if it's genuinely unhelpful.
Where the Power Switch earns its place is as a low-friction path to Tier 3 in Cursed Mode. If you'd rather not grind out one of the harder relics just to hit Tier 3, this one is a reasonable stand-in. Players who don't actively use equipment much will barely notice the randomization at all.
Counter the randomization with the Crafting Table. If the relic hands you something useless, swap it out immediately rather than playing around a bad equipment roll.
For the full collection of Totenreich and BO7 Zombies walkthroughs, the Black Ops 7 guides hub has everything organized in one place.