

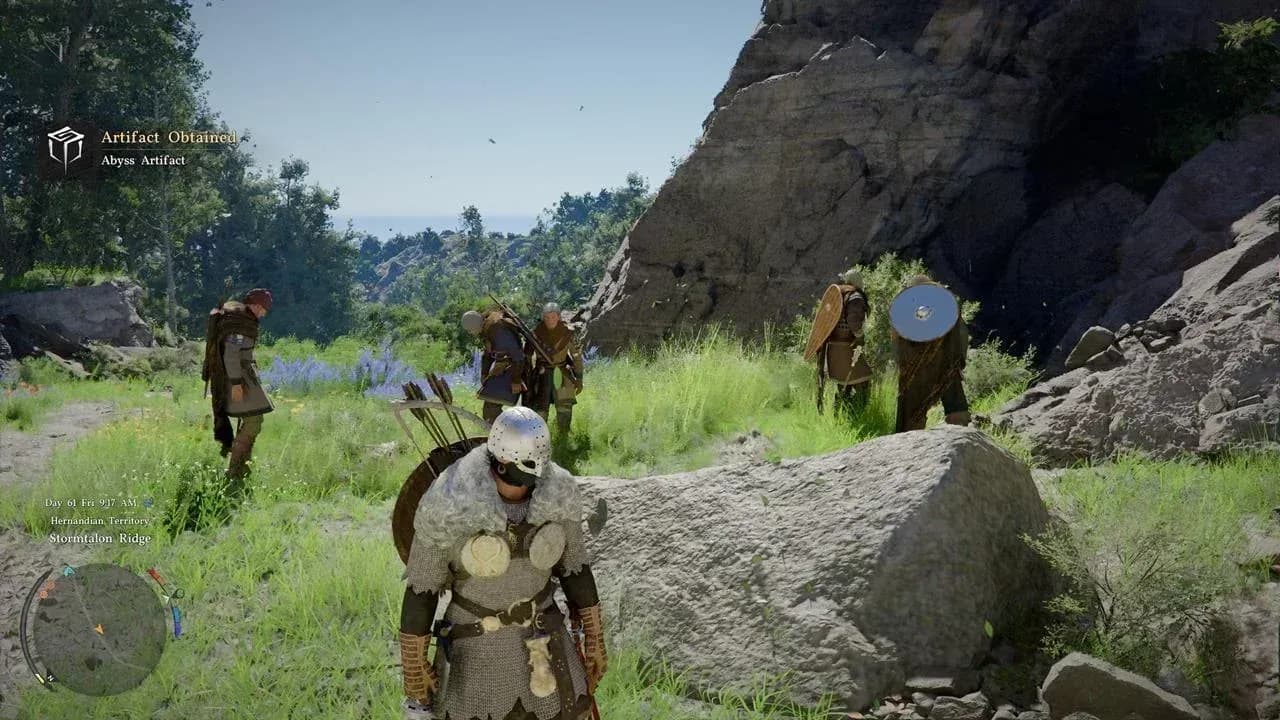
The shield in Crimson Desert is more than a defensive tool. Pearl Abyss built an entire Mastery Challenge series around it, and working through all 6 unlocks the Master of Shields trophy and achievement alongside a solid stack of Abyss Artifacts for progression. Each challenge starts with tracking down a Sealed Abyss Artifact in the world, so knowing exactly where to look saves a lot of wandering.
What are the Shield Mastery Challenges in Crimson Desert?
The Shield Mastery series consists of 6 challenges, all named Shield of Unchanging Will (numbered I through VI). They fall under the Mastery category of Crimson Desert's broader challenge system. Completing the full set earns the Master of Shields trophy and achievement, making them worth prioritizing if you're going for full completion.
Each challenge unlocks only after you physically pick up its corresponding Sealed Abyss Artifact in the open world. You won't see the challenge in your log until you find the artifact first.
Sealed Abyss Artifacts are typically found beside roads or at intersections. If you're struggling to spot one, try approaching from a different angle or checking slightly off the main path.
Sealed Abyss Artifact locations
All Shield of Unchanging Will locations and how to complete them
Shield of Unchanging Will I
Location: Hernand region, at the second intersection north of Hernand Royal Trading Post, in the Meandering Hills area.
Challenge: Defeat 3 enemies using the shield.
Shield attacks work by holding the guard button, then pressing the attack input to perform a Shield Bash. Any enemy killed while you're using this move counts toward the total. Weak standard enemies in Hernand work perfectly here. There's no time limit, so take your time.
Reward: 1x Abyss Artifact
Shield of Unchanging Will II
Location: Hernand region, along the road directly north of Kharonso, near the roads of Scholastone where goats and oxen are present.
Challenge: Block 10 arrows with the shield.
Hold the guard button while archers shoot at you. Each blocked arrow counts. Enemy archers are common throughout Hernand, so find a group with at least one ranged attacker, hold your guard, and let them fire. 10 blocks goes faster than it sounds.
Reward: 1x Abyss Artifact, 1x Faded Abyss Artifact
Shield of Unchanging Will III
Location: Hernand region, on the roadside southeast of the Sanctum of Benediction, south between the E and R in the HERNAND map text.
Challenge: Hit 3 enemies simultaneously with the shield.
This uses the same Shield Bash input as challenge I, but the attack needs to connect with at least 3 targets at once. The bash has a wide swing arc, which helps. Find a cluster of enemies, ideally 4 or 5 standing close together, then trigger the attack from the middle of the group. Corralling weaker enemies into a tight space before swinging is the reliable approach.
Reward: 1x Abyss Artifact

Shield bash multi-hit technique
Shield of Unchanging Will IV
Location: Hernand region, at the intersection directly east of Embernest Beacon. According to Game8, the artifact sits beside a tree near a 3-point crossing in Rocca's Hill.
Challenge: Defeat 5 enemies with the shield without taking any damage.
This is the most demanding of the early challenges. You need 5 consecutive shield kills with zero damage received. A few things make this manageable:
- Target the weakest enemy groups in Hernand, not camps with elites
- Deal with any archers in the area before starting your run, since ranged hits will reset your progress
- No time limit means you can separate enemies one by one and eliminate them methodically
- Pulling single enemies away from groups reduces the chance of getting clipped
Taking even one hit resets the damage-free count. Clear ranged enemies first every time.
Reward: 1x Abyss Artifact
Shield of Unchanging Will V
Location: Demeniss region, along a road directly south of the "D" in the Demeniss map label.
Challenge: Flip 5 enemies with the shield.
This challenge requires Damiane, the playable female character who must be unlocked through story progression. Once you have her, use her shield throw ability (the dedicated throw input) to hit enemies. Each hit counts as a "flip." You need 5 total hits, not 5 kills, so even weaker enemies that survive the throw contribute to the count.
This challenge cannot be completed with Kliff. You must switch to Damiane before attempting it.
Reward: 1x Abyss Artifact, Fortitude I
Shield of Unchanging Will VI
Location: Hernand region, on the road west of Calphade South Gate, just before the bridge crossing the river.
Challenge: Land 10 hits on enemies within 1 minute using the shield's Charge ability.
This is the only timed challenge in the set. You need to use the Charge attack specifically and connect 10 times within 60 seconds. Finding a dense group of enemies before triggering the challenge gives you the best shot at hitting the quota.
Reward: 1x Abyss Artifact
What do Abyss Artifacts actually do?
Abyss Artifacts are the primary currency for learning new skills and upgrading existing ones or boosting core stats. Every challenge in the Mastery category feeds into this same pool, so the Shield challenges are a reliable early source before you start farming other content.
Faded Abyss Artifacts serve a different purpose entirely. They reset your skill tree, letting you respec your build without penalty. Getting one from challenge II means you can experiment freely with a shield-focused build and then pivot if it doesn't suit your playstyle.
Faded Abyss Artifacts are rarer than standard ones. Hang onto them until you're confident you want a full respec, rather than spending them on minor adjustments.
Tips for finishing all shield challenges efficiently
- Complete challenges I, II, III, and IV in Hernand before moving to Demeniss, since four of the six artifacts are in the same region
- Unlock Damiane through story progression before attempting challenge V, or you'll make the trip to Demeniss twice
- For challenge IV, the no-damage requirement, treat it as a patience exercise. Rushing through a large group is the fastest way to fail
- Challenge VI's 60-second window sounds tight but is manageable if you position near a group of 5+ enemies before activating Charge
For more Crimson Desert challenge guides and progression tips, browse the full guides section at GAMES.GG.