
Chapter 2 of Crimson Desert throws Kliff headfirst into the corruption rotting the city of Hernand from the inside out. What starts as a mysterious glowing pendant leads you through bandit camps, memory fragments, desperate villagers, and a climactic showdown with a goblin warlord who has terrorized the entire region. This walkthrough covers every quest, objective, and hidden trick across all three story beats in Golden Greed.
How Do You Start Chapter 2?
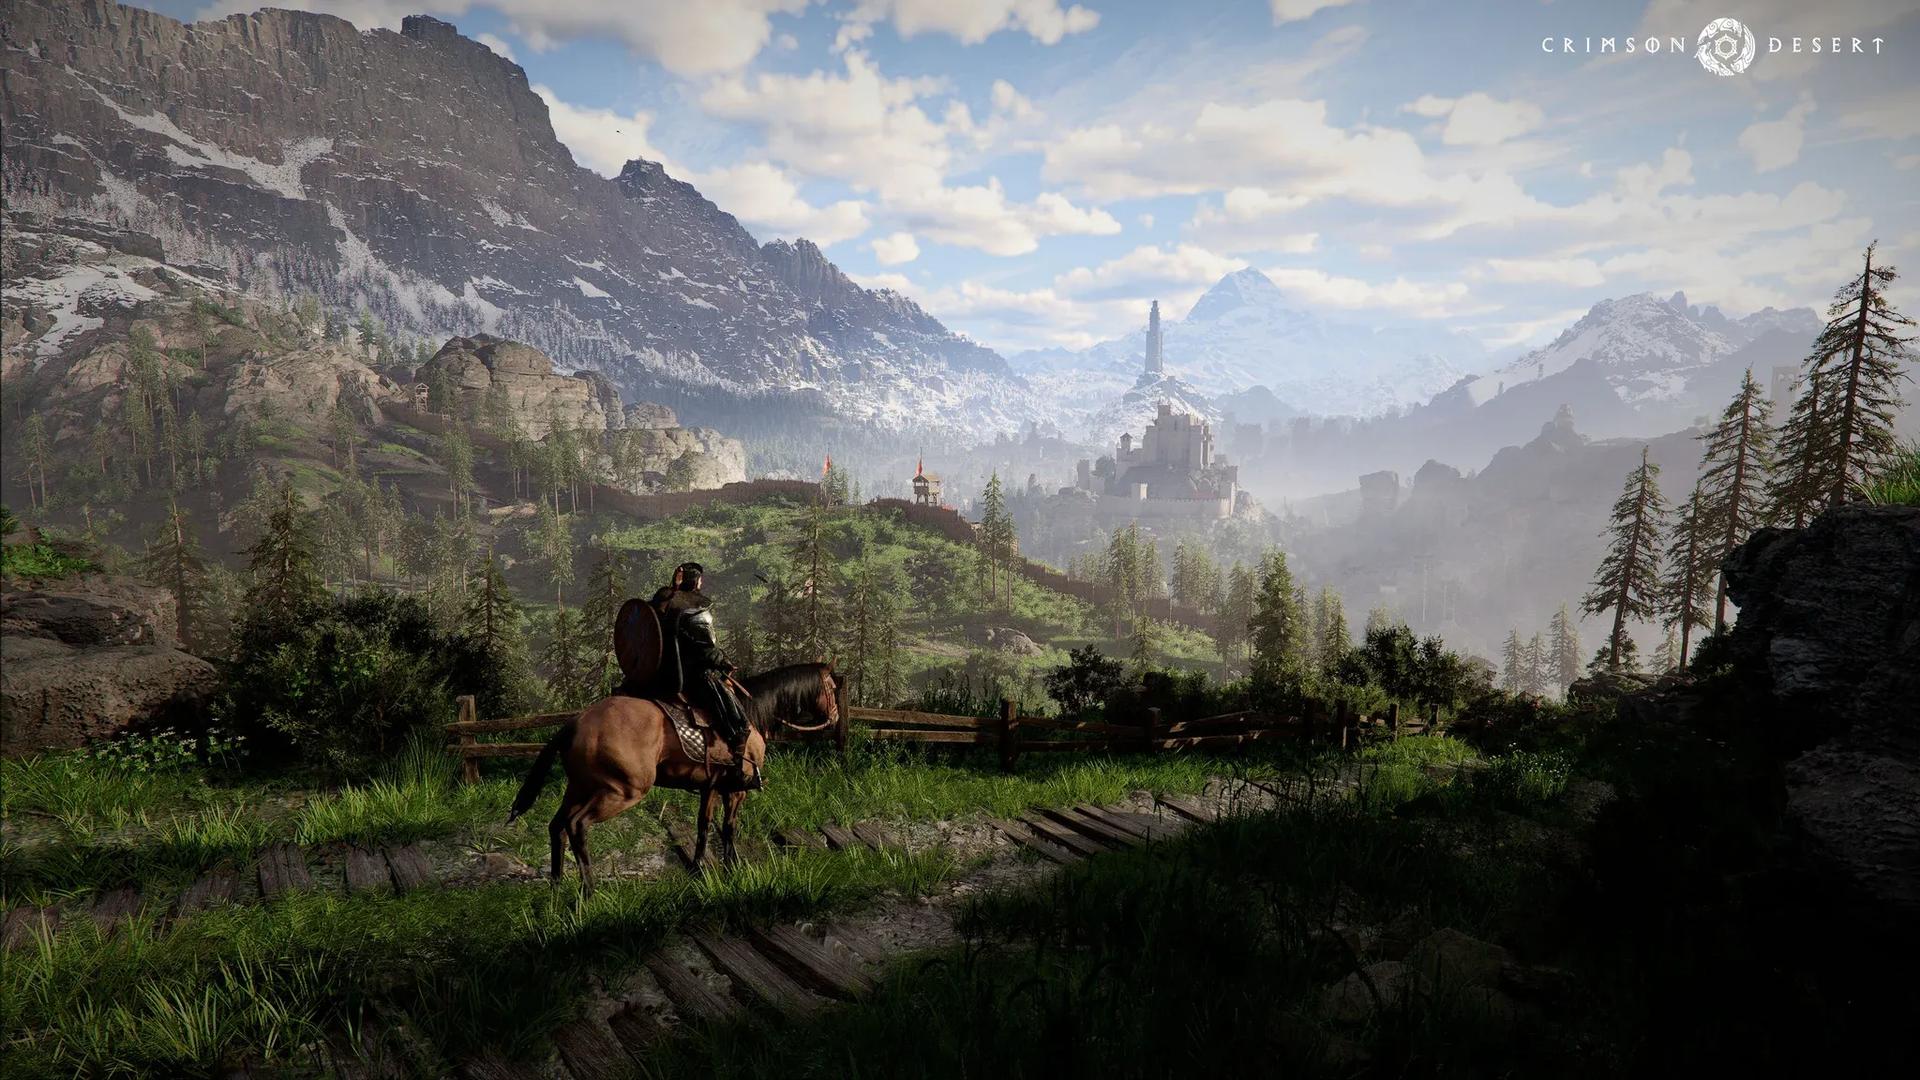
Once you return to Hernand after the events of Chapter 1, the green pendant you received from the child begins to glow and projects a beam of light pointing toward Lioncrest Watchtower, located just outside the city walls. Head toward it and you will find villagers fleeing in panic, warning you that bandits have seized control.
Clearing the Tower and Burning the Vines
Fight your way through every bandit in and around the tower. Once the area is clear, you will notice the entrance door is blocked by overgrown vines and shrubbery. Here is where the game introduces its fire arrow mechanic for the first time.
- Aim your bow at the brazier positioned near the entrance
- Your arrow will ignite automatically on contact
- Shoot the burning arrow at the vines to clear the doorway
- Head inside and climb the stairs, watching carefully for floor traps along the way
Keep your stamina above half before climbing the tower stairs. The traps can catch you off guard and drain your health quickly if you are already running low.
Acquiring the Visione and Memory Fragment
At the top of the tower, you will find a glowing golden helmet resting on the ground. Picking it up equips it automatically, turning your surroundings blue and summoning a ghost who explains the helmet's purpose. This item is called the Visione, and it allows Kliff to view memory fragments embedded in objects throughout the world.
You can unequip the Visione from your quick access menu or inventory at any time. You only need it active when interacting with a memory fragment.
Lioncrest Watchtower ascent
Reunion and the Nature's Grasp Skill
Outside the tower, the pendant boy and his cat are waiting to thank you. Follow the black cat up the hill to a set of ancient ruins. The entrance is sealed, and a child ghost demonstrates how to open it. Watch the ghost carefully, because focusing on the demonstration teaches you Nature's Grasp, a skill that lets you lift and move heavy objects.
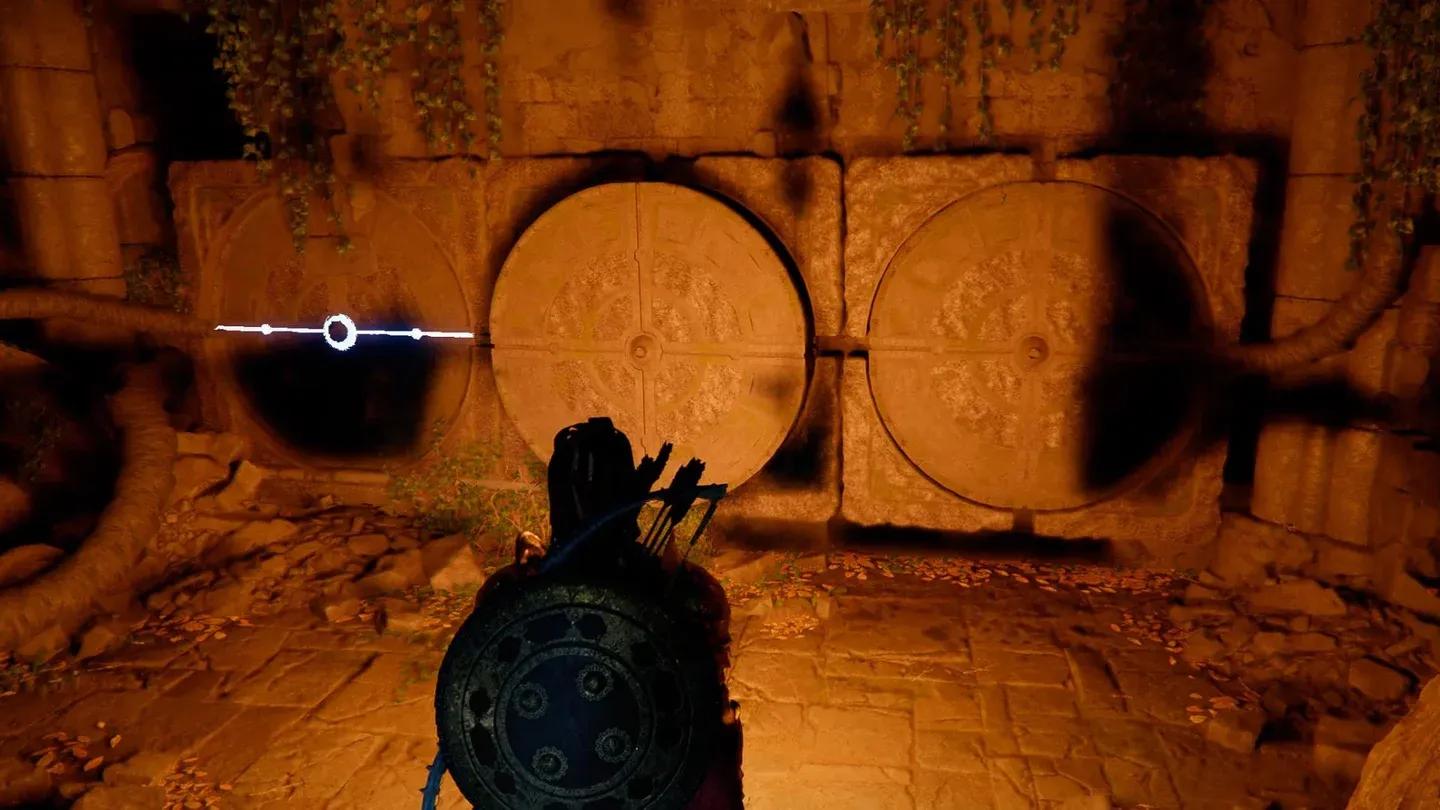
Once you learn the skill, use it to open the ruins entrance. Inside, you will find a three-disk wall puzzle. The correct activation order is:
- Middle disk
- Left disk
- Right disk
Activating them in this sequence lights up the pillar at the entrance and rewards you with an Abyss Artifact. After completing the puzzle, a second child ghost appears outside to thank you before vanishing.
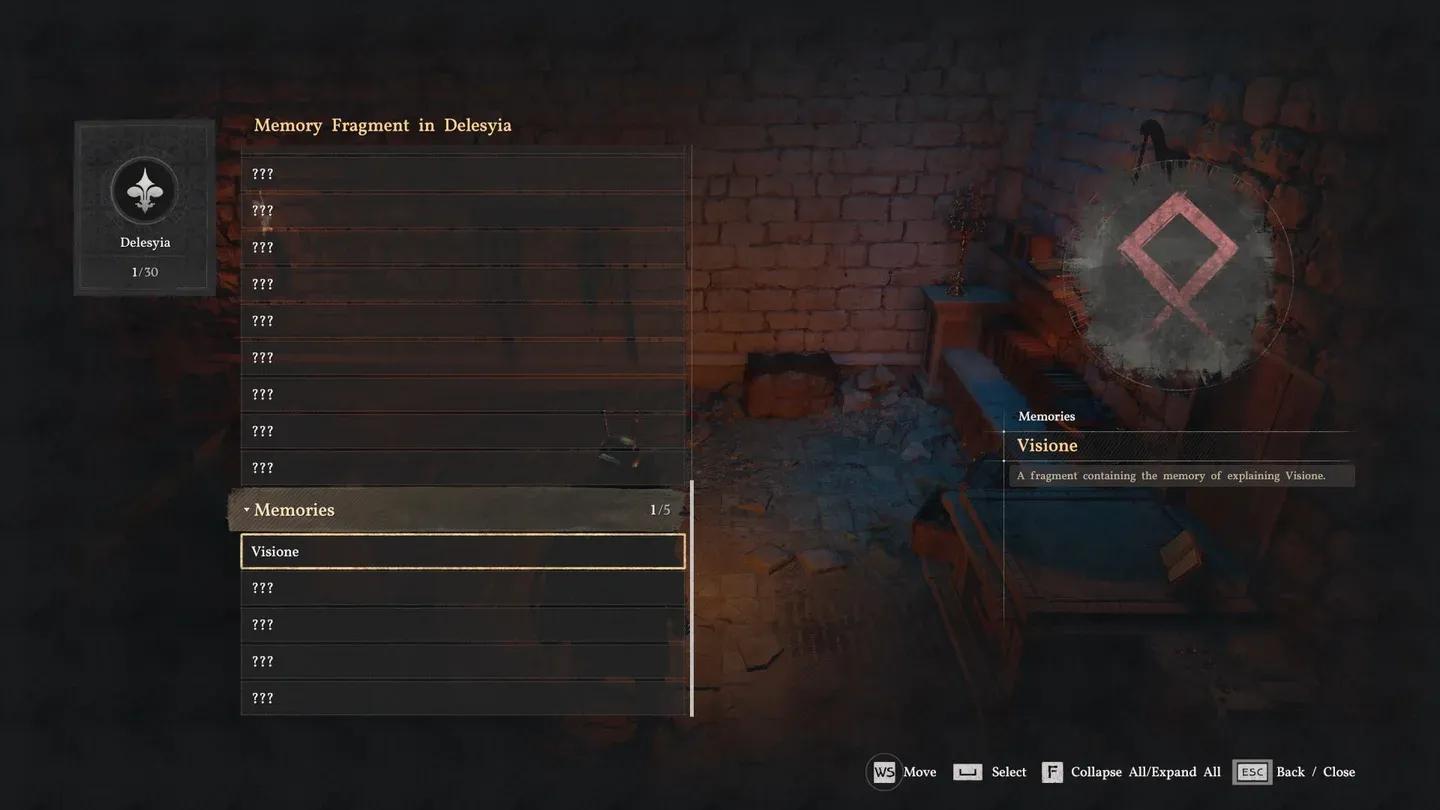
Visione memory playback screen
Do not skip the disk puzzle order. Activating the disks in the wrong sequence resets all three, forcing you to start over.
Hernand in Chaos: What Are All the Sub-Missions?
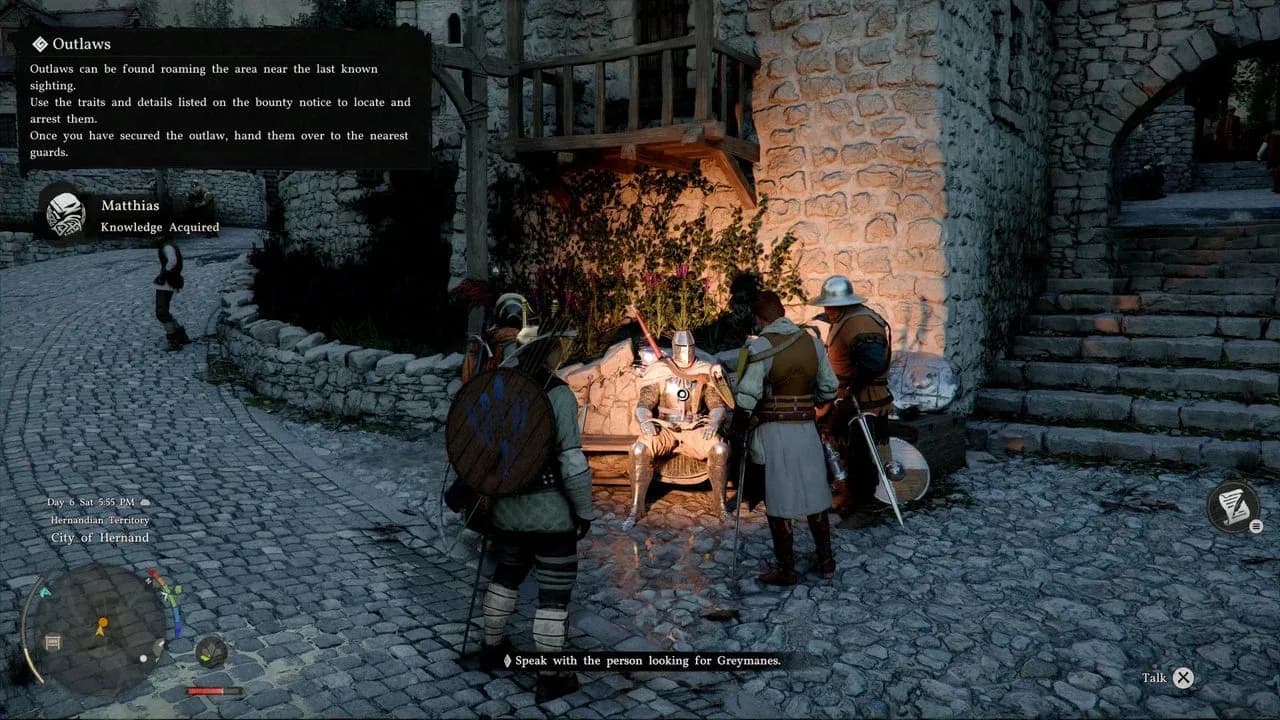
Back in the main square of Hernand, you will encounter a group discussing the Greymanes. A knight named Matthias steps forward and challenges Kliff to a duel. This is not a punishing boss encounter, it is a skill check designed to test your combat fundamentals.
How to Beat Matthias
Matthias fights with a longsword and uses predictable sword swings combined with kicks. His attack patterns are easy to read, making this an excellent opportunity to practice parrying and guarding.
After the duel, a nearby witness named Barden Middler approaches and asks for your help restoring order to the region. Your next objective sends you southeast to Springtide Mill to eliminate the bandit presence there.
Once the mill is clear, inspect the Notice Board to pick up four separate sub-missions:
- Missing Cows (Trial After Trial)
- Horn Thief (The Man Trapped in the Mire)
- Missing Wooly (Missing Companion)
- Strange Noises from the Cave (Secrets Hidden in the Dark)
You can tackle these in any order. Here is a breakdown of each one.
Trial After Trial
Northwest of the mill, a farmer named Bremer has lost his cattle to bandits. Speak to two witnesses near the road sign outside town. They will not cooperate until Kliff offers them coin, at which point a herbalist rides off on horseback and leads you to the bandit camp.
Clear the camp, then use your lantern to spot a memory fragment near the dead cattle. Focus on it to absorb the memory, then equip the Visione to play it back. Return to Bremer with the news. The outcome is grim, but the information pushes the investigation forward.
The Man Trapped in the Mire
Find Ibano in town, an angry man who has been robbed. Follow the map marker to a small bandit camp, eliminate the enemies, and use your lantern to locate another memory fragment nearby. After watching the memory with the Visione, pick up a mysterious elixir from the rock and return it to Ibano. He will be satisfied, and the quest wraps up quickly.
Missing Companion
Head east to Bloomwood Ranch, where a child named William is crying over his lost sheep, Wooly. Question two groups of witnesses south of the ranch (two men and two children) to learn that bandits across the river have the sheep. Clear the bandit camp, retrieve the sheep, and ride back to William on horseback.
Here is the catch: the sheep you recovered is not Wooly. William mentions that a Greymane already promised to find the real sheep, which transitions directly into the next sub-mission.
Secrets Hidden in the Dark
Follow William to the drunk Greymane named Boris, who is brawling with villagers. He sobers up enough to lead you on horseback to a hidden cave guarded by bandits. Eliminate the guards, enter the cave, and interact with the memory fragment inside.
After watching the memory, exit the cave and a cutscene plays showing the villagers reclaiming their stolen belongings. Speaking to two nearby guards reveals the name behind the chaos: the Hornsplitter, operating through an organization called the Gold Leaf Merchant Guild.
Hernand Notice Board missions
The End of Greed: How Do You Finish Chapter 2?
Track down the Goldleaf Merchant Guild headquarters on your map and confront a man named Shakatu. He deflects Kliff's accusations calmly, hinting that the real threat will reveal itself soon. Before you can process that, a nun nearby cries out for help. Bandits have set fire to houses in Windland Heights and trapped a healer inside.
Rescuing the Healers
Approach the burning building and you will see two large trees blocking the entrance. You have 120 seconds to rescue the trapped man inside.
- Use Nature's Grasp to remove both trees from the path
- Enter the house and locate the man on the floor to the right
- Carry him outside to safety
After the rescue, you learn that another healer named Hubert is missing. Travel west to Hernand Highlands, find the small bandit camp holding Hubert, eliminate the guards, and untie him. He reveals that Shakatu was the guild's rightful leader and that the Hornsplitter usurped his position by force.
Rebellion or Revolution
Return to Shakatu's camp. A group of guards attacks immediately. Defeat them, and Shakatu emerges from the shadows to stop the fight. He confirms that Kailok the Hornsplitter is responsible for everything and agrees to help you end it. Follow Shakatu through the conversation to trigger the chapter's final boss encounter.
How to Defeat Kailok the Hornsplitter
Kailok the Hornsplitter is a fast-moving goblin boss who punishes players who stand still or attack recklessly. After testing all of his attack patterns, the most reliable approach combines defensive timing with targeted counterattacks.
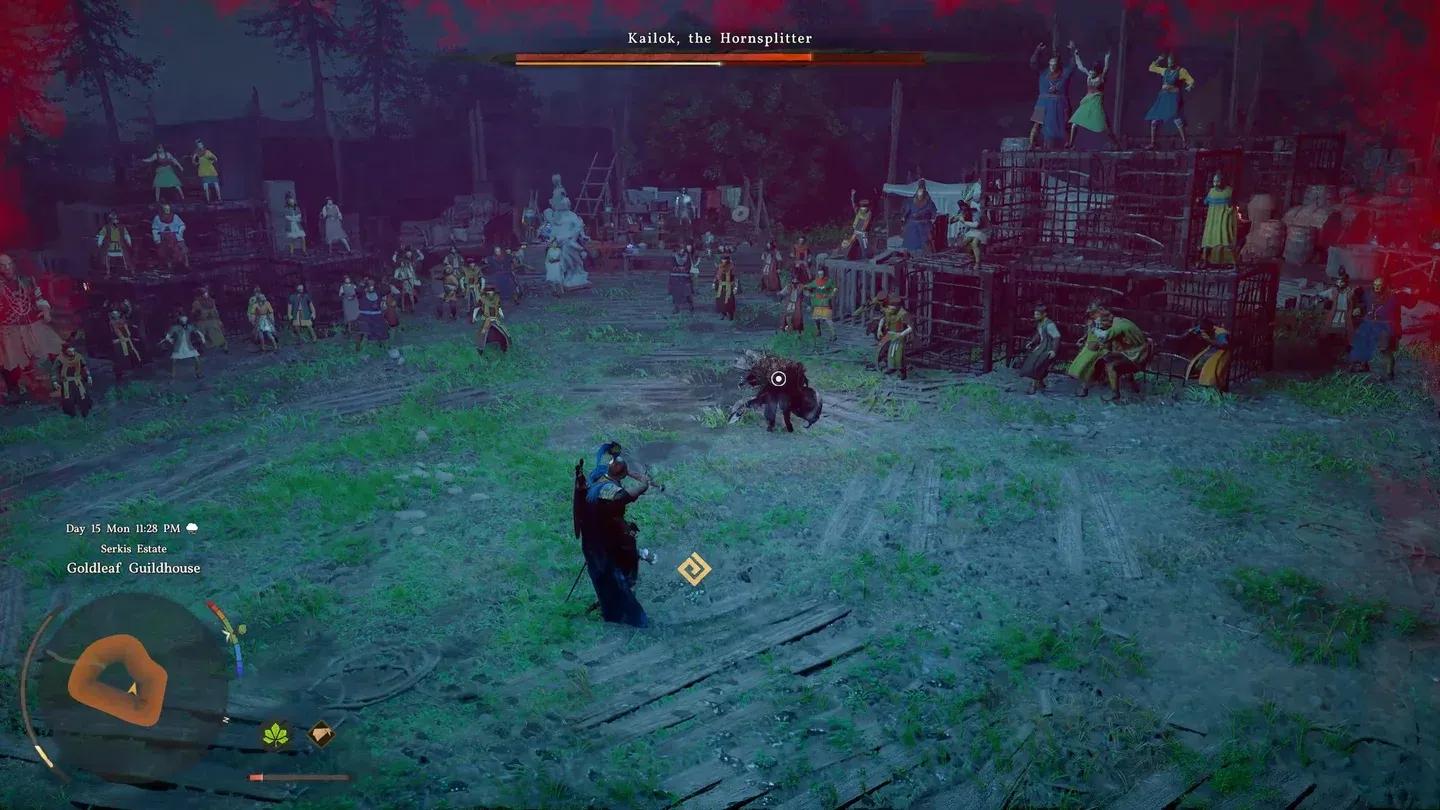
Hornsplitter boss encounter
Kailok's key attacks include:
- Basic sword slashes in rapid succession
- Energy wave slashes that travel across a wide area of the arena
- Aggressive lunges that close distance instantly
The best way to handle him:
- Perfect Guard stuns Kailok and opens a window for several consecutive hits
- Triple Force Palm knocks him far back, giving you space to heal or recover stamina
- Evasive Roll (which you can learn by watching Kailok perform the move three times during the fight) becomes a strong defensive tool mid-battle
Once Kailok falls, a cutscene shows Shakatu reclaiming the guild crown and declaring himself its rightful master. As a reward, you can claim Kailok's sword for your own use. Chapter 2 is complete.
Chapter 2 Rewards
For more Crimson Desert, browse more gaming guides on GAMES.GG for tips on builds, bosses, and everything beyond Chapter 2.