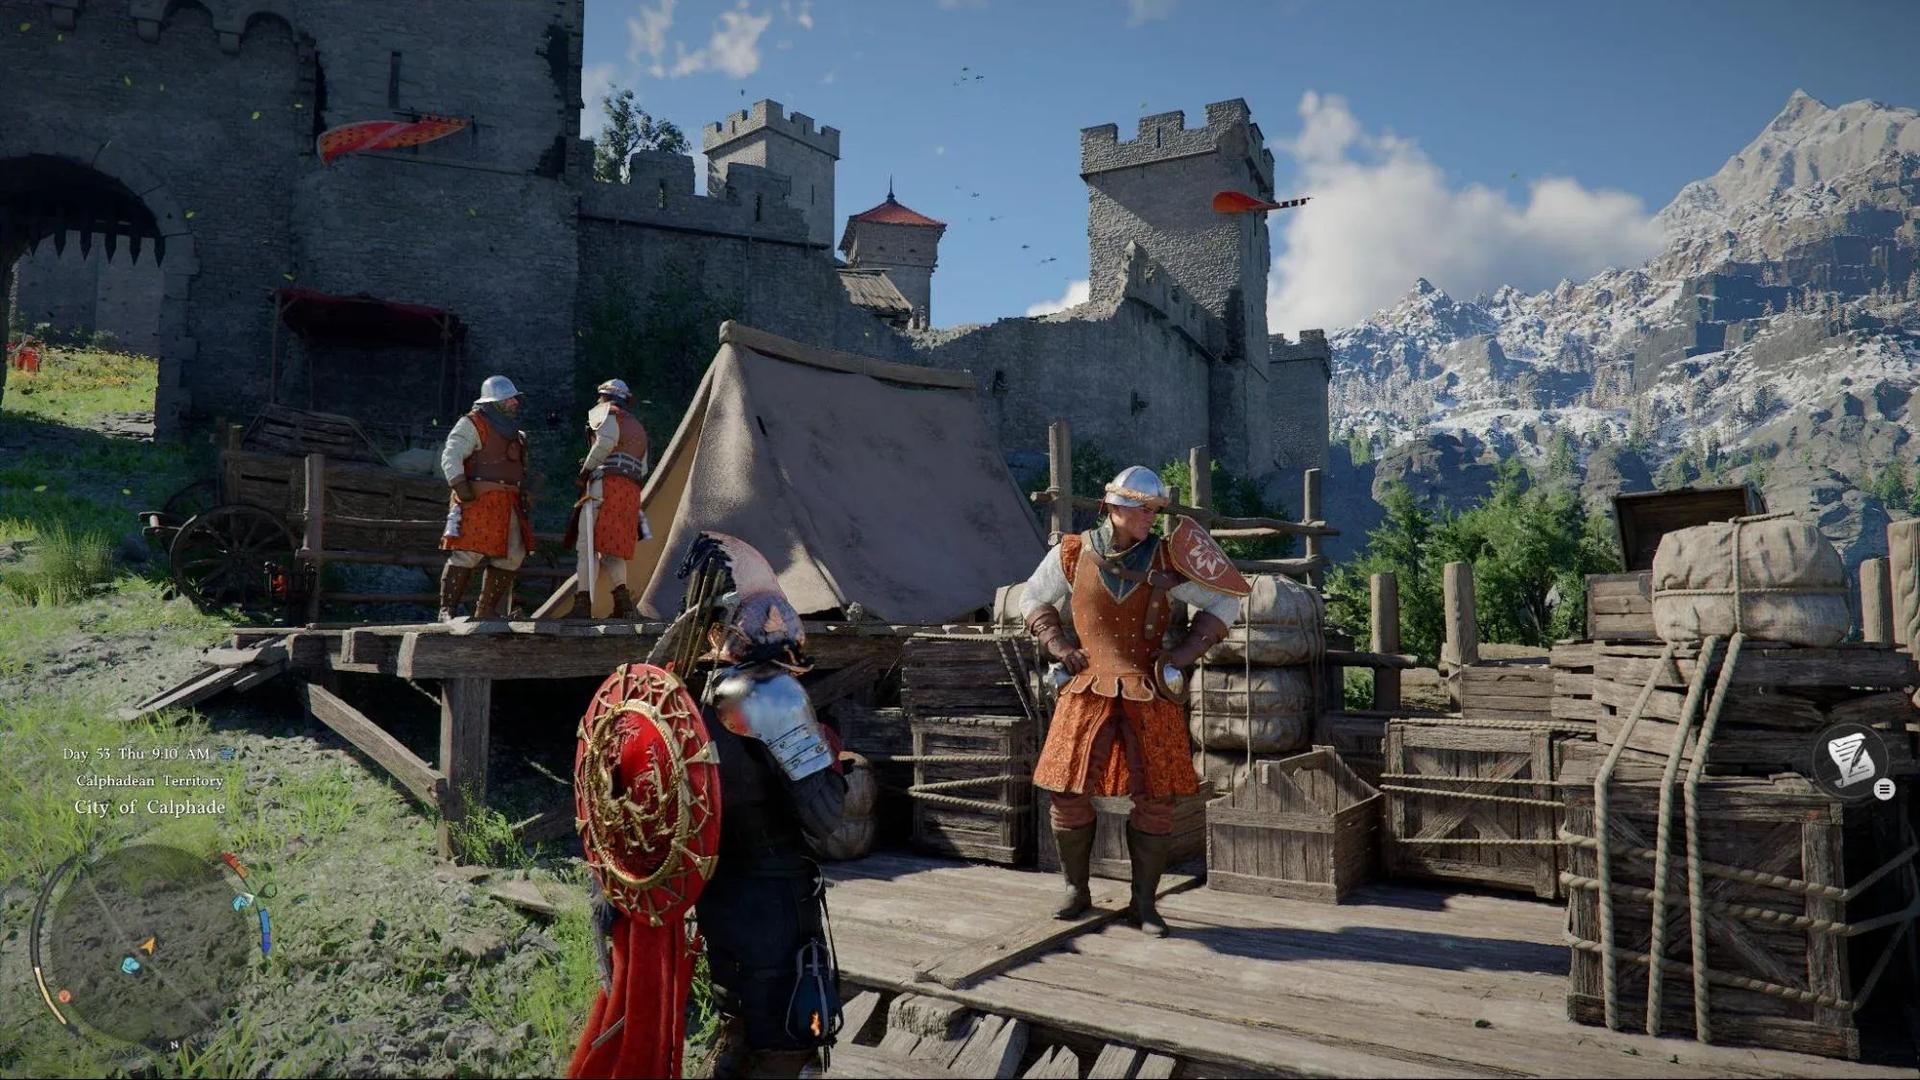

Chapter 6 is where Crimson Desert stops easing you in. Kliff receives word of a Greymane comrade somewhere in Calphade, and the entire region is mid-war with the Black Bears faction. You're not just following a trail here — you're fighting through a full military campaign across 4 main quests, ending in a betrayal that lands you the Shield of Betrayal as a reward.
What quests are in Chapter 6?
Chapter 6 contains 4 main quests, all set across the Calphadean Territory and Deepfog Basin regions of Hernand. Here's the full breakdown before you dive in:
The chapter's only hard reward is the Shield of Betrayal, earned at the very end of The Unyielding Shields. The Whistling Arrow x10 from Turning Tides is worth keeping if you're running a bow build.
Quest 1: Blazing Beacon
This quest sets the stage for the entire chapter. After speaking with the soldier who visited camp and meeting Marquis Serkis, you're sent to the battlefield proper.
How to complete Blazing Beacon
- Speak with the soldier who visited the camp
- Meet Marquis Serkis
- Meet and follow the guide at the Beacon
- Investigate the scene of the attack
- Move to the Calphade Gate
- Speak with Marshal Middler
- Go to the battlefield and raise the Calphadean Banner Pike
The investigation section is straightforward — follow the objective markers and interact with the scene. The Banner Pike raise triggers a short combat sequence, so make sure your health consumables are stocked before you push forward to the gate.
Before starting the main mission, set up a fast travel point closer to your camp. The IGN walkthrough for this chapter flags this at the very start for good reason — backtracking through Hernand without a nearby node wastes significant time.
Blazing Beacon quest steps
Quest 2: Below the Banners
Three Banner Pikes, one injured soldier, and a line of enemy supply wagons. This quest spreads you across the Siege Armory, the Gunpowder Mill, and Thalwynd before it's done.
How to complete Below the Banners
Cradle of Defense sub-quest:
- Raise the Banner Pike at the Siege Armory
- Raise the Banner Pike at the Gunpowder Mill
- Raise the Banner Pike at Thalwynd
Hand of Deliverance sub-quest:
- Speak with the soldier at the Southern Guard Post
- Find and rescue the injured soldier
Fire on the Frontlines sub-quest:
- Destroy the enemy's supply wagons
The supply wagon destruction is the most action-heavy part of this quest. The wagons are guarded, so clear the surrounding enemies first. One thing worth noting: if you encounter a bell during the active combat mission section, ringing it does nothing while combat is ongoing. Come back to it after the mission clears.
There's a steal opportunity during the Hernand Castle section of this chapter. If witnesses are present, skip it entirely. Getting caught triggers the Wanted system, which adds unnecessary friction during an already busy chapter.
Quest 3: Turning Tides
Turning Tides is the longest quest in the chapter and the one where the Black Bears' grip on the region starts to break. It spans 4 sub-quests and moves you from artillery fire support into a full base infiltration.
How to complete Turning Tides
Fire Support:
- Speak with the soldier at the Gunsite
- Destroy the Black Bears' watchtowers
In Ashes:
- Speak with the soldier at the base in the outskirts
- Infiltrate the Black Bears' base
- Rescue the captives
Hidden Fangs:
- Destroy the Black Bears' battle weapons
Reclamation:
- Defeat the enemies surrounding the Outer Bailey
The base infiltration in In Ashes is the section most players get stuck on. You're not meant to fight your way in directly. Use the environment for cover and approach from the less-guarded flanks. The captive rescue triggers once you clear the immediate area inside the base.
Hidden Fangs sends you after the Black Bears' heavy weapons. These are spread across the area and guarded by tougher enemies than the standard soldiers you've been fighting. Completing this sub-quest before Reclamation makes the final enemy clear noticeably easier since the Black Bears lose their artillery support.
Completing Turning Tides nets you 10x Whistling Arrow, the only mid-chapter reward in the entire quest line.
Quest 4: The Unyielding Shields
The chapter's final quest takes place at Calphade Castle and delivers the narrative payoff the previous three quests have been building toward. There are 5 sub-quests, a named boss fight, and a closing sequence that ties directly into Chapter 7: Homecoming.
How to complete The Unyielding Shields
- Advance to Calphade Castle
- Support Stefan Lanford (A Thousand Troops)
- Defeat Cassius Morten (Traitor)
- Tell the news to Marquis Lanford (All Quiet on the Front)
- Follow the soldier and light the beacon (News of Victory)
- Speak with your comrades (Return Home)
How to defeat Cassius Morten
Cassius Morten is the main boss of Chapter 6 and the narrative villain of The Unyielding Shields. The fight starts around the 1:35:30 mark in the IGN chapter walkthrough, following the full push through Calphade Castle.
Cassius fights aggressively and punishes passive play. The key patterns to watch:
- His heavy attacks have a wind-up animation — perfect dodge timing here opens a punish window
- He repositions frequently, so locking on with L3 (or the equivalent lock-on key on PC) keeps your camera stable
- His second phase increases attack speed; don't try to trade hits directly
After defeating Cassius, the quest wraps up through a series of story beats: reporting to Marquis Lanford, lighting the beacon, and speaking with your comrades. The Shield of Betrayal lands in your inventory after the final cutscene.
Cassius Morten boss fight
What's the reward for completing Chapter 6?
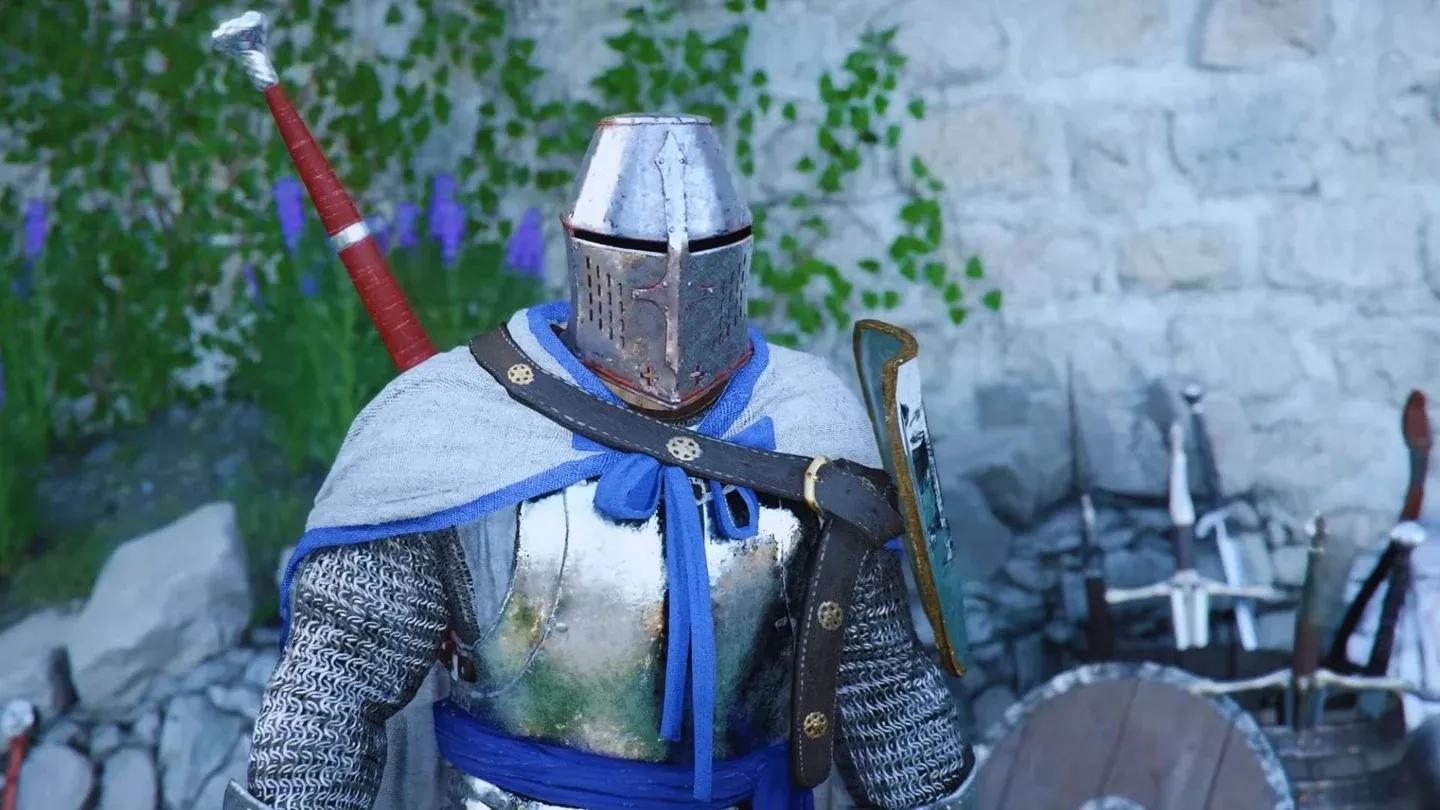
The Shield of Betrayal is the only guaranteed reward for finishing the chapter. It's earned at the conclusion of The Unyielding Shields and is tied directly to the Cassius Morten storyline. The name is not subtle.
For the full chapter reward summary:
If you're running a shield-focused build, the Shield of Betrayal is worth inspecting immediately after the chapter ends. Pair it with the Sword and Shield build if you want to carry that momentum into Chapter 7.
For more Crimson Desert coverage and guides across other games, you can also browse the latest guides on GAMES.GG.