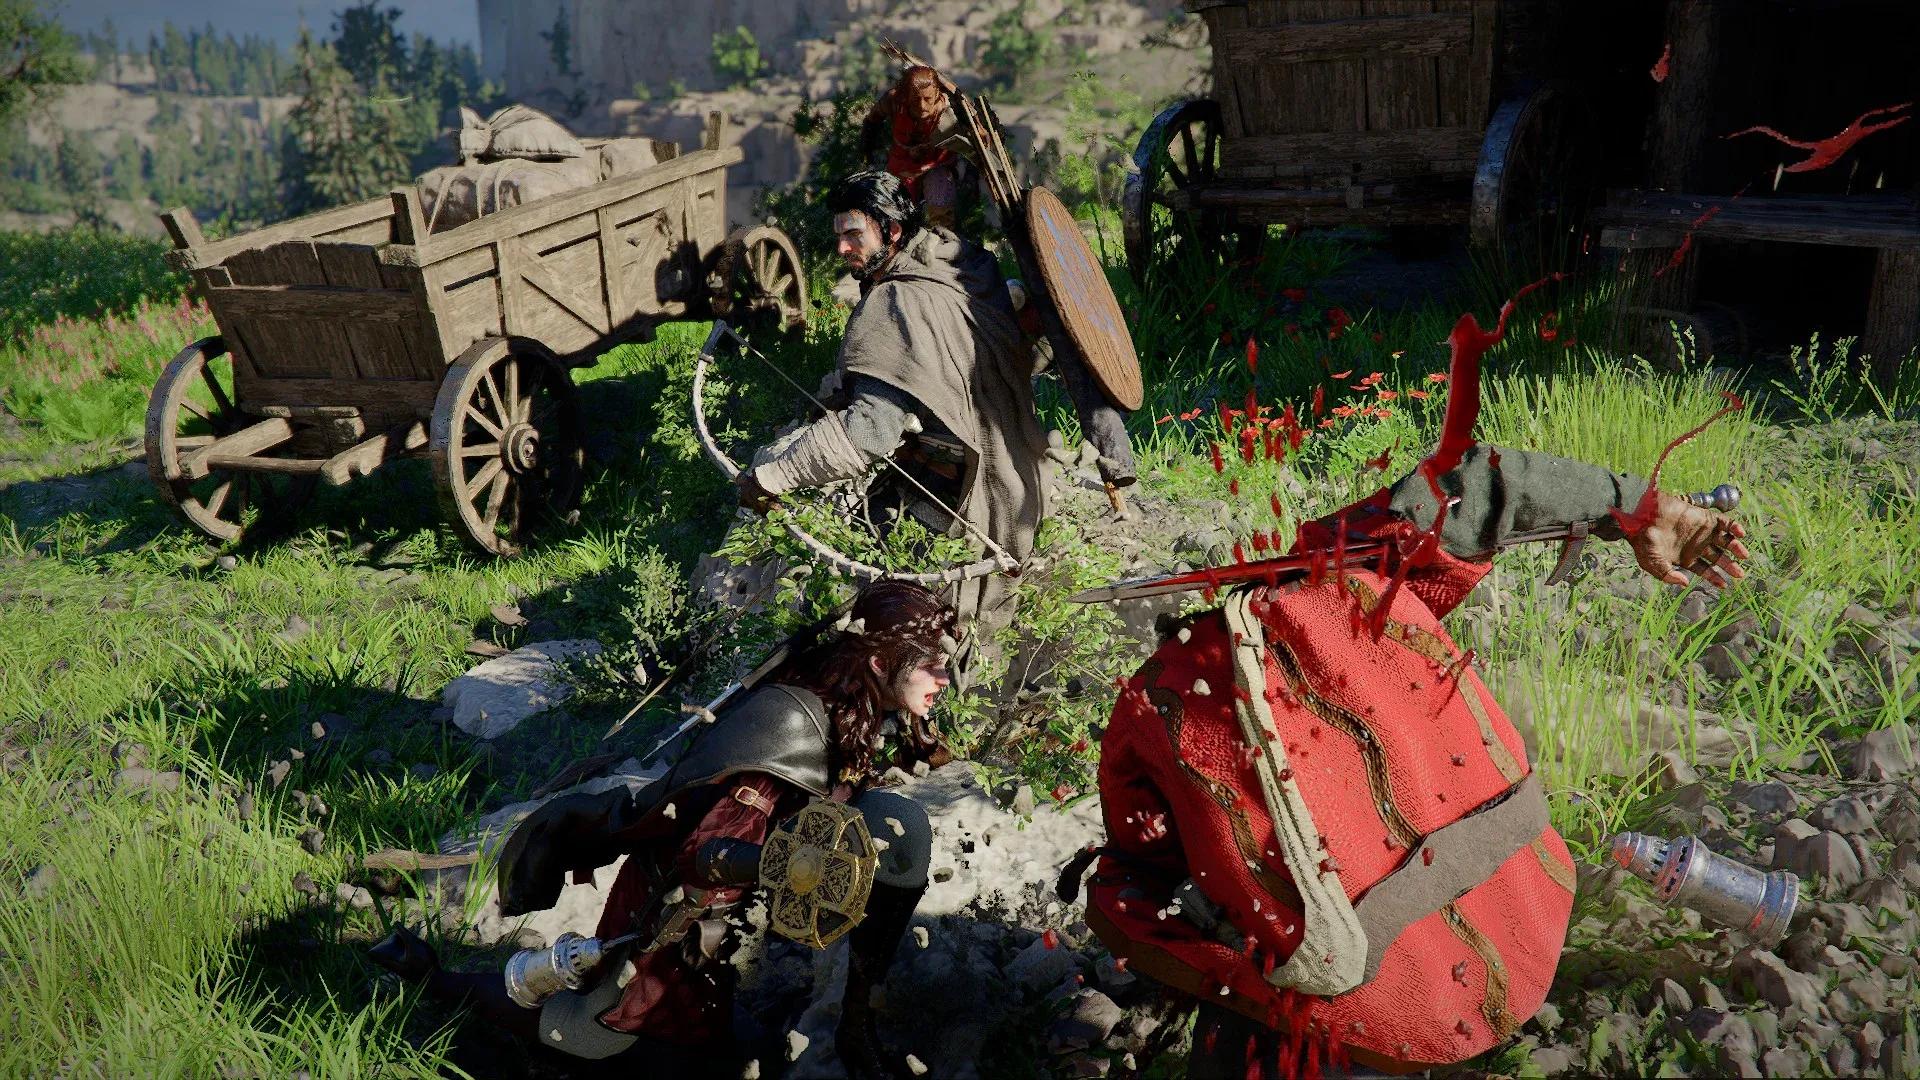

Chapter 7 is where Crimson Desert's story stops building tension and starts cashing it in. Homecoming spans two regions, Demeniss and Pailune, and packs four distinct questlines that push the Greymanes from scattered fugitives to a force capable of taking the fight directly to their enemies. There are boss fights, infiltration missions, and a few story beats that hit harder than anything in the preceding six chapters. This guide breaks down every objective so you never lose the thread.
What questlines make up Chapter 7?
Chapter 7 is divided into four sequential questlines: Morning Mist, Dawn, Decisive Battle, and Twisted Fate. Each one locks into the next, so you cannot skip ahead. The first two questlines split between Demeniss and Pailune, while the final two stay in Pailune and Demeniss respectively.
Morning Mist walkthrough
This opening questline covers five missions and serves as the chapter's setup, establishing why the Greymanes are returning to their old territory and what opposition is waiting for them.
Pailune quest zone overview
Ashes of Treachery
The questline opens with Ashes of Treachery. Move with your comrades from the starting point, then check the information posted at the shrine. Read the letter you find there, and head to Beighen to continue the chain.
Trust Lost
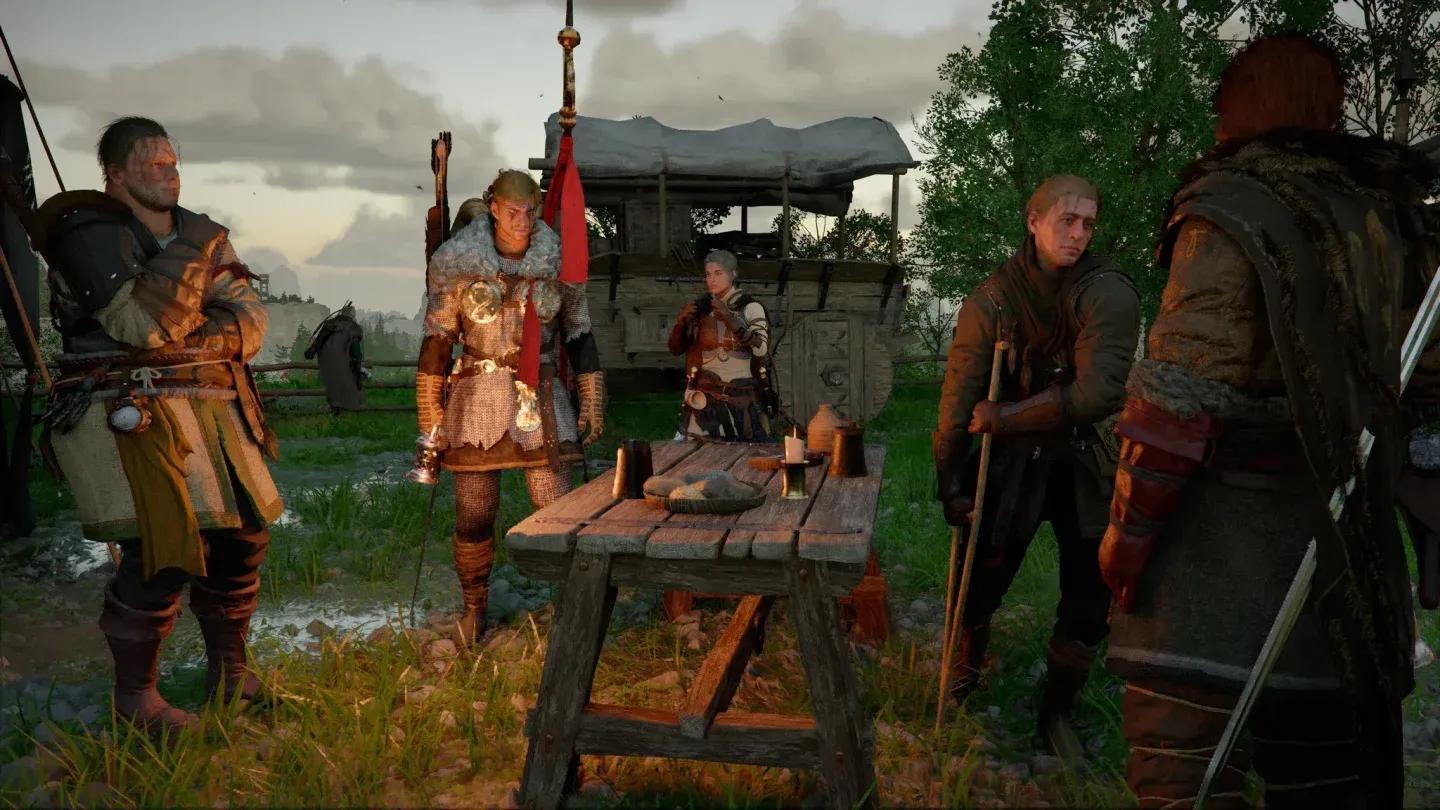
Once in Beighen, speak with the comrades who arrived ahead of you, then locate Naira and Andrew. The conversation here sets up the political friction that runs through the rest of the chapter.
Bared Fang
This is the questline's investigative section. You need to eavesdrop on a conversation between Beighen villagers, then find a way to make contact with the secret organization operating in the area. Two separate clues are required: one about the mysterious faction itself, and one specifically about the leader of the Blue Fangs.
Do not rush the eavesdropping step. Moving too close to the villagers before the trigger fires will break the sequence and force you to reset the objective.
Rekindled Hope
Speak with Torstein, then follow the soldier he directs you toward. The mission ends with a combat objective: defeat the commander guarding the beacon, then light the beacon itself. The commander is a mid-tier human enemy, not a full boss, but he hits hard if you let him close the gap. Keep distance and punish his recovery frames after heavy attacks.
Podium of Resolve
The final Morning Mist mission is lighter on combat. Listen to Torstein's speech, then obtain Jian's Sword. This item has story significance and feeds directly into the Dawn questline.
Dawn walkthrough
Dawn keeps you in Pailune for all six missions and escalates from covert infiltration to open combat by the end.
Shadows Over Pailune
Move with Torstein and secure the Pailune safe house. Straightforward escort-style objective with no major combat required.
Driving Out the Shadows
Search for Shane's whereabouts, locate the hidden explosive in the area, and install it at the designated position. The explosive location is not marked on the minimap by default, so check inside buildings and along the lower walls of the compound.
Lurking Wolves
Wait for the right moment, then send a signal to your comrades. Timing matters here: sending the signal too early triggers the alarm and forces you into a harder combat scenario than necessary.
Reclamation
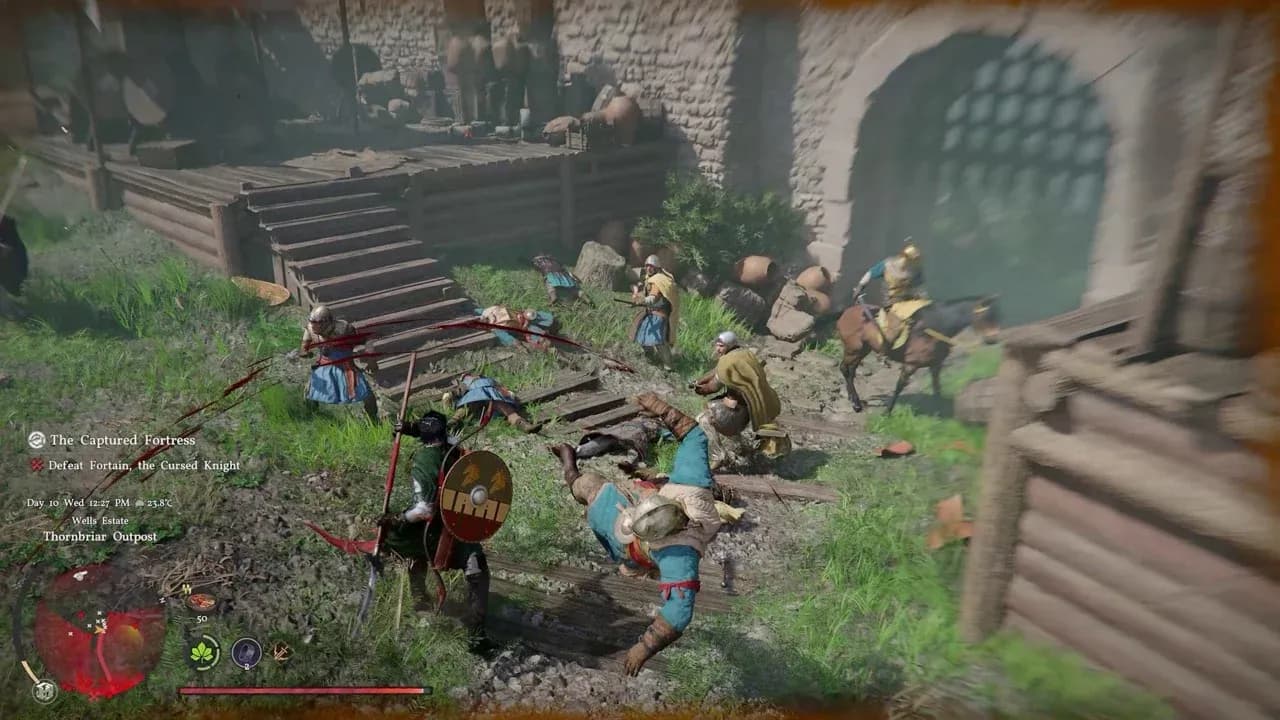
Seize Pailune. This is a large-scale combat section where you fight alongside your allies to clear the area. Focus on the named enemies first since standard soldiers will be handled by your comrades.
Lonely Jackals
This mission ends with the boss fight against Ludvig. He is faster than most human bosses in the game, with a habit of chaining two or three light attacks into a grab. Watch for the wind-up animation on his grab and dodge sideways rather than backward. His second phase adds a brief stamina drain effect to his heavy attacks, so keep your stamina above half before engaging aggressively.
Resolution
Join your comrades to wrap up the Dawn questline and trigger the transition into Decisive Battle.
Ludvig boss encounter in Dawn
Decisive Battle walkthrough
Six missions, all in Pailune, building toward the confrontation with Myurdin.
The Counterattack through Unleashed Fury
The first two missions are movement and positioning objectives: join your comrades, wait for the right moment, then join again as the counterattack launches. These feed directly into the larger battle sequence.
The Final Bridge and Broken Claws
The Final Bridge requires you to regroup with the Greymanes at a specific position. Broken Claws sends you to liberate the Ashclaw Slave Camp, which involves clearing out a guarded enclosure. The enemies here are grouped tightly, so skills with area coverage work better than single-target combos.
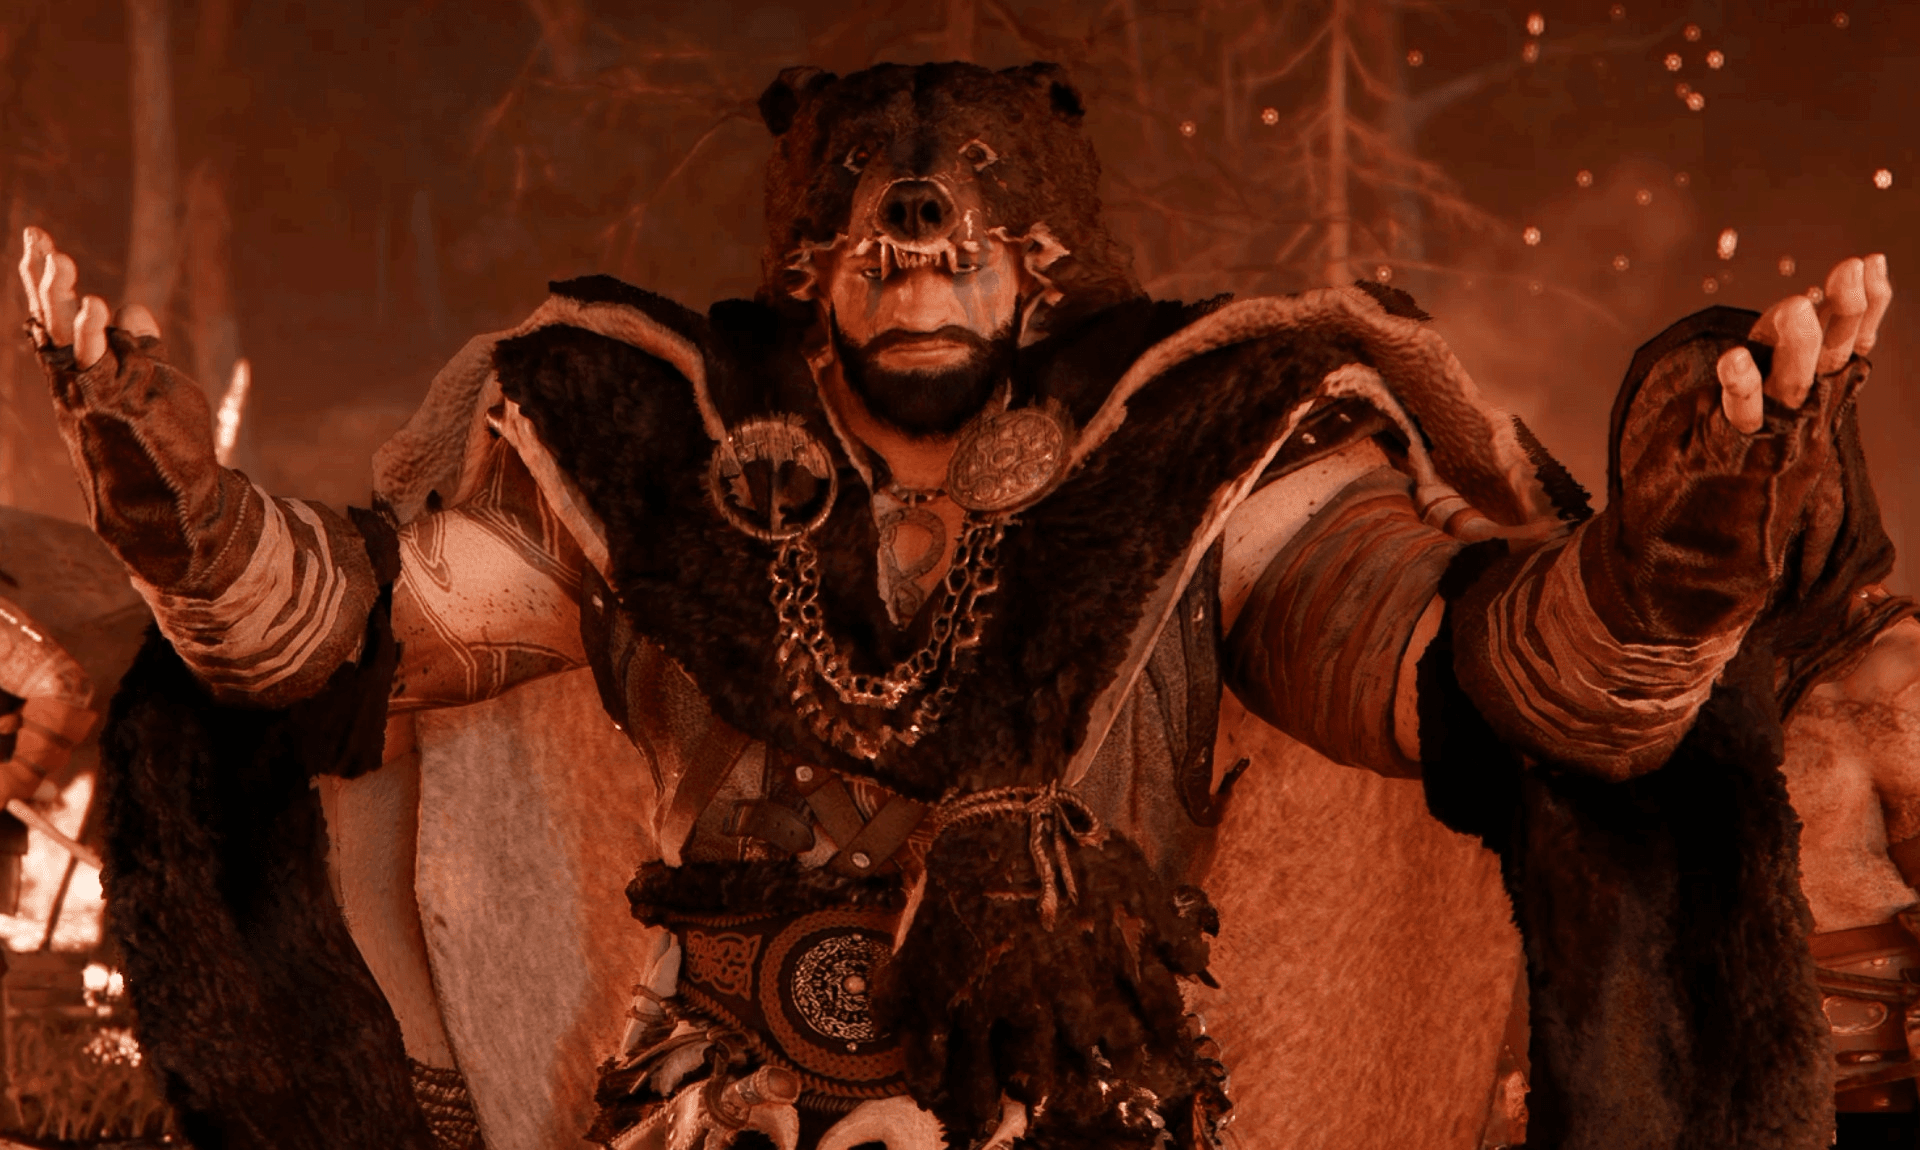
How do you defeat Myurdin?
Battle at Silver Wolf Mountain is the chapter's centerpiece fight. First, find Myurdin's whereabouts by following the trail from the camp, then engage him directly.
Myurdin fights with heavy, sweeping attacks that can stagger you out of your own combos. The key pattern to watch is his three-hit horizontal sweep: the third hit has a delayed timing compared to the first two, and most players get caught by it after dodging the first pair. After his sweep, there is a two-second window where he plants his weapon in the ground. That is your primary punish window.
His second phase introduces a ranged projectile attack. It tracks slowly, so sprinting in a wide arc removes the threat entirely.
Crimson Desert Chapter 7: Homecoming Walkthrough
Incomplete Victory
After defeating Myurdin, speak with Oongka to close out the questline. The conversation reframes the chapter's stakes and sets up Twisted Fate.
Twisted Fate walkthrough
Two missions, back in Demeniss, and the questline that delivers the chapter's best rewards.
Ludvig's Whereabouts
Meet Duane and Shane to get intelligence on where Ludvig has gone after the events in Pailune.
Time to Face Justice
This mission has four sequential steps. Investigate the location where the Jackals were last seen, track Ludvig through the area, punish the wounded Jackal you encounter along the route, then return to your comrades. The wounded Jackal is not a full boss fight but does have more health than a standard enemy, so do not underestimate the encounter.
The questline closes with the final confrontation with Ludvig. His moveset carries over from the Dawn fight with two additions: a counter-attack that triggers if you attack during his block animation, and an extended combo string in his final phase. Bait the block by feinting, then punish when he drops his guard.
Completing Twisted Fate rewards Ignir (a spear), Solas Plate Armor, and Solas Plate Boots, making this one of the better gear payouts in the main story up to this point.
What rewards do you get from Chapter 7?
Here is a consolidated view of every confirmed reward from the chapter:
The Jackals' set from Dawn is decent mid-chapter gear, but the Solas Plate from Twisted Fate is the real target. If you are running a tanky build heading into the final chapters, holding onto both pieces from Twisted Fate before deciding on refinement is worth considering.
For more on Crimson Desert builds, boss strategies, and progression tips, browse the latest guides on GAMES.GG.