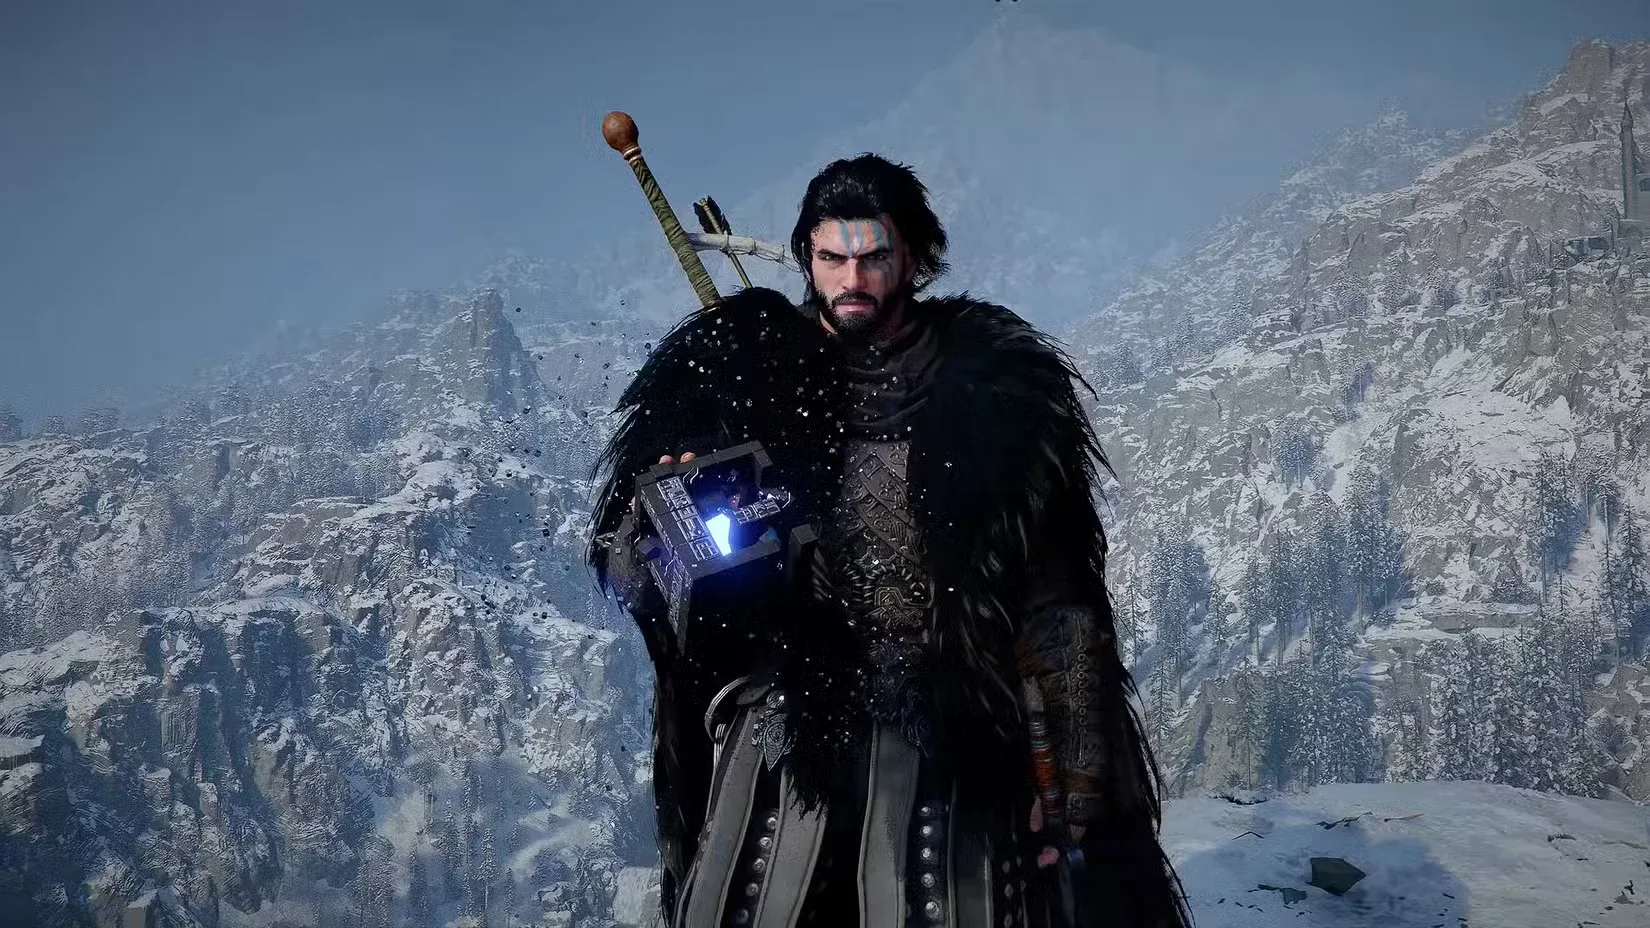
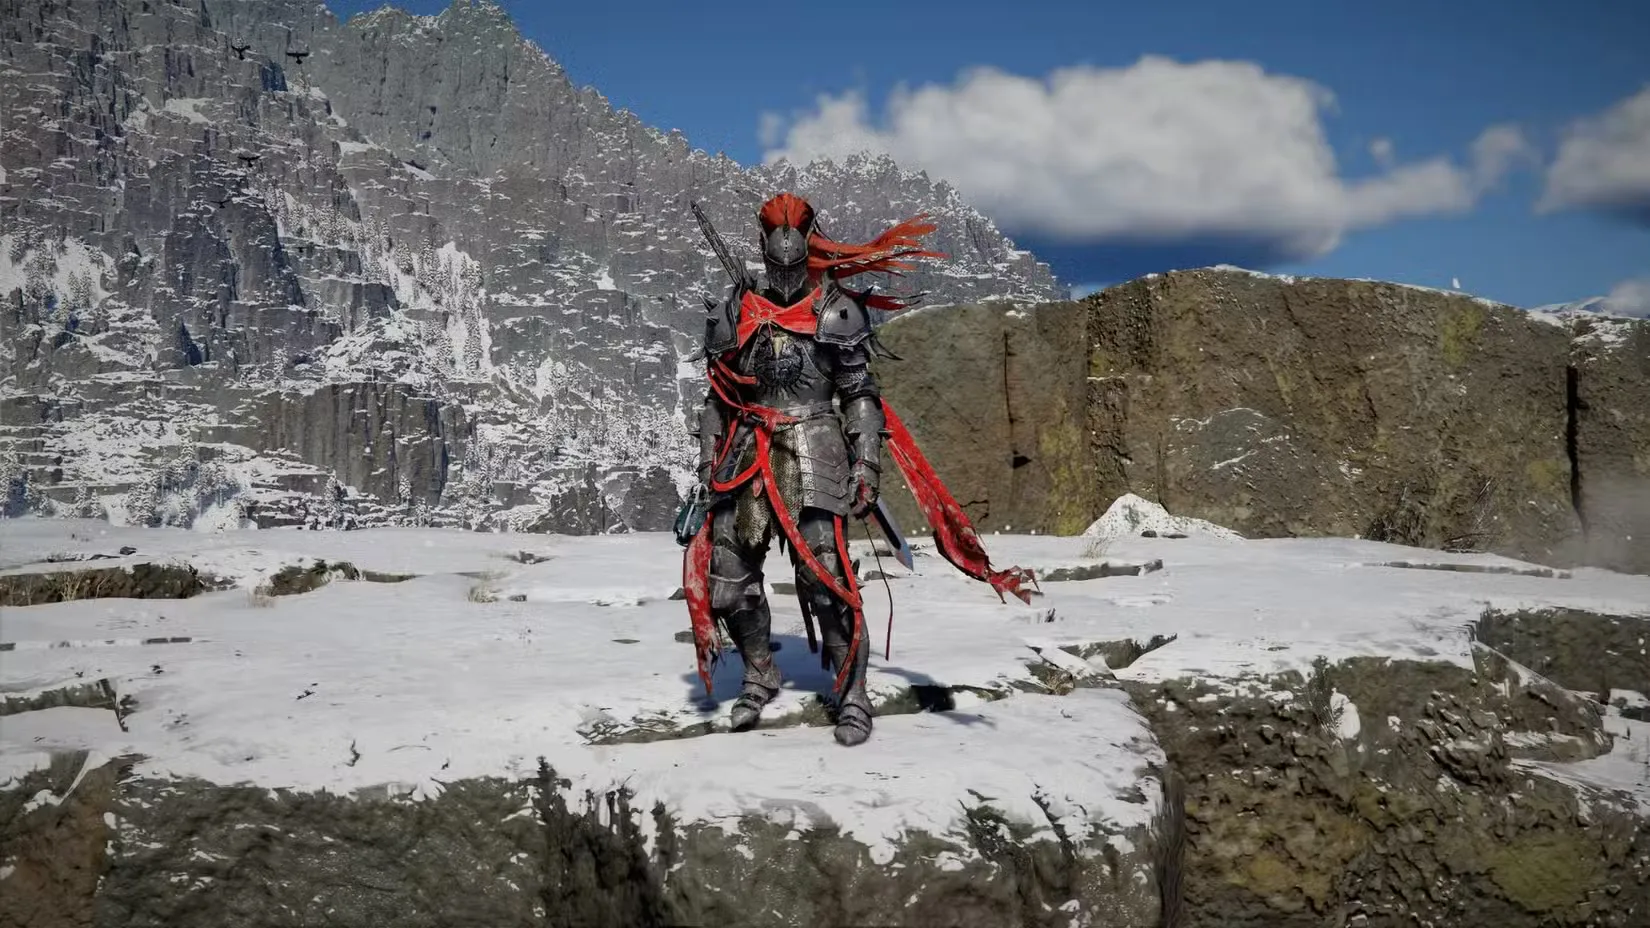
Tenebrum is one ofCrimson Desert's most disorienting boss fights. You're not standing on solid ground trading blows. Instead, you're dropped into a floorless arena against a flying enemy that never stops circling, and the solution hinges on a mechanic the game barely forced you to practice. The objective prompt won't clarify much. Here's the exact method.
Where do you find Tenebrum?
You'll face Tenebrum in Chapter 4 as part of the Gate to the Otherworld main quest, which belongs to the Forbidden Knowledge questline at Scholastone Institute in the southwest corner of the Hernand region. This isn't a random encounter. The fight begins after you assist Octavius with his contraption puzzle, and his experiment predictably backfires, summoning Tenebrum through the portal.
The arena is a ruined plaza with a gaping hole where the center floor should be, which is the entire basis for how this encounter functions.

How to reveal Tenebrum's weakness
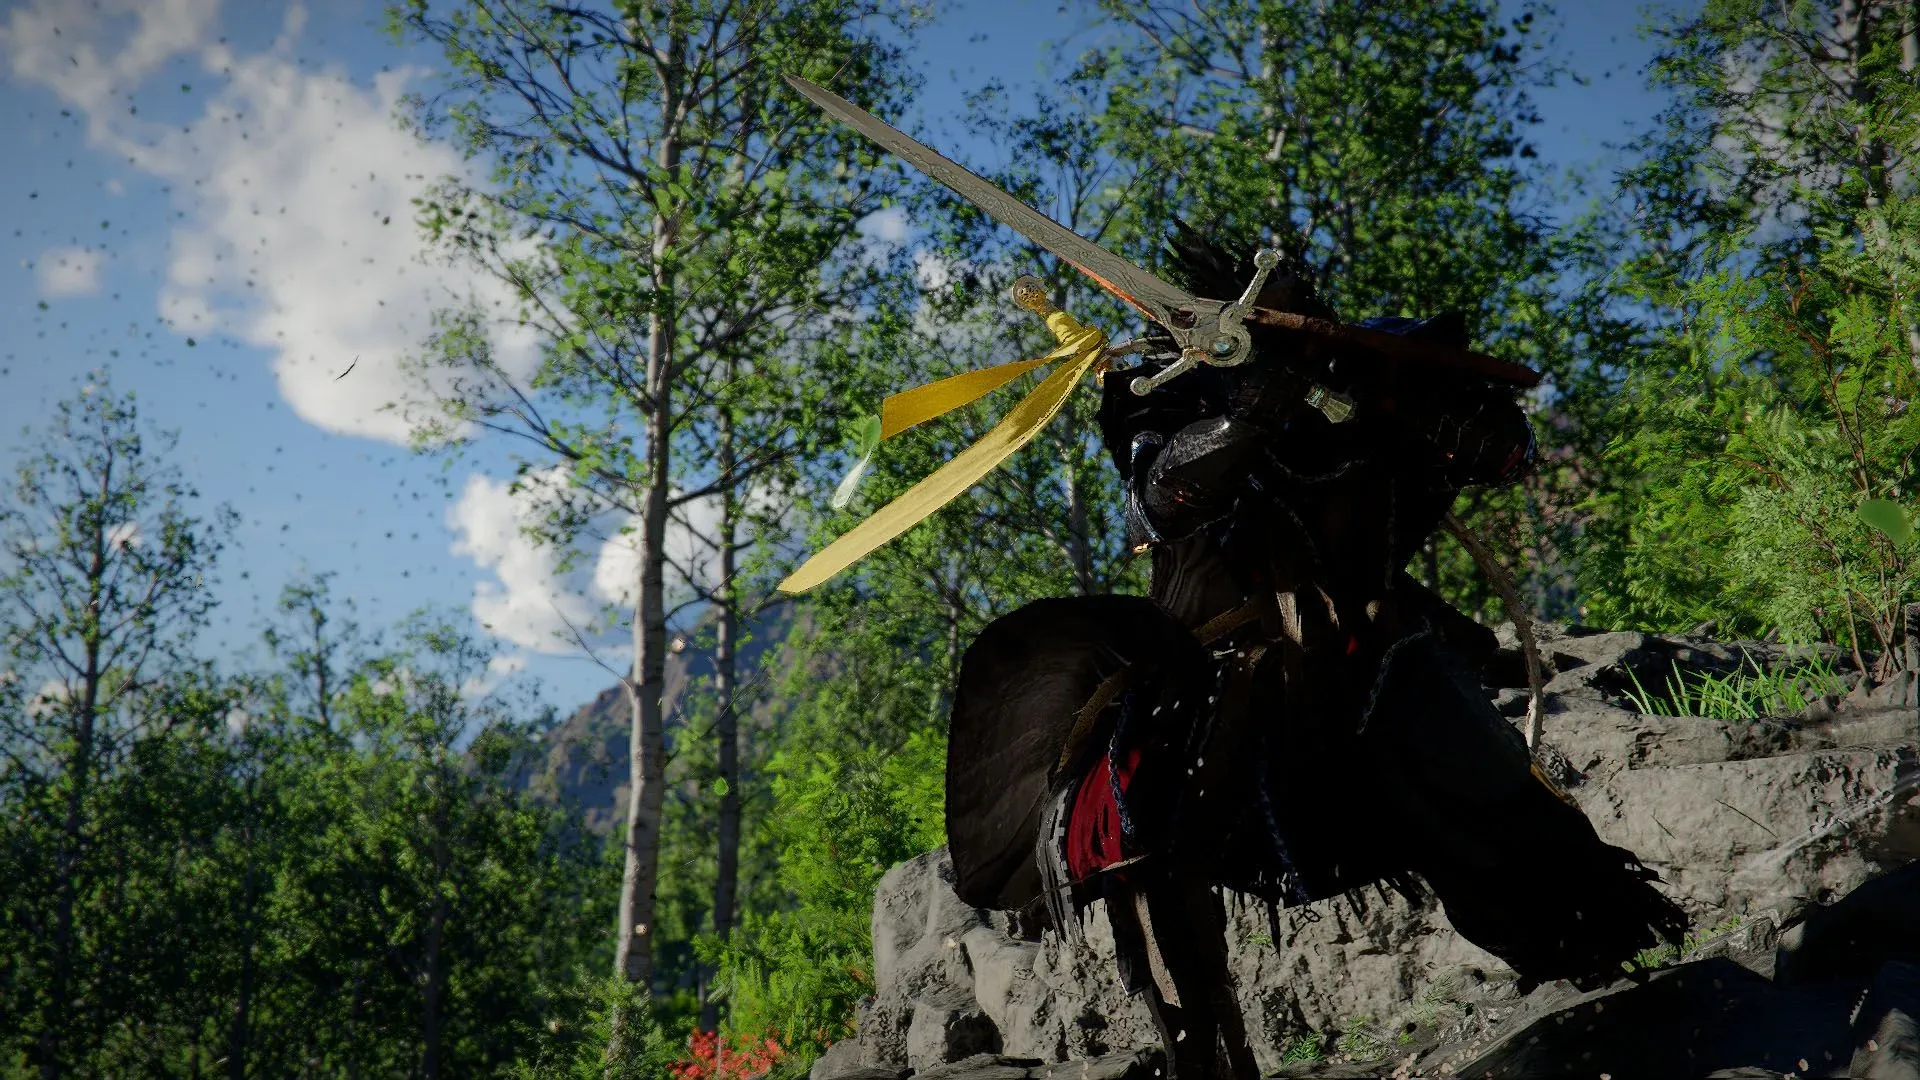
Start by using Blinding Flash to mark Tenebrum's vulnerable point. On PlayStation, hold L1 + R1, then press R1. On Xbox, hold LB + RB, then press RB. Target the floating specter and a square indicator will lock onto it, showing the weak spot. This step only needs to happen once. The game displays a tutorial here, so don't dismiss it.

Aerial Force Palm on Tenebrum
How to defeat Tenebrum with Force Palm
This is the part that trips up most players. The encounter demands that you remain airborne and hit Tenebrum with Force Palm while gliding.
The process works like this:
- Move to the center where the floor has collapsed.
- Double-tapSquare (PlayStation) or X (Xbox) to jump and open your wings.
- The updraft in the arena lifts you toward Tenebrum without manual input.
- When you're in range, pressR3 (Right Stick) to trigger Force Palm.
- Cycle this pattern until Tenebrum is defeated.
The exact number of hits varies slightly depending on execution. Landing 3 clean Force Palm strikes at close range removes roughly a third of Tenebrum's health per connection, making the fight straightforward once you understand the rhythm. In practice, expect the full encounter to require 4 to 5 direct hits total. Focus on proximity over precision counting, and the fight wraps up faster than it initially appears.

Glide into Force Palm range
What are Tenebrum's attacks and how do you dodge them?
| Attack | Description | Counter |
|---|---|---|
| Rain of Shadows | Fast-moving shadow projectiles aimed at your current position | Hide behind arena pillars before ascending |
| Black Particle Bursts | Scatters dark particles mid-air that inflict significant damage | Dodge laterally while gliding or use Aerial Roll |
| Wind Gusts | Forces you away from Tenebrum during flight | Redirect your glide back toward the center |
The Aerial Roll skill is a useful unlock before this fight if you have available skill points. It allows Kliff to dodge mid-air, cleanly avoiding projectiles. Stamina regenerates quickly in this arena because the wind currents restore it while you're airborne, so Aerial Roll drains far less than it would in typical combat scenarios.
If a projectile lands, you'll fall to the lower platform and take impact damage. Heal right away using food from D-pad Right before climbing back up.
How to manage Spirit during the fight
Spirit fuels Force Palm, and you'll deplete it several times during this encounter. When it empties, hold L3 + R3 (both sticks at once) to begin restoring it. The recovery animation takes several seconds, so position yourself behind one of the arena's pillars before initiating it. Attempting to recharge Spirit in the open while Tenebrum is active is the primary way players take avoidable damage.
What do you get for defeating Tenebrum?
Tenebrum yields the Key to the Spire of the Stars, which unlocks the next segment of the main questline. There's no bonus loot or secret reward. The key is the objective.
Tenebrum stands out as one of the more confusing fights in Crimson Desert on first attempt, largely because the game forces you to rely on mechanics you may not have used since unlocking them. Once you grasp the updraft system and abandon ground-based tactics, the fight resolves quickly. For additional boss strategies and Chapter 4 walkthroughs, check the complete Crimson Desert guides library at GAMES.GG.