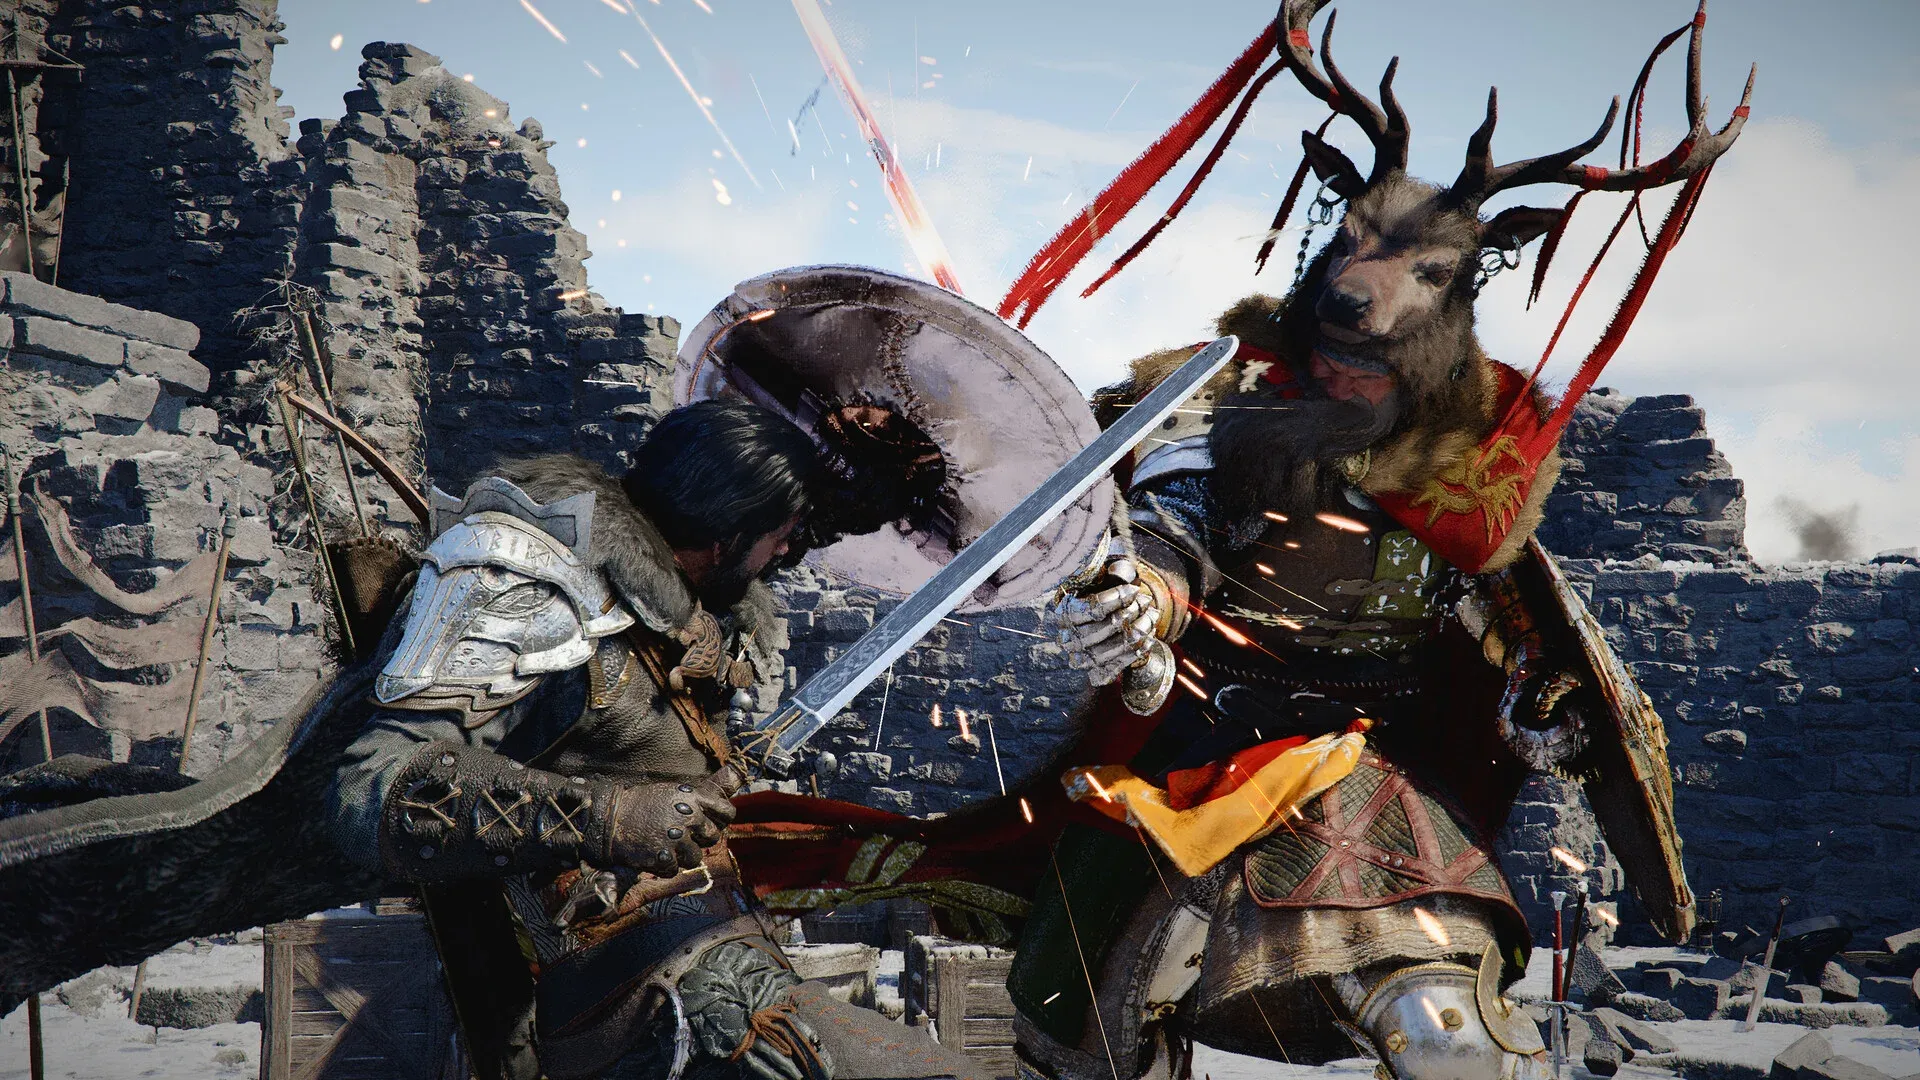


Crimson Desert throws 76 bosses at you across its massive open world, and the main story alone packs more than a dozen grueling encounters that will punish underprepared players hard. Whether you are struggling with the gorilla-like terror of Kearush the Slayer or trying to crack Fortain the Cursed Knight's ghost-summoning tricks, knowing exactly what each fight demands before you walk in changes everything. This guide breaks down every major boss in chronological order, covering attack patterns, phase transitions, and the gear you need to win.
What Every Boss Fight Requires
Before touching any specific encounter, there are fundamentals that apply to every single boss in Crimson Desert. Skipping this prep is the number one reason players get stuck.
Stock Up on Grilled Meat
Healing in Crimson Desert is tied to food items, and Grilled Meat is your primary lifeline. The cheapest Grilled Meat restores 80 health per piece and costs only 1 raw meat to cook. That math matters: 10 pieces gives you 800 total health recovery, which outperforms a single high-quality meat that might restore 220 health but costs 12 raw meat to craft.
You can buy raw meat from the vendor in Hernand town (marked as ? on the map) or hunt deer in nearby woods, each animal yielding 3-4 meat. Cook everything at the pot immediately to the right of the meat vendor. Aim for 100 pieces minimum before any major fight, and 200 for the hardest encounters.
Upgrade Your Armor and Skills First
The blacksmith in Hernand handles all gear refinement. Heavy plate armor provides the highest defense, and there is no movement penalty for wearing it, so always prioritize plate over leather or linen. Upgrade your armor to at least refinement level 4 before tackling mid-game bosses.
For skills, unlock Health Level 4 and Stamina Level 4 early since those stat boosts carry across all playable characters. Then purchase Kliff's Nature's Echo skill from the green skill tree. It duplicates heavy attacks, which becomes extremely powerful when paired with the Tauria Curved Sword you earn later.
Understanding the Three Boss Types
Most enemies fall into one of three combat categories, and your approach should shift accordingly:
All Main Story Bosses
Boss 1: How to Beat Matthias (Knight)
Quest:For Honor | Location: Hernand Square
Matthias is the opening boss and the most forgiving fight in the game. He carries two health bars but his sword swings and kicks are slow and easy to read. The reliable pattern is three light attacks followed by three heavy attacks to interrupt him, then dodge back to let stamina recover before repeating. This fight serves as the game's tutorial for the core combat loop.
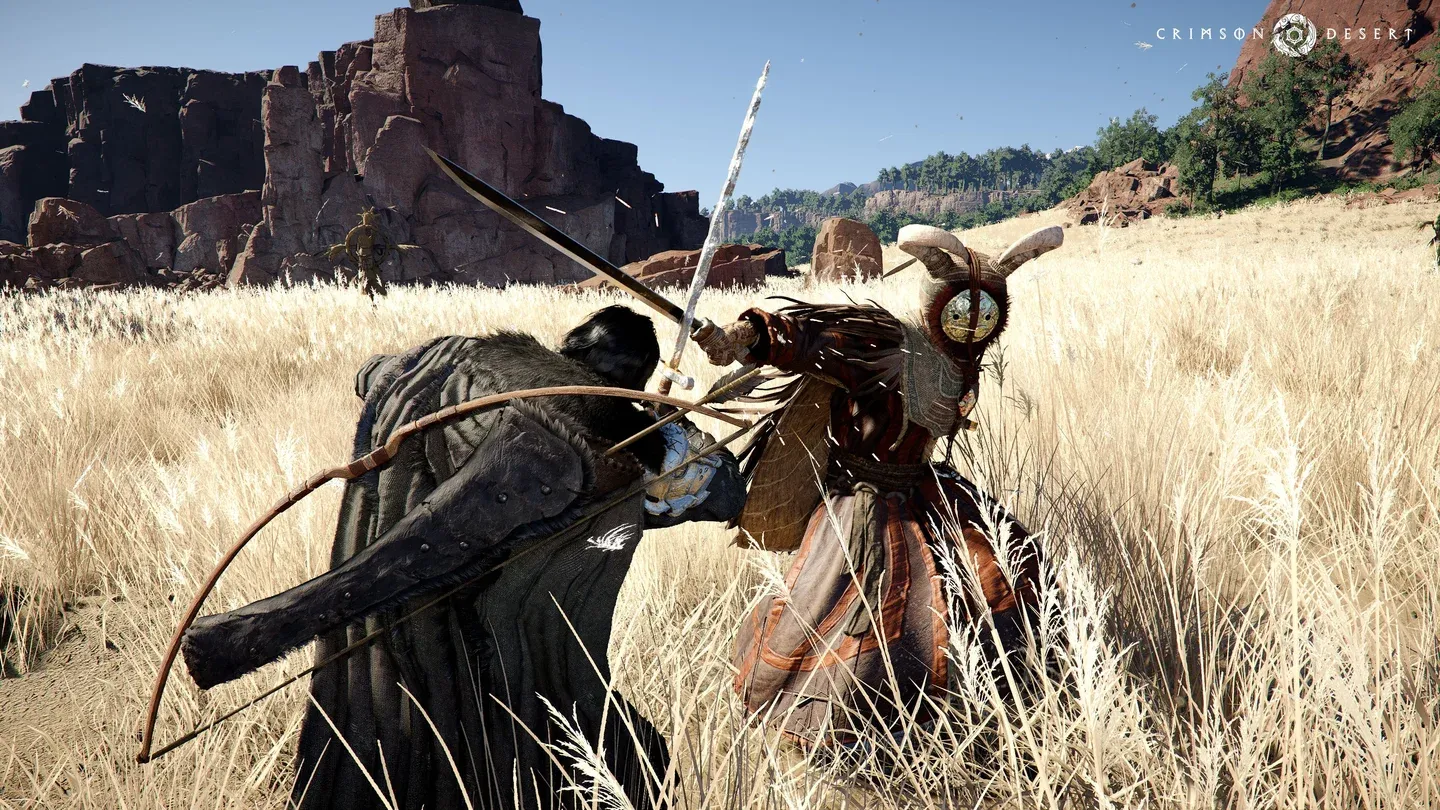
Matthias knight fight in Hernand
Boss 2: How to Beat Kailok, The Hornsplitter
Quest:Cheers Echoing From the Edge | Location: Hernand
Kailok is a goblin warlord with a single health bar and a noticeable difficulty jump from Matthias. His sword generates wide ranged waves that can be blocked but cost stamina, so keeping your stamina pool high is critical. When Kailok enters super armor mode (indicated by a blue glow), stop all attacks immediately and prepare to block or dodge.
Perfect counters are the most efficient method here: press L1 / LB exactly as his attack lands to trigger a green interrupt glow, then follow up with a light attack combo. Bringing 40+ Grilled Meat makes this fight manageable even without perfect parry timing.
Boss 3: How to Beat Reed Devil
Quest:Dance with the Devil | Location: Mountain of Frozen Souls, Hernand
Reed Devil is the first true endurance test, packing three full health bars across three distinct phases. He is extremely fast and agile, so expect to take hits.
- Phase 1: Shield parries and light combos. Use L1 + R2 to strike with the shield between combos for extra damage.
- Phase 2: Five totems spawn and must all be destroyed. Dodge constantly while moving between them since you will be attacked throughout. Never run in straight lines.
- Phase 3: Reed Devil becomes more aggressive with new attacks. When he dashes across the arena firing red projectiles, dodge sideways from the far end of the battlefield to avoid them.
Bring at least 40 Grilled Meat. Palmer Pills for self-revival are worth saving for harder fights, but use one here if you die deep into Phase 3 rather than restarting.
Boss 4: How to Beat Tenebrum
Quest:Gate to the Otherworld
Tenebrum is a puzzle encounter more than a traditional fight. First, reveal its weak point using Blinding Flash by holding L1 + R1, then pressing the follow-up inputs the game prompts. The boss flies around a plaza and must be struck multiple times using the Force Palm ability while airborne.
Double-press Square / X to launch into the air using your wings over the open floor area where Tenebrum circles. Press R3 / RS in midair to execute Force Palm. Attack when Tenebrum pauses in the center to charge an attack, as that is your clearest window. When Spirit runs out, hold L3 + R3 to recharge it behind a pillar.
Boss 5: How to Beat Kearush, The Slayer
Quest:Demenissian Delegation | Location: Hernand Castle
Kearush is the hardest boss up to this point and one of the most punishing in the entire game. This giant gorilla-like creature has three full health bars, and blocking or parrying with a shield does nothing against him. Dodging is your only defensive option.
The core pattern: dodge forward-right when he attacks to get behind him, land exactly 3 quick attacks, then stop and prepare to dodge again. Do not get greedy.
- Phase 1: Shortest combos, least aggressive. Establish your dodge rhythm here.
- Phase 2: Longer combos and frequent super armor activations. When you see the blue glow, immediately sprint to the opposite end of the arena and hide behind the final wall. He will usually get stuck there.
- Phase 3: Near-constant aggression. Stick to the dodge-punish loop, use Palmer Pills if you die late in the phase, and rely on your meat stockpile heavily.
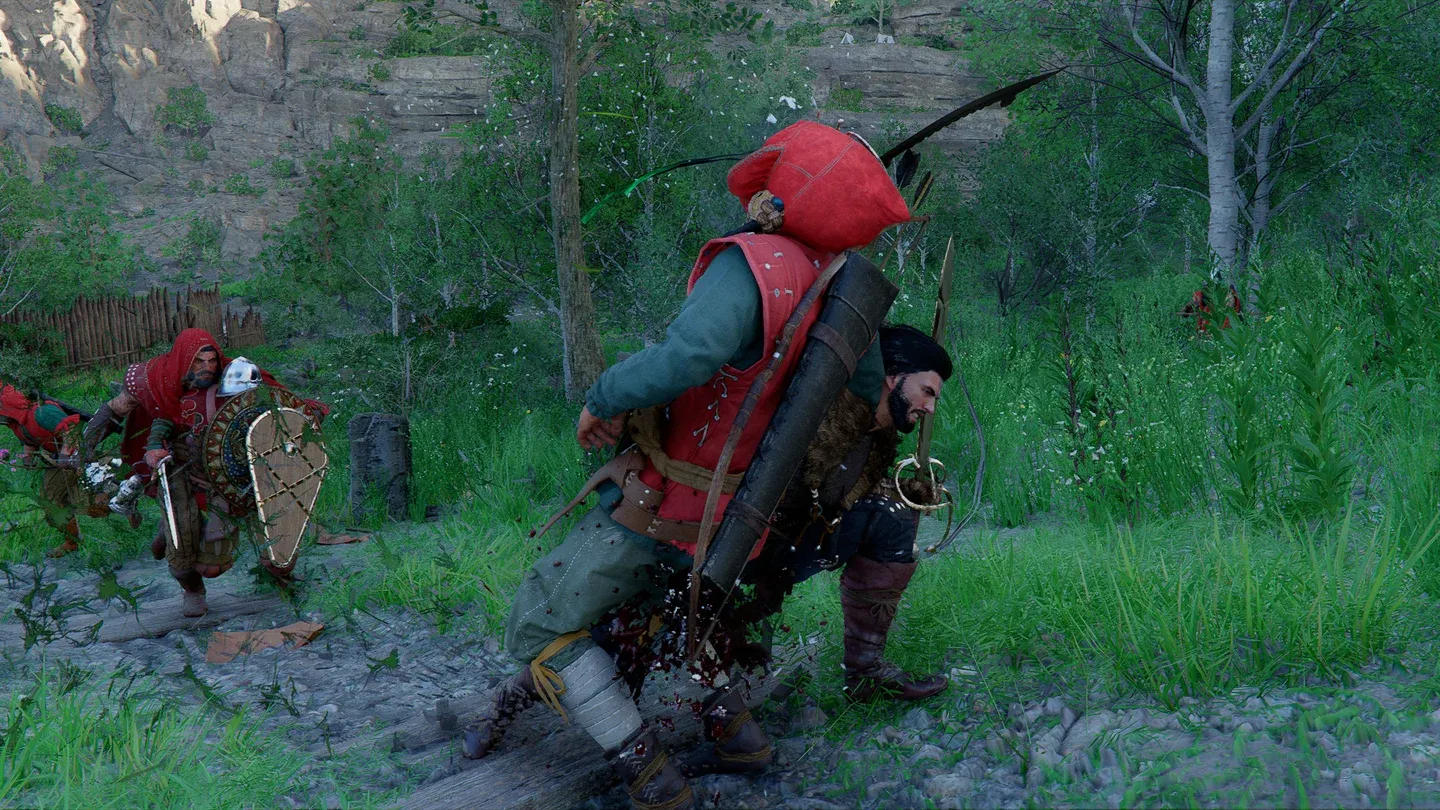
Kearush Slayer dodge pattern
Boss 6: How to Beat Crowcaller
Quest:Bloodwind and Toward the Nest | Location: Demeniss Region
You fight Crowcaller twice. The first encounter has only one health bar and is straightforward. The second encounter at the end of Chapter 5 is a serious challenge with three full health bars.
Crowcaller hits hard and moves fast. Parry his attacks with L1 and follow up with quick combos. When he flies into the air, wait for his second midair dodge before rolling with Circle / B. That timing will consistently let you avoid his dive attack. Activate the fast travel point on the path directly before the arena so you can reload and restock if needed.
The Tauria Curved Sword that Crowcaller drops is one of the best weapons in the game, especially for heavy attacks and crowd control. Do not sell it.
Boss 7: How to Beat Cassius Morten
Quest:Traitor
Cassius Morten is a crimson knight with a single health bar who blocks most of your light attacks. Equip the Tauria Curved Sword from Crowcaller and activate the Nature's Echo skill. Spamming R2 heavy attacks will deal damage even through his shield, and after three hits you will interrupt him, opening a window for light attack follow-ups.
Boss 8: How to Beat Ludvig and Awakened Ludvig
Quest:Lonely Jackals
Ludvig transforms after his first health bar depletes. He deals lightning damage throughout and teleports constantly, making him hard to pin down. Focus entirely on dodging rather than blocking. Wait for him to finish a teleport sequence or miss a combo, then land light attack chains while healing simultaneously. His second phase is faster and more erratic, so patience matters more than aggression.
Boss 9: How to Beat Myurdin
Quest:Battle at Silverwolf Mountain
Myurdin appears in many early trailers as a key antagonist. He has two health bars with a full transformation between phases.
- Phase 1: Parry-focused. Use heavy attacks with the Tauria Curved Sword to punish openings.
- Phase 2: He transforms and switches to lava and fire attacks. Shift entirely to dodging. Never let your stamina fully drain during this phase or a single lava combo will kill you.
Boss 10: How to Beat One-Armed Ludvig
Quest:Time to Face Justice
This fight forces you to play as Oongka, the orc character, for the first time. Oongka lacks a traditional shield but can still parry with his weapon using L1 / LB. His default double-handed axe is too slow for this fight. Equip two one-handed swords instead, including the Sword of the Lord from Kailok, to maximize attack speed and damage output. Parry and follow up with light combos throughout.
Meat may be scarce here after a string of consecutive fights. Hunt animals in the surrounding woods and use the cooking pot in Beighen village slightly to the north.
Boss 11: How to Beat Gregor, the Halberd of Carnage
Quest:Where the Wind Guides You
Gregor is a spear-wielding human boss with one health bar, but the arena adds wall-mounted arrow traps that fire throughout the fight. His most dangerous move is a super armor burst of repeated stab attacks. When he activates super armor, dodge continuously until the sequence ends rather than trying to block. Otherwise, dodge-and-punish is the standard approach.
Boss 12: How to Beat Fortain, The Cursed Knight
Quest:The Cursed Knight
Fortain fights with a shield and constantly summons a ghost knight that either slams the ground or fires arrows, turning this into a pseudo-two-enemy encounter. He has one health bar but the ghost creates constant interruptions that reduce your attacking windows significantly.
Equip the Tauria Curved Sword and use Nature's Echo to duplicate heavy attacks. A heavy attack combo followed by light attacks breaks through his guard. When the blue ghost appears, immediately dodge away to create distance before returning to pressure Fortain.
Because Fortain hits hard, consider cooking higher-quality meat before this fight to get more health per use.
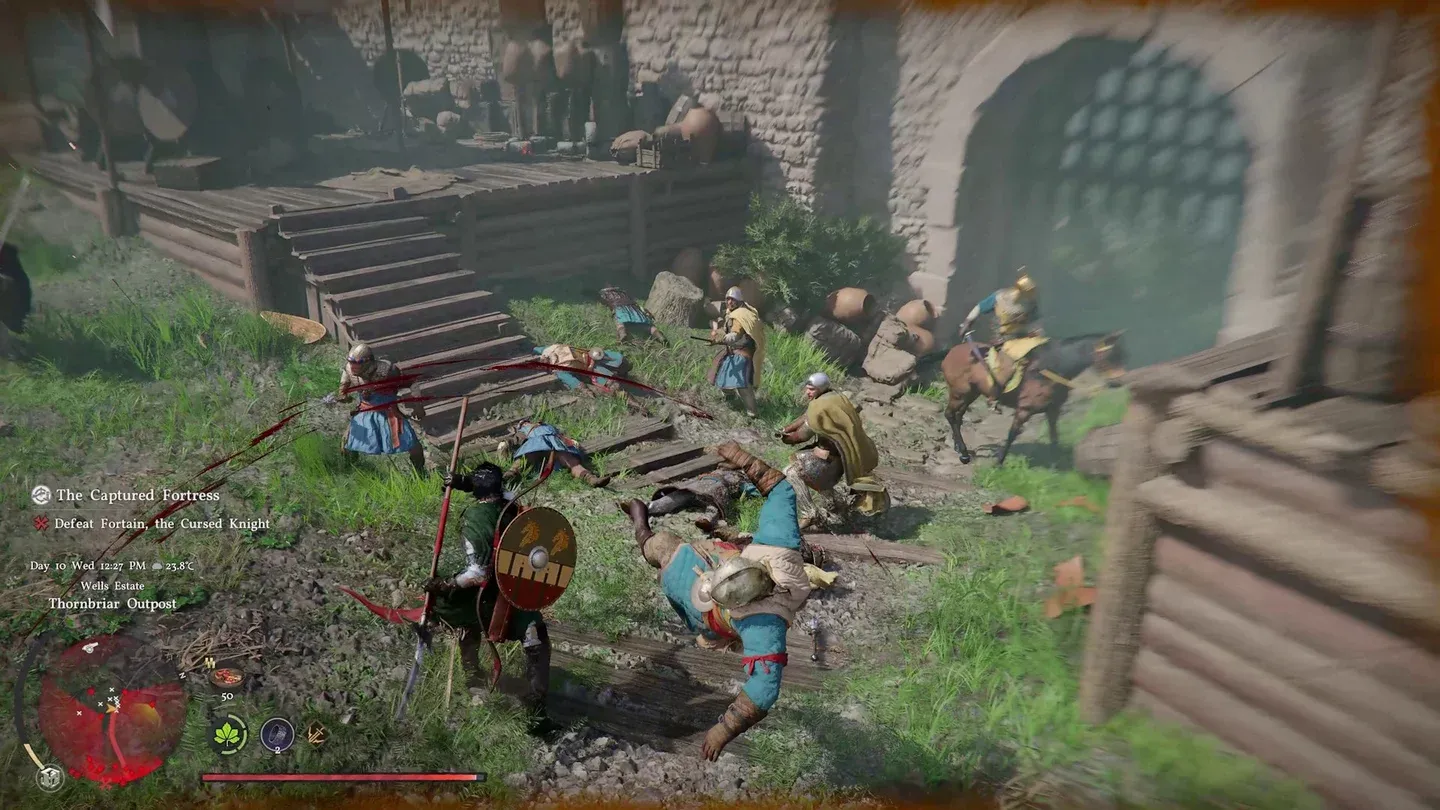
Fortain ghost summon fight
What Do Bosses Drop?
Every boss in Crimson Desert drops something worth keeping. The reward categories break down as follows:
The Sword of the Lord (from Kailok) and Tauria Curved Sword (from Crowcaller) are the two most impactful drops in the main story. Never discard unique boss weapons since many carry special effects that standard gear cannot replicate.
Key Weapon and Skill Recommendations
These are the most impactful choices to make before tackling the mid-to-late game boss roster:
- Unlock Health Level 4 and Stamina Level 4 as your first skill investments.
- Purchase Nature's Echo (green skill tree) after unlocking all 3 Forward Slash skills (blue) and all 3 Keen Senses skills (green).
- Equip Tauria Curved Sword for heavy attack builds once you defeat Crowcaller.
- Keep Sword of the Lord available for Oongka sections requiring fast wave attacks.
- Focus all resources on Kliff through Chapter 8. The second character Damiane is absent for large story stretches, making early investment in her a waste.
For more strategies on Crimson Desert and other titles, browse more guides on GAMES.GG to stay ahead of every challenge the game throws at you.