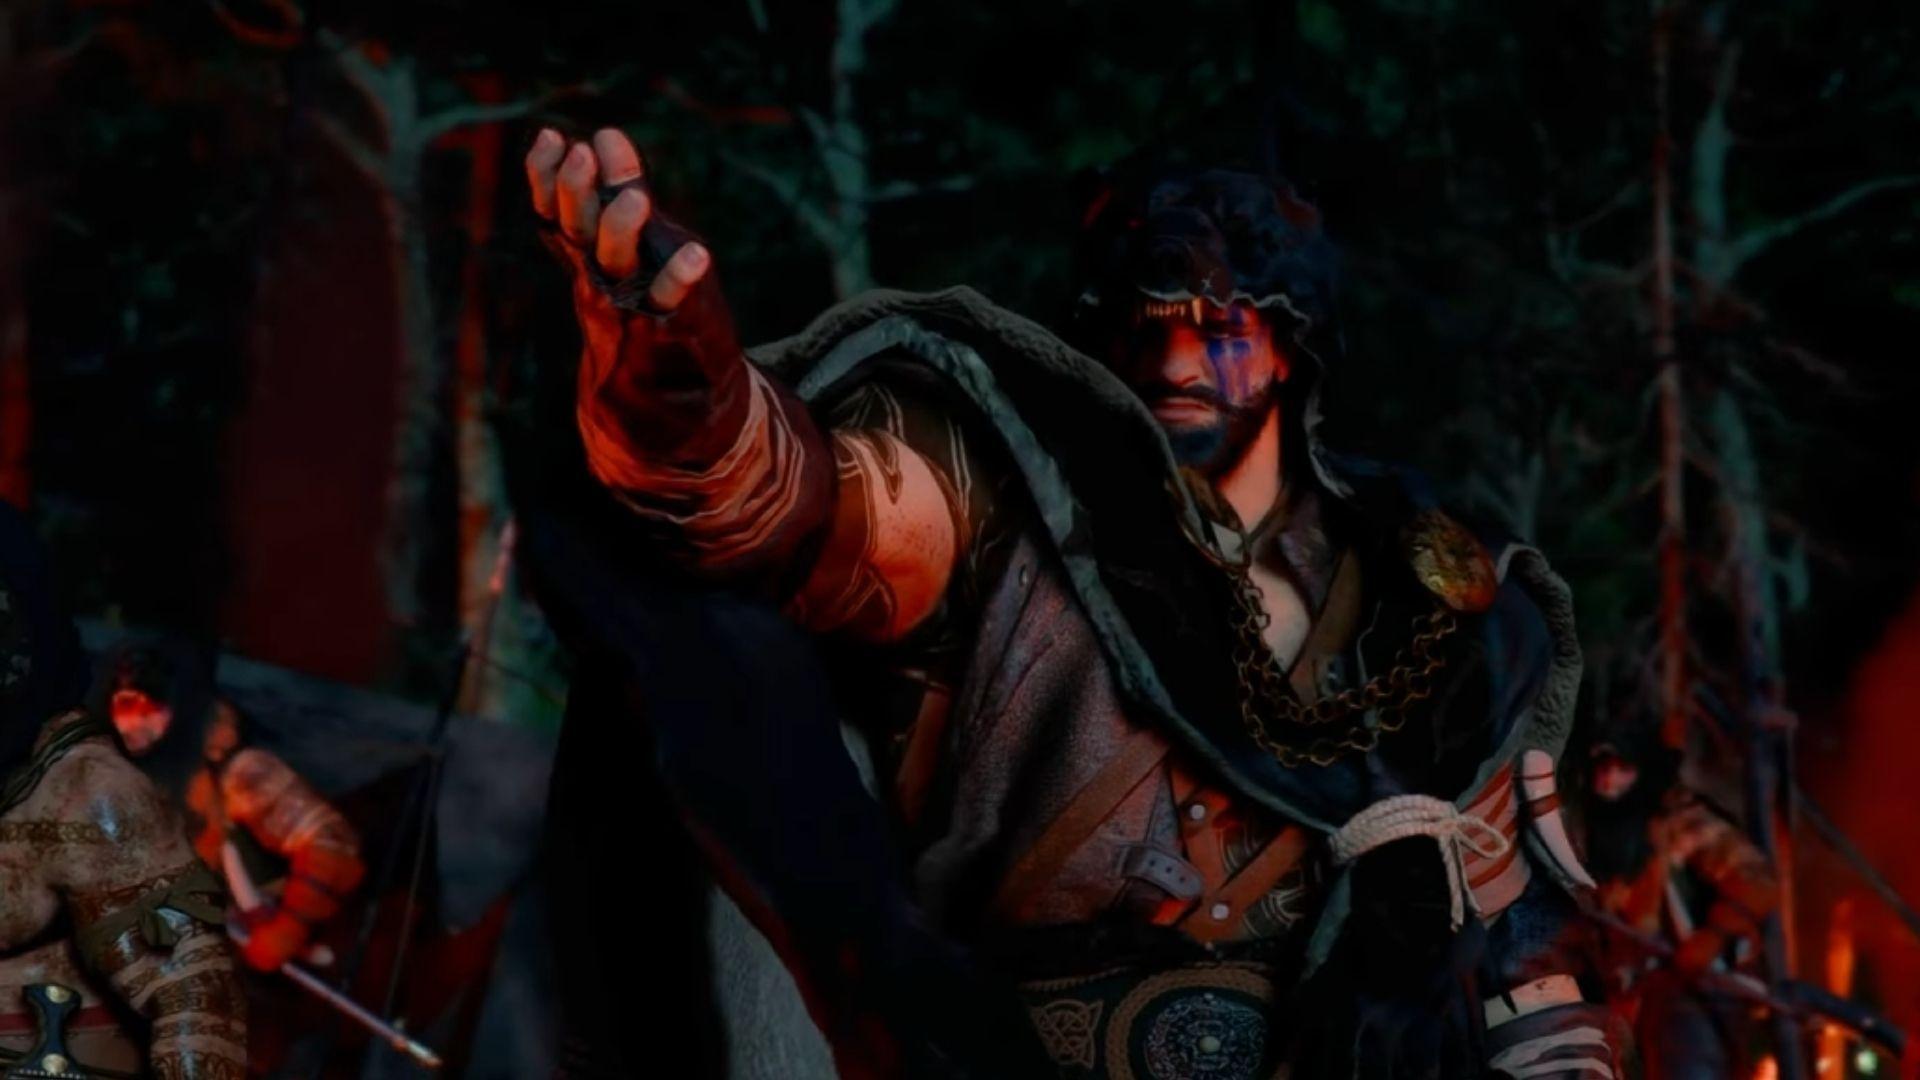

Myurdin is the kind of boss that punishes players who go in without a plan. He shows up twice in Crimson Desert, first as a scripted prologue encounter you cannot win, then as a full two-phase rematch at the top of Ashclaw Keep in Pailune during Chapter 7. The second fight is the real one, and it demands preparation. Here's everything you need to bring him down.
Can you defeat Myurdin in the prologue?
The short answer: no, not in any meaningful way. The intro encounter between Kliff and Myurdin is a scripted loss. Once Myurdin's health drops to roughly 10%, a cutscene fires automatically. Kliff takes an arrow and gets thrown off a cliff, regardless of how much damage you've dealt. Pearl Abyss designed this fight to establish Myurdin as a threat and set the Graymanes' story in motion. You can clear the surrounding Black Bears soldiers and survive the encounter, but the outcome never changes. Testing confirms that defeating Myurdin in the prologue yields no rewards and does not alter the story.
What to bring before fighting Myurdin
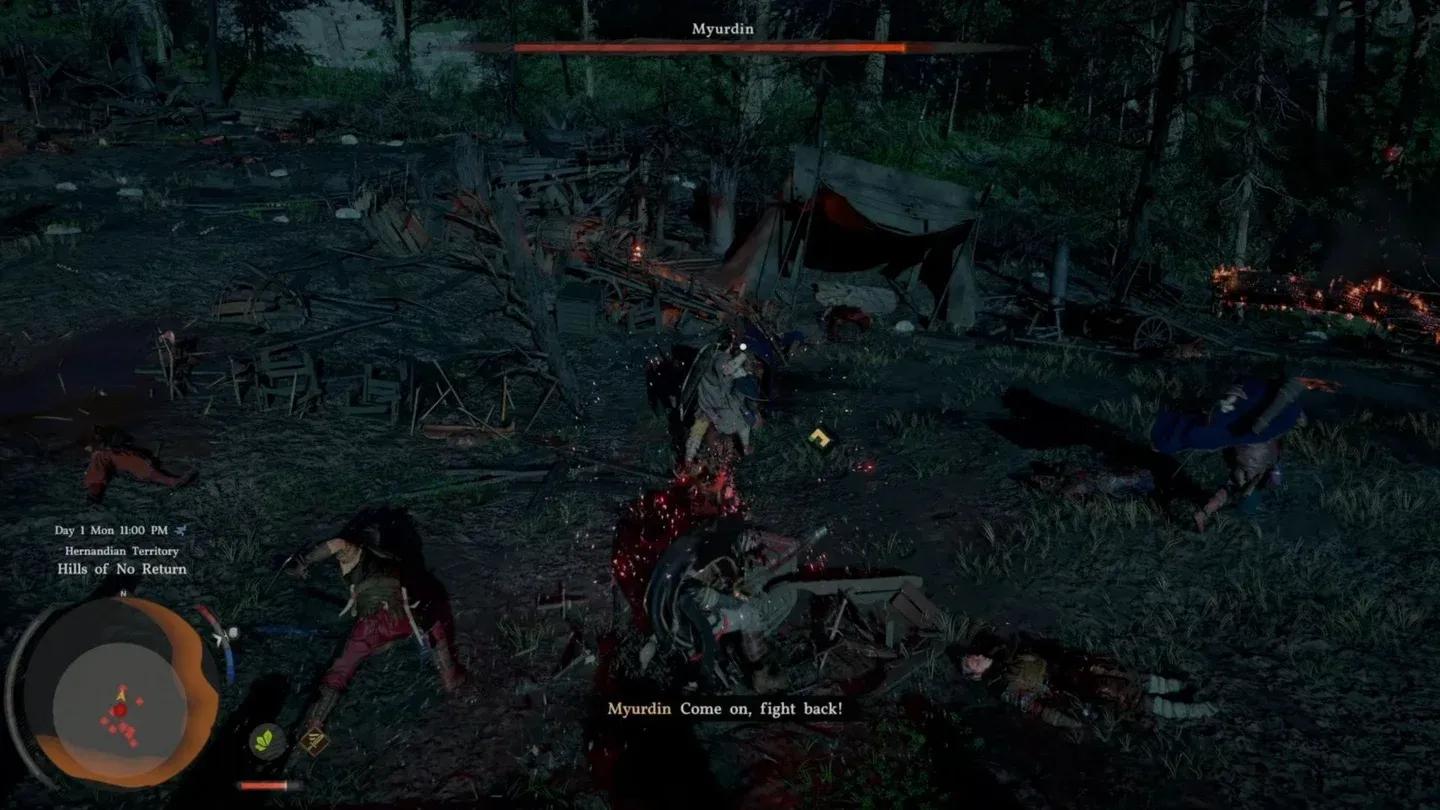
Myurdin sits at the summit of Ashclaw Keep in northern Pailune, which makes backtracking a serious pain if you die unprepared. Stock up before you climb.
Recommended items
- Meat Skewers and Braised Meat — Affordable from Butchers and easy to stack. These give you reliable healing throughout both phases without burning through rarer supplies.
- Palmar Pills — Instant revival at 30% health. Save one for Phase 2 if Myurdin is nearly dead. Using one in Phase 1 when he still has most of his health bar is a waste.
- Tauria Curved Sword (and other one-handed weapons) — Dropped from the Crowcaller boss. Its Crow's Pursuit ability fires an explosive crow projectile via R2, which is useful for dealing damage from a safe distance. Dual-wielding one-handed weapons also works well for fast burst damage.
- Heat Resistant Armor — Optional but genuinely helpful. Myurdin's fire attacks drain stamina faster without it, and stamina management matters a lot in this fight.
Required skills
These two skills are the backbone of the entire fight. Do not skip them.
The core loop is simple: build Spirit with Focus, activate Blinding Flash with L1+R1, then immediately follow with R2 to trigger the Blinding Flash Finisher. This combo deals massive damage, stuns Myurdin repeatedly, and is difficult for him to interrupt once it starts. Repeat this cycle for both phases.
How to beat Myurdin (Phase 1)
Phase 1 Myurdin is aggressive but readable once you understand his patterns. The goal is to loop Blinding Flash Finisher as often as possible while avoiding his three main attacks.
Myurdin's Phase 1 attack patterns
- Weapon charge — Myurdin rushes forward and swings. The first two swings can be parried to open a damage window. The third swing has a red glint, meaning it is unparryable. Roll away on the third hit, no exceptions.
- Ground slam — He winds up visibly before slamming down for an AoE hit. Dodge sideways as his arms come down.
- Bear volley — The screen darkens and Myurdin drops to all fours. This is the most dangerous move in Phase 1. You must immediately jump and use Force Palm to launch into the air, then activate Fly (Wings) to stay airborne. The bears he summons charge across the arena floor and will hit repeatedly if you stay grounded. Staying in the air is the only reliable way to avoid this attack entirely.
For Phase 1, opening with heavy attack combos followed by a Lariat grapple strips a large chunk of health quickly before Myurdin settles into his full pattern. Grappling Skills work in Phase 1 but are disabled in Phase 2, so use them early.
Phase 1 parry opportunity
How to beat Lava Myurdin (Phase 2)
The transition to Lava Myurdin keeps the same general attack structure but adds fire debuffs, lava springs, and a significantly faster pace. The core Blinding Flash Finisher loop still applies, but you need to play more defensively between combos.
What changes in Phase 2
- Myurdin's body is covered in lava and ignites most things he touches, including the flammable barrels around the arena. Stay away from them.
- His slow-swinging fire sword attack can be parried, which opens a window for an R2 follow-up or Spirit building.
- He can summon lava springs from the ground that deal sustained damage-over-time. Roll out of contact immediately.
- His jump-slam attack (triggered when the screen darkens again) has him turning red and repeatedly slamming your position. The counter is identical to Phase 1: jump, Force Palm, then Fly to stay airborne. Alternatively, spam the dodge button to roll through the slams, though staying airborne is more reliable.
- Stay near the center of the arena. Lava Myurdin actively tries to knock you toward the lava edges. Falling in is an instant kill.
What do you get for defeating Myurdin?
Beating Lava Myurdin rewards you with:
- Melted Ambition (unique drop)
- Pailunese Contribution EXP x3000
The Pailunese Contribution EXP is a solid chunk toward your regional standing, and Melted Ambition is a named item tied specifically to this encounter.
For players who want to go deeper on preparation before reaching Ashclaw Keep, you can browse more Crimson Desert guides covering skills, weapons, and progression systems that feed directly into this fight.