

Kailok the Hornsplitter is the final boss of Chapter 2 in Crimson Desert, and he hits harder than his goblin appearance suggests. As the corrupt leader of the Goldleaf Merchant Guild, Kailok wields a sword infused with wind power and uses slippery evasive tactics to keep you off balance. The good news is that once you understand his key patterns, the fight becomes a controlled exercise in patience and timing rather than a frantic scramble.
Where Do You Find Kailok the Hornsplitter?
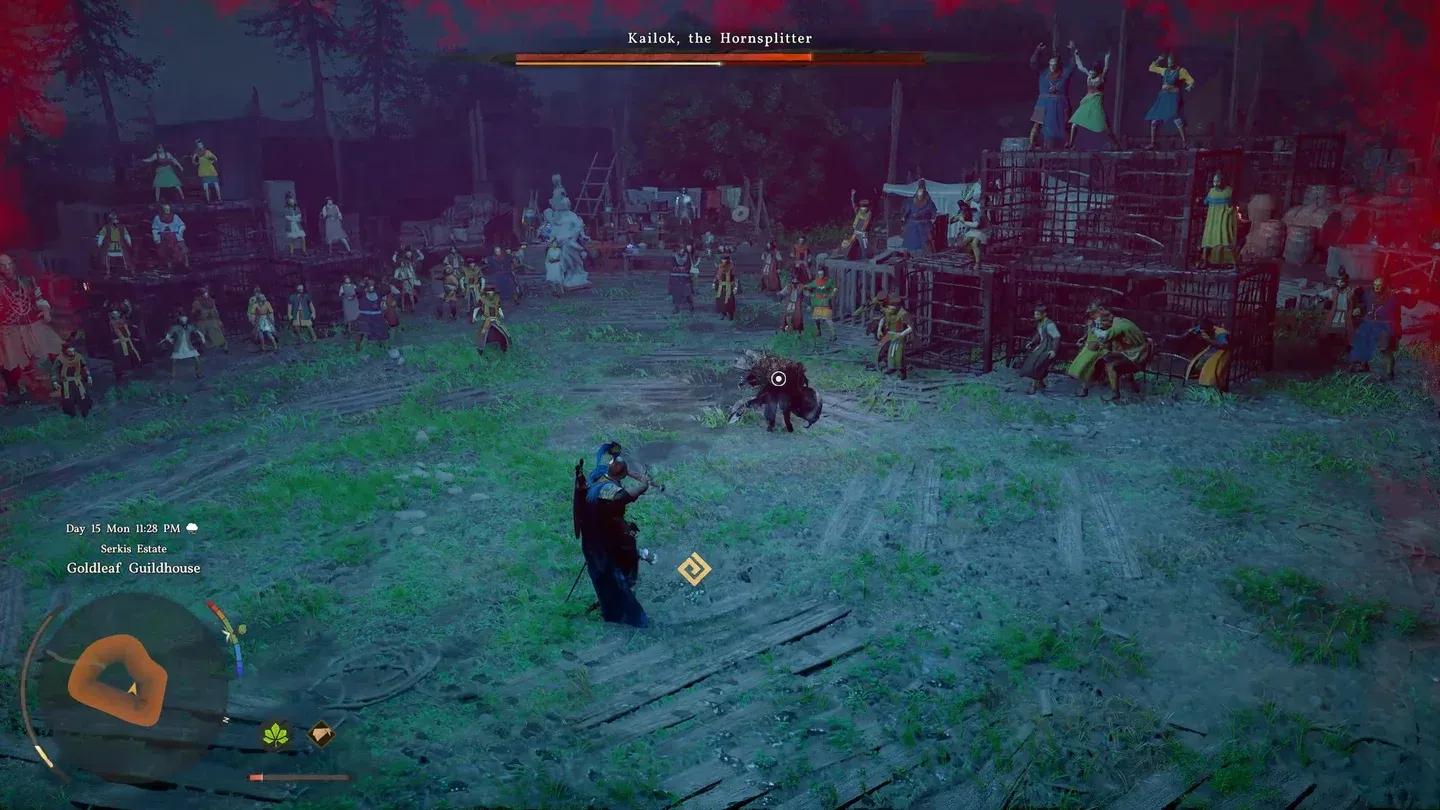
Kailok is located at the Goldleaf Guildhouse during the The End of Greed main questline in Chapter 2: Golden Greed. Simply entering the Guildhouse triggers a cutscene that drops you straight into the fight with no warm-up. Make sure your gear is ready before you walk through that door.
Should You Upgrade Your Gear Before the Fight?
Absolutely yes. Kailok can shred through weak armor quickly, especially during his flurry sequences. The loadout that works best before entering this fight is:
Beyond equipping the right pieces, refining your weapons at a Smithy before the fight is strongly recommended. The extra damage output noticeably shortens the encounter. You should also visit any nearby Grindstone, which grants a temporary Attack Buff that persists for a set number of strikes. It is a small step that makes a real difference in how quickly you can fill Kailok's stagger meter.
How to Beat Kailok the Hornsplitter: Core Strategy
The fight against Kailok revolves around two pillars: parrying his sword attacks and using Force Palm to stagger him after his counter. Here is how to break it down step by step.
Step 1: Parry His Attacks and Attack Twice
When Kailok comes in with his standard sword swings, parry the hit. After a successful parry, land two quick attacks while he flinches. Do not overextend with a full combo here since he will recover and attempt a counter.
Step 2: Counter His Red Glint with Force Palm
After those two hits, watch for a red glint on Kailok's weapon. This signals his counter attack. The correct response is to fire off a Force Palm, which staggers him and leaves him wide open for burst damage. This is the primary damage window in the fight, so make the most of it with heavy attacks and any Abyss Artifact skills you have unlocked.
Force Palm creates burst damage window
Filling the yellow stagger meter under Kailok's health bar lets you trigger a finisher by pressing R1+R2 on PlayStation or RB+RT on Xbox. These finishers deal significant damage and are worth building toward throughout the fight.
Step 3: Dodge His Wind Slash Sideways
Kailok's signature ranged move is the Wind Slash, a projectile fired along a line directly at you. Rolling straight back is not reliable here. Instead, dodge sideways and keep your lateral movement going until he closes in again. This attack can remove a large portion of your health if it connects, so treating it with respect is key.
Step 4: Raise Your Shield During His Evasive Roll
Kailok performs his own Evasive Roll when he takes sustained hits, leaping toward your blindspot. The moment you see him start this movement, raise your shield to lock the camera onto him. This keeps him in your sights and lets you react instantly if he follows up with a dangerous move.
Step 5: Dodge His Unblockable Slam
Kailok has one unblockable attack in his kit. When your shield flashes red, he is about to leap into the air and slam down onto your position. A single dodge roll is all it takes to avoid the impact. After he lands, he is briefly vulnerable, so punish him immediately with a heavy attack.
What Are Kailok's Key Attack Patterns?
How Do You Learn the Evasive Roll Skill?
One of the most valuable things about this fight is that Kailok teaches you a new ability. The Evasive Roll skill lets you roll away quickly after being struck, giving you a reliable escape from dangerous follow-up hits. You can unlock it in one of two ways:
- Watch and Learn: Keep your camera facing Kailok when he performs his Evasive Roll, then hold down the Interact button to absorb the technique.
- Spend an Abyss Artifact: If you miss the observation window, you can unlock Evasive Roll by spending 1 Abyss Artifact.
What Do You Get for Defeating Kailok?
Taking down Kailok rewards you with several useful items:
- Sword of the Lord
- Seal of Greed for the Goldleaf Merchant Guild (grants better prices when trading with the Goldleaves)
- Iron Ore x7
After Kailok falls, Shakatu takes control of the Goldleaf Merchant Guild, opening up the next chapter of the story. The Seal of Greed in particular has lasting value since the improved merchant prices carry forward into future trading.
Final Tips Before You Enter the Guildhouse
- Refine your weapons and visit a Grindstone before triggering the cutscene.
- Keep Abyss Artifact skills equipped and ready for the stagger windows.
- Prioritize sideways dodges over backward retreats against the Wind Slash.
- Use the shield lock-on whenever Kailok rolls away to avoid losing track of him.
- Save your burst combos for after a successful Force Palm stagger.
If you want to keep building momentum after this fight, browse more Crimson Desert guides on GAMES.GG to stay ahead of every challenge Crimson Desert throws at you.