
The Vow of the Dead King is one of the best early two-handed weapons in Crimson Desert, and most players walk right past the dungeon that holds it. No major boss stands between you and this halberd — just a frozen citadel full of traps, a flooded passage, and one very unpleasant rock worm encounter. The payoff is a weapon with solid base damage, a high critical rate, and a triple bonus against the most common enemy types in the game.
Where is the Vow of the Dead King?
The weapon sits inside the Citadel of the Forgotten Kingdom, buried within the Frostveiled Castle Ruins in the northern part of the Tribal State of Pailune. The ruins are tucked between several mountains near Silverwolf Mountain — look for the large ruined stone structure on your map and head there directly.
Getting to the ruins requires riding north through the Wayward Woods, where wolf packs and ambush enemies lurk. The cold weather in this zone drains stamina faster than normal, so take your time on mountain climbs and watch for flat ground where you can stop and recover. You can ride past most enemies on the way — stopping to fight them is a waste of time at this stage.
How to get the Vow of the Dead King
Before dropping into the citadel, clear the bandit camp that has taken over the castle ruins above ground. There are several dozen of them, but individually they are not threatening. Use kick, Force Palm, and the Focused Repulsion ability (which hits all enemies in a 360-degree radius) to handle large groups efficiently. After testing the area around Chapter 3, the bandits posed minimal resistance — the real challenge starts underground.
Once the surface is clear, find the staircase that descends into the citadel depths. Equip your lantern before heading down. Watch for falling rocks from unstable ceiling sections: your lantern glows red as a warning. When you see the red glow, backtrack immediately to avoid the hit.
Frostveiled Castle Ruins entrance
Step 1: Get past the spiked floor traps
The first obstacle after descending is a series of spiked floor sections that block the path. You cannot cross them on foot. Climb along either wall and shimmy across to bypass both sections safely. The torches on the walls will not set you on fire, so do not worry about them. Stamina management is the only concern here — do not rush and drain yourself mid-shimmy.
Step 2: Cross the flooded section
After clearing the spikes and descending further, you hit a flooded corridor that blocks forward progress. The cleanest solution is your flight ability: double jump by pressing R3 after your initial jump to gain height, then glide across to the door on the far side. If you have not unlocked flight yet, the jump-and-glide combination still covers the gap without much trouble.
Step 3: Navigate the fire-thrower corridor
This is the section that trips up most players on their first run. Two fire-thrower traps line the corridor, and they activate on a cycle.
- Wait for the flames to fully extinguish
- You have roughly a 2-second window to move
- Count to five after the flames drop, then sprint through both traps in one continuous run
- The first trap can be ducked under; the second can be jumped over with a running start
- Sprinting straight through is also viable since the fire damage is not massive, especially with any fire resistance gear equipped
- If you catch fire, Force Palm Focus provides quick healing
Step 4: Handle the Stone-earth Vein creature
The next room contains a Stone-earth Vein, a golem-type mini-creature that hits hard if you let it. You have two options here.
The first is to skip it entirely: hook right the moment you enter the room and go straight through the door on that side. The second is to fight it, which is worth doing for the loot. The Hwando performs well against this enemy type — keep your distance, bait out its attacks, and move in for strikes during the recovery window. Its swipe attack has significant range and will knock you down, so respect it.
Step 5: Light the candle and claim the weapon
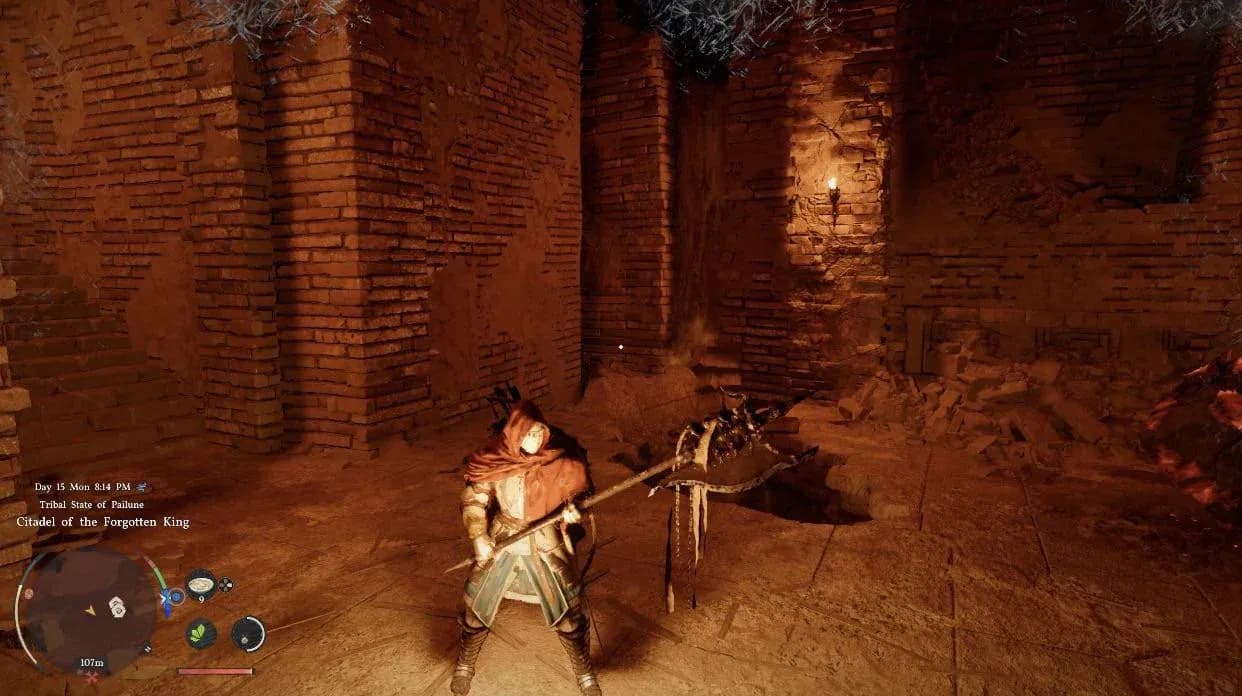
At the back of the room, you will find a barred chamber with the weapon inside. Look to the left side of the room for a candle. Approach it and hold the interact button to light it. This lowers the metal bars blocking the chamber entrance. Walk in and pick up the Vow of the Dead King.
The entire run from entering the ruins to claiming the weapon takes roughly 10 to 15 minutes once you know what you are doing.
Is the Vow of the Dead King worth getting early?
Yes, without much debate. The combination of a high critical rate, triple damage bonuses, and Abyss Gear compatibility makes it one of the more complete early weapons in Crimson Desert. The dungeon asks for traversal skill rather than combat power, which means a player at any reasonable level can complete it.
The one legitimate downside is the attack speed. Players who prefer fast, aggressive playstyles will need to adjust. Pairing it with stamina builds or heavy armor setups offsets this — the slower rhythm suits a tankier approach that leans into heavy hits and positioning.
For more weapon guides and exploration tips across Crimson Desert, browse the latest guides at GAMES.GG to stay current on what else is worth grabbing before mid-game.