
The Flame element is one of the hardest elemental affinities to obtain in Crimson Desert, and unlike Wind, you cannot stumble into it by accident. Getting Flame Strike and Flame Lv 1 requires working through a specific chain of Abyss puzzles that starts long before you ever see a flame. Here is the full path, broken down puzzle by puzzle, so you do not waste time backtracking.
What do you need before unlocking the Flame element?
Before you can touch any of the Abyss puzzles tied to Flame, you need the Frost element already in your possession. This is not optional. The Frost element gates access to the Flame puzzle chain entirely.
Getting Frost requires visiting the Spire of Ringing Truth, defeating the boss in the basement, and clearing several Abyss puzzles of its own. The Spire of Ringing Truth sits in the western area of Pailune. You will need to climb the tower, destroy the bell, and defeat Priscus the Ancient to progress.
Once Frost is yours, the full Flame puzzle chain becomes accessible.
Crimson Desert Guide: How to Unlock the Flame Element
The full Flame unlock puzzle chain
The path to Flame runs through six locations in sequence:
The first four locations are the Frost unlock chain. Once you clear Path of Trials, the Flame-specific puzzles open up.
How to solve the Sanctorum of Darkness
When you arrive at the Sanctorum of Darkness, take an immediate left from the Abyss Gate and drop onto the section below. Look under the Abyss Gate for a circular gate. Climb onto it, hold the Left Trigger (or LT on Xbox) to latch on, then hit a Force Palm strike to spin through into the room on the other side.
Grab the Abyss Core inside and raise it to the ceiling. Head back up to the Abyss Gate level and look for a hole in the ceiling where you can use Axiom Force to pull the core toward you. Bring it back down to the lower section and Force Palm it into the receptacle on the left to restore power.
With power restored, locate the two laser cannons near the Abyss Gate. Redirect the right cannon's beam to the yellow switch directly across from it, then do the same with the left cannon. This activates the four giant fans and triggers the large circular switch on the far side of the gap.
If the circular switch does not activate after realigning both lasers, nudge one beam off the switch and back onto it. This is a known bug that a quick laser reset fixes.
Use the fan to launch yourself at the circular switch and Force Palm it to finish the puzzle. Collect the Abyss Artifact from the altar above, then find the Triangle Gate below near the island's edge to progress.
Laser redirect in Sanctorum
How to solve the Loop of Life
The Loop of Life is the more forgiving of the two lead-up puzzles. Jump down to the lower ring and slot the Abyss Core directly into the receptacle hovering over it. Run across the spinning ring's left side and grab the floating Abyss Core, then move it as close to the tower as possible.
Climb up to the ledge with the door, grab that Abyss Core, and slot it into the receptacle at your feet. Use Axiom Force to pull the Abyss Core from inside the small room you just unlocked. Step back onto the ledge and pick up the core you used to open the door. You now have two floating Abyss Cores.
Bring both cores to the rings above:
- Slam one core into the empty receptacle on the second floating ring to activate it.
- Carry the remaining core to the third, inactive ring and place it in the open receptacle.
With all three rings powered, the big switch directly across from the third ring activates. Force Palm it to complete the puzzle, collect your Abyss Artifact, and move through the Triangle Gate to the final challenge.
How to solve the Tree of Slumber
This is the one that trips most players up. The goal is to get all five pillars to the same height as Pillar 1 (the blue reference pillar). You do this by stabbing your sword into one of four slots in a central rotating wheel, then rotating it to raise or lower connected pillars.
Here is the key thing to understand: the slots physically move as you rotate the wheel, but which pillars each slot controls does not change. Use the silver shimmer that appears over affected pillars when your sword is in a slot to keep track.
Which pillars does each slot control?
The correct three-step solution is:
Step 1: Use Slot 1 to lower Pillars 2, 3, and 4 until the yellow ring on each is lit, sitting roughly a foot off the ground.
Step 2: Use Slot 2 to push Pillars 2 and 4 all the way to their base. You will know it is complete when the slot cannot be pushed further with your sword.
Step 3: Slot 3 will have rotated to roughly where Slot 4 starts. Use it to raise Pillars 2 and 4 until their yellow rings are lit.
When all five pillar rings are lit simultaneously, they turn blue and the puzzle completes.
The lava at the base of the Tree of Slumber will kill you instantly if you fall in after activating the final switch. Jump down carefully to hit the Force Palm switch and collect the Abyss Artifact.
Is there a faster method for the Tree of Slumber?
Use Slot 1 to lower Pillars 2, 3, and 4 until their rings turn yellow. Then climb on top of Pillar 5, crouch, and perform a downward Force Palm strike on it approximately 13 times. This gradually lowers Pillar 5 to the correct height and completes the puzzle without needing to work through Steps 2 and 3. This may be patched in a future update, so use it while it works.
What do you get for completing the Tree of Slumber?
After activating the final Force Palm switch and collecting the Abyss Artifact from the altar, you automatically receive:
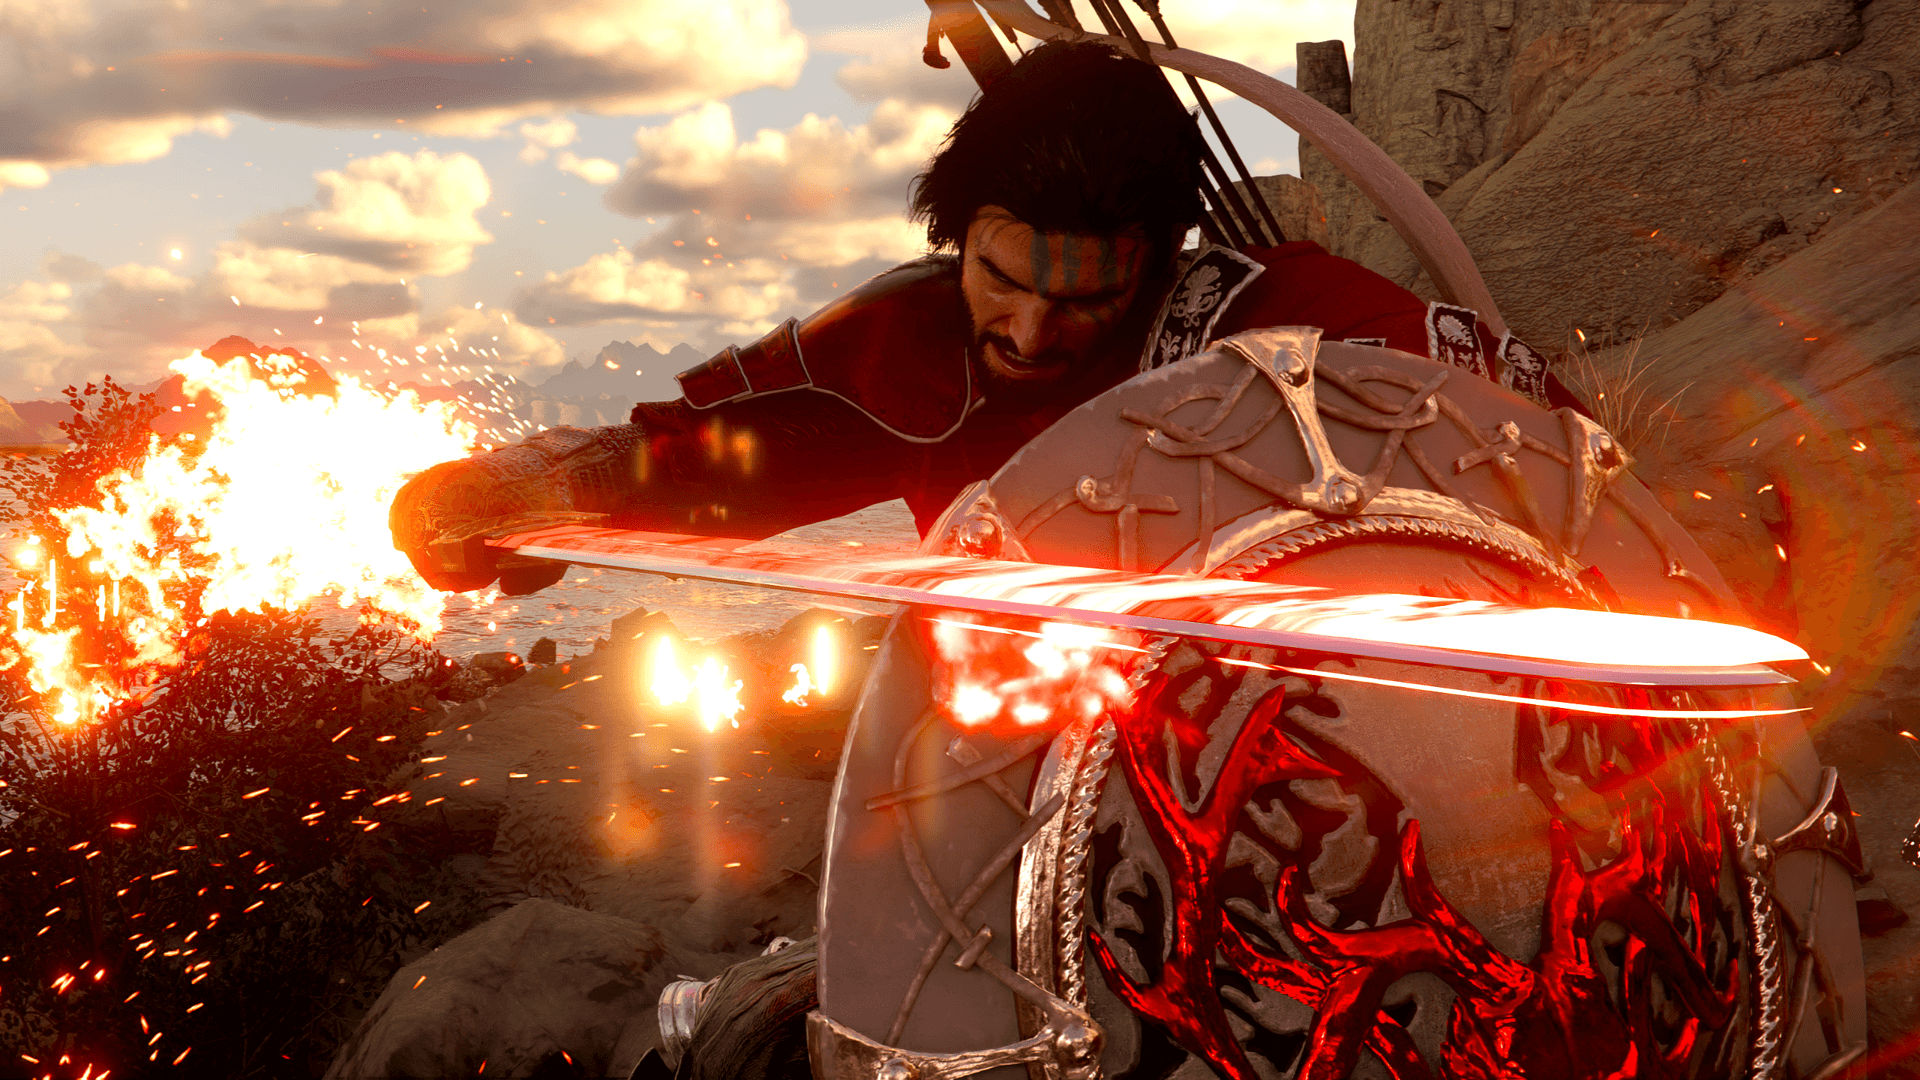
- Flame Strike ability
- Flame Lv 1 (Elemental Imbuement)
This lets Kliff imbue his attacks with the Flame element, adding fire damage to your combat toolkit. The reward is worth the effort, especially for players who have already built around elemental affinities.
For more Crimson Desert walkthroughs and puzzle solutions, browse the latest guides at GAMES.GG.