

Pursuit Beyond the Veil is the 132nd main quest in Crimson Desert, sitting inside Chapter 9 (The Sage of the Desert) under the Veiled Witch sub-chapter. The setup is simple on paper: Hexe Marie's energy scattered when her stone tower fell, and now you need to track her down by destroying 4 totems spread across the Demeniss region. What trips players up is the in-game objective order, which sends you running in circles. This guide fixes that with an optimized route that gets all 4 totems cleared without wasting a single healing item.
What do you need before starting Pursuit Beyond the Veil?
Before this quest unlocks, you must complete Fragments of Darkness, the mission directly before it in the Chapter 9 chain. There is no listed reward for finishing Pursuit Beyond the Veil, so treat it as a stepping stone to the next quest, Black Witch.
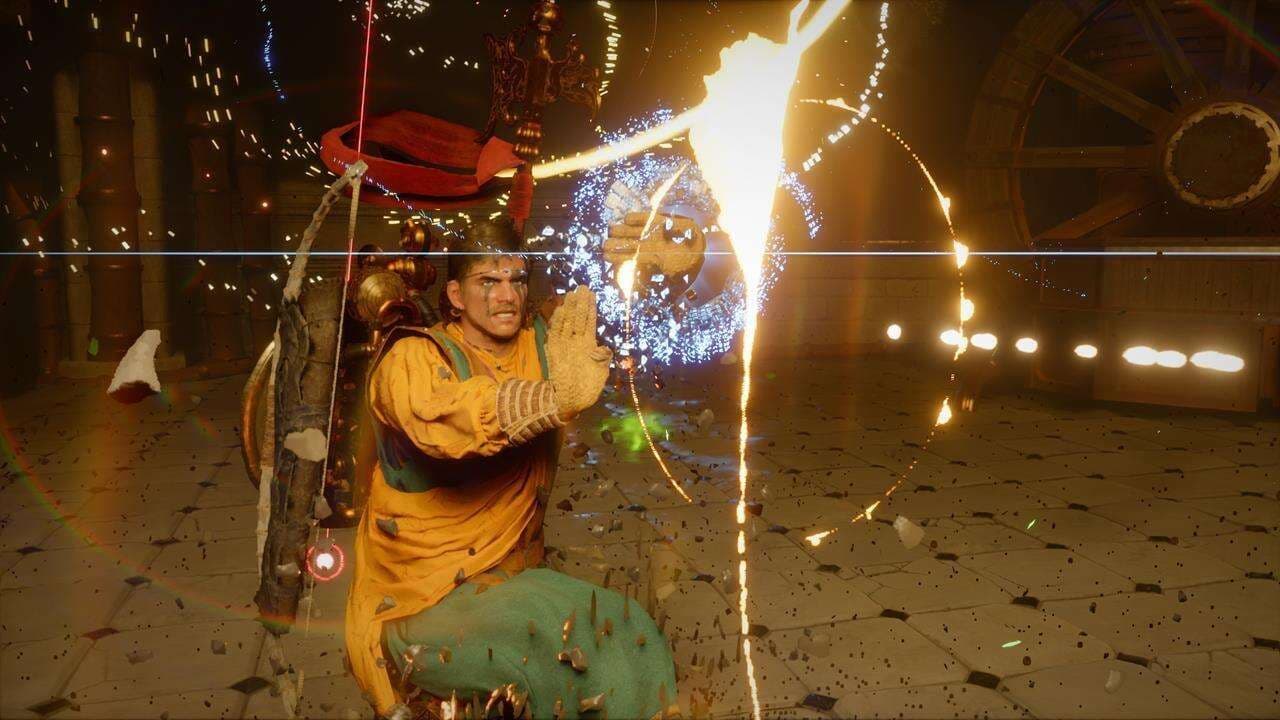
The one resource worth checking before you ride out is your Abyss Artifact supply. The bow skill Charged Shot costs 1 Abyss Artifact per use, and you need it 4 times (once per totem). If you are short, farm the enemies in the quest area until the yellow Artifact Gauge on the left side of the minimap fills up, or reset your skills to recover spent artifacts.
How to destroy the totems using Charged Shot
Charged Shot is the bow skill that destroys each totem in a single hit. To fire it:
- PlayStation: Hold L2, then hold R2 to charge and release
- Xbox: Hold LT, then hold RT to charge and release
- PC: Press Q, then hold Right Click to charge and release
You aim first, charge the shot fully, then release. Each totem goes down in one hit as long as the shot connects. Do not waste time on regular attacks against the totems.
Crimson Desert Pursuit Beyond the Veil Walkthrough
What is the fastest totem route?
The in-game objective list orders the totems in a way that sends you north first, then back south. Reversing that order cuts travel time significantly. Start at the southernmost totem and work north.
This south-to-north sweep keeps your travel path logical rather than backtracking across the map.
Hollow Haven (south totem)
Ride to Hollow Haven, the southernmost objective. Dismount, aim with the bow, charge Charged Shot, and fire at the totem. One hit clears it. Ride out immediately.
Forgotten Tomb (east totem)
Head east to the Forgotten Tomb. Same process: aim, charge, fire. If Hexe Marie appears, ignore her completely and move on once the totem is down.
Clay Urn Necropolis (north totem)
Clay Urn Necropolis holds the northern totem. Ride straight there after the Forgotten Tomb. Fire Charged Shot and continue west.
Brimstone Springs (west totem)
Brimstone Springs is the final stop. Destroy the totem with Charged Shot and the quest completes.
Brimstone Springs final totem
What happens after Pursuit Beyond the Veil?
Completing all 4 totems finishes the quest and advances the Chapter 9 storyline directly into Black Witch, the next main quest in the Veiled Witch sub-chapter. There is no reward item for this mission, so the payoff is purely narrative progress toward tracking down Hexe Marie.
For more guides across all titles, browse the latest gaming guides on GAMES.GG.