
The Skyloop Bridge puzzle is one of the more demanding Abyss Restoration Challenges in Crimson Desert, and it has a nasty habit of resetting entirely if you fall off the edge at the wrong moment. Three broken rings, floating debris scattered across the void, and a controllable platform you may not even realize you can use. This guide walks through every step so you get in, fix the rings, and collect your Abyss Artifact without reloading the same save three times.
How do you reach Skyloop Bridge?
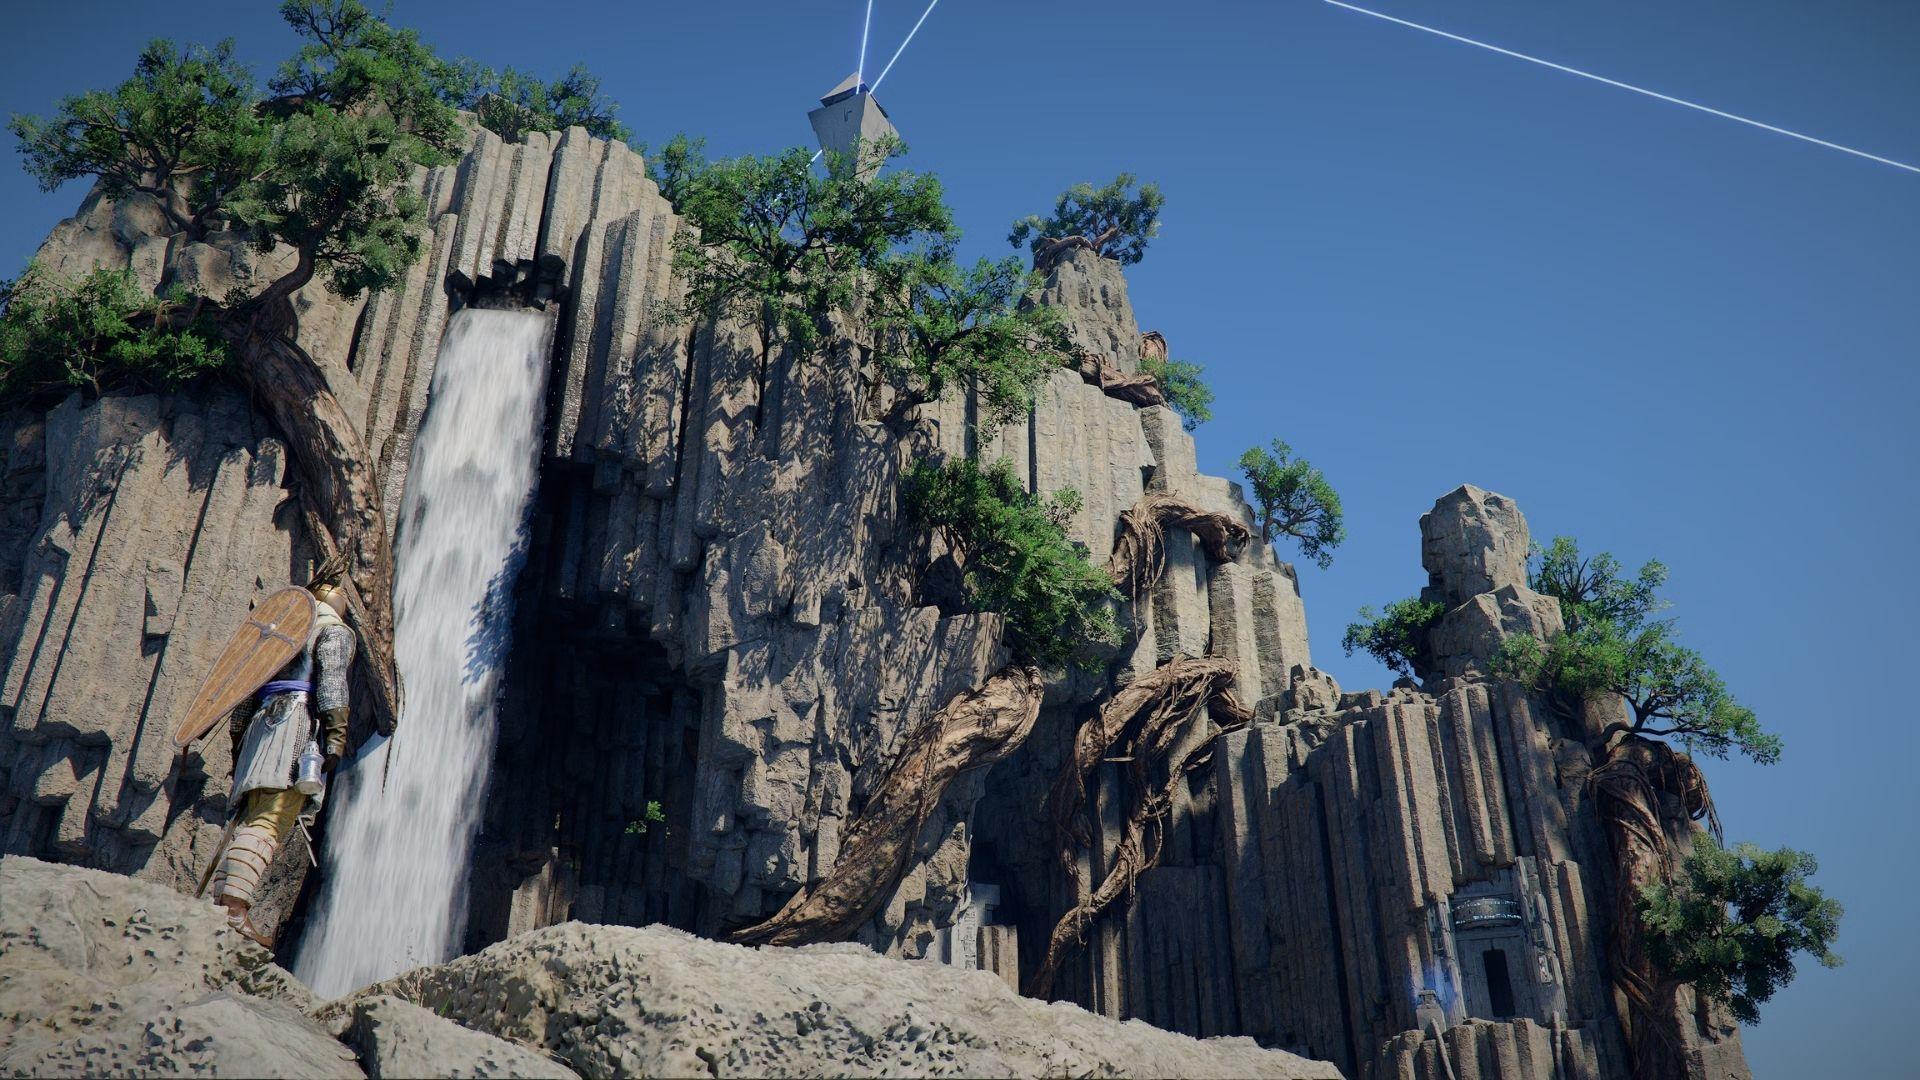
Skyloop Bridge sits deep in the Sleet Isles cluster of Abyss Islands. You cannot access it directly. You must first complete Tree of Slumber, then use the Skybridge found there to reach Skyloop Bridge. The full chain leading into it runs through Spire of Ringing Truth, Ether Rest, Frostbitten Paradise, Path of Trials, Sanctorum of Darkness, Loop of Life, and finally Tree of Slumber.
If you have not cleared Tree of Slumber yet, you will need to complete its puzzle before the Skybridge becomes available.
What skills do you need for Skyloop Bridge?
Before dropping into this puzzle, make sure your loadout covers the required and recommended abilities.
Axiom Force is non-negotiable since you use it to operate the controllable platform and grab ring pieces. Force Palm or Force Current handles the final activation switch. Flight makes reaching the large circular device at the end significantly easier.
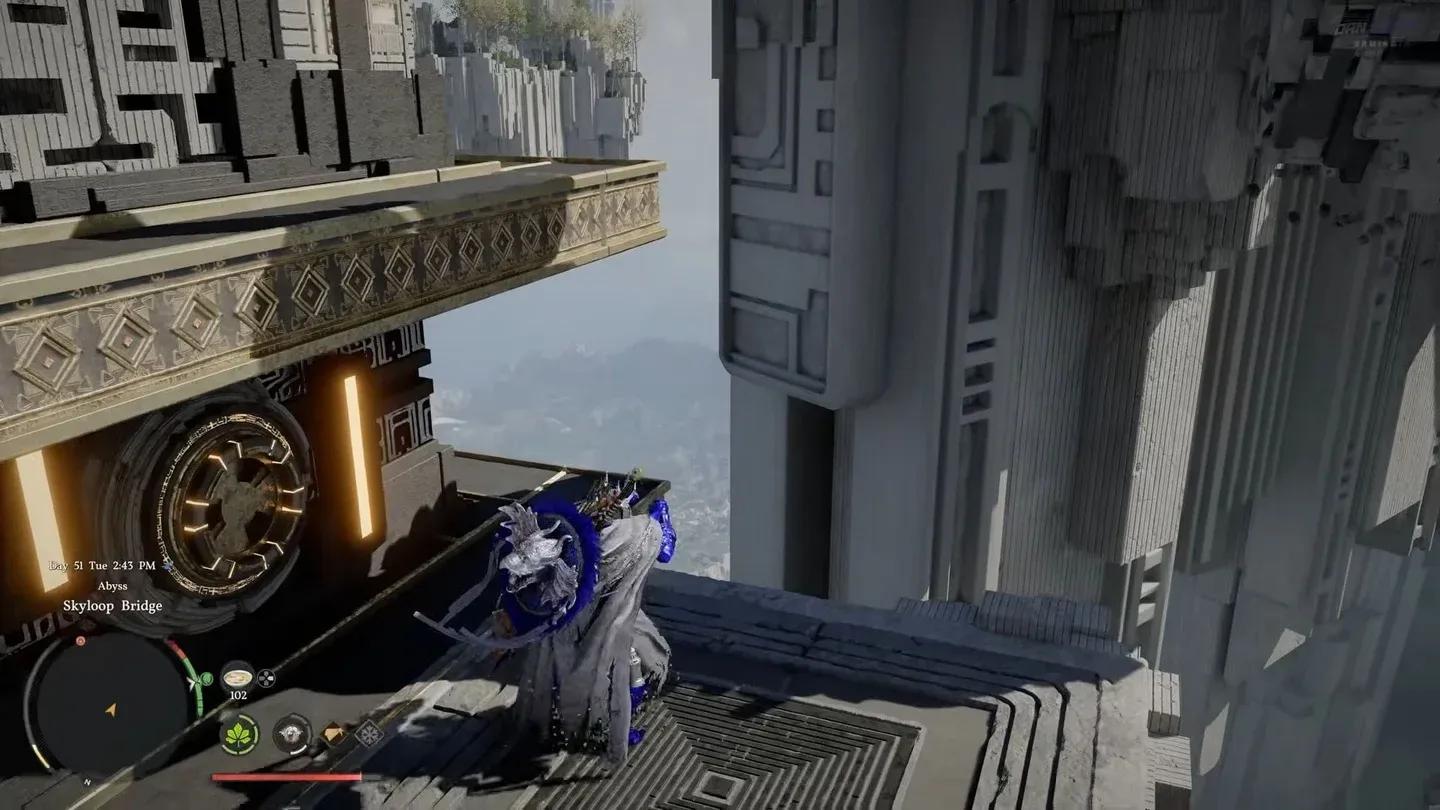
Abyss Nexus starting point
Skyloop Bridge puzzle solution
Understanding the goal
The objective is to repair three broken rings on the pillars around the area. One ring near the starting platform already has its large piece installed. The other three need all their pieces placed from scratch. Each ring piece glows orange when you are holding it and hovering near its correct slot, and pieces get pulled automatically into place once you are close enough and properly aligned.
If a piece does not lock in, grab it again, reposition slightly, and release. Do not force it.
Using the controllable platform
From the Abyss Nexus, look for the small platform attached to the yellow-lit pillar directly in front of you. Stand on it and use Axiom Force on the socket in the pillar. This opens an overhead view where you can cycle between pillars using the Next and Previous functions. The selected pillar highlights blue. Press Operate to pull the platform toward it.
You are not required to use this platform. You can also jump and glide with Force Palm boosts between sections. The platform is the intended approach and tends to be safer for players who are not yet comfortable with aerial movement in the Abyss.
Platform navigation socket
Section 1: left pillar (two pieces)
Direct the platform to the left pillar. Climb up to the higher platform ahead to reach it.
- Grab the largest piece using Axiom Force and move it toward the central ring hole. It goes in the bottom center position.
- Grab the small piece nearby and insert it into the top center position.
Once both pieces lock in, the ring will show a field through its center, confirming completion.
Section 2: west pillar (three pieces)
Move to the west pillar, either via the platform or by jumping and gliding across.
This ring is completely empty, so you need all three pieces:
- Grab the large piece floating high above the pillar first.
- Take any of the medium-sized pieces floating nearby.
- Finish with the small piece close to the pillar base.
Ring pieces near west pillar
Section 3: right-side inner ring (three pieces)
Head to the right-side inner ring. The approach here involves going northeast from the yellow button platform rather than stopping at the button.
- The medium-sized piece to your right (facing east from the ring) goes in the top left section.
- The small piece to the east goes in the top center. You may need to climb a higher ledge to grab it at the right angle.
- The large piece is high in the sky, above the other large piece below it. Insert it into the bottom center/right section.
Section 4: starting platform ring (two pieces remaining)
The ring to the right of the starting platform already has its large piece installed. You only need to add:
- One medium-sized piece
- One small piece
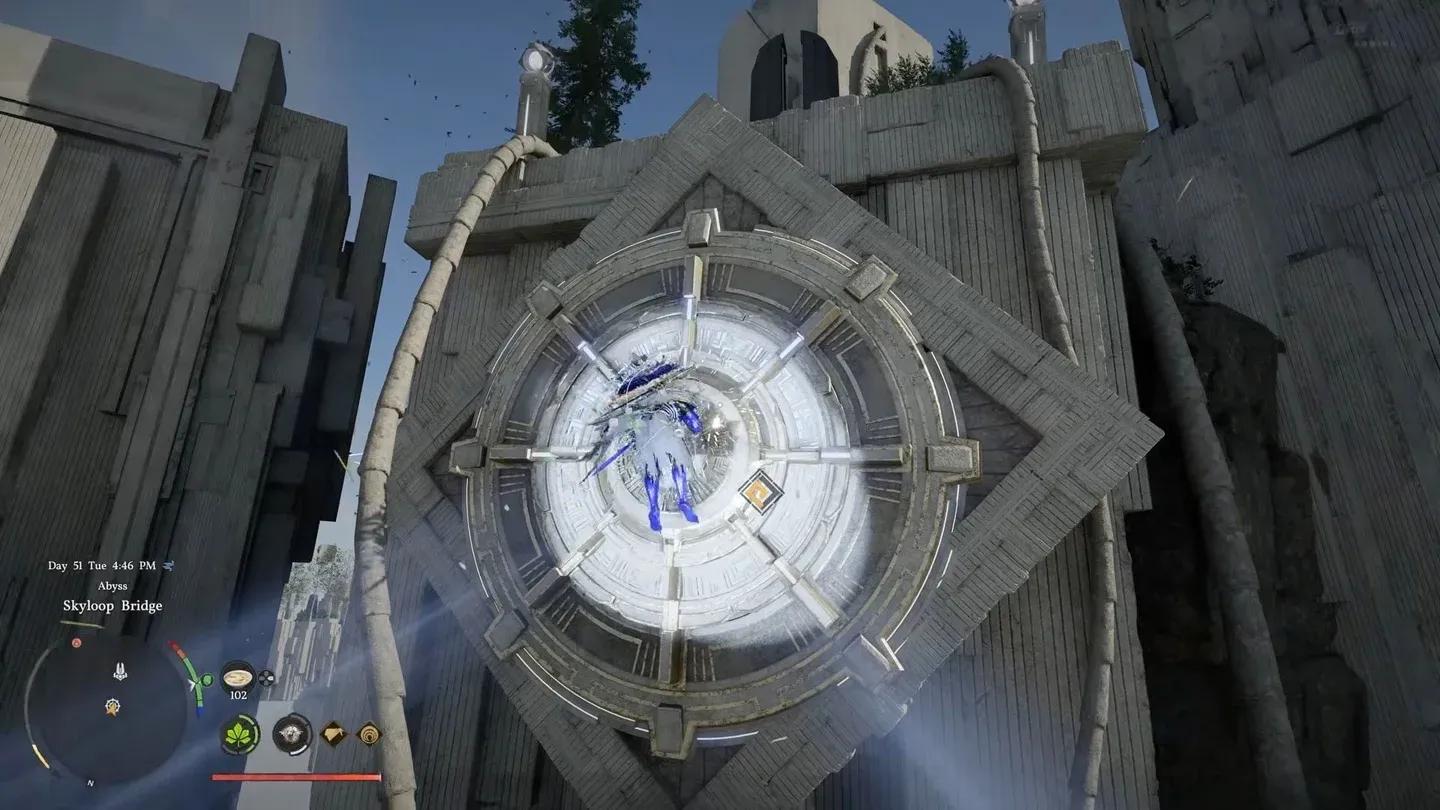
Place them as with the other rings. When the last piece locks in, a cutscene will trigger showing the activation button becoming live.
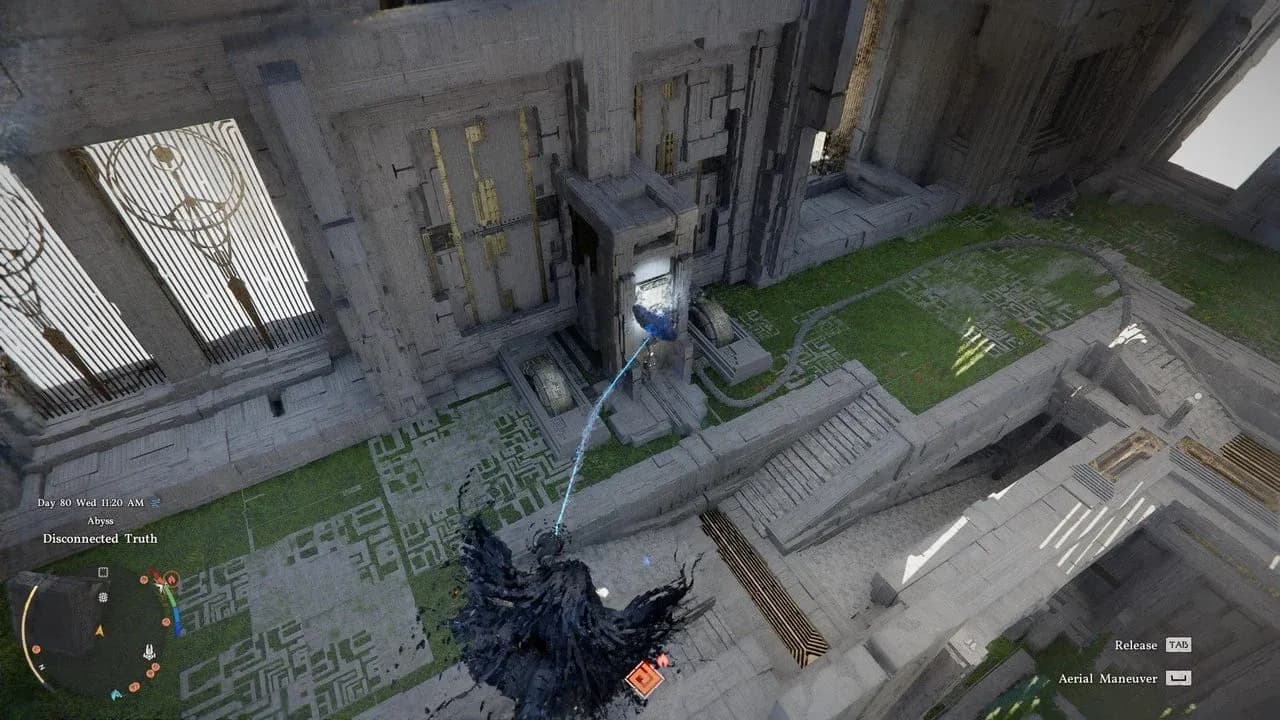
Activating the final switch and claiming rewards
Once all three rings are repaired, make your way carefully to the activation button. Make sure to hold your climb button before using Force Palm on the switch so you do not blast yourself off the platform.
Climb up to the platform above the switch to collect your rewards.
What do you get for completing Skyloop Bridge?
The chest containing the Faded Abyss Artifact and Vitality III is accessible before you even reach the Abyss Nexus. You can grab it by gliding down to the lower section near the fans and using Focused Shot to mark all 5 buttons above the two fans, which shuts them off and lets you reach the chest safely.
For more Crimson Desert puzzle walkthroughs and challenge guides, browse more guides on GAMES.GG.