
The Timberdale Gorge Ruins puzzle is one of the more deceptive Ancient Ruins challenges in Crimson Desert. The flooded interior hides the actual puzzle entirely, and once the water drains, you're facing a multi-wall dial system where hitting one button wrong can reset your neighbors' progress. Knowing the exact sequence before you start saves a lot of frustration.
Where is the Timberdale Gorge Ruins location?
The ruins sit in the Delesyia region, within the Timberdale subregion of Dewhaven. More specifically, they're located east of the Sanctum of Devotion, near the river. On your map, look for a Mysterious Energy marker in that area. According to both Eurogamer and PowerPyx, these Mysterious Energy icons can flag Secret Places, Ancient Ruins, or an Abyss Nexus, so make sure you're heading to the right one.
info
Save your game manually before starting this puzzle. If you attempt to reset by running away, the pool of water may not refill properly because the northern wall stays broken. A save reload is the only reliable reset method, as noted in testing documented by Eurogamer.
Ruins location in Dewhaven
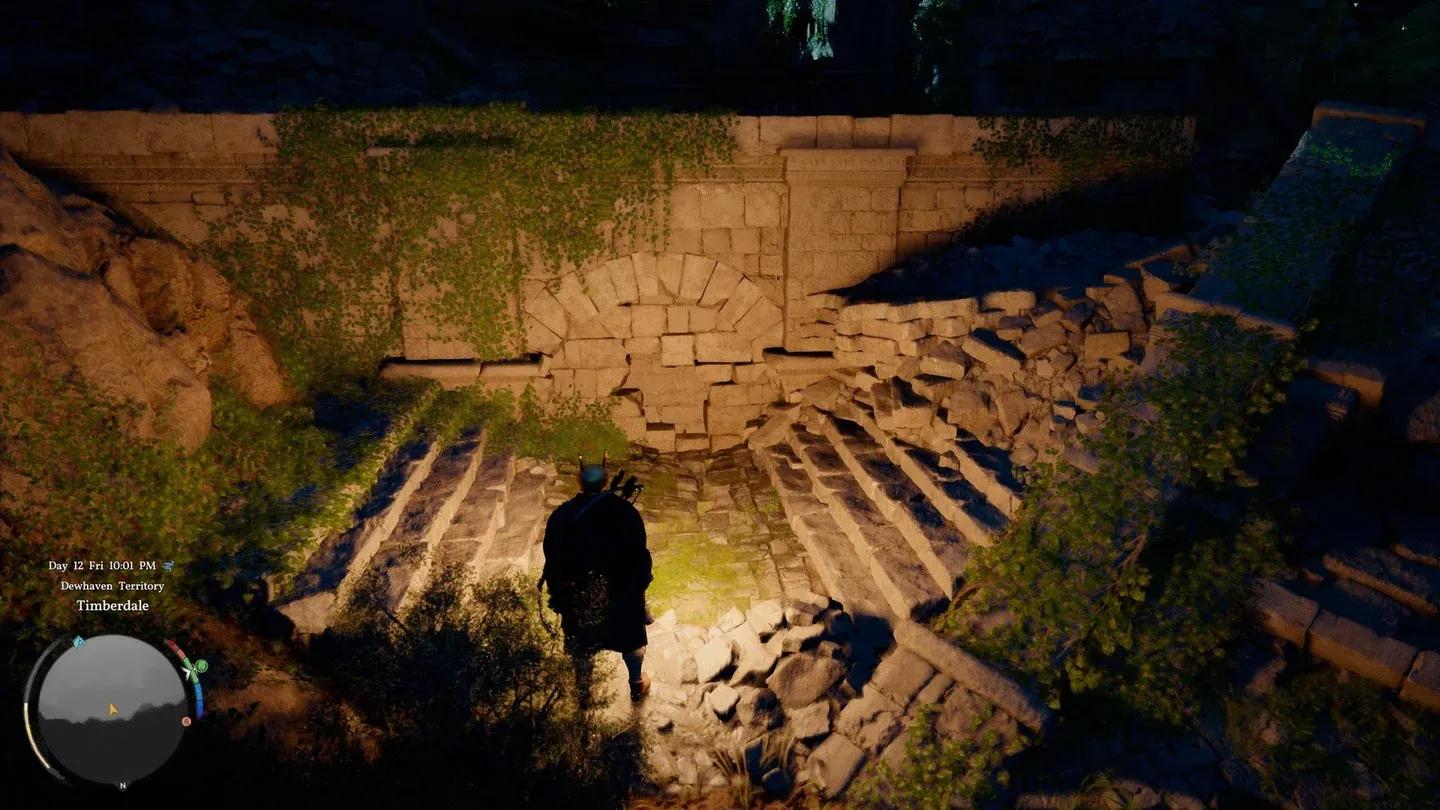
How do you drain the water in Timberdale Gorge Ruins?
When you arrive, the ruins interior is submerged. The puzzle dials on the walls are completely inaccessible until you deal with the flooding first.
Head to the northernmost wall of the ruins, near the stairs. You'll see a section of arched brickwork that's visibly crumbling. Destroy it using Turning Slash (controller input: R1 + R2; PC: Left Click + Right Click). According to Game8, Force Palm Expertise also works here if you prefer that skill. Once the wall breaks, the water begins draining through the gap. Give it a moment to clear fully before heading back inside.
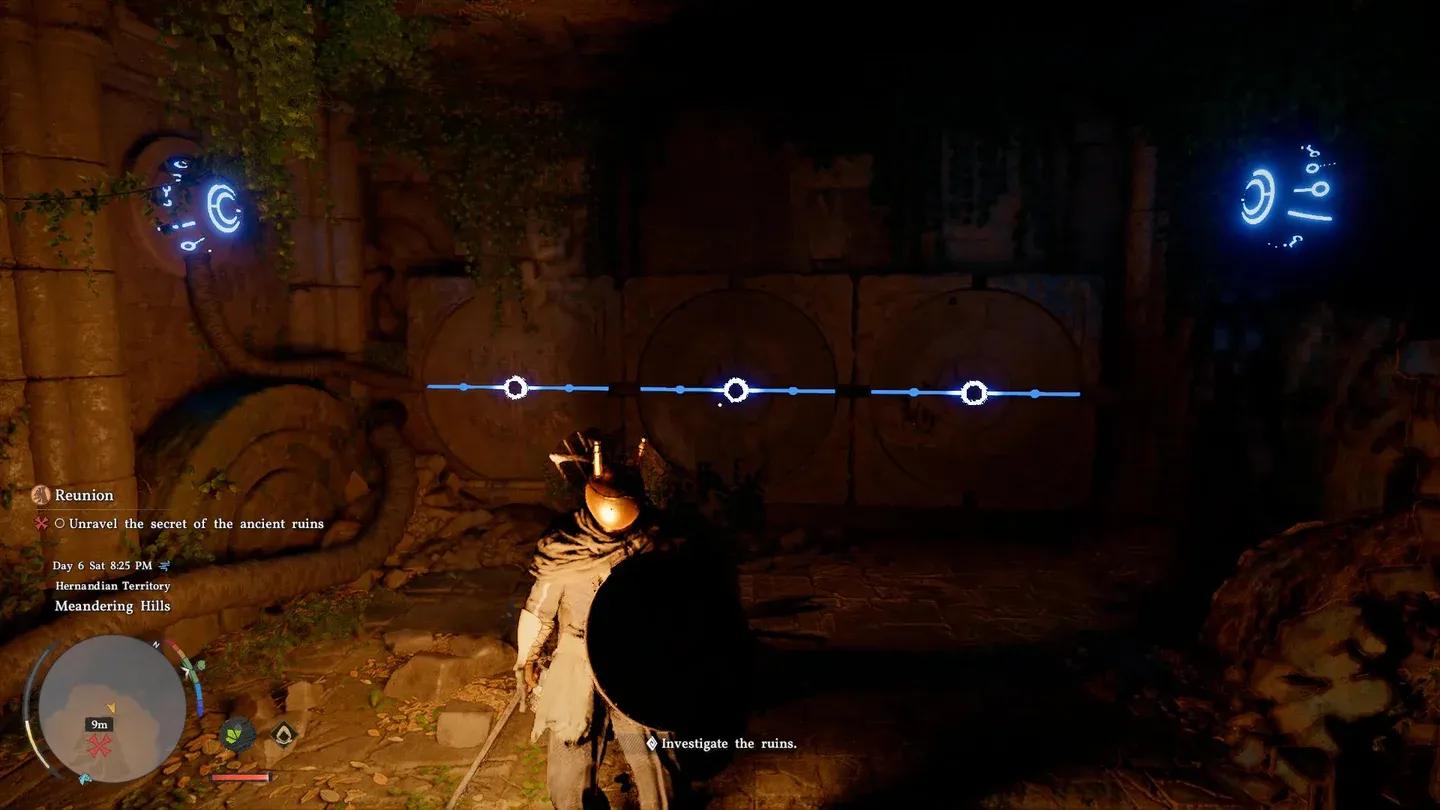
What is the correct dial sequence for the Timberdale Gorge Ruins puzzle?
With the ruins drained, three separate wall panels become accessible. Each panel connects power to the next in sequence, and they must be completed in order: center wall first, then the wall to your right, then the wall behind you. Pressing L1 at any point reveals the intended power flow path between dials, which helps you visualize the target configuration.
To interact with the higher dials, use Force Current (activate Axiom Force with L3, then press R3). This lets you grab and trigger dials from a distance. The lower dials on the final panel can be hit directly with Force Palm instead.
warning
Hitting a dial can cause adjacent dials to reset. Line yourself up carefully with only the dial you intend to hit before pressing the button. Sloppy positioning is the main reason players get stuck here.
Round 1 (center wall)
Hit the leftmost dial, then hit the rightmost dial. Two buttons total. Once both are activated correctly, power flows to the next panel.
Round 1: left then right
Round 2 (right wall)
Hit the dial in the middle of the leftmost column, then hit the dial in the top right-hand corner. Two buttons again. Power then routes to the final panel.
Round 3 (east wall, behind you)
This is the most involved panel. Hit four dials in total:
- The dial in the middle of the leftmost column
- The dial in the middle of the top row
- The dial at the bottom of the fourth column (third row, fourth column)
- The dial in the top right-hand corner
All four sources (Eurogamer, Game8, and PowerPyx) agree on this sequence, so these positions are confirmed. Once all four dials are activated, a sealed door opens in front of you.
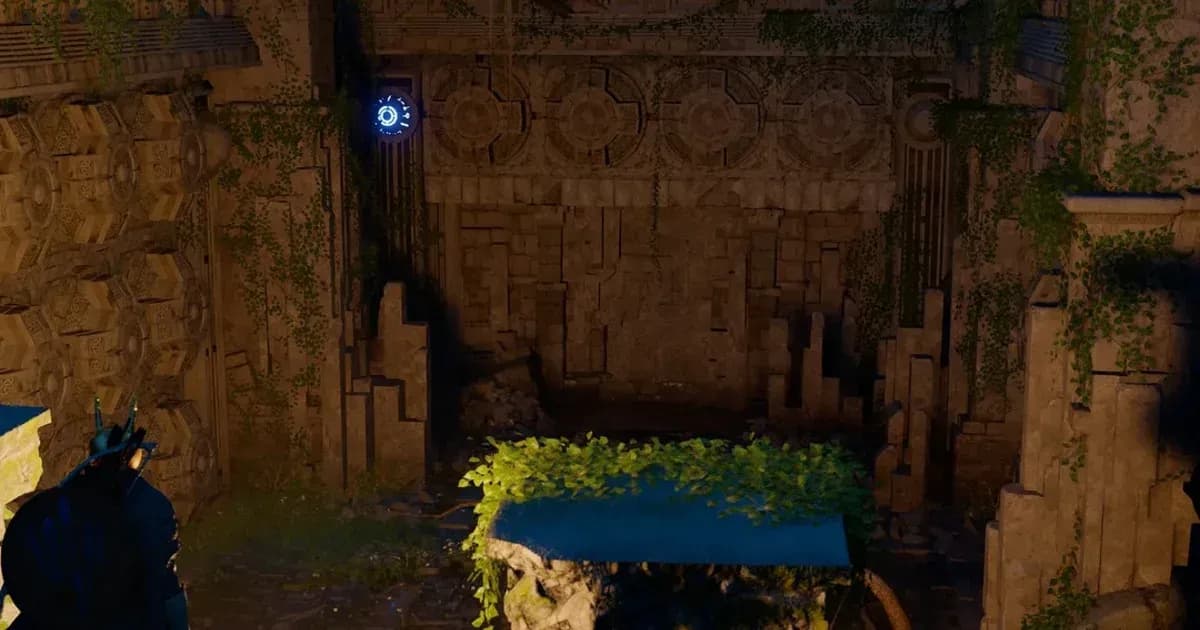
What do you get for completing the Timberdale Gorge Ruins puzzle?
Behind the unsealed door sits a glowing blue podium holding an Abyss Cresset. Interact with it to claim an Abyss Artifact and activate a new fast travel point at this location. According to Game8, this counts as one Abyss Artifact toward your collection, and the fast travel unlock is permanent.
info
The Timberdale Gorge Ruins are separate from the nearby Timberdale Cliff Ruins, which is a different puzzle in the same subregion. If you're working through all Ancient Ruins challenges in Delesyia, make sure you hit both.For more Crimson Desert puzzle walkthroughs and exploration guides, browse more guides on GAMES.GG.