

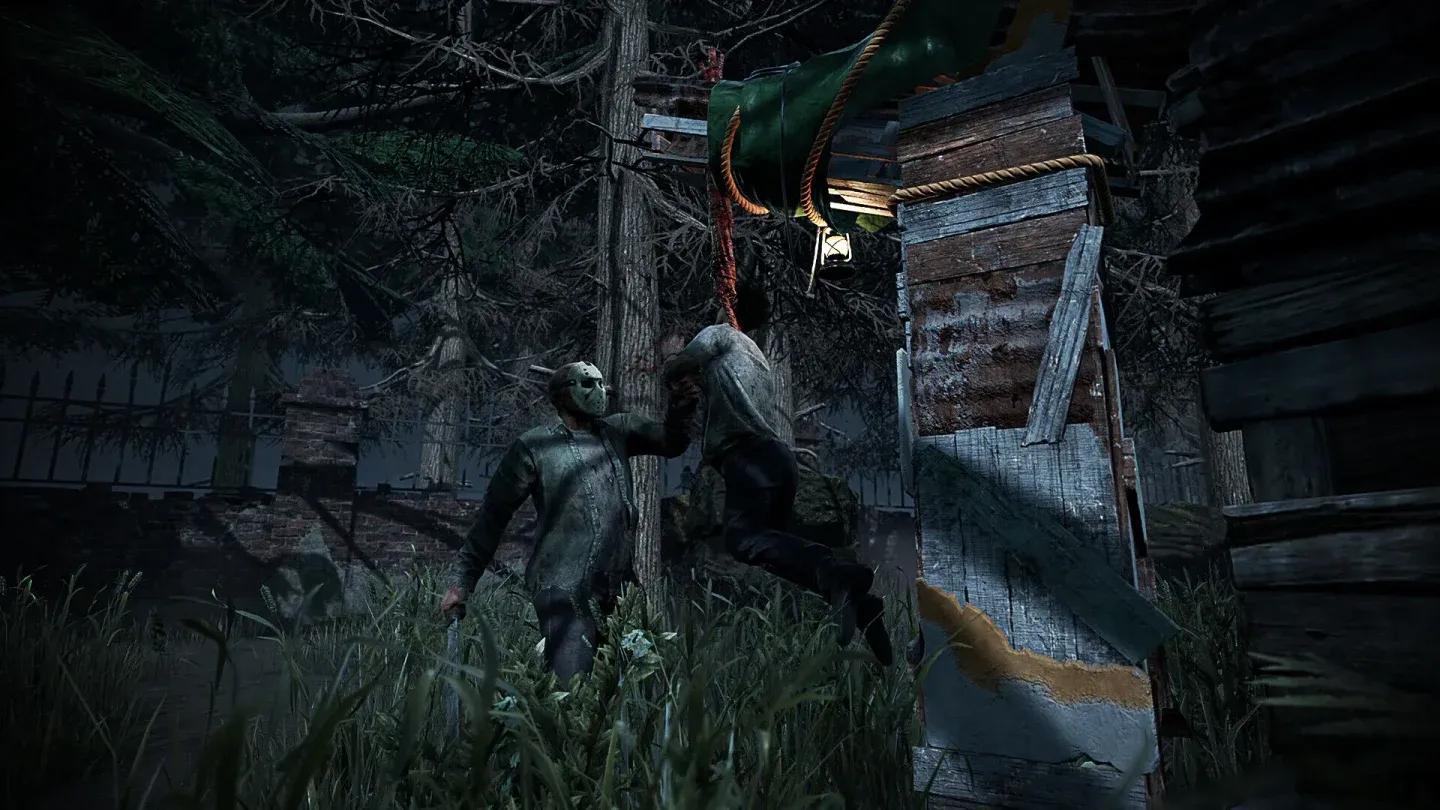
Jason Voorhees arrived in Dead by Daylight on June 16, 2026, bringing Friday the 13th's most iconic slasher into the fog. He plays unlike most killers: a stealth powerhouse who can vanish from sight, reappear across the map, and hurl projectile spikes at survivors who think they're safe. His base movement speed is on the slower side, so raw chasing isn't his game. What he does instead is control space, punish loops, and make survivors feel like no corner of the map is truly safe.
What are Jason's unique powers and perks?
Before picking a build, you need to understand what Jason actually does, because his kit is more layered than most killers at first glance.

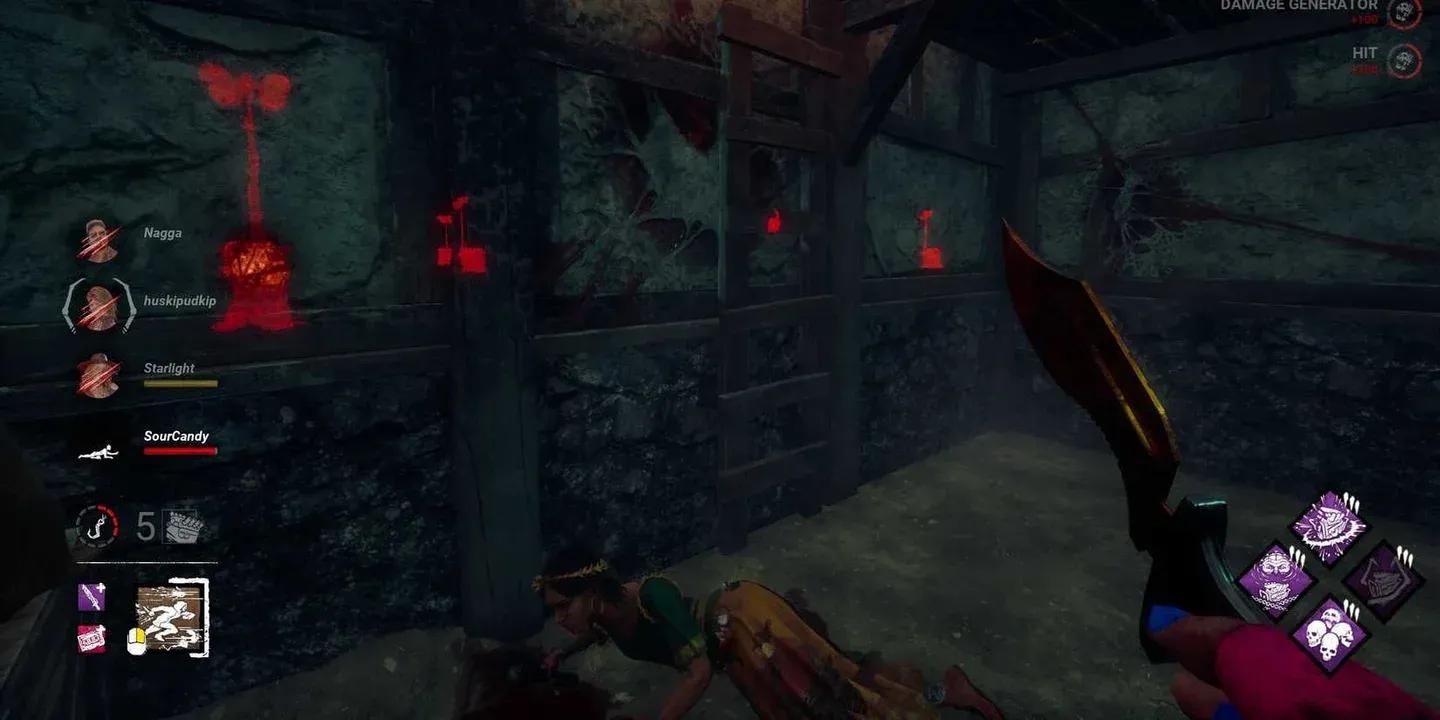
Omnipresent Evil red mist view
Omnipresent Evil
Omnipresent Evil is Jason's primary power. While active, he becomes invisible and undetectable, moves quickly across the map, and can spot survivors through a red mist that appears over anyone repairing generators, cleansing totems, vaulting, or healing. He also sees red footprints left by moving survivors. This is your scouting tool and your repositioning engine. Use it to find survivors between chases rather than wandering blind.
When Jason exits Omnipresent Evil at a window, pallet, or breakable wall, he triggers Jump Scare: nearby survivors scream and receive Killer Instinct, revealing their location. Timing your exits well turns every stealth pass into actionable information.
Throwing Spikes
Throwing Spikes are Jason's secondary ability. He picks them up from junk piles scattered around the map or from any Killer Hook, with the hook returning the spike after 15 seconds. Hooking a survivor also replenishes a spike automatically. These projectiles injure healthy survivors, down injured ones, or pin them to a wall. The hitbox behaves similarly to Deathslinger's gun, so aim with that in mind. Crucially, Jason doesn't have to wait for a survivor to remove a stuck spike before grabbing and throwing another.
Jason's three teachable perks
All three of Jason's perks revolve around pallet-breaking, stealth, and making survivors scream. Here's the breakdown:
- Hex: Scared To Death: After hooking 3 different survivors, a Dull Totem ignites. While chasing a survivor, breaking a pallet causes survivors within 13m to scream and become Hindered for 3 seconds.
- Rampage: Breaking pallets or breakable walls earns a Token, up to 13. After being blinded or pallet-stunned, you gain 1% Haste per Token for 13 seconds. Cooldown: 20 seconds.
- Silent Shadow: Hooking a survivor grants Undetectable for 13 seconds. When all generators are repaired, you become Undetectable permanently.
Jason's three teachable perks
Speed-boosting build
Jason's biggest weakness is raw speed. This build addresses it directly by stacking Haste from multiple sources and keeping tabs on survivor positions through screams and auras.
Add-ons: Eye Goop + Imprinted Aluminum. Eye Goop grants Undetectable for 30 seconds after grabbing a Hook Spike. Imprinted Aluminum inflicts Mangled and Hemorrhage on healthy survivors for 70 seconds after a Spike hit.
The trick here is managing the Obsession. Furtive Chase and Friends Til The End keep cycling the Obsession tag between survivors, so you're almost always in a position to gain speed from hooking or abandoning chase. Play With Your Food rewards you for deliberately breaking off pursuits, which also feeds into Jason's fantasy of appearing to lose interest before striking again.
Gen-pressure build
This build keeps generators regressing while you gather information from hooks and movement. The perks work during normal play; the add-ons activate specifically during Omnipresent Evil.
Add-ons: Deputy's Badge + Sauna Rock. Deputy's Badge causes a generator to explode when Jason passes it during Omnipresent Evil or forces difficult skill checks on survivors repairing it. Sauna Rock inflicts all survivors with Exhausted for 13 seconds after a Jump Scare.
The Sauna Rock add-on is particularly punishing because it hits everyone on the map simultaneously, shutting down any exhaustion-based perks like Dead Hard right after a Jump Scare. Combine that with Corrupt Intervention's early-game lockdown and Pain Resonance's mid-game regression, and generators become a constant source of frustration for survivors.

Gen-pressure perk setup
Hex build
This build bets on Hex totems surviving long enough to cripple generator progress. Hex: Thrill Of The Hunt is the linchpin: it slows totem cleansing by 12% per remaining totem, so the more totems on the map, the longer survivors spend on each one.
Add-ons: Iridescent Boat Motor + Toxic Waste. Iridescent Boat Motor marks windows Jason passes through during Omnipresent Evil, blocking them for 13 seconds after a Jump Scare. Toxic Waste makes survivors within 8m of a hook or scrap pile gain Oblivious for 13 seconds after a Jump Scare.
The full Hex build creates a dilemma for survivors: ignore the totems and watch generators slide backward, or spend time cleansing while Thrill Of The Hunt makes each cleanse agonizingly slow. Omnipresent Evil lets you patrol the map and interrupt cleansing attempts with a Jump Scare, which is exactly the kind of interruption this build is designed to generate. Hex: Undying provides insurance against early totem destruction by transferring the effect to a new totem.
Hex totem setup in action
Thematic build: what if you want Jason to feel like the movies?
Not every build needs to be optimized for maximum efficiency. This approach leans into Jason's identity as a relentless, wounded-survivor horror machine, using perks that make healing feel hopeless rather than perks that purely maximize pressure metrics.
- Hex: Scared To Death (Jason's own perk) to create chaos at pallets
- Rampage (Jason's own perk) to grow stronger from stuns
- Sloppy Butcher to apply Hemorrhage and Mangled for 90 seconds on basic attacks, slowing healing and causing passive health loss
- Scourge Hook: Weeping Wounds to apply Hemorrhage, Mangled, and a 16% heal/repair speed penalty to survivors unhooked from Scourge Hooks
For add-ons, Missing Corkscrew grants Undetectable from the moment a survivor is impaled until 13 seconds after they extract the spike, while also making impaled survivors emit a 32m Terror Radius. Mirror Shards applies Broken for 30 seconds after extraction, preventing healing entirely during that window.
The result is a lobby where survivors are almost never at full health. Every hook, every spike hit, and every pallet break compounds the pressure. Survivors who prioritize healing find themselves burning time they can't afford. Those who ignore healing become easy downs. It's the closest Dead by Daylight gets to replicating the slow-burn dread of the source material.
For a deeper look at how all these perks fit into the broader killer roster, check out the Dead by Daylight perks explained guide for full tier breakdowns and build recommendations across every killer.
Key tips for playing Jason effectively
- Use Omnipresent Evil between chases, not during them. The speed boost and red mist scouting are most valuable when you're repositioning, not when you're already in a chase.
- Exit Omnipresent Evil at pallets and windows to maximize Jump Scare value. Exiting in the open wastes the scream effect.
- Throw spikes at survivors who are healing or working on generators from a distance. A spike interrupts their action and forces them to deal with the embedded projectile.
- Against experienced survivors, the Hex build works best when you run Omnipresent Evil to check totem locations early and interrupt any cleansing attempts the moment they start.
- Jason's pallet-break perks scale with how aggressively survivors loop. High-level lobbies with confident loopers actually feed Rampage faster than passive survivors do.
If you want to grab free Bloodpoints to spend on Jason's Bloodweb before committing to a build, the Dead by Daylight codes guide has every active redemption code and step-by-step instructions.
For more killer guides, tier lists, and survivor strategies, browse the full Dead by Daylight guides collection.