
Deadlock's laning phase is where matches are quietly decided before most players even notice. While others are chasing kills and ego-trading under the enemy Guardian, the players who actually climb are focused on something quieter: Souls per minute, wave positioning, and tempo. Get those three things right, and you'll hit item breakpoints earlier, control when fights happen, and force your opponents to react instead of play. This guide breaks down everything you need to win lane consistently, whether you're going it alone or coordinating with a duo partner.
Soul orb pickup mechanics
What Does "Laning" Actually Mean in Deadlock?
Laning in Deadlock is not a passive farming exercise. It's the early-game economy engine and the first layer of map control. A strong laning phase accomplishes four things simultaneously:
- Souls advantage: you reach item breakpoints before your opponents do.
- Wave position advantage: your Troopers are placed where they benefit you, not them.
- Health and stamina advantage: you stay on the map longer and pick fights on your terms.
- Objective pressure: you create safe windows to chip the Guardian instead of donating your HP bar to it.
Chasing kills alone will win you some lanes. But you'll also "win lane and lose game" far more often than you should. Focusing on these four goals means you'll win more lanes with fewer kills, because you'll consistently hit items first and dictate when fights happen.
Solo vs Duo Lanes: What Are You Actually Playing?
Deadlock uses a three-lane map (York, Broadway, and Park) with a standard 2-2-2 setup at the start of each match. Earlier builds of the game featured four lanes with more dedicated solo assignments, but the modern three-lane format means true solo lanes are rare. That said, solo-style laning happens constantly because:
- Your partner rotates, shops, dies, or covers another lane.
- Staggered respawns and rotations create temporary 1v1 or 1v2 situations.
- Teams sometimes allocate unevenly to create pressure windows when ahead.
So when players talk about "solo lane vs duo lane," they usually mean one of two situations:
- Duo lane: two allied heroes are consistently present, sharing wave control and Soul pickups together.
- Solo-style lane: you are effectively alone long enough that you must prioritize safety, consistent income, and wave control without relying on backup.
You will experience both in almost every match, often within the first five minutes. Knowing how to play each situation is non-negotiable.
How Does the Soul Economy Work in Lane?
Your lane economy is built on Trooper waves. Everything else is secondary.
Trooper bounty is split into two parts:
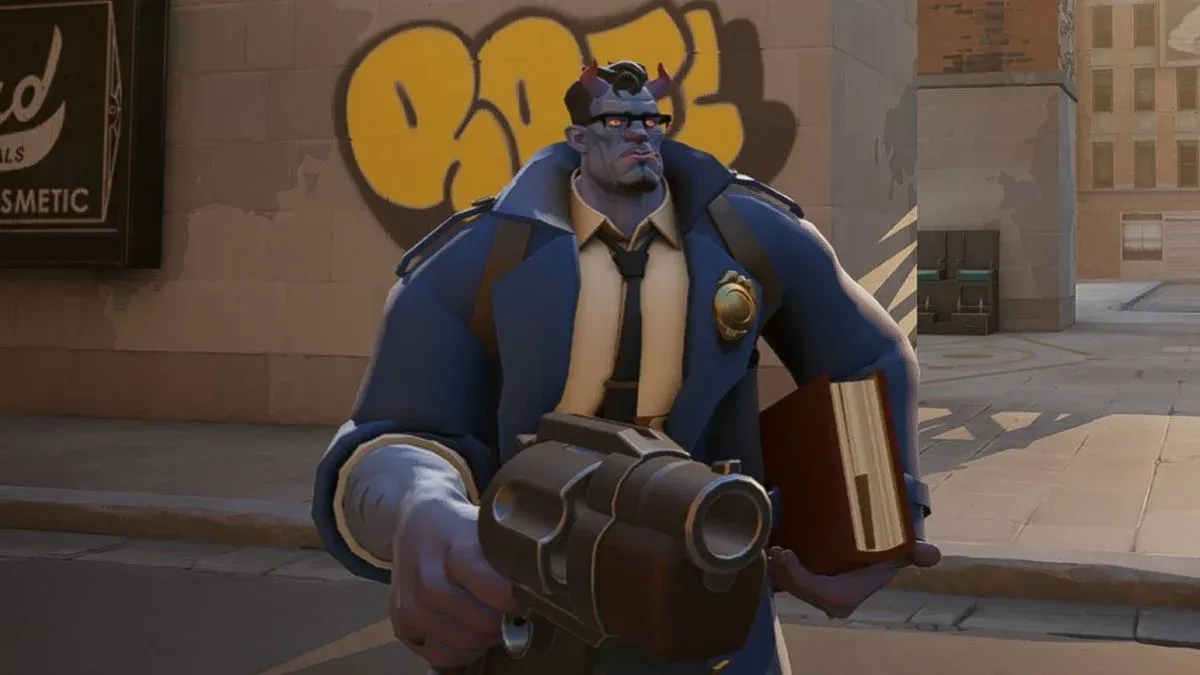
- A flying orb portion that can be secured or denied by either team (the contestable share, reduced to roughly 40% of the total Trooper bounty in a major update).
- A ground orb portion that falls to the ground and is collected by proximity (safer, but still losable if you're pushed away from the drop zone).
Key mechanical details that matter for consistent laning:
- Ground orbs have a pickup radius, so the orb travels to you once you get close enough.
- Ground orbs persist for approximately 18 seconds early in the game, scaling longer as the match progresses.
- The Trooper "in-range" distance for Soul drops increased in recent updates, so you can collect even while kiting slightly farther back than older builds allowed.
The practical implication is that you can't win lane purely through last-hitting. You must also control the space where Soul drops land. That's why laning in Deadlock feels skirmish-heavy: you're fighting for the right to step forward and claim value.
What Are the Four Numbers That Decide Your Lane?
If you want a laning scoreboard that actually predicts who wins, track these four metrics instead of kill count:
Kills only matter when they move one of these four numbers in your favor. If they don't, they're a distraction.
What Is Tempo and Why Does It Win Lanes?
Tempo is your right to move first. It's the single most important laning concept in Deadlock, and most players never think about it explicitly.
When you have tempo, you can:
- Shop without losing a wave.
- Rotate to assist a fight in another lane.
- Clear a nearby Denizen camp or breakables quickly.
- Open a Guardian pressure window with your Troopers tanking.
- Force the enemy team to respond to you.
When you don't have tempo, you're stuck reacting: clearing waves under your own Guardian, arriving late to fights, shopping at the worst possible moments, and losing ground orbs because you can't safely step forward.
Tempo is not aggression. Tempo is controlling time.
The Three Wave States That Create Tempo
You don't need advanced theory to manage waves effectively. Three states cover everything:
- Hold (safe state): keep the wave closer to your side so you collect ground orbs safely and punish enemy oversteps.
- Slow push (pressure setup): last-hit and keep your Troopers alive to build a larger wave, setting up a big crash later.
- Crash (tempo spike): shove the wave hard into the enemy objective area. While they clear, you get free time to shop or rotate.
How to Lane Solo-Style: The Safety-First Economy Plan
When you're alone in lane (or effectively alone), your priorities shift significantly.
What Are Your Solo Lane Priorities?
- Don't die. A solo death is a double punishment: you lose a wave and give the enemy time to damage your Guardian uncontested.
- Secure guaranteed income. Prioritize waves and safe ground orb pickups over risky denies.
- Control wave location. Hold the wave closer to your side to make ganks harder and farming safer.
- Trade only when it improves your safety. Solo trades are about creating space, not proving you can win a duel.
The Safe Triangle Positioning Concept
A simple positioning framework makes solo lanes far more manageable. Your safe triangle has three points:
- Cover (where you can break line of sight).
- Wave (your income source and physical shield).
- Retreat path (the direction you escape if multiple enemies appear).
If you're standing somewhere that only offers one of these three, you're vulnerable. If you can reach all three within a second, you're stable.
What Do You Do When You're Outmatched in Lane?
Some matchups give the enemy better early pressure, range, or burst. Your goal in those situations is not to "win trades." Your goal is to not lose the lane.
- Hold the wave near your side. Don't push unless necessary.
- Collect ground orbs on safe timings: when the enemy reloads, misses shots, or uses a cooldown on the wave.
- Prioritize survivability in your early item purchases. Staying in lane prints Souls; backing constantly bleeds tempo.
- Ask for a timed rotation when the enemy is extended, not a random gank.
Bad matchups become even lanes with this approach, and even lanes are enough to win through later objectives.
Safe Guardian pressure timing
How to Lane as a Duo: Two Players, One Plan
Duo lanes win when both players stop acting like strangers standing near each other and start functioning as a unit. A strong duo divides into two roles:
- Space maker: frontline posture, cover control, prevents the enemy from freely stepping in for pickups.
- Damage converter: turns openings into real damage, secures denies, and chips the Guardian.
Any hero combination can fill these roles. The job division is what matters, not the specific heroes.
How Do You Share the Wave Without Both Getting Poor?
The most common duo-lane mistake is both players shooting everything constantly. This creates three problems:
- You burn ammo at the wrong moments and miss secures or denies.
- You accidentally push the wave when you wanted to hold it.
- You both step into open space and eat poke together.
Instead, use a simple role split:
- One player handles wave management (last hits, controlled shove or hold).
- One player handles zone and pressure (threatens the enemy when they step up for pickups).
You can swap these roles based on cooldowns and health. The point is to avoid both players doing the same job at the same time.
Duo Lane Spacing: Not Too Close, Not Too Far
A duo that stacks on top of each other is vulnerable to area damage, crowd control, and being forced off pickups together. A duo that spreads too far gets isolated and out-traded before either player can assist.
The correct spacing is "close enough to trade together, far enough that one ability doesn't hit both."
- When farming, take slightly different angles on the wave.
- When a fight starts, collapse together for 2-3 seconds, then re-spread to avoid being punished by the same follow-up effect.
The 5 Calls That Win Duo Lanes in Solo Queue
You don't need long voice comms. These five short messages prevent most duo chaos:
- "Crash this wave then shop."
- "Hold near us, don't shove."
- "They used cooldown, step up."
- "I'm low, play safe one wave."
- "Roam next crash, be ready."
Even through pings and short chat, these concepts eliminate the majority of coordination failures.
How Do You Read Lane Matchups Without Memorizing Every Hero?
You don't need to know every hero kit. You need to identify each lane's style.
A huge portion of Deadlock lane outcomes also comes down to range vs brawl. Range-advantage lanes want open sightlines and long trades. Brawl lanes want corners, cover, and wave states near their side. Identify which you are and play accordingly.
What Are the Best Tempo Plays in Lane?
The Crash-Shop-Return Sequence
The most reliable laning tempo sequence works like this:
- Slow push to build a larger Trooper wave.
- Crash it into the enemy side.
- Shop or reset immediately while they're occupied clearing.
- Return while they're still catching up.
This is powerful because you spend Souls quickly (becoming stronger), lose fewer Troopers while shopping, and return with a stat advantage that makes the next wave easier. If you learn one tempo pattern, make it this one.
When Should You Roam From Lane?
Roaming is powerful in Deadlock because rotations happen quickly. But it's also the fastest way to fall behind if done wrong. A correct roam requires three conditions:
- Your wave is crashed (the enemy must clear).
- Your roam is short (you can return before the next wave).
- Your roam has a clear purpose (a real fight, an objective, or a guaranteed pressure play).
A bad roam is leaving on a neutral wave state, wandering hoping a fight appears, or arriving late and missing your own wave. The rule: if you can't picture the exact 15 seconds after you leave lane, crash the wave first.
Crash wave then shop timing
How Do You Handle Special Lane Situations?
Surviving a 1v2 When Your Partner Leaves
This happens constantly. Your 1v2 survival plan:
- Stop pushing immediately. A pushed wave invites a collapse.
- Hold near your side and make the enemy walk into you.
- Play behind cover and wave.
- Give up some denies. Your job is to not die and not lose the Guardian.
- Ping your partner's return timing.
If you survive the 1v2 window without dying, you usually win long-term because the enemy duo often overextends trying to force a result.
Converting a 2v1 Without Throwing
When you're the duo and the enemy is alone, this is a major advantage but only if you convert correctly.
Correct 2v1 conversion:
- Freeze or hold the wave so the solo enemy can't step forward safely.
- Punish every pickup attempt.
- Build a slow push and crash a huge wave.
- Take safe Guardian chip while Troopers tank.
Incorrect 2v1 conversion:
- Diving under the Guardian early.
- Chasing the solo enemy deep into open space.
- Taking unnecessary damage and losing your tempo advantage.
A 2v1 lane is won through denial and crash tempo, not risky dives.
Using Medic Troopers for Lane Sustain
Modern Trooper waves include medic-type Troopers that drop a healing pack when killed. That pack restores a portion of missing health to nearby allies.
- If you're low, timing a medic Trooper kill lets you stay in lane longer without backing.
- If you're pressuring, denying the enemy access to the heal can force them to reset.
- In duo, coordinate so you don't waste the heal when both players are already at full health.
When Should You Pressure the Guardian?
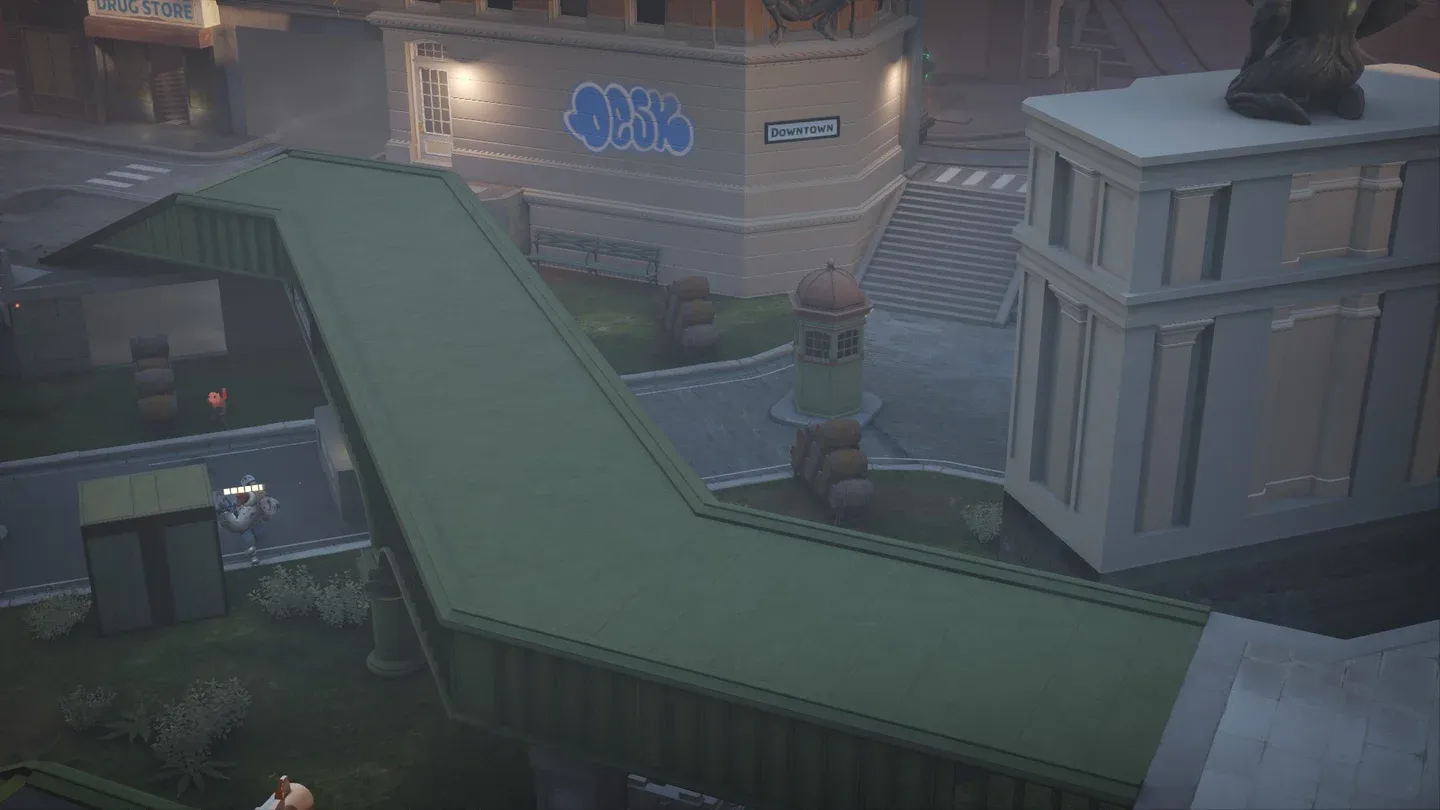
The Guardian is not a "shoot whenever you see it" target. Guardians are tuned to be highly resistant early and become more vulnerable as the game progresses. Guardian pressure must be disciplined.
Good Guardian pressure:
- Crash a wave so your Troopers tank the damage.
- Take short, safe damage windows.
- Back up the moment your Troopers die.
- Repeat next wave.
Bad Guardian pressure:
- Walking up alone with no Trooper wave.
- Trading your HP bar for a few seconds of damage.
- Getting collapsed on because you're deep with no stamina.
The most important rule: your Troopers are your tank. You are not the tank.
How Do You Win Lane Without Killing Anyone?
This is the win condition most players miss entirely. You can win lane on pure economy and tempo.
You're "winning lane" if you:
- Collect more Souls per minute than your opponents.
- Force the enemy to reset more often than you do.
- Deny safe ground orb pickups consistently.
- Chip the Guardian safely across multiple waves.
- Create earlier rotations to secondary objectives like the Soul Urn or Mid-Boss.
A lane that ends 0-0 but with you up a full item and your Guardian untouched is a won lane. Full stop.
The Lane Fight Checklist: Should You Commit?
Most lane deaths happen because players commit without checking the basics. Before going all-in on a fight, ask:
- Do you have at least one stamina option for escape?
- Do you know where the enemy partner is (in duo)?
- Are your key cooldowns available?
- Is the wave state safe, or will you lose a wave and objective if you die?
- Can you win the next 5 seconds specifically, not the next 20?
If you can't answer yes to most of these, take a shorter trade and reset behind cover. Deadlock rewards short, clean wins far more than long ego chases.
Secondary Objectives and the Midgame Transition
Laning doesn't end because a timer hits. It ends because Guardians fall, rotations increase, and secondary objectives like the Soul Urn and Mid-Boss become contested. These secondary objectives aren't required to win, but they provide strong boosts and can be used to draw the enemy team away from primary objectives.
Taking down a Walker after a Guardian falls awards an Extra Slot, making it one of the highest-value post-lane objectives available. When a Guardian goes down, prioritize pushing Troopers to the Walker rather than spreading thin across the map.
Your midgame transition plan:
- Keep catching waves (they're still your primary income).
- Rotate on crash windows, not randomly.
- Convert won fights into the nearest permanent objective.
- Shop after major value spikes so you don't carry a fragile lead into a teamfight.
Teams that maintain laning discipline into the midgame win more consistently than those who abandon wave management the moment a Guardian falls.