
Death Stranding 2's APAS Enhancement system is one of the most misunderstood mechanics in the game. Unlike the first Death Stranding, where the Porter System handed out small passive bonuses in a fairly linear way, Death Stranding 2: On the Beach splits skill progression across dedicated categories, each with nodes that meaningfully change how Sam plays. Picking the wrong ones early means grinding longer routes with less efficiency. Picking the right ones means Sam feels like a proper professional from the mid-game onward.
What are APAS Enhancements in Death Stranding 2?
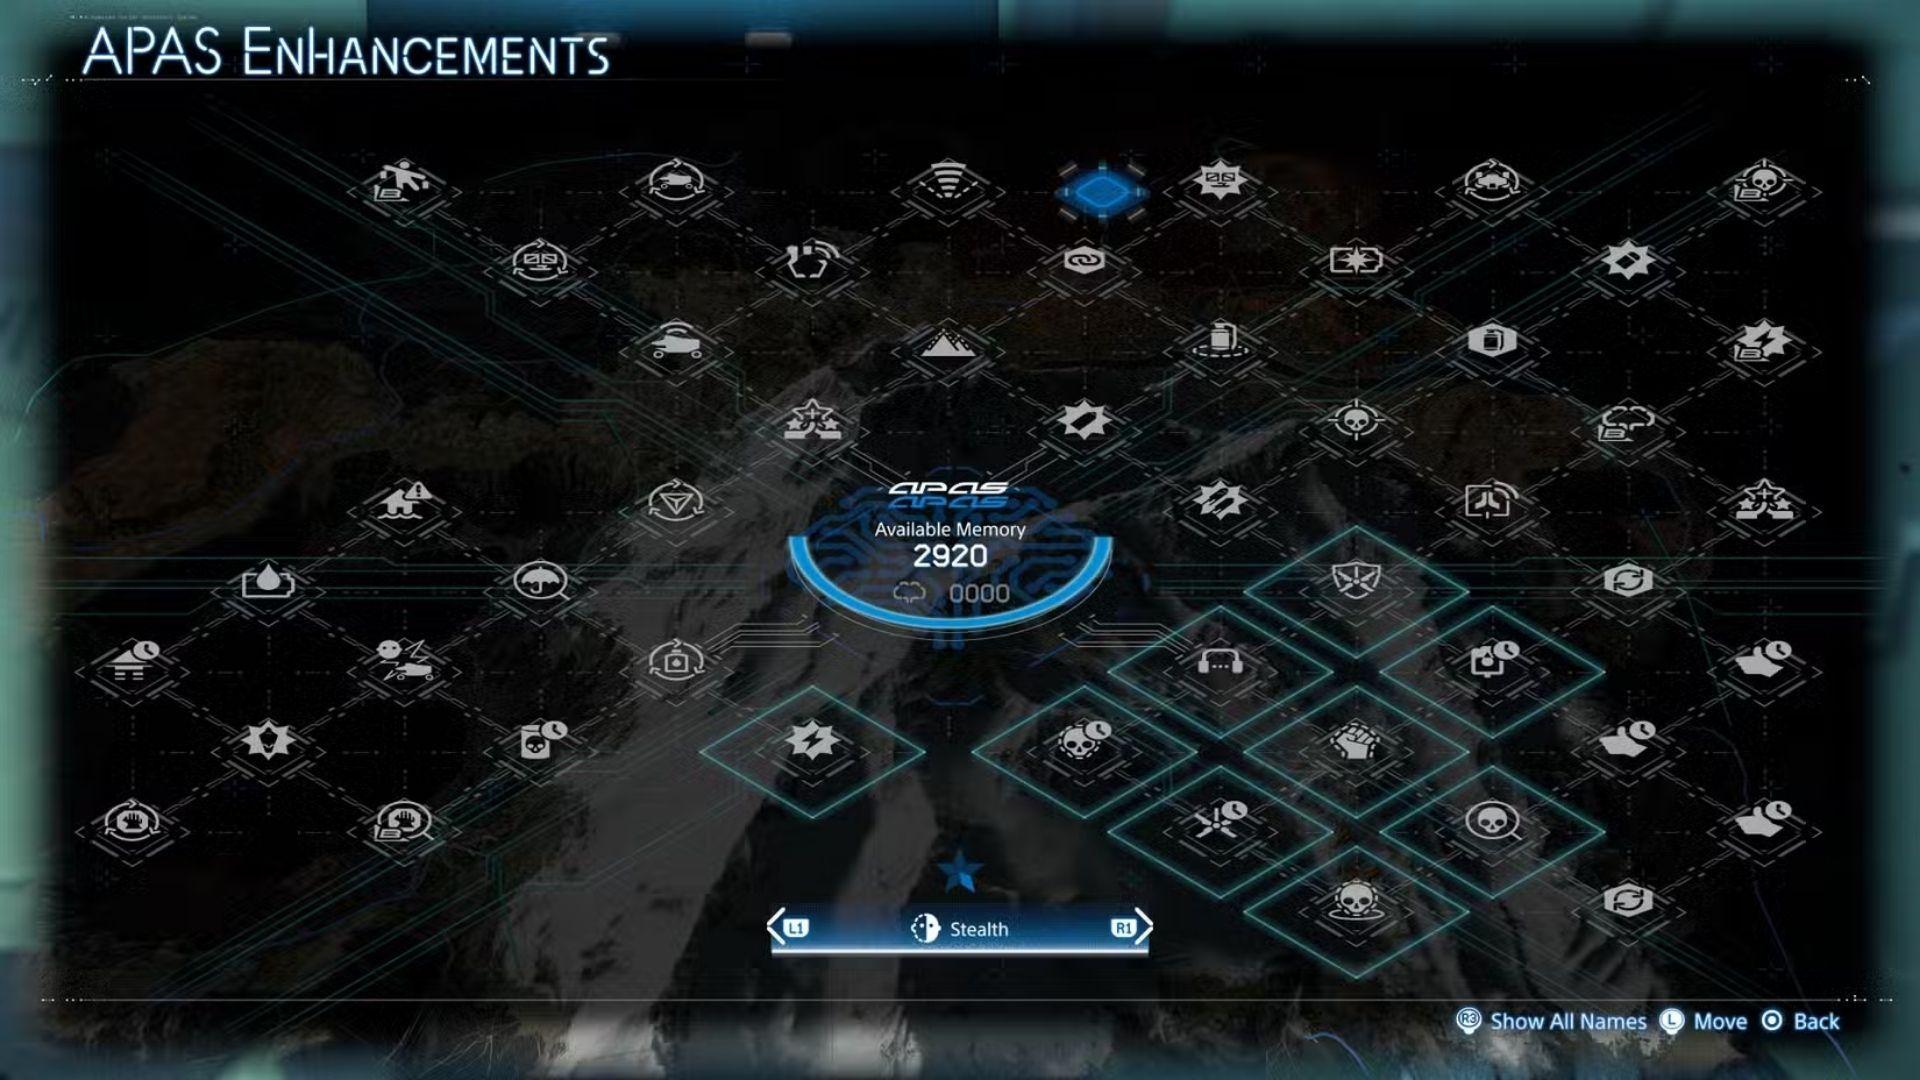
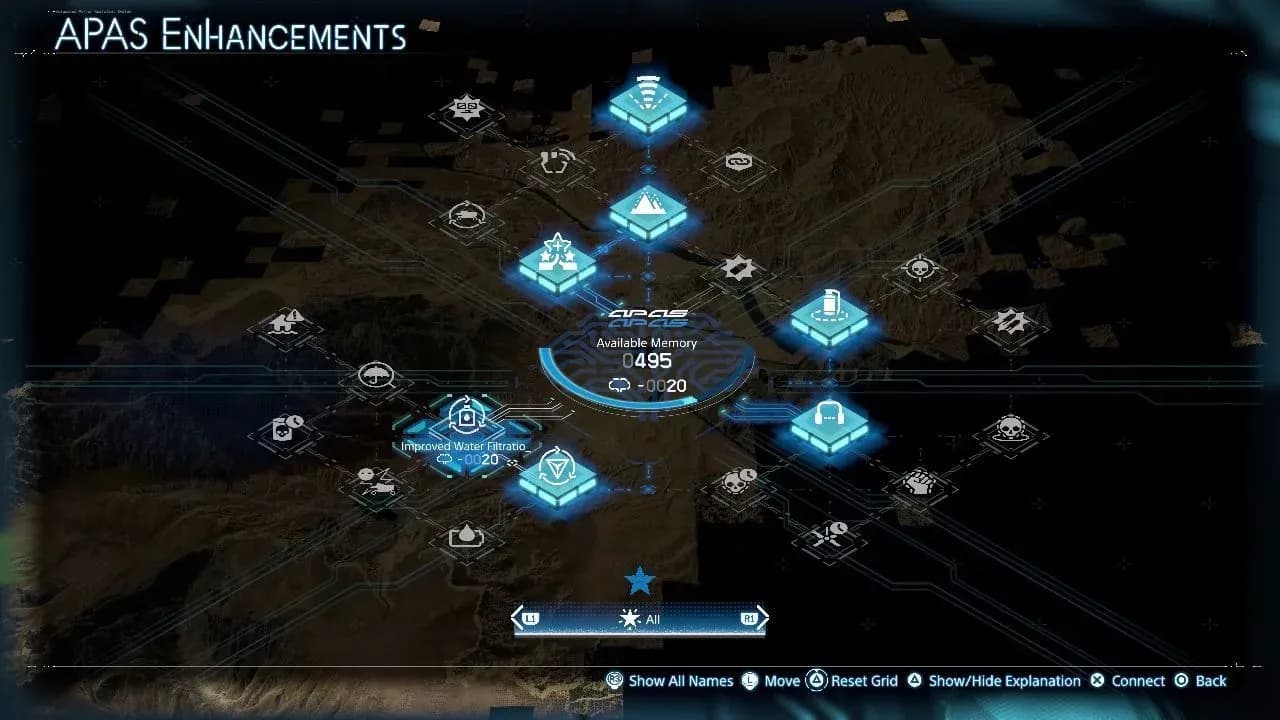
APAS Enhancements are Sam's skill tree in Death Stranding 2: On the Beach. The system is divided into four main branches: Porter, Combat, Stealth, and Servicemanship. Each branch contains nodes that unlock passive abilities, stat improvements, and new actions for Sam to perform in the field.
You unlock the APAS Enhancement menu once you reach a specific point in the story. From that point forward, new nodes become available as you progress, but the nodes themselves come from a separate source than the first game's Porter System. The returning 5-pointed star Porter System has been reworked compared to the original game. Rather than offering small, incremental buffs like before, the system now feeds directly into the APAS tree, giving each node more weight.
APAS Enhancement skill tree

What are the best APAS Enhancements to unlock first?
After testing builds across multiple playthroughs, the Porter branch consistently delivers the highest return early on. Sam spends the majority of Death Stranding 2 on foot or in a vehicle carrying cargo, so any node that reduces stamina drain, increases carry capacity, or improves balance on rough terrain pays off across every single delivery you make.
Porter branch priorities
The Porter branch is where new players should spend their first nodes. Key enhancements here affect:
- Cargo stability while traversing uneven ground and water crossings
- Stamina recovery speed when Sam is resting or moving slowly
- Load distribution efficiency, which directly affects how far Sam can travel before fatigue sets in
- Fall damage reduction, which matters more in DS2 than the original given the terrain variety in Australia
These are the enhancements that make every other system in the game feel better. A faster stamina recovery means fewer forced stops. Better cargo stability means fewer dropped packages and lower-rated deliveries.
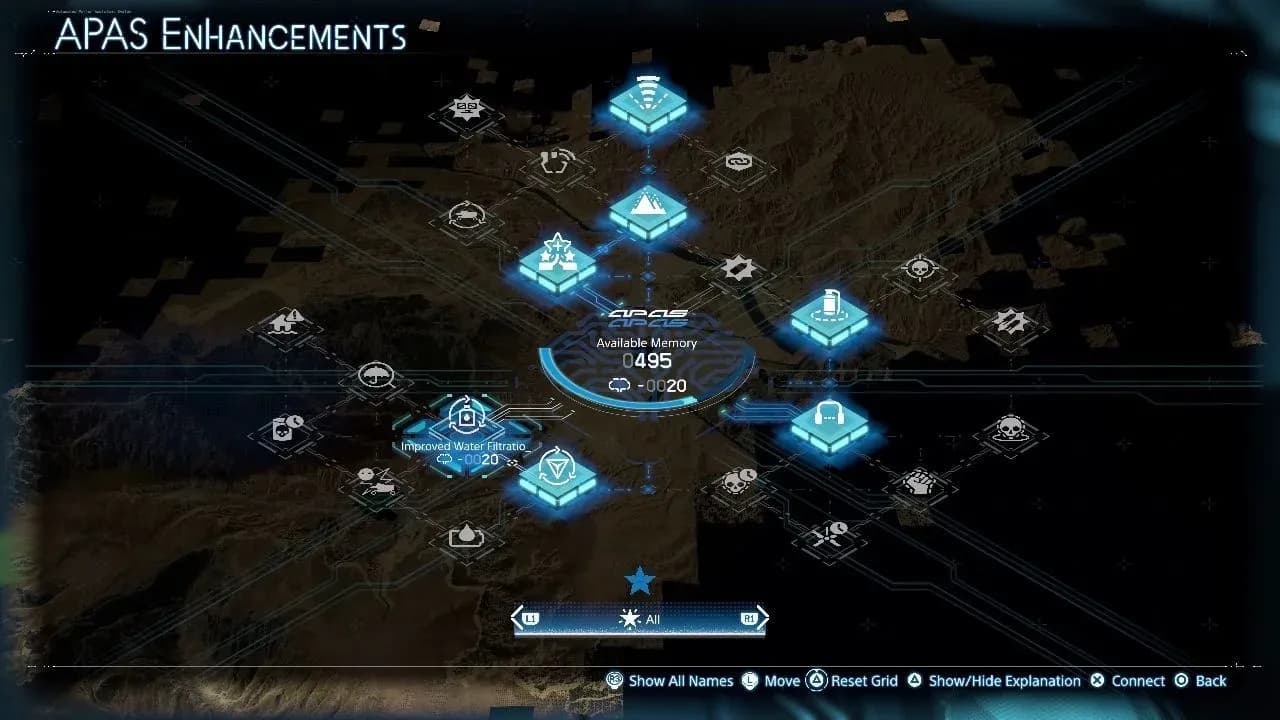
Porter branch node options
Combat branch priorities
The Combat branch becomes relevant once you start encountering MULEs and hostile BTs with any regularity. The most impactful early Combat nodes include:
- Weapon handling improvements that reduce sway and recoil during sustained firefights
- Dodge and evasion enhancements that extend Sam's invincibility frames during rolls
- Takedown efficiency nodes that let Sam neutralize enemies faster in close quarters
For players pushing through on higher difficulties, the dodge and evasion nodes are arguably the most valuable Combat picks available. Combat enhancements also include nodes tied to specific weapon categories, so if you favor the non-lethal approach, prioritize those first before branching into lethal options.
Stealth branch priorities
The Stealth branch is situationally powerful but lower priority for most players on a first run. Its nodes reduce Sam's audio and visual signature when moving through MULE camps or near BT territory. The most useful Stealth picks are:
- Movement noise reduction when crouching or crawling
- Detection radius decreases against human enemies
- BT sensitivity reductions that give Sam slightly more room to maneuver in timefall zones
Stealth nodes shine most on Brutal difficulty, where getting caught by MULEs or triggering a BT encounter can spiral into a costly situation fast.
Servicemanship branch priorities
Servicemanship covers Sam's support and construction capabilities. These nodes affect how efficiently Sam builds and repairs structures, interacts with the PCC system, and manages resources in the field. If you're the type of player who invests heavily in road construction and infrastructure, Servicemanship nodes that reduce material costs for repairs are worth grabbing early. For players focused on story progression, this branch can wait.
How do you earn APAS Enhancement nodes?
Nodes come primarily through the Porter System's 5-pointed star rating on deliveries. Every delivery you complete earns star ratings based on cargo condition, speed, and route efficiency. Accumulate enough stars and the system grants new nodes for the APAS tree.
A few other ways to build your node supply:
- Completing Sub Orders and Aid Requests that offer bonus node rewards
- Reaching higher Connection Levels with preppers and facilities across Australia
- Progressing through main story orders that unlock new branches of the APAS tree entirely
How does the APAS system compare to Death Stranding 1?
The original game's Porter System was largely passive, handing out small buffs that players could easily miss or ignore. Death Stranding 2 makes the skill system far more active and visible. You're making real choices about Sam's identity as a porter, fighter, or builder, and those choices have tangible effects on how the game plays.
The new system was designed to give players more agency over Sam's development rather than just rewarding time spent walking. The result is a skill tree that rewards intentional play rather than passive accumulation.
Building your APAS strategy around playstyle
The most effective approach is to pick one primary branch and one secondary branch based on how you actually play, then fill in the gaps later. A player who avoids combat and focuses on delivery optimization should go deep into Porter first, then dip into Servicemanship for infrastructure efficiency. A player who enjoys clearing MULE camps should prioritize Combat nodes after establishing a solid Porter foundation.
The worst thing you can do is spread nodes evenly across all four branches in the early game. That approach leaves Sam mediocre at everything rather than genuinely good at anything, and the game's mid-section punishes generalist builds more than most players expect.
For more guides and tips for Death Stranding 2 and other games at the GAMES.GG guides hub to keep your sessions efficient.