
Chiral Crystals are the one resource in Death Stranding 2: On the Beach that never feels like it's stacking up fast enough. You need them to power Floating Carriers, fabricate advanced Drawbridge weapons, and push Magellan upgrades forward, yet the game hands them out in frustrating trickles if you don't know where to look. Here's what actually works, tested across multiple playthroughs and across the game's different biomes.
What are Chiral Crystals and why do you need them?
Chiral Crystals (sometimes abbreviated as CG in-game) are a weightless resource stored directly on Sam's person, which makes them unique among Death Stranding 2's materials. Unlike Ceramics or High-Density Metals, which require a delivery truck and a lot of patience to haul across the desert, Crystals sit in your inventory without penalty. That's the good news. The bad news is that their demand scales aggressively. Powering Floating Carriers alone can drain hundreds of Crystals per run, and once you start upgrading the DHV Magellan's armory, the numbers climb into the thousands.
The table below shows where Chiral Crystals sit relative to the other core materials you'll be grinding throughout the game:
Chiral Crystal inventory overview
How do you farm Chiral Crystals efficiently?
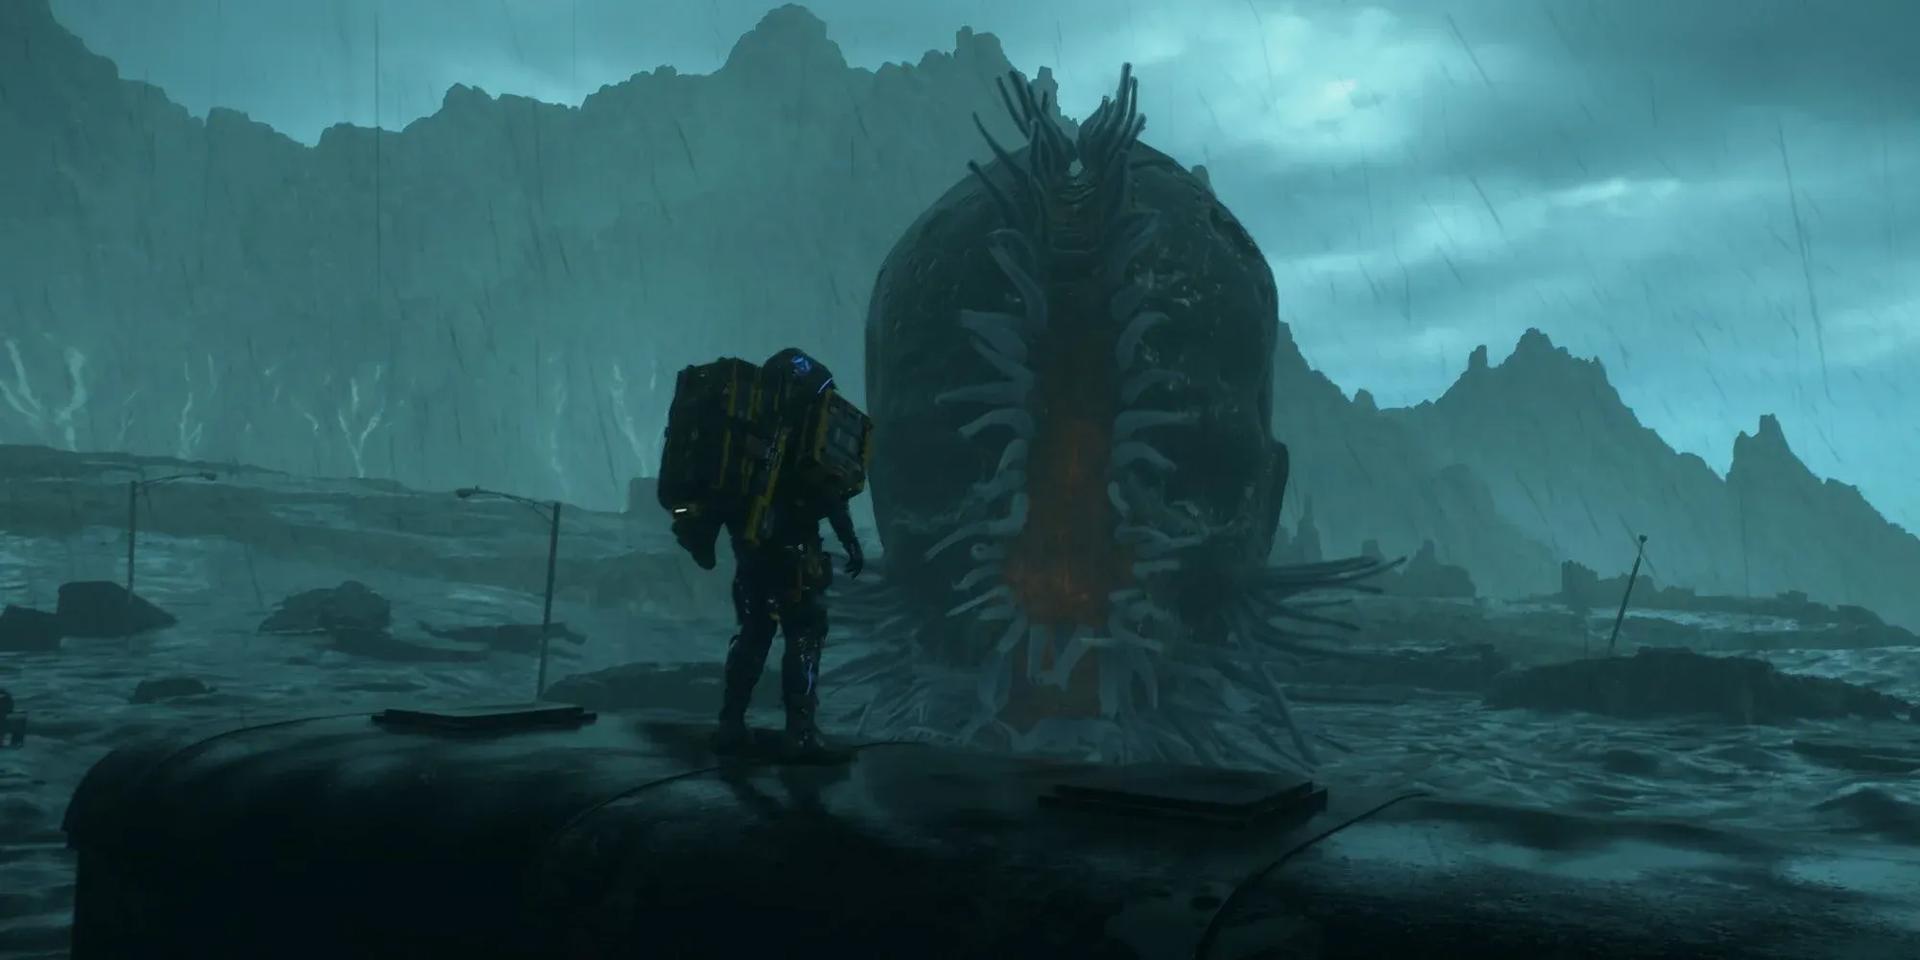
The single most effective method is BT Catcher hunting. Catchers are the massive Tar bosses that spawn when a Gazer catches Sam, and killing one produces a bloom of Crystals worth between 1,500 and 2,500 CG per encounter. That's not a typo. One Catcher kill can outpace hours of passive scavenging.
Step 1: Trigger a Catcher deliberately
Don't wait for accidents. Walk into a BT-dense area without your Odradek Scanner suppressed and let the Gazers lock onto Sam. The Catcher spawns within seconds of a successful grab. This is faster than any passive patrol route.
Step 2: Use the right weapons
The Multi-Rocket Launcher and Custom Hematic Grenades are the two tools that matter here. Hematic Grenades deal massive damage to Catchers because blood is toxic to BTs, and the Multi-Rocket Launcher lets you unload burst damage before the Catcher can reposition into the tar. Bring both. The Crystal bloom that spawns after the kill scales with how quickly you defeat it, so a clean, fast kill is worth more than a drawn-out fight.
Step 3: Repeat with connection level in mind
Facility connection levels affect how many Crystals a given area can support. The higher your connection level with a facility, the more Crystals that facility's region can carry. Prioritize raising connection levels in BT-heavy zones before farming them, and your per-run yields improve noticeably.
Where else can you get Chiral Crystals?
Catcher hunting is the ceiling, but there are secondary sources worth knowing:
- Tar pits: Scattered across the map, especially after reaching Australia. Tar pits contain Crystals that can be extracted with minimal combat risk. Larger BTs near tar pits also drop more Crystals than standard Gazers.
- Standard BT kills: Smaller BTs yield modest amounts, usually in the low double digits per kill. Not efficient as a primary method, but worthwhile when you're already clearing a zone.
- Delivery rewards: Certain high-priority orders from specific facilities pay out Crystals as a bonus. Check the reward preview before accepting orders, since some routes pay significantly better than others.
- Mercenary camp postboxes: Less reliable than the above, but raiding enemy camps often turns up small Crystal stockpiles alongside the Ceramics and Metals you're already grabbing.
How do you use Chiral Crystals effectively once you have them?
Stockpiling Crystals without a spend plan is its own trap. Here's where your supply should go first:
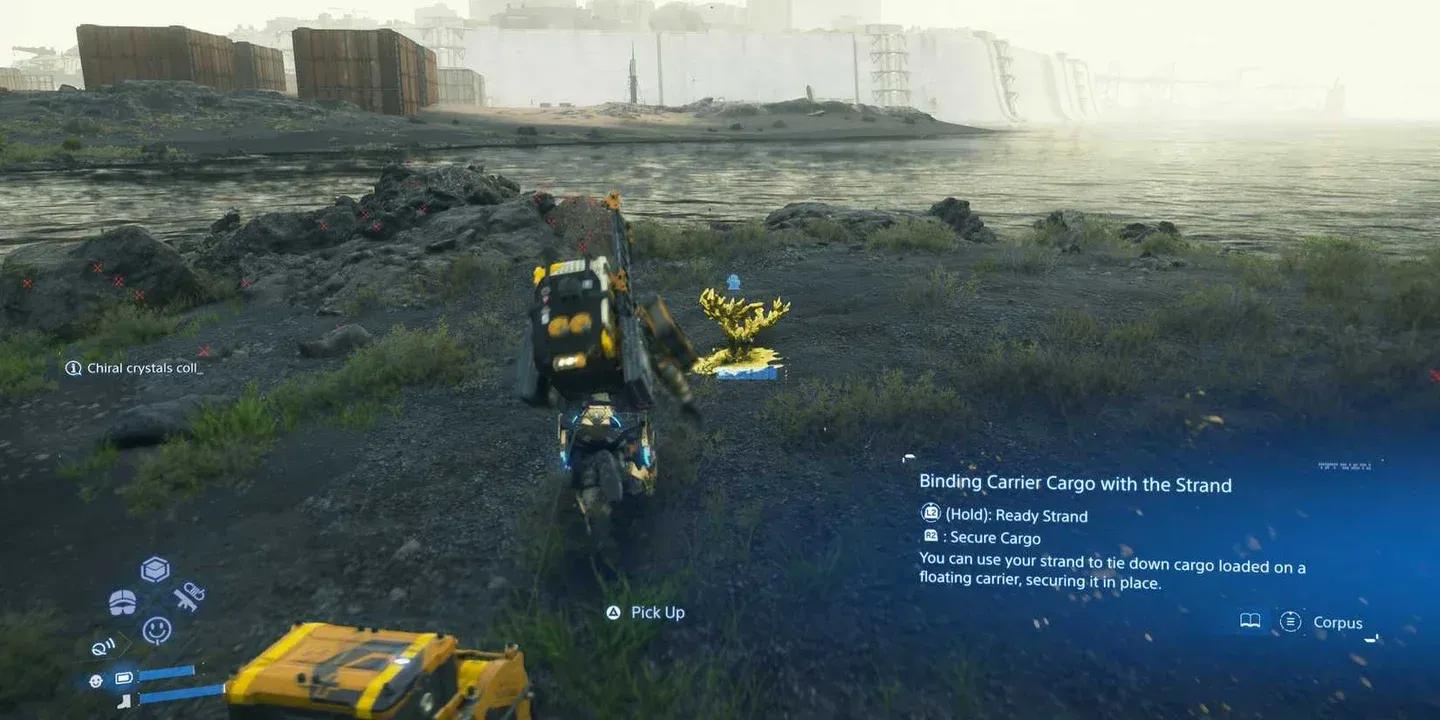
- Floating Carriers: These are your most powerful cargo transport tools. Keeping them powered should be your baseline spend.
- Drawbridge weapon fabrication: Advanced weapons require Crystals at the fabrication terminal. Prioritize weapons that open new farming options, like the Multi-Rocket Launcher that makes Catcher farming viable.
- Magellan upgrades: The DHV Magellan's upgrade tree has several Crystal-gated nodes. Work through the armory and medical bay upgrades in order, since early nodes unlock fabrication options that reduce your grind in other material categories.
What about the other heavy materials?
Chiral Crystals might be the bottleneck early on, but Ceramics and High-Density Metals become the real grind once you start building highways across the desert and canyon biomes. The most efficient source for both is mercenary camp raiding.
Bring a non-lethal Drawbridge Assault Rifle and a Bola Gun to clear camps quietly. Once the camp is down, commandeer their heavy truck and drain every postbox of Ceramics and HD Metals before driving out. The enemy AI in Death Stranding 2 is noticeably sharper than the first game: alert the camp and they'll shoot out your vehicle's tires, leaving you stranded with a full load of cargo and no easy exit.
Special Alloys for Magellan Medical Bay upgrades and All-Terrain Skeleton fabrication sit at moderate weight, so they're manageable without a truck. Scavenging and camp raids both produce them reliably.
For more resource strategies and the latest Death Stranding 2 coverage, browse the full guides library at GAMES.GG.