

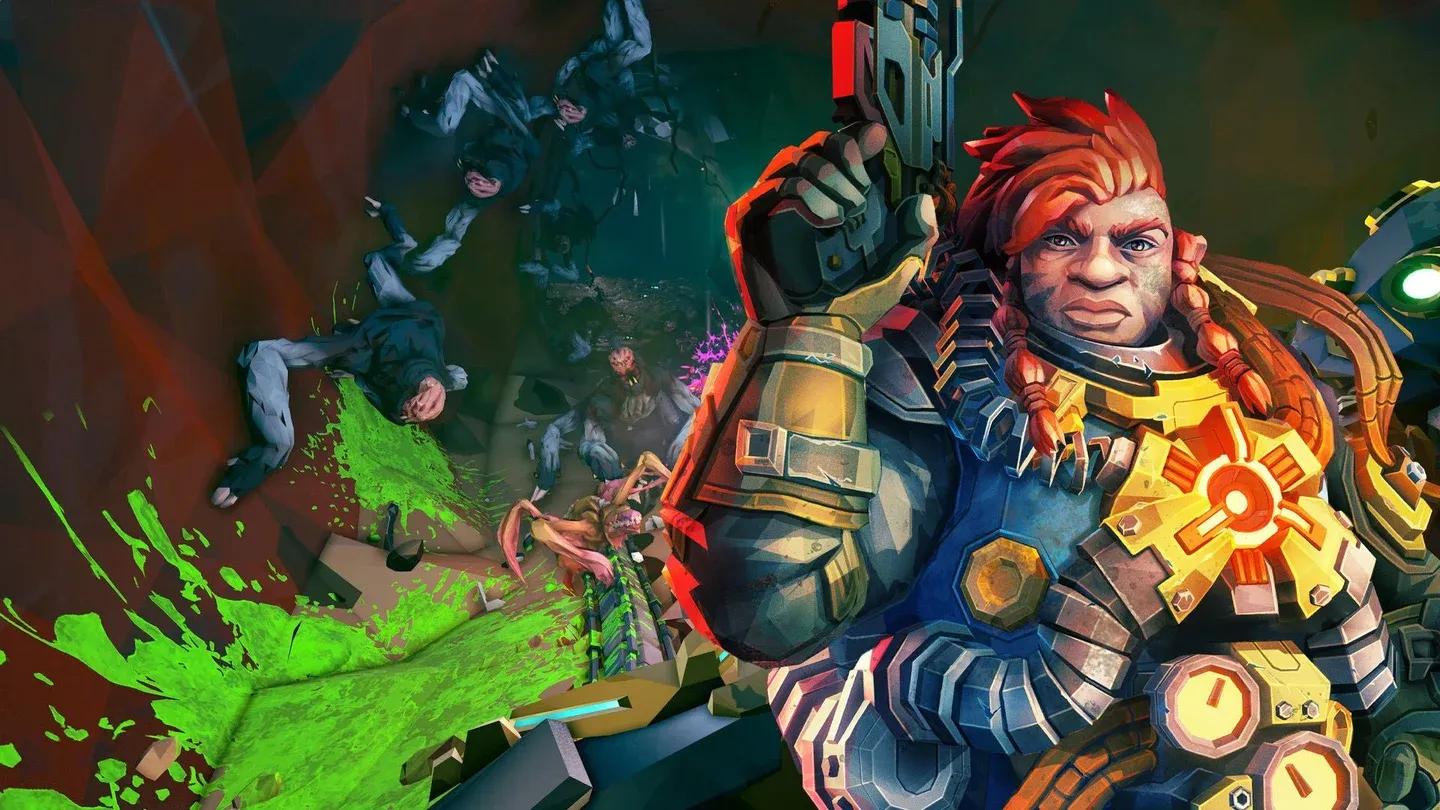
The Falconer is the class that keeps your squad alive when everything else falls apart. In Deep Rock Galactic: Rogue Core, this Reclaimer runs a Lightning Drone that electrocutes enemies, doubles your team's electric damage output, and can pull a downed teammate back from the brink without you moving an inch. Solo, it sits at the bottom of the roster. In a four-player squad, nothing else comes close.
What does the Falconer actually do?
The Falconer's entire kit revolves around one tool: the Lightning Drone. Send it to a position and it scans for enemies, firing on contact and consuming one charge per target. You get 5 charges total, with a 10-second replenishment per charge, and each charge delivers three electrocution bursts dealing 25 to 35 damage each.
That offensive output is decent, but it is not the reason you pick this class. The drone has three distinct jobs: electrocute enemies, enable electric damage across your squad, and revive downed allies at range. That third job is what separates the Falconer from every other Reclaimer.
Lightning Drone targeting system
At higher floors, one death rarely stays one death. A downed teammate triggers a scramble that can cascade into a full wipe before anyone gets a revive off. The Falconer stops that cascade cold. Send the drone, the ally stands back up, and the run continues. No other Enhancement in the pool replicates this.
The flip side is equally blunt: solo, the revive does nothing. You are left with a damage class that two other Reclaimers outperform without breaking a sweat. The Falconer is built for squads, and playing it alone is choosing to handicap yourself.
How does the Thunder Rod work?
The Falconer's second ability is the Thunder Rod, which places a zone lasting 15 seconds that grants you and all nearby allies +100% electric damage. This is a pure team multiplier, not just a personal buff.
Drop it where your squad is holding a position and everyone's electric output doubles for the duration. It compounds directly with the Lightning Drone's own bursts, and any squadmate running elemental damage benefits just as much. The best use is proactive: place it at a chokepoint before a wave arrives, not after enemies have already scattered your team across the room.
Think of the Thunder Rod and the drone as one connected system. The Rod doubles electric damage. The drone deals electric damage. Squadmates building elemental get both benefits simultaneously. A well-placed Rod turns a defended corridor into a high-output kill zone for 15 seconds flat.
What's the best Falconer build for co-op?
The build priority is drone uptime above everything else. The 10-second charge replenishment creates a tight economy across a full floor, so every enhancement choice should either squeeze more damage out of each charge or get charges back faster.
Core enhancement priorities:
- Add charges or projectiles to directly multiply drone output
- Stack Gun Damage, Elemental Damage, and Crits for personal weapon performance
- Take charge replenishment enhancements to keep both the offensive and revive functions available
- Pick up Movement Speed to reposition the drone and Thunder Rod effectively
- Arc Lunge fills the electric uptime gap while charges are on cooldown
The arc Enhancement deserves specific attention. On its own, the drone's electrocution is solid but unremarkable. With arc, a single charge hitting six clustered enemies through shared arc damage is a completely different damage event. Dense wave rooms are where the Falconer's output actually spikes, so position the drone where enemies group tightly rather than on isolated tough targets.
If you find a weapon upgrade that converts some damage to electric, take it. Your uptime climbs dramatically and you eliminate the dead windows where the drone is on cooldown and your electric contribution drops to zero.
Enhancement selection screen
How does the Falconer pair with other Reclaimers?
The Falconer plus Spotter pairing is the current high point for co-op performance. The math is clean: the Spotter marks targets with +100% crit chance, and the Lightning Drone delivers consistent, repeated hits that trigger those crits on every single burst. Three bursts per charge, five charges, all of them landing crits on marked targets.
Stack the Thunder Rod's +100% electric damage on top of that crit multiplier and you have a layered kill zone that most enemy waves cannot survive. If your squad is building around a damage core, put a Falconer and a Spotter together and let the drone farm the crit marks.
For broader squad context, the Falconer slots naturally alongside Guardian (who handles crowd control and tanking), Retcon (whose time rewind provides a second layer of death prevention), and Spotter. This four-class lineup covers damage, defense, revival, and ammo economy without significant gaps. For a full breakdown of how these roles interact, the Deep Rock Galactic: Rogue Core best team composition guide covers every pairing in detail.
Falconer-Spotter co-op pairing
Can the Falconer work solo?
Technically yes. Practically, you are working against the class design the entire time.
The Thunder Rod still doubles your own electric damage solo, and a drone-DPS build with arc Enhancements clears dense rooms well enough. Stack Elemental Damage, keep the drone on clustered targets, and treat the Rod as a personal damage cooldown. It functions.
But the revive is dead weight without allies, and you are playing a damage class that other Reclaimers execute better. The Falconer solo is a functional electric build, not a competitive one. Save it for group runs where the anchor role makes it the strongest class on the team.
Managing the drone: the core skill
The drone's constant triage between damage and rescue is what separates good Falconer players from great ones. Every charge decision is a choice: use it offensively on a clustered group, or save it for a potential revive.
At lower floors, lean offensive. Charges replenish fast enough that holding one back for emergencies rarely costs you. At higher floors, where one death can cascade into a wipe, keeping at least one charge available for a revive at all times is the smarter discipline. The charge replenishment enhancements exist precisely to ease this tension, which is why they are a build priority rather than an optional pickup.
Repositioning matters more than most players expect. The drone's arc Enhancement only delivers its full value when enemies are clustered. That means actively choosing where to send the drone based on enemy positioning, not just firing it at the nearest target. High-mobility builds with the anti-grav device let you stay mobile while directing the drone, which is the cleanest way to play the class at higher difficulty floors.
For players still getting familiar with the upgrade systems that feed into Falconer builds, the Expenite upgrades guide breaks down every player upgrade by rarity and helps you identify which ones to prioritize for an electric-focused build.
The Falconer rewards players who think two steps ahead: positioning the drone before the wave, dropping the Thunder Rod before the chokepoint, and keeping one charge in reserve before the floor boss. Get those habits locked in and the class performs at a level no other Reclaimer matches in a coordinated squad. For more strategies across every Reclaimer, the full Rogue Core guides collection has everything you need to push deeper into Hoxxes.