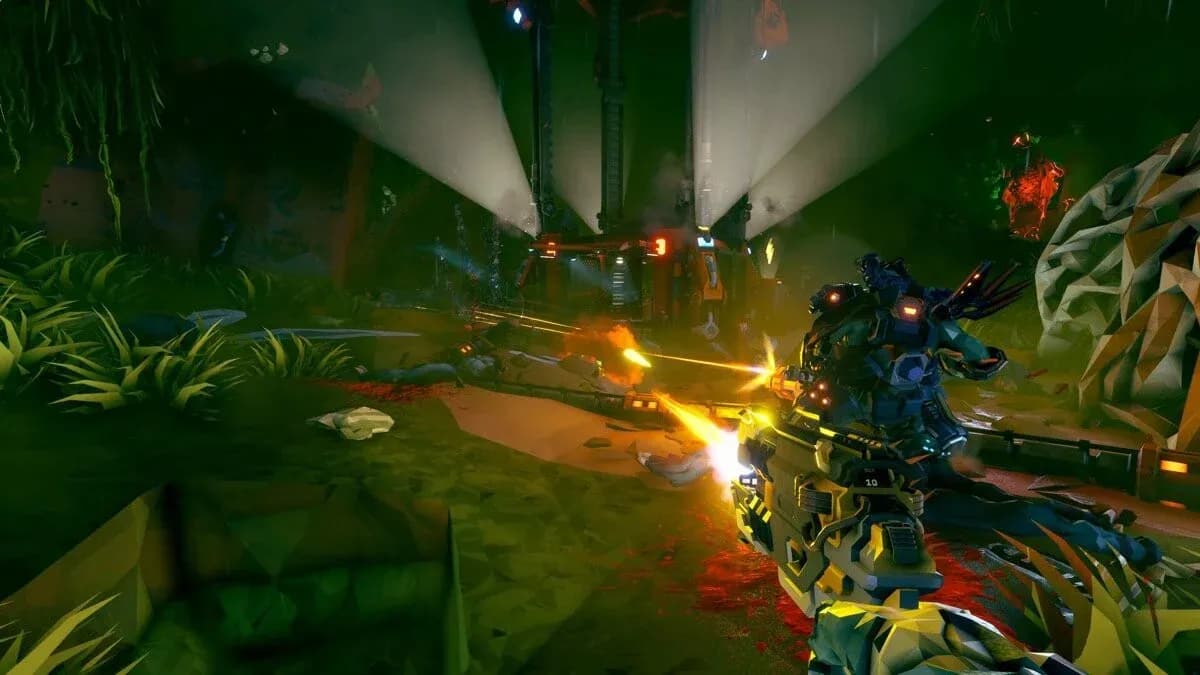

Deep Rock Galactic: Rogue Core drops you into its roguelite loop without much hand-holding, and the Security Override Alpha terminals are a perfect example of that. You'll spot them early, try to interact, and get stonewalled with zero explanation. The good news: unlocking access isn't complicated once you know what the game actually wants from you. You need to complete four specific Intel tasks and push through to Clearance Level 2. Here's exactly how to do it.
What is the Security Override Alpha?
The Security Override Alpha is a terminal type you'll encounter during your runs in Rogue Core. Interacting with it requires a specific clearance level that isn't granted by default. To get there, you have to work through the game's Intel task system, which tracks objectives across multiple runs and advances your Clearance Level as you complete them.
The key detail here: progress on Intel tasks carries over between runs. Dying early or abandoning a mission doesn't reset your task completion, so a rough run still moves the needle.
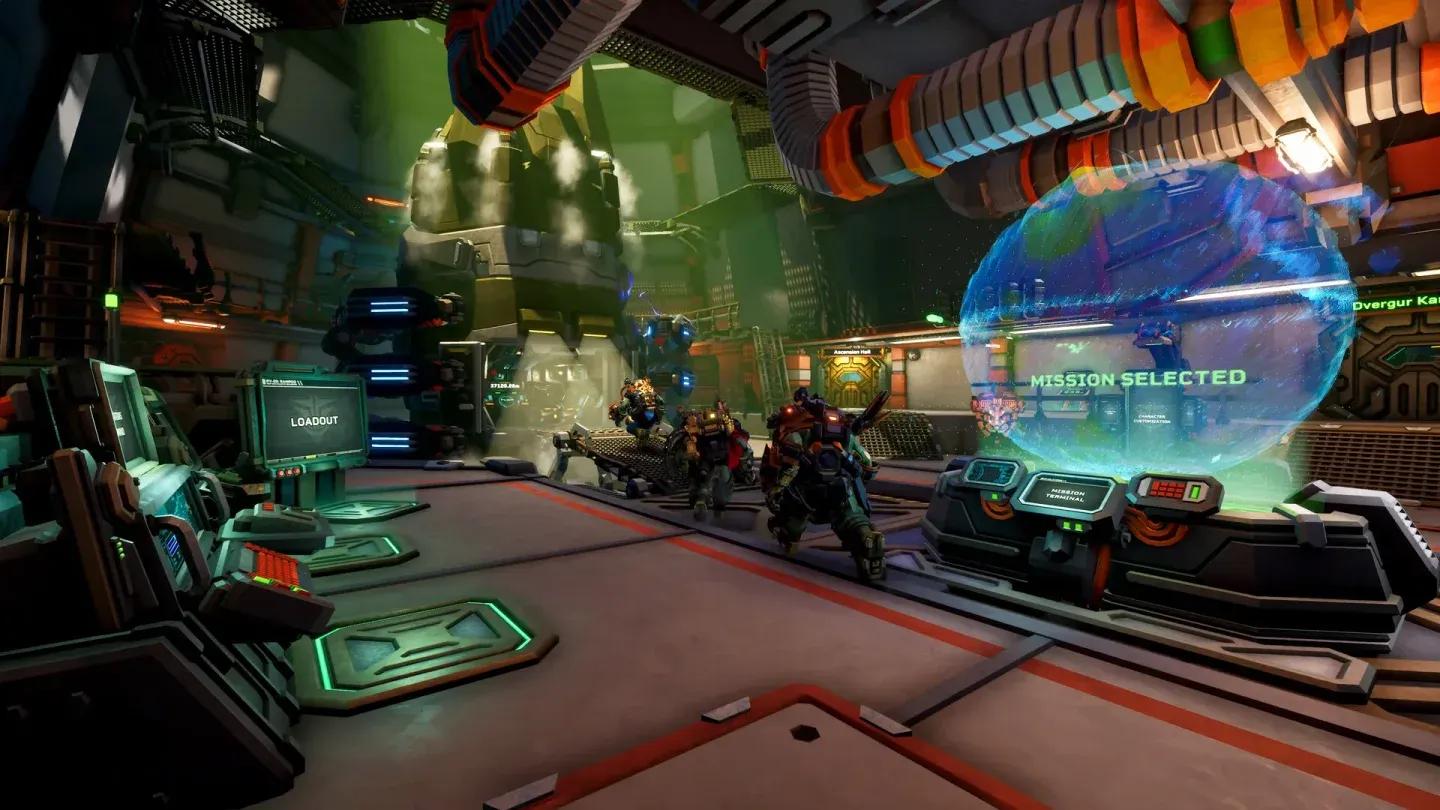
Intel tasks track your progress

How to unlock Security Override Alpha
Getting the Security Override Alpha unlocked means finishing all four Intel tasks that gate Clearance Level 2. Here's what each one demands.
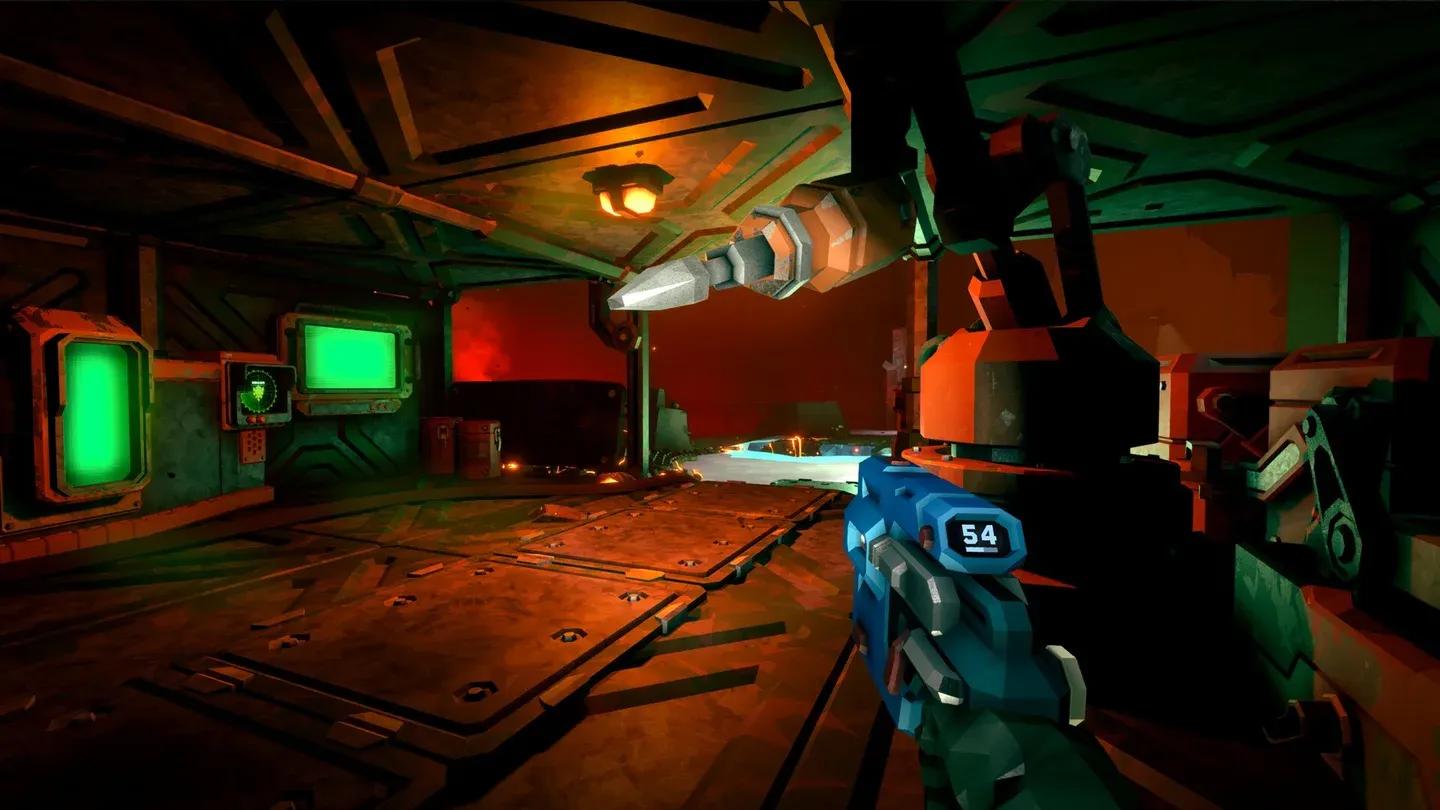
Complexity displayed as yellow triangles
Task 1: Reclaim a Complexity 2 facility
Complexity is Rogue Core's difficulty rating for missions, marked by yellow triangles on the mission select screen before you launch a run. A Complexity 2 facility is a notch above the starter missions. To knock this task out, you need to finish every level in a Complexity 2 facility. Partial completion doesn't count. Full reclamation is the requirement.
Task 2: Reach the bottom of a Complexity 3 facility
This one is easier than it sounds. You only need to hit the bottom floor of a Complexity 3 facility. You don't have to reclaim it or clear every level. Just getting to the bottom floor completes the task.
Task 3: Download data from five Terminals
During your runs, you'll find interactive Terminals placed throughout the facility. Walk up and interact with each one to pull its data. This task counts across multiple runs, so you don't need to hit all five in a single session. Five total downloads from any combination of runs will finish it.
Task 4: Get 10 Expenite upgrades in a single run
Expenite is the bright green crystal resource you mine and deposit during runs. Collecting enough Expenite opens up stat upgrades for your build. The first upgrade costs 120 Expenite, but the price climbs with each additional upgrade. You need to unlock 10 upgrades within a single run to complete this Intel task, making it the toughest of the four.
What happens after you complete all four tasks?
Clearing all four Intel tasks pushes you to Clearance Level 2, which is the gate that unlocks the Security Override Alpha. Once you hit that clearance level, the terminals that were previously locked become usable during your runs.
The Clearance Level system is how Rogue Core controls progression more broadly, so expect similar Intel task structures as you climb toward higher clearance tiers. These are action games built around incremental unlocks, and Rogue Core commits to that structure hard.
Tips for completing the tasks efficiently
- Hit every Terminal you see. Terminals spawn naturally throughout facilities, so make a point of interacting with every one. Five downloads will pile up faster than you think.
- Don't ignore Expenite deposits. Mining and depositing Expenite is something you should be doing anyway for build strength. Just track how many upgrades you've unlocked and commit to hitting 10 in a single session when you're ready.
- Jump into Complexity 3 before you feel ready. You only need the bottom floor, not a full clear. A focused push through a Complexity 3 facility can knock out two tasks at once if you're also gathering Expenite along the way.
- Use failed runs productively. Since most task progress sticks, even a run that ends badly can chip away at your Clearance Level advancement.
For more strategies on navigating Rogue Core's systems, check out the full strategy guides collection covering everything from build optimization to facility mechanics.