

Directive 8020 drops you into a survival horror situation immediately, with a hull breach threatening the Cassiopeia before you even get your bearings. Episodes 1 and 2 set the tone for everything that follows: your decisions here shape character fates, unlock traits, and determine whether Simms survives the void of space. This walkthrough covers every Turning Point, collectible location, stealth sequence, and dialogue branch across both episodes so you know exactly what you are committing to before you commit.
Episode 1: Little Star walkthrough
Grab the utility strap first
How does the opening Turning Point work?
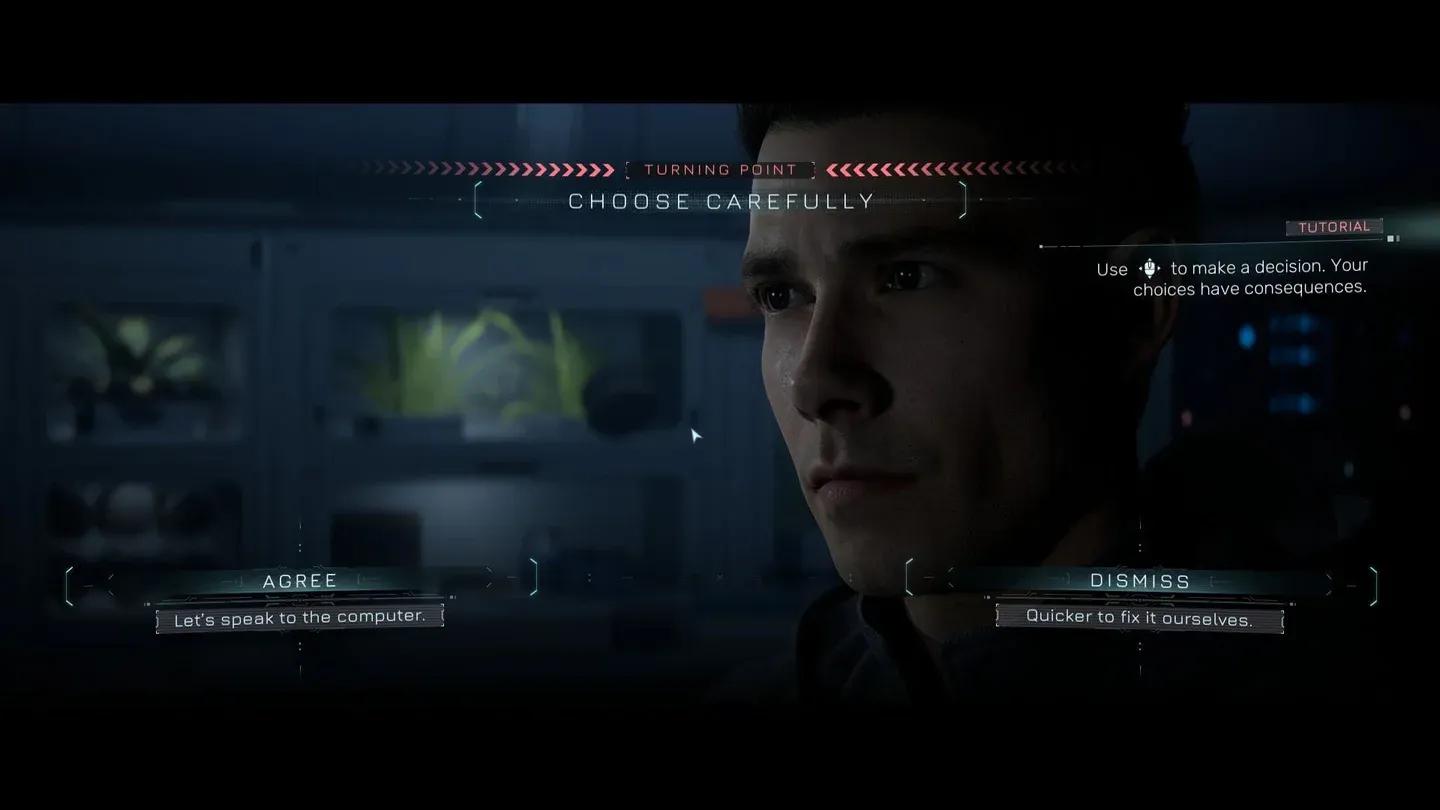
The game begins with Carter and Simms responding to a hull breach. Simms asks how to handle it, and this is your first Turning Point:
- Agree (speak to the computer): You visit the Oracle first, which opens an additional Turning Point to either authorize or delay a system reboot. Authorizing the reboot makes some doors easier to open later and removes a potentially fatal quick-time event.
- Dismiss (fix it yourselves): You skip the Oracle entirely and head straight to the breach. This locks you out of the reboot option and adds a harder quick-time on a jammed door later.
If you chose to delay the Oracle reboot and then fail the quick-time on the Monitoring Crew door at the end of Episode 1, Carter dies. That door only becomes jammed if you rejected the reboot, so the Dismiss path carries real risk.
Before following Simms to the door, explore the starting room to collect the Stalemate chess board secret and the Count Down wall item. Carter's room holds Balance and Daddy in Space, and Simms' room has Night Shift and Green Tea.
Finding the utility strap and early secrets
Head upstairs after the first dialogue. The locked door ahead requires your Utility Strap, which sits in the last bunk on the left. Once you have it, use RT/R2 to interact with diamond-shaped devices throughout the ship.
Before opening the door, grab four more secrets in this area: Mission Summary on the wall near the bunk, Pioneers on a computer activated with the Utility Strap, Myths Retold in the bathroom, and Du'Met, a doll floating in the storage room. You cannot return after going through the door, so collect everything now.
Use the Utility Strap on the monitor beside the locked door to lower the lockdown, then hold A/X to proceed.
How do you seal the hull breach?
In the Med Bay, the door to Medical Reception is locked. Press X/Square to activate your scanner and follow the red wire on the floor to a lockdown monitor. Trigger it with the Utility Strap to unlock the Medical Reception door. While in this area, grab the Brave New World poster secret on the left wall.
Through the window after unlocking Medical Reception, trigger another lockdown monitor to open an office door and collect The Goldilocks Planet tablet. Head upstairs in Medical Reception for the Patches video recording.
Approach the yellow-and-white door where Simms is waiting, use the computer to inspect camera feeds, and switch cameras with RB/R1 until you reach the exterior view. Select the breached spot to trigger the cutscene.
Outside, use the Utility Strap to extend the walkway. Check the messages on the computer to the left, then climb down the ladder on the right and approach the breach.
Seal the breach outside
What dialogue choices unlock character destinies?
After sealing the breach, Carter and Simms have a conversation. These are personality direction choices, not Turning Points, but they determine Carter's Character Destiny:
Choosing Confide leads to The Caretaker destiny, while Compliment locks in The Fixer. Unlocking your first destiny also earns the Personality Manifest achievement. For a full breakdown of all five crew destinies, check the Directive 8020 character destinies guide.
How do you catch Simms during the Turning Point?
Immediately after the heart-to-heart, a Turning Point triggers. Simms gets blown toward open space and you must spamA/X to catch her. If you miss, she dies permanently here. Saving her changes the dialogue options in the Fuel Junction scene that follows.
This quick-time is faster than it looks. Start mashing the moment the prompt appears rather than waiting for the animation to peak.
How do you handle the Fuel Junction encounter?
Down in the Fuel Junction, you encounter a figure in a doorway. The options differ depending on whether Simms is alive:
- If Simms survived: Empathize avoids injury; Joke results in Carter getting hurt.
- If Simms died: Run avoids injury; Approach results in Carter getting hurt.
After the encounter, sprint using LB/L1 back the way you came and up the stairs.
How do you get through the stealth section?
Episode 1 ends with a stealth sequence where you must sneak past Simms without being spotted. Stay crouched throughout.
- Wait for Simms to look at the screen on the left, then slip past her up the stairs.
- In the lounge, hug the outside of the benches. If Simms blocks the left door, wait for her to exit and follow behind.
- After the lounge, go down the stairs on the left. Hide behind the cargo with blue netting. Wait for Simms to pass toward the left, then go up the right stairs and through the door.
- Once through the Quarters door, stand up and run straight to the Monitoring Crew door.
If you rejected the Oracle reboot earlier, this door will be jammed. Spam X/Square to force it open. Fail this and Carter dies.
Stay behind cargo cover
After making it through, Carter sends a warning message to the crew, completing Episode 1 and earning the Wake-Up Crew achievement.
Episode 2: Best Laid Plans walkthrough
How does Episode 2 open?
Episode 2 starts with a flashback cutscene. You can choose to Contemplate or Ask a Question. Back in the present, choose Inquire when prompted. Head to Stafford and speak with him. The conversation reveals that Simms appears to have disposed of Carter, raising the tension immediately.
Checking on Mitchell and powering the reactor
Follow Stafford to Mitchell. After their conversation, you switch to playing as Stafford. Choose Assertion when the option appears. Mitchell then asks about Landers, and you can pick Trust or Doubt. Either works narratively here.
The perspective shifts to Young, who needs to power up the reactor. Head to the quest marker and interact with the reactor. The Oracle suggests redirecting power from the fire control system. Select the option on the right.
Back as Stafford, Eisele raises suspicion about Simms and Carter. Choosing Accept acknowledges the concern given what you saw in Episode 1. After reviewing the footage, question Stafford with the Question option, then choose Contemplate to transition to playing as Eisele (Leslie).
How do you find the keycode for Carter's PC?
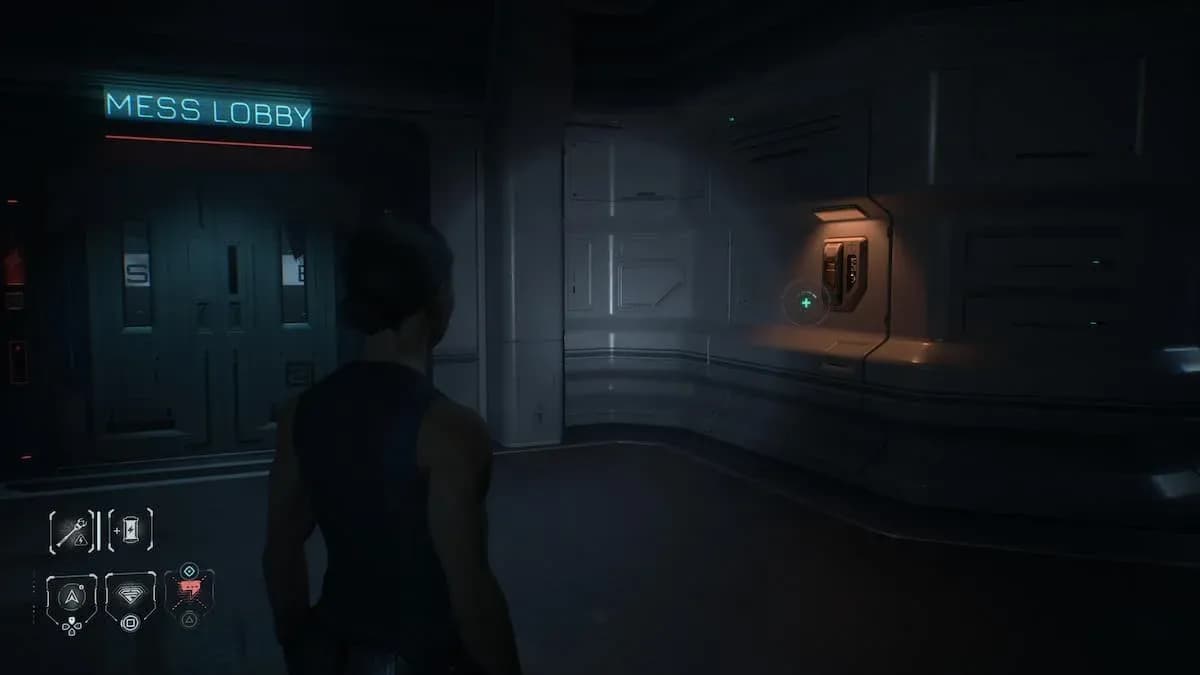
As Eisele, explore the Crew Quarters. Head right and upstairs, then left. The panels in the Upper Atrium have no power, so neither side door opens. Follow the other quest marker instead: go down the stairs, head left, and continue through the Crew Complex.
Open your messages when the pop-up appears. Everyone replies except Simms. Enter the Crew Quarters and then the Monitoring Crew room. Interact with the PC on the right.
The keycode hint is in the corner of the PC itself. The actual code is on the calendar outside the room on the right side. It references Luna's birthday: the 28th of August, the eighth month, giving you the code 2808. Enter it and interact with the PC again to trigger the next cutscene.
Some players report the code appearing as 0828 depending on regional date formatting. If 2808 does not work, try 0828. Both represent the same date.
How do you follow Simms without being detected?
After the PC cutscene, follow Simms while staying crouched. The pattern is straightforward:
- When Simms comes from the left, move right and crouch there.
- When she comes from the right, move left while crouching.
- Continue following at a distance after she moves on.
Once Simms finishes at the terminal and leaves, interact with the terminal yourself to restore power.
What happens at the door confrontation?
Stand up and run to the next quest marker. A cutscene plays at the door. You can either Demand she opens it or Appeal to her. After that, a timed multi-choice sequence begins:
- Choose Plead or Threaten before the timer runs out. Both options lead to the same outcome, so pick whichever fits your preferred characterization of Eisele.
The timed sequence moves fast. Lock in your choice early rather than reading every option twice.
Escaping through the vent and finding Simms
The vent is directly ahead after the cutscene. Climb through while Mitchell closes the airlock. Continue through the vent, head up the stairs, go through another vent, and the objective completes. Follow the quest marker to find Simms, triggering the final cutscene that closes Episode 2.
Key decisions summary: Episodes 1 and 2
For everything beyond these two episodes, the Directive 8020 guides collection has you covered, including the full Turning Points system, every secret location across all 8 episodes, and how to keep the entire crew alive through to the ending.