
Search games, articles, guides...CtrlK
Sign InGet Started
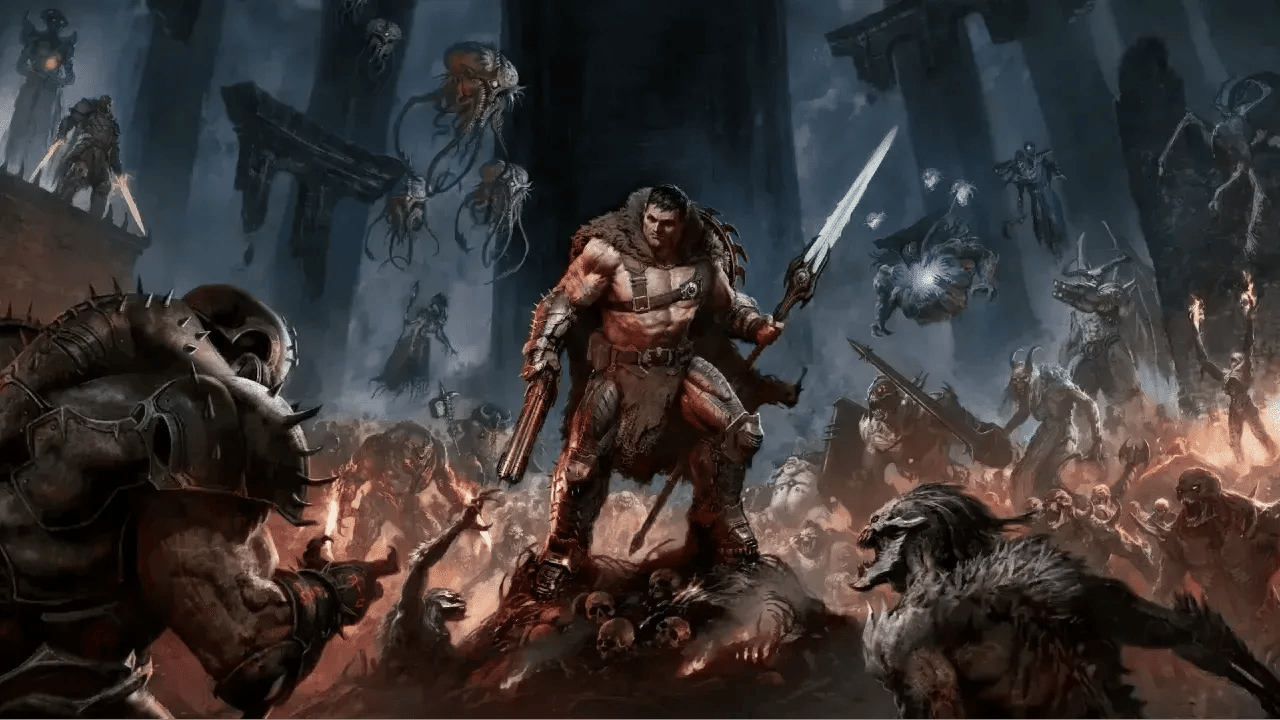
Complete walkthrough for DOOM: The Dark Ages Revelations DLC covering Chapter 1, key enemies, and the Chain Spear bug fix.

Written by Larc
Content Writer
See more GAMES.GG guides on Google
Add us as a preferred source and our guides show up first in your results.
Doom The Dark Ages Guide: Best Upgrade Paths and Weapon Builds
Master the best upgrades in Doom The Dark Ages with this guide covering early and late game priorities, weapon builds, and strategies for maximum demon-slaying efficiency.
DOOM: The Dark Ages Revelations DLC Not Loading Fix Guide
Premium Edition owners on Steam can't access Revelations DLC. Here are the exact steps to fix it without buying it twice.
DOOM: The Dark Ages Revelations DLC Release Date
The Revelations DLC for DOOM: The Dark Ages drops July 7, 2026. Here's everything confirmed so far about new weapons, enemies, and story content.
The Revelations DLC for DOOM: The Dark Ages dropped July 7, 2026, and it wastes no time throwing you into unfamiliar territory. The map no longer reveals items before you find them, new enemies show up with mechanics that require specific counters, and the DLC introduces a second weapon alongside a bug that blocks its controls entirely. This walkthrough covers every major beat of the campaign so far, from the Proving Grounds through Hell's Core, with enemy tactics and puzzle solutions called out along the way.
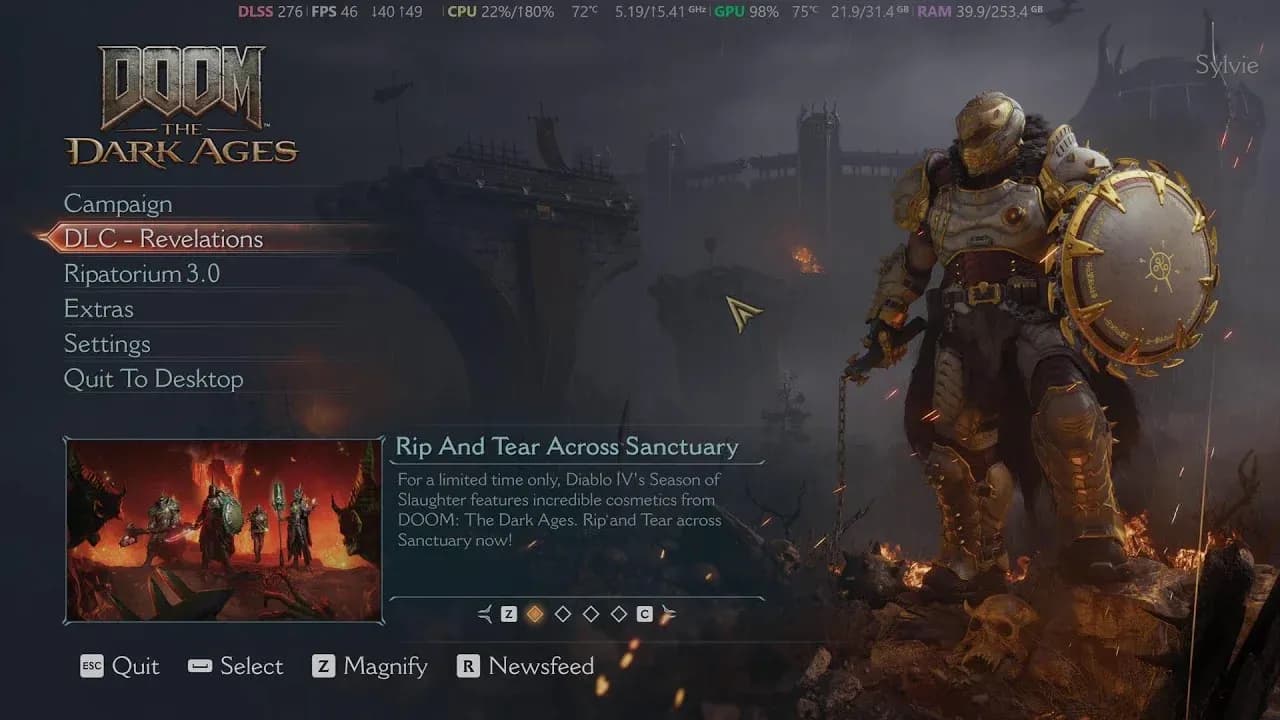
Once you have the DLC, the Revelations campaign appears separately from the base game's mission select. Launch it from there and choose your difficulty. The walkthrough below uses Nightmare, but all the enemy tactics and puzzle solutions apply at every difficulty level. The DLC does not carry over base game progression, so treat it as a fresh run.
Revelations campaign select
The chapter opens on the Proving Grounds with the Slayer in rough shape. Your first objective is to obtain the Oracle, and the only way to get it is to survive the opening combat wave. Prioritize the smaller minions first. Letting them pile up while you chase bigger targets is the fastest way to lose armor and momentum. Once the arena clears, a cutscene plays and the Slayer receives the Oracle.
A second cutscene follows immediately, introducing Khan Maykr and a character named Marok. Marok doesn't trust the Slayer with the Oracle's power and argues it belongs in Sentinel hands. The scene ends with the Slayer stepping through a portal to the next location.
Your next marker points toward the council chamber. Clear every enemy on the path and use the map to maintain your heading. The council chamber door is locked and marked with a distinctive symbol, so you won't mistake it for a regular door.
The Khan Maykr Secret sits on the main path near this door. You don't need to go out of your way for it.
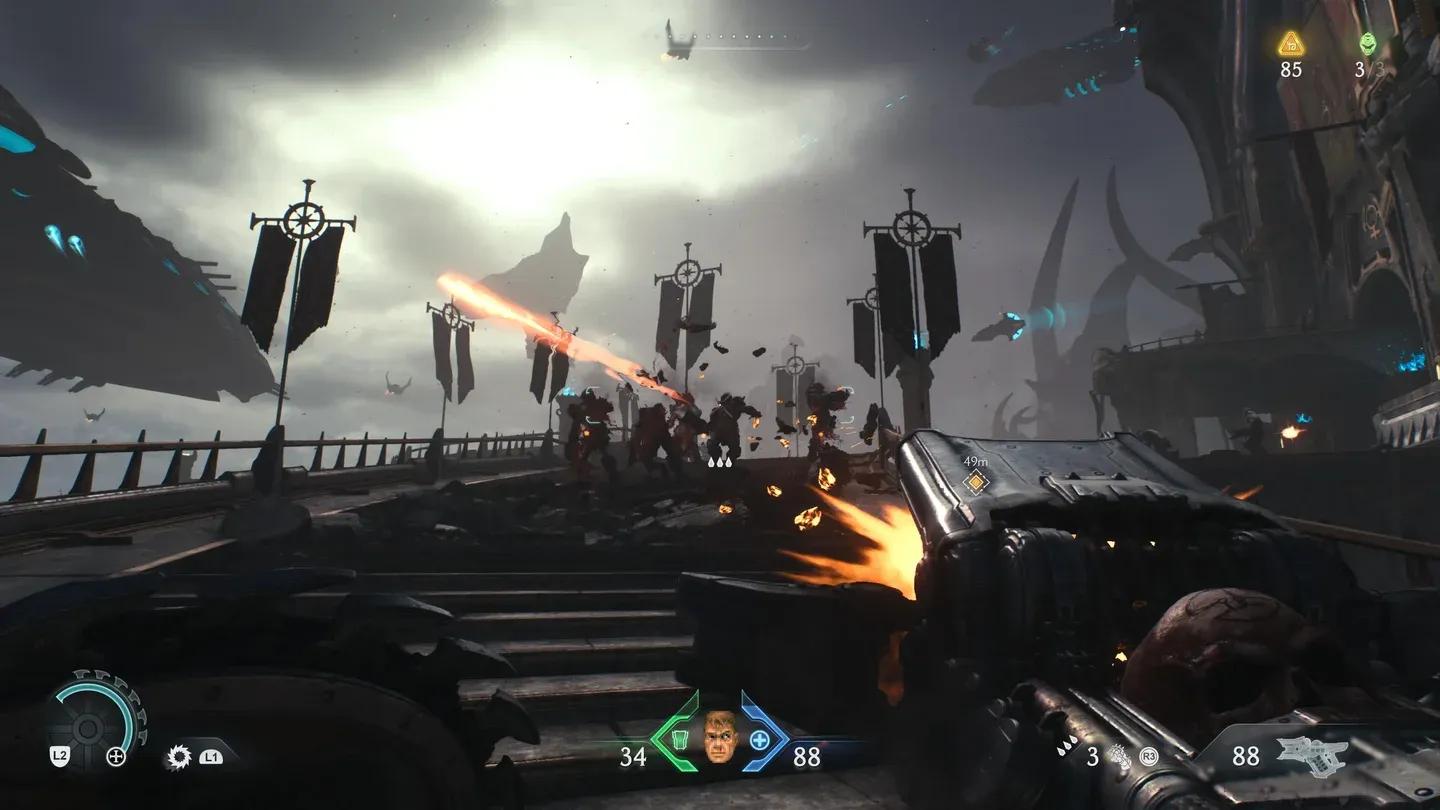
To unlock the door, you need to reach a lever hidden above your current position:
The lever unlocks the council chamber door. Enemies spawn throughout this section, but none of them are especially threatening at this stage.
Green skull shield traversal
Past the council chamber, you'll hit another locked door that requires a Blue Skull. Follow the marker just past the door and the skull is nearby. The path to it involves doorways that lock behind you until you kill a set number of enemies, so don't expect to sprint through.
Three notable enemies appear in this section:
| Enemy | Weakness / Counter |
|---|---|
| Buzzsaw | Aim directly at its wheel to destroy it quickly |
| Acolyte | Kill the illusion copies first, then hit the real one when its shield drops |
| Vagary | Keep your distance; its projectiles are slow and easy to dodge from range |
The Acolyte is the trickiest of the three. It spawns multiple copies of itself, and the real one stays shielded until all illusions are down. Throw your shield frequently to interrupt its teleports. Once the illusions are gone, the shield disengages and you can deal direct damage.
The Vagary at the end of this section is manageable as long as you stay mobile. The real danger comes from the minions it drops around you. Keep one eye on the floor while you work on the Vagary from distance.
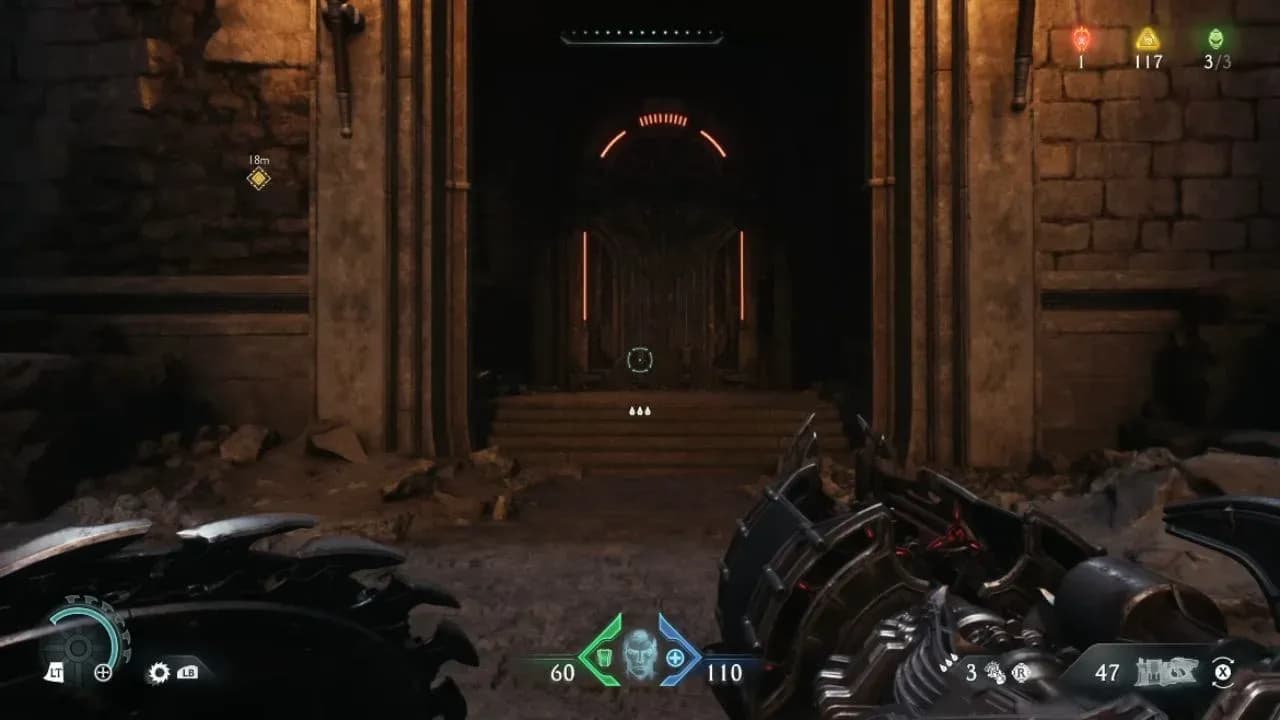
After clearing the Vagary section, you'll find a room with several locked doors. Look right and aim upward to spot a machine on the wall. Throw your shield into it to unlock one of the doors, then Shield Charge through a blocked door to reach a second machine. Repeat the process to reach the chapter's final marker.
Shield unlock mechanism
Standing on the marker triggers the Agaddon Brute Champion boss fight. This is the hardest enemy in Chapter 1 by a significant margin. The goal is to fill a purple bar by dealing sustained damage, which stuns the Brute and opens a window to finish it. Use a weapon with a high rate of fire rather than slow heavy hitters.
The fight has a secondary threat: a Pinky Rider joins partway through to support the Brute. Don't let it occupy your attention for too long, but don't ignore it either. Letting the Pinky Rider harass you while you focus on the Brute is a reliable way to eat damage you can't afford.
After the boss, continue along the marker to reach the chapter's final sequence. The Slayer encounters the Henchman, a fight you can't win. The Slayer ends up in Purgatory with a broken shield and a new weapon: the Chain Spear.
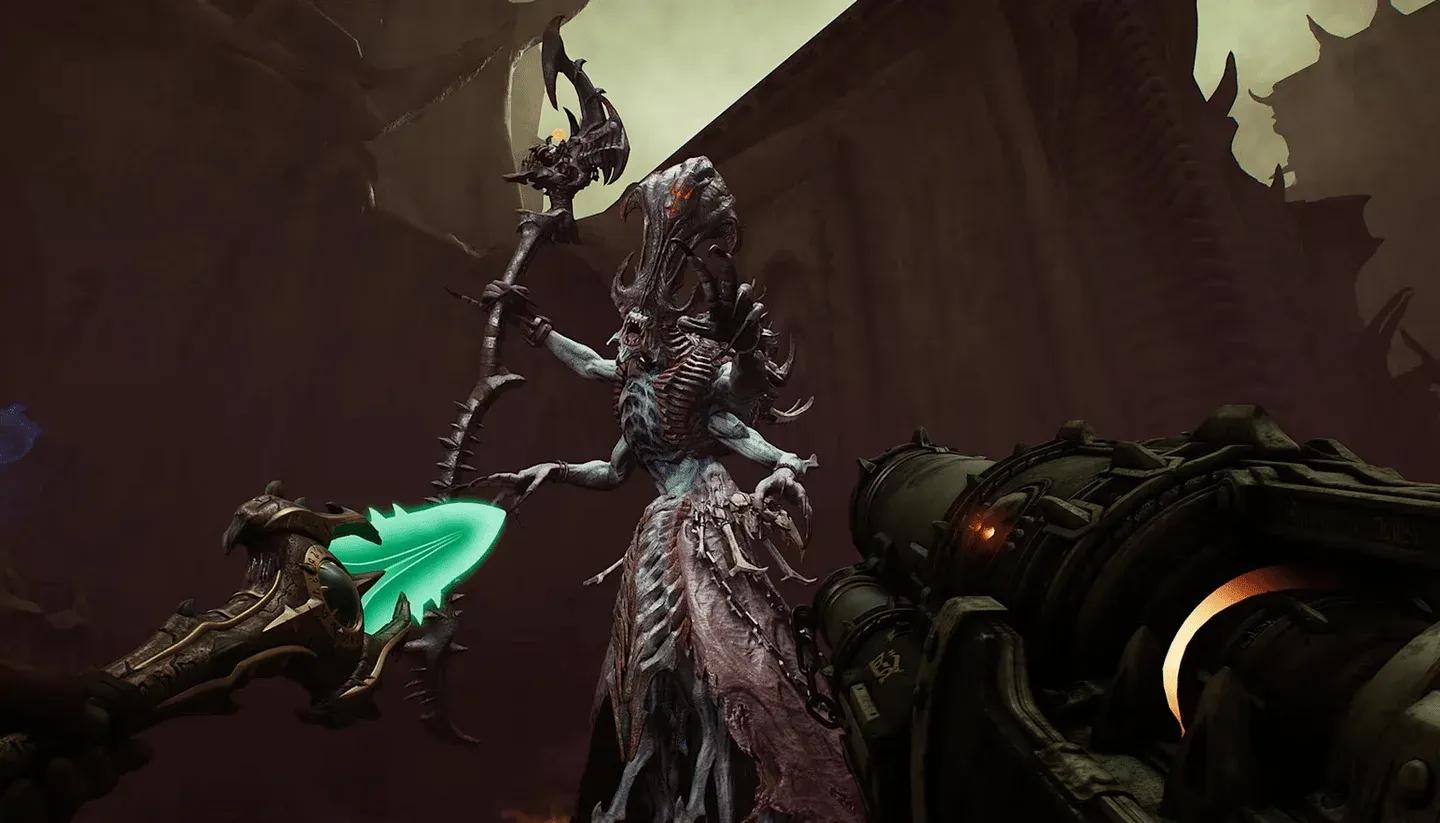
Here's the problem: the Chain Spear ships with no default controls assigned. The game will display ?? instead of a keybind, and the weapon won't fire. Fix this immediately by going into settings and manually assigning the Chain Spear controls before continuing.
For a detailed fix, check out the full Chain Spear bug fix guide for Revelations if you run into issues getting the DLC to load or controls to register correctly.
Assign Chain Spear controls here
Once the controls are set, the Purgatory section acts as a tutorial for the Chain Spear. Follow the main path and the game walks you through the weapon's mechanics organically.
Purgatory opens into a large arena packed with enemies. Clear every one of them, then interact with the terminal in the center of the area. This updates the map with a new marker.
Follow the marker to a lever that opens a passage through the ice. Head inside, eliminate the remaining enemies, and you'll arrive at Hell's Core. That's the end of Chapter 2.
Nightmare is a reasonable choice if you've finished the base campaign and have a feel for the Slayer's toolkit. The enemy counts and damage are higher, but the core mechanics don't change. If you want to focus on learning the new enemies and Chain Spear before adding pressure, Hurt Me Plenty gives you enough room to experiment without trivializing the fights.
The Acolyte and Agaddon Brute Champion are the two encounters where difficulty setting makes the biggest difference. Both require specific tactics regardless of difficulty, but Nightmare leaves far less room for error during the Acolyte's illusion phase and the Brute's Pinky Rider overlap.
For more on the DLC's content and what was confirmed before launch, the Revelations DLC release date guide has the full breakdown of new weapons, enemies, and story details.
For upgrade priorities that carry over your playstyle into the DLC, the best upgrade paths and weapon builds guide is worth reading before you start. The full collection of DOOM: The Dark Ages guides covers everything from the base campaign through Revelations.