
Dragon Ball Sparking Zero brings back one of the most beloved features from the classic Budokai Tenkaichi era: quick-time events woven directly into combat. Called Impact Actions in-game, these QTE minigames trigger during high-stakes moments and can completely flip a fight if you know how to handle them. The problem is the game's own training mode does a poor job explaining how they actually work, and each Impact Action uses its own distinct UI that gives almost no hint about what you're supposed to do.
There are four different types of Impact Actions in Sparking Zero, and each one plays out differently. Getting comfortable with all of them is one of the fastest ways to improve your win rate, especially in online play where opponents will absolutely exploit your hesitation. If you're still finding your footing with the broader game, check out this beginner strategies guide for foundational tips that carry over to competitive play.
Beam clash Impact Action
What are Impact Actions in Dragon Ball Sparking Zero?
Impact Actions are the QTE minigames that interrupt normal combat flow at specific moments, usually when two powerful attacks collide or when a character attempts a dramatic counter. Each of the four types has its own visual interface and its own set of rules for winning. They're not just button mashing, even though that's the first instinct most players have.
The training mode does cover them, but Piccolo's passive AI in that mode won't trigger the full range of every Impact Action. To really understand them, you need to experience them in actual matches, which is why this breakdown matters.
How many types of Impact Actions are there?
There are exactly four distinct Impact Action types, each tied to a different combat situation. Here's a quick reference before the deep dive:
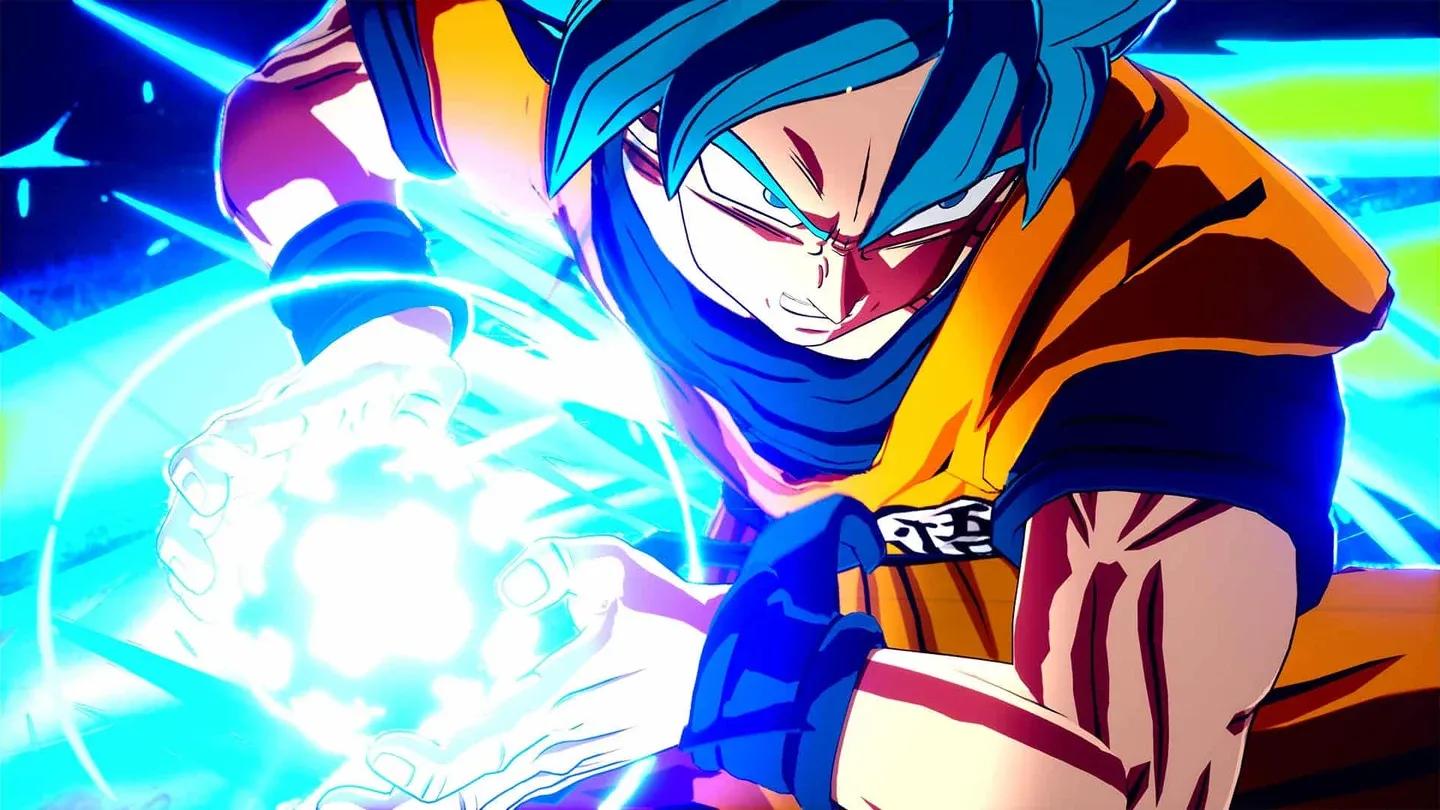
Beam Struggle
The most iconic of the four, Beam Struggle triggers when two energy beams meet head-on. The UI shows a collision point between the two beams, and your job is to push that point toward your opponent. Rapid button input drives the struggle in your favor, but the boost mechanic adds another layer: spending Ki at the right moment can send a surge of power through your beam and dramatically shift the balance.
The key mistake most players make here is burning their boost too early. Hold it until the collision point is already close to neutral or slightly in your favor, then boost to finish the job. Boosting from a losing position usually just delays the inevitable.
Beam Struggle power meter
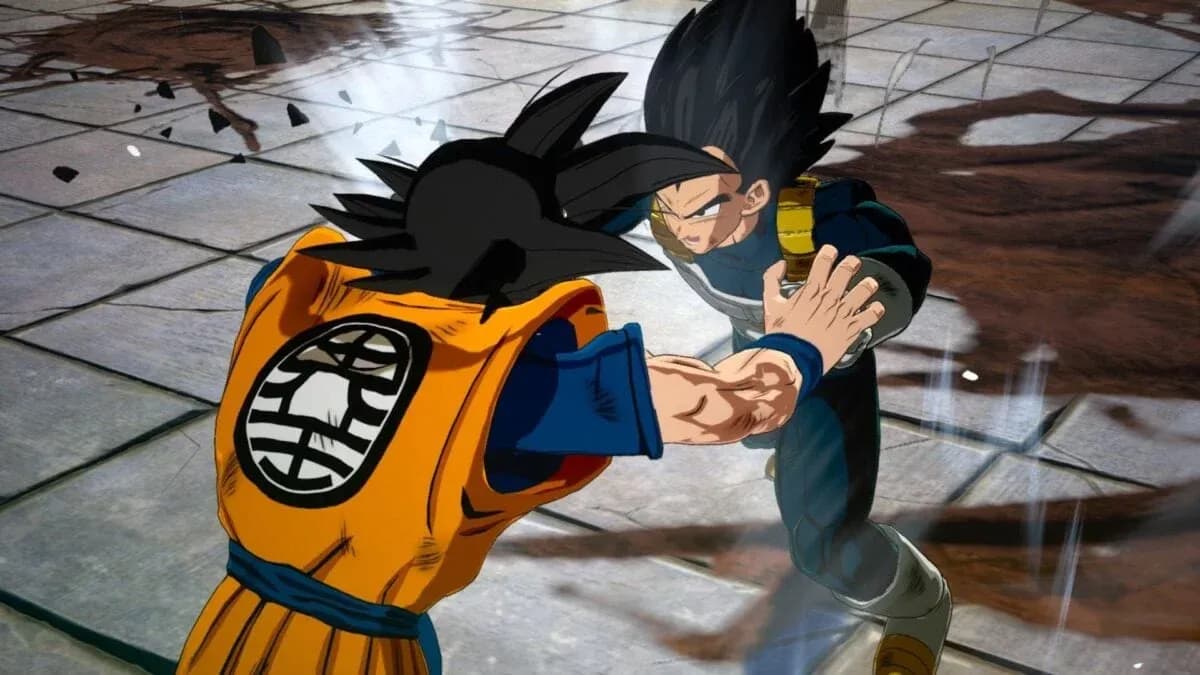
Power Struggle
Power Struggle happens when two characters clash at close range with charged physical attacks. The UI shifts to show competing input prompts, and you need to alternate between them correctly to build your power bar faster than your opponent builds theirs. Rhythm matters more than raw speed here.
This is the Impact Action where the boost function is most misunderstood. The boost doesn't just add a flat bonus; it temporarily accelerates your input window, so timing it during a strong alternating sequence amplifies the effect significantly.
Rush Counter
Rush Counter is the most timing-dependent Impact Action. When an opponent launches a rush attack, a prompt appears with a narrow window to counter it. Hit it clean and you reverse the momentum entirely. Miss it and you eat the full attack.
The training mode is particularly unhelpful here because Piccolo's AI won't pressure you the way a real opponent does. The counter window feels generous in practice mode and punishing in a real match, so expect the adjustment period.

Rush Counter timing window
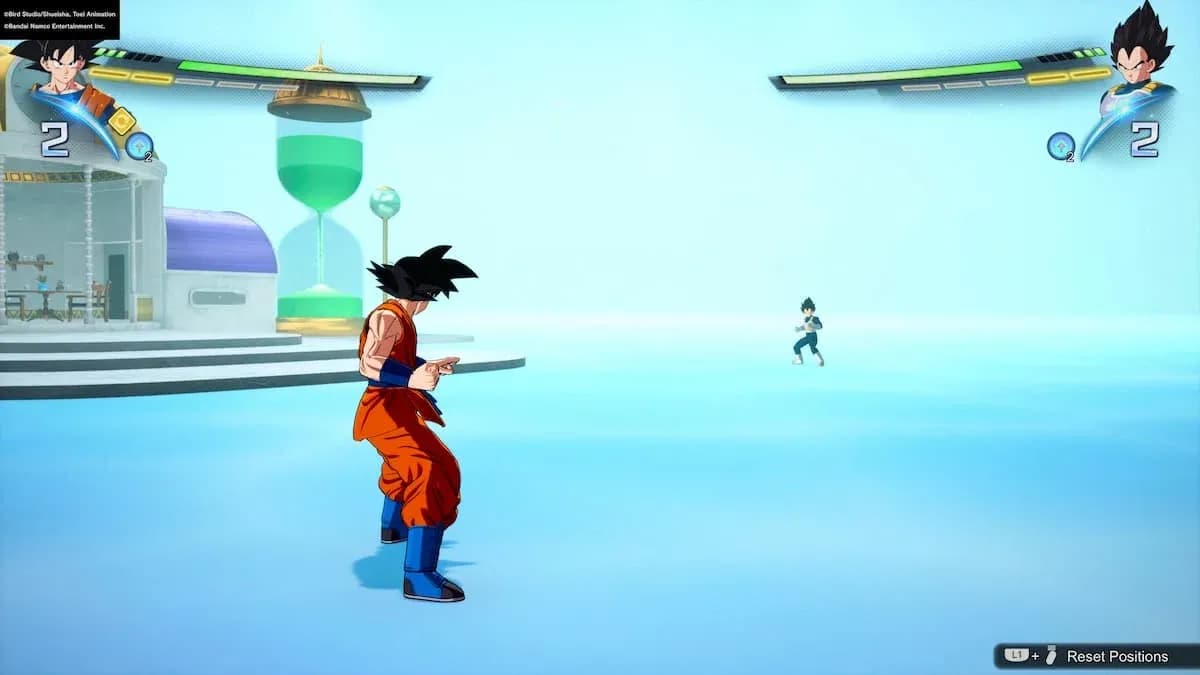
Perception
Perception triggers when an opponent closes distance at high speed. A directional prompt appears and you need to read it correctly to sidestep or deflect the incoming attack. Getting it right puts you in a favorable position; getting it wrong leaves you open to a full combo.
Among all four types, Perception has the shortest reaction window and the most visual noise around it, which is exactly why opponents love triggering it in chaotic exchanges. Staying calm and focusing on the directional indicator rather than the character animations is the difference between a clean dodge and a punishing counter-hit.
Does the boost mechanic work the same in every Impact Action?
No, and this is where most players go wrong. The boost function costs Ki and behaves differently depending on which Impact Action you're in. In Beam Struggle it pushes the collision point. In Power Struggle it accelerates your input window. In Rush Counter and Perception, the boost interaction is more subtle and primarily extends your reaction timing slightly rather than providing a dramatic power surge.
Managing your Ki bar matters a lot here. Entering an Impact Action with low Ki means you're fighting at a disadvantage before the minigame even starts.
Ki gauge during boost
Tips for winning Impact Actions consistently
- Identify the type first. Half a second spent recognizing which Impact Action triggered is worth more than immediately mashing.
- Save Ki before high-risk exchanges. If you're about to throw a beam attack against an opponent who's also charging one, having Ki ready for the boost is non-negotiable.
- Practice each type in isolation. Training mode won't replicate real pressure, but it does let you memorize the UI layouts and input patterns without stakes.
- Don't panic-boost. Boost timing in Beam Struggle and Power Struggle is about timing, not desperation.
- Accept the learning curve. The four types feel unfamiliar at first because each one has a completely different visual language. Give yourself 10 to 15 matches before expecting consistency.
Sparking Zero's Impact Actions are one of the features that separate it from more conventional fighting games. They're not perfect, and the in-game tutorials leave a lot on the table, but once they click, they make every high-energy clash feel genuinely dramatic rather than just flashy. For a broader look at what the game does well and where it stumbles, the Sparking Zero in-depth review is worth reading before you commit to the grind. More strategy breakdowns are available in the full Sparking Zero strategy guides collection.