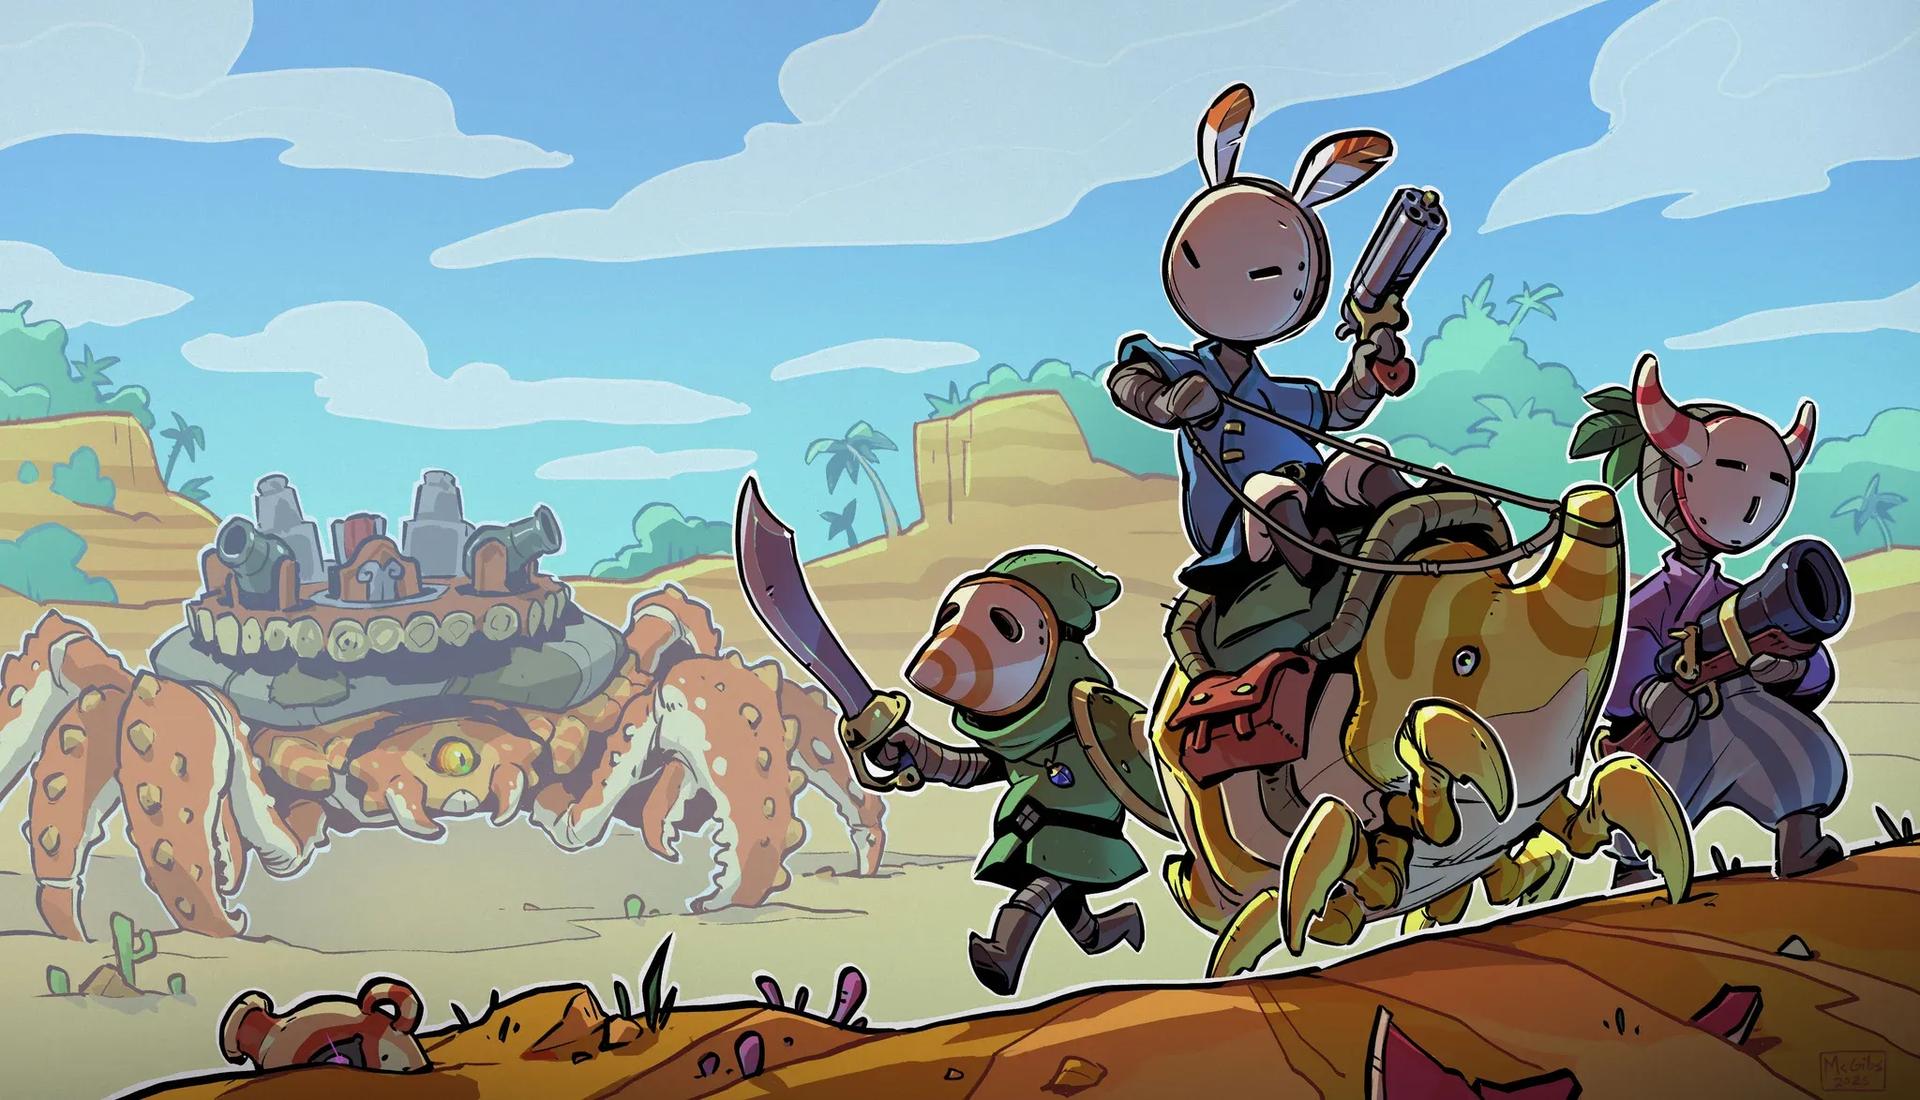

DuneCrawl drops you into the desert with minimal hand-holding, and the opening tutorial packs in more systems than most players expect. From weapon swapping and dodge rolls to mounting Nymphs and firing yourself out of a cannon, the Defend Sanctuary Hill chapter covers a lot of ground fast. This walkthrough covers every chest, every enemy wave, and every optional pickup so you don't miss anything before the world opens up.
Getting started: difficulty and first steps
When the game loads, select your difficulty. The walkthrough below is based on medium difficulty. Once you have control of your character, take a moment to get comfortable with your movement. On a DualSense controller, weapon switching uses L1 and R1 to cycle through the weapon wheel or hot bar.
Speak to the villager near your starting position, then head up the path toward Steedle Farm. Break open every weapons crate you pass. Junk and gold collected from crates and debris carry real value later, so don't skip anything.
Weapon wheel and hot bar controls
How do you clear the first enemy waves?
After breaking the initial crates, enemies rush your position. Use the Hunting Bow on the target dummy at the north end of the area first. Hitting it unlocks the door to the right. Once through, a wave of enemies appears.
You have two solid options here: the Cutlass for close-range fighting or the Hunting Bow for distance. Dodge rolling is your survival tool. On DualSense, that's the X button. Get comfortable with it now because tougher enemies later punish players who stand still.
After clearing the wave, check the southern area for a chest containing 15 Gold. Head through the next door, clear the debris on the left to uncover a Scattergun, then climb the stairs past the running tutorial sign.
Clear enemies on the left ramp, grab loot from the crates on the east side, then push straight ahead to reach Steedle Farm.
Mounting Nymphs and reaching the docks
At Steedle Farm, pick up the green bug gack from the corner and feed it to a Nymph to mount it. Nymphs restrict you to ranged attacks only, so keep that in mind during mounted travel.
Ride toward the docks. Along the way, break the weapon crate and feed another bug gack to the Beetle blocking the path. You can mount the Beetle as well.
Feeding bug gack to mount a Nymph
Head south past the waterfall after discovering the shrine. Two enemies wait at the bottom of the south ramp, one carrying a shield. Take them down, then check the chest in that area for 15 Gold and a hand cannon.
Head north toward the bridge. Two more enemy waves spawn when you try to cross. Clear both, then cross and climb the vines on the far side.
What's in the chest above the vines?
At the top of the vines, a chest holds gold and a Gilded Mask. Equip this item. It causes enemies to drop extra gold on death, which compounds nicely through the rest of the chapter.
Pick up a bombflower nearby to open the blocked path, locate the next shrine, then descend the ramp toward the Docks. Navigate around the explosions carefully as you move southwest. A cluster of crates and another shrine sit in this area. Follow the right-side ramp to its far end for a chest containing 50 Gold.
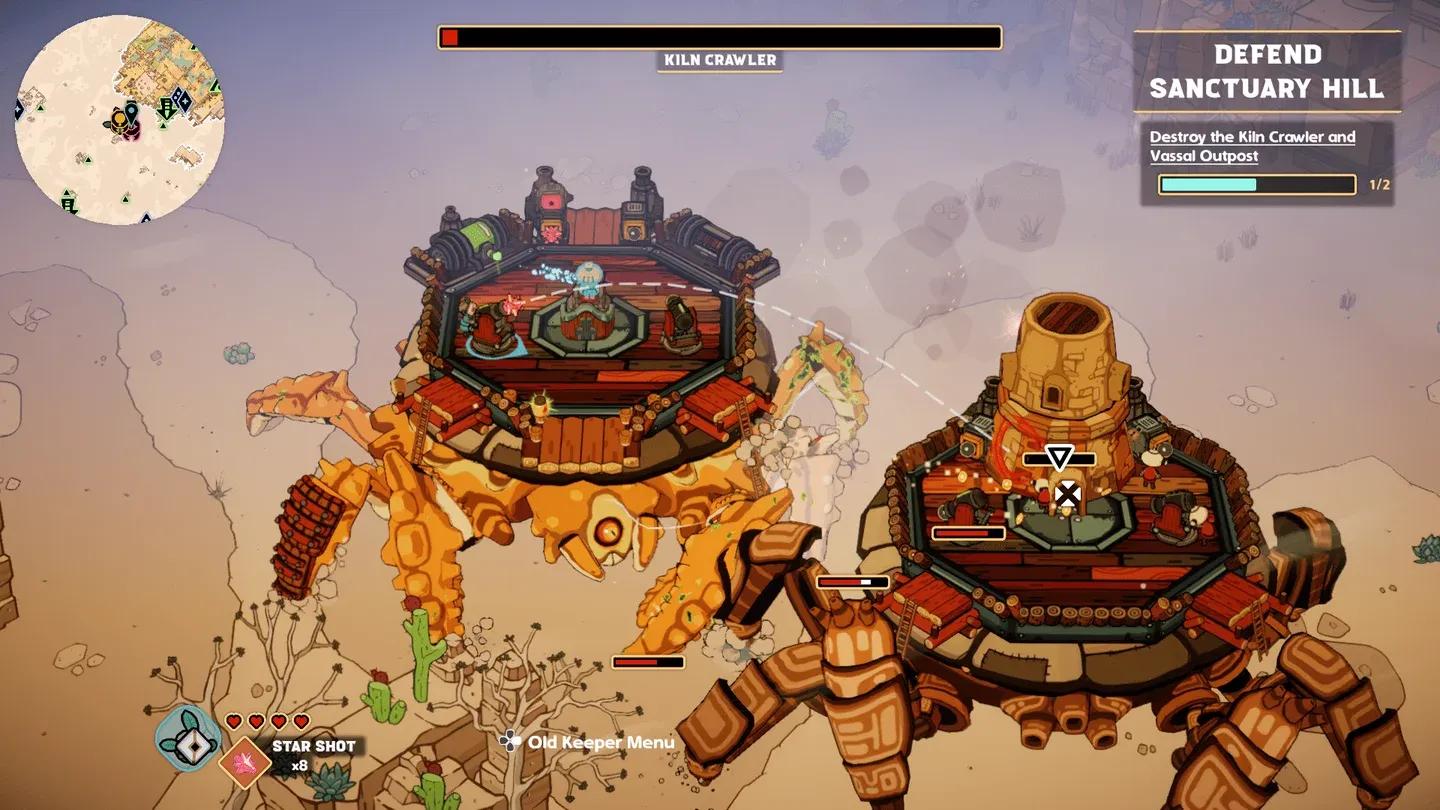
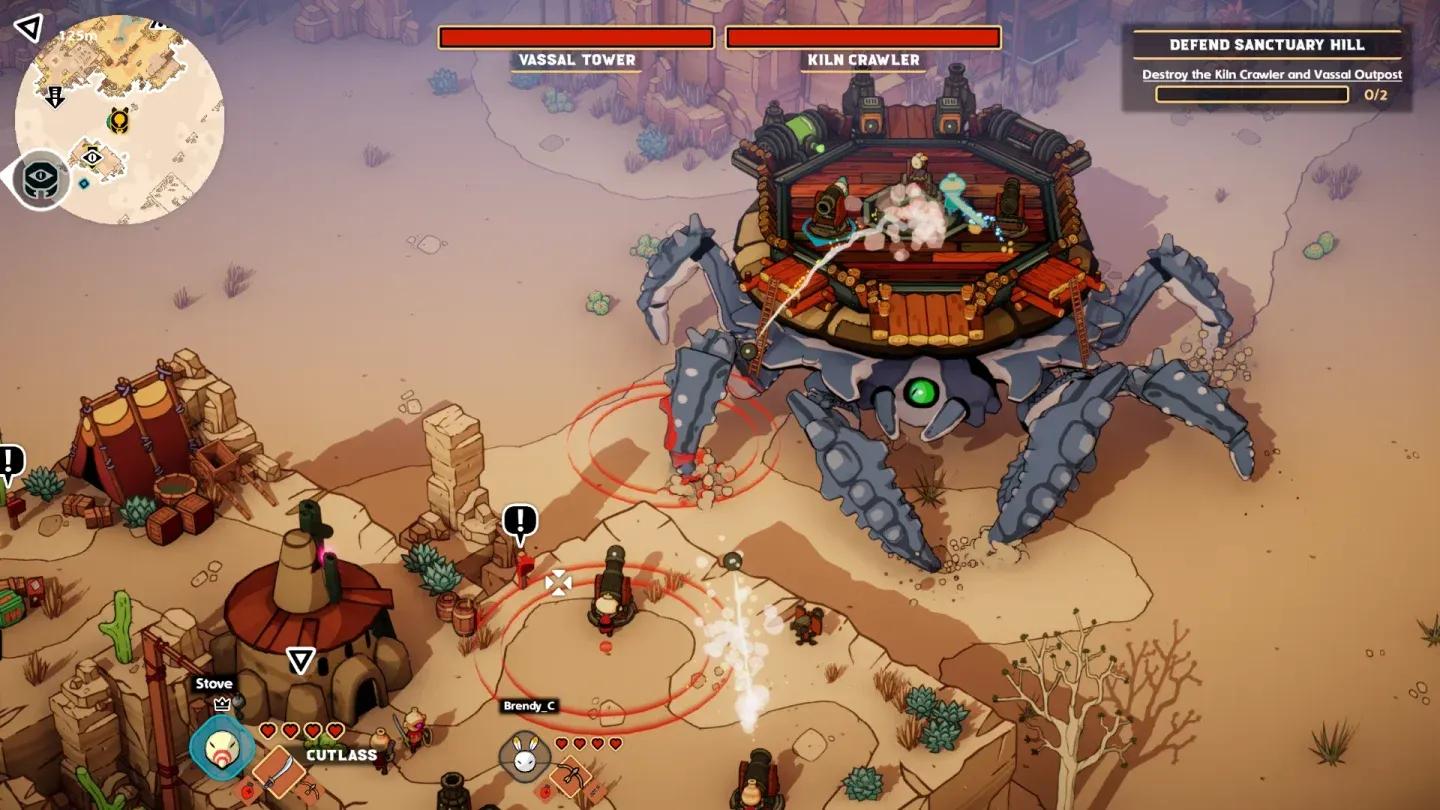
How do you use the cannon bay?
Head southeast to the cannon bay. Carry a cannonball to one of the cannons, load it, then mount the cannon. Aim for the clay tower on the Dune Crawler and fire.
Board the Dune Crawler and speak to the Old Keeper to heal it up. Grab the bug gack from the back of the Crawler and use it to heal the Crawler's legs. Once healed, you get to name your Dune Crawler.
Open the map and locate the next Clay Tower. Mount the Dune Crawler and check the controls for ordering the Old Keeper in solo play. Drive to the Vassal Tower and destroy it.
Once enemies are cleared, climb into a cannon and fire yourself over to the far structure. On the right side, pick up the Det Pack Blueprint and the Royal Honey Jar, then jump back down to the Dune Crawler.
Optional pickup: the Star Shot upgrade
The Royal Honey Jar loads at the front of the Dune Crawler and sells for 60 Gold to a trader, so hold onto it. Fire yourself back to the other side and pick up the Iron Bark armour. Load it onto any of the Dune Crawler's legs. The left front leg works well as a starting point.
There's an optional encounter worth doing before moving on. Dock at the Docks and target the Shielded enemy there. In solo play, order the Old Keeper to fire at it. Most shots bounce back, so launch yourself behind the enemy and finish it quickly. The reward is the Star Shot Upgrade.
Load the Star Shot Upgrade onto one of the cannons, then head to the Kiln Crawler and destroy its tower.
Star Shot upgrade on the cannon
Finishing the chapter: talking to the Shaman
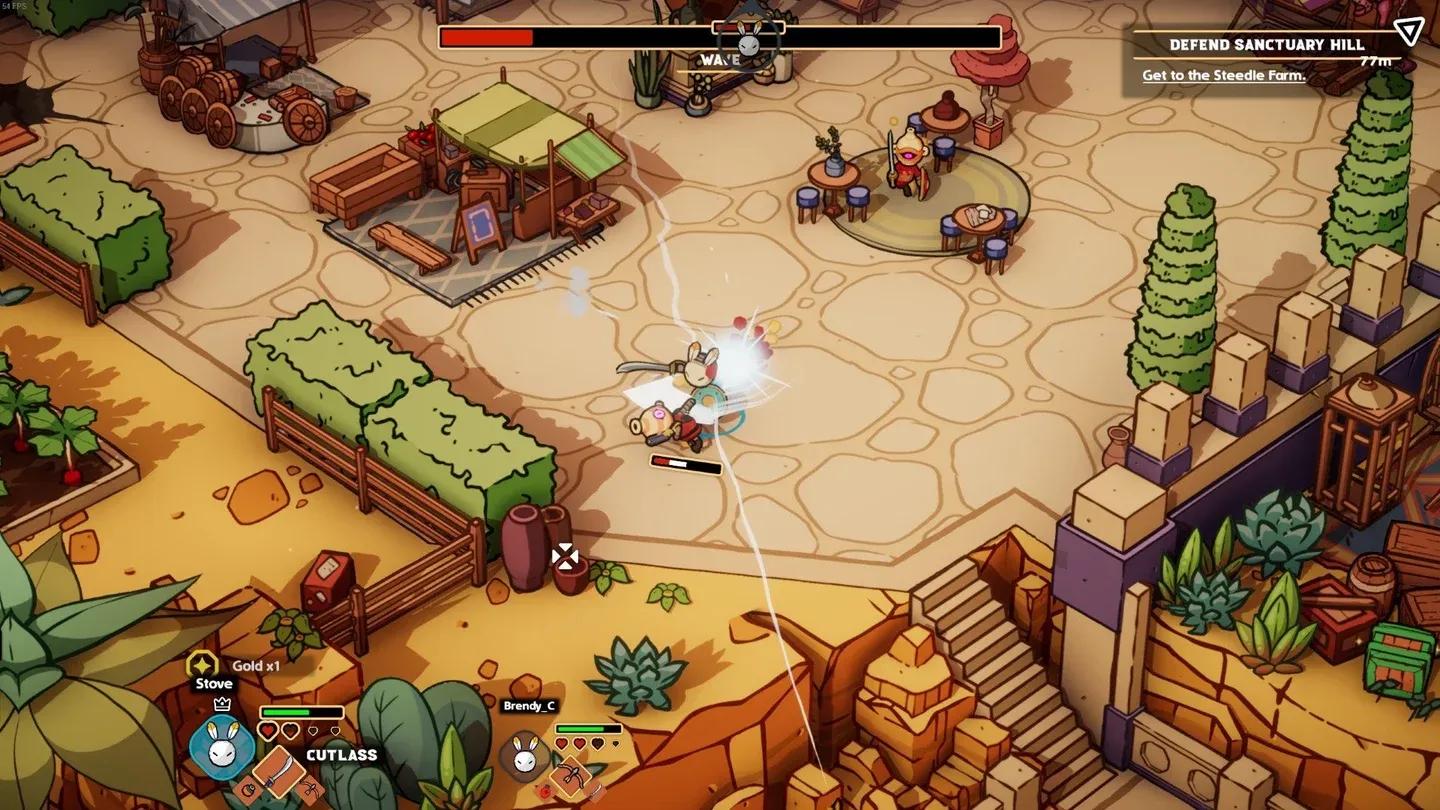
After destroying the Kiln Crawler tower, collect 10 Sparkflies from the area and grab all remaining loot. Dock back at the village and speak to the Shaman. This conversation unlocks a set of new quests and marks the Defend Sanctuary Hill chapter as complete.
That wraps the tutorial. You now have a named Dune Crawler, a working cannon loadout, and a full quest board to work through. For more guides across the latest games, browse more guides on GAMES.GG to keep your progress moving.