Search games, articles, guides...CtrlK
Sign InGet Started
Learn stamina, Sword Skills, weapons, Iori modes, Growth Points, and Smithy upgrades to survive Aincrad from day one.

Written by Mostafa Salem
Head of Gaming Research
See more GAMES.GG guides on Google
Add us as a preferred source and our guides show up first in your results.
Echoes of Aincrad Weapons Tier List: Best Weapon Types Ranked
Every weapon type in Echoes of Aincrad ranked from best to worst, with tips on stats, shields, and which fits your playstyle.
Echoes of Aincrad Guide: How to Save to Avoid Permadeath
Learn how to manually save in Echoes of Aincrad and what Death Game Mode's permadeath rules mean for your progress.

Echoes of Aincrad Guide: Best PC Settings for Max FPS
Get the best FPS in Echoes of Aincrad with these optimized PC graphics settings to eliminate stutters and lag during combat.
Echoes of Aincrad drops you into a monster-infested dungeon with almost no hand-holding, then immediately starts layering systems on top of each other. Stamina management, partner modes, weapon proficiency, stat allocation, crafting, and boss prep all demand attention before you even reach the first major fight. This guide breaks every core system down in the order you actually encounter it, so you spend less time confused and more time progressing.
Four difficulty options are available: Story, Normal, Hard, and Very Hard. Story mode is for players who want to follow the narrative without punishing combat. Normal balances both. Hard and Very Hard scale up enemy aggression and reward better loot and slightly more experience per quest. The experience difference between difficulties on quest completion is minor, so pick based on how much you enjoy working for your wins.
Once you reach the Town of Beginnings, you can change difficulty freely inside any town. The exception is Death Game mode, a separate toggle that requires either finishing the game first or owning the Digital or Ultimate Edition. Choosing Death Game mode locks you into a new save, though you can skip the tutorial to get back up to speed quickly.
There is also a character customization wrinkle worth knowing early: you start with a default character and only unlock full customization after completing The Violet Fencer II quest. Stick with the default for now and treat the early game as your systems tutorial.
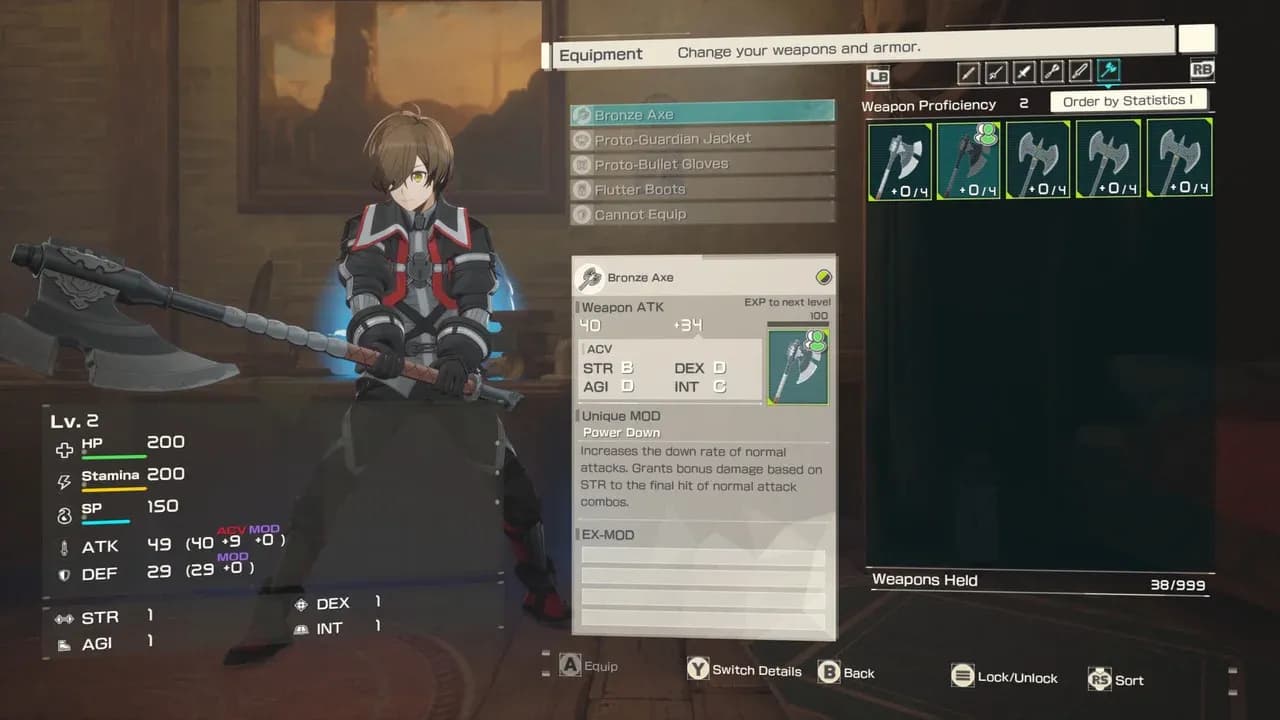
Choose your difficulty at town
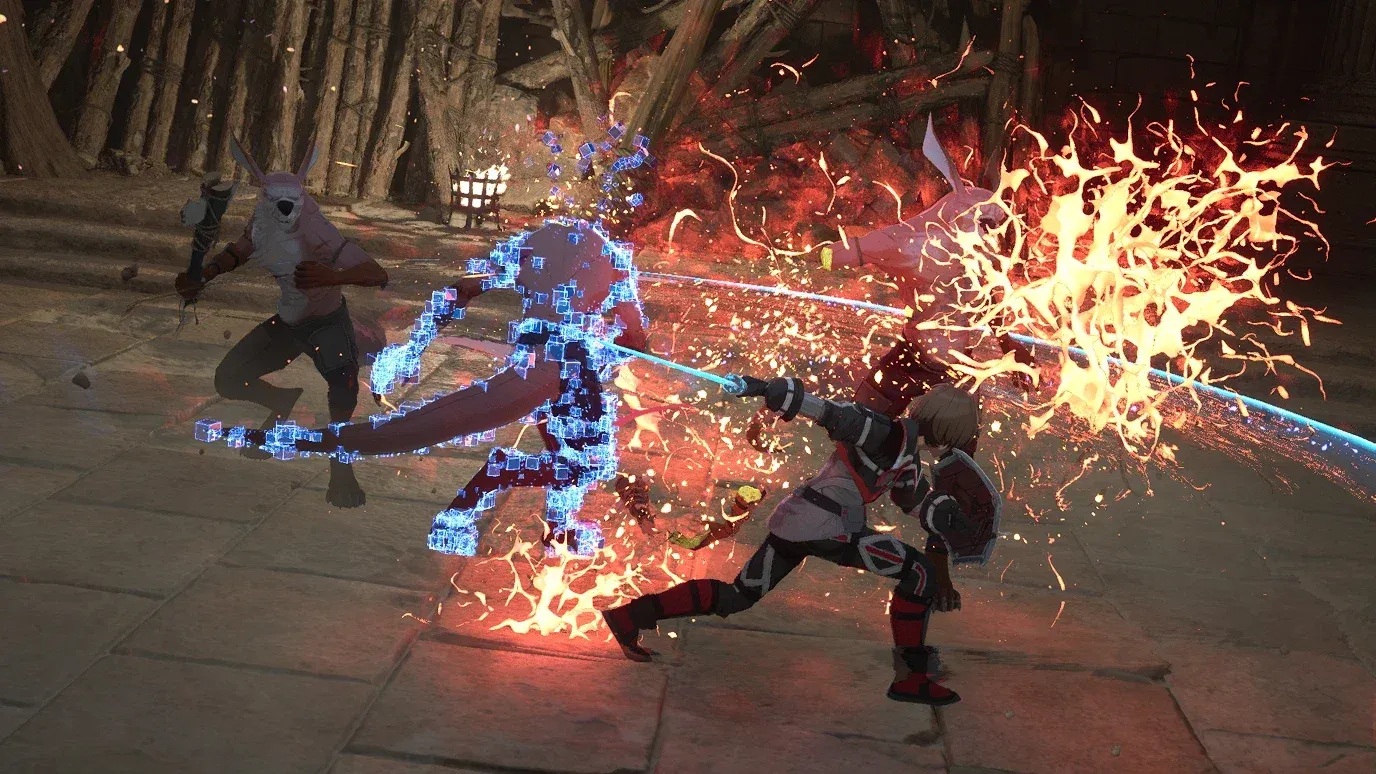
Stamina is the resource that connects every action in combat. Light attacks, heavy attacks, dodging, sprinting, blocking, and sustained pressure all draw from the same bar. The single most common beginner mistake is burning through stamina on offense and having nothing left when the enemy responds.
The rule is simple: always keep enough stamina to exit the exchange. If you cannot dodge, guard, or reposition after your last attack, you attacked one too many times.
Reversal Slash is a timed counter option available after successfully guarding an attack. Resist the urge to use it constantly during normal fights. It earns its value in boss encounters, where enemy recovery windows are longer and more readable.
| Combat action | Key beginner lesson |
|---|---|
| Light attacks | Best for learning enemy range and reaction timing |
| Heavy attacks | Stronger but easier to punish without a clear opening |
| Dodging | Your primary answer when an enemy commits to an attack |
| Sprinting | Useful for repositioning, risky if it drains you before a fight |
| Guarding | Safer than panic movement, still requires timing |
| Reversal Slash | Timed guard counter, most useful in boss fights |
Normal attacks into a shielded enemy accomplish nothing useful. The Cobalt Trooper encounter in the prologue exists specifically to teach this. When an enemy blocks frontally, switch to a heavy attack or the guard-break option the game highlights. Continuing to press light attacks wastes your stamina and gives the enemy free time to punish you.
Sword Skills are weapon-specific techniques that consume SP. You can equip up to 3 at a time, so your loadout choice matters from the start. The two failure modes are using them randomly and hoarding SP forever. Neither works.
The correct habit: build SP through clean, efficient combat, then spend Sword Skills after a stagger, guard break, partner setup, dodge window, or boss recovery phase. A Sword Skill that connects after a real opening deals meaningful damage. One that gets blocked or dodged wastes your best pressure and leaves you exposed.
Weapon type and Weapon Proficiency both affect which Sword Skills you can unlock and use. Proficiency grows the more you use a weapon type in combat, so sticking with one weapon direction early accelerates your skill access.
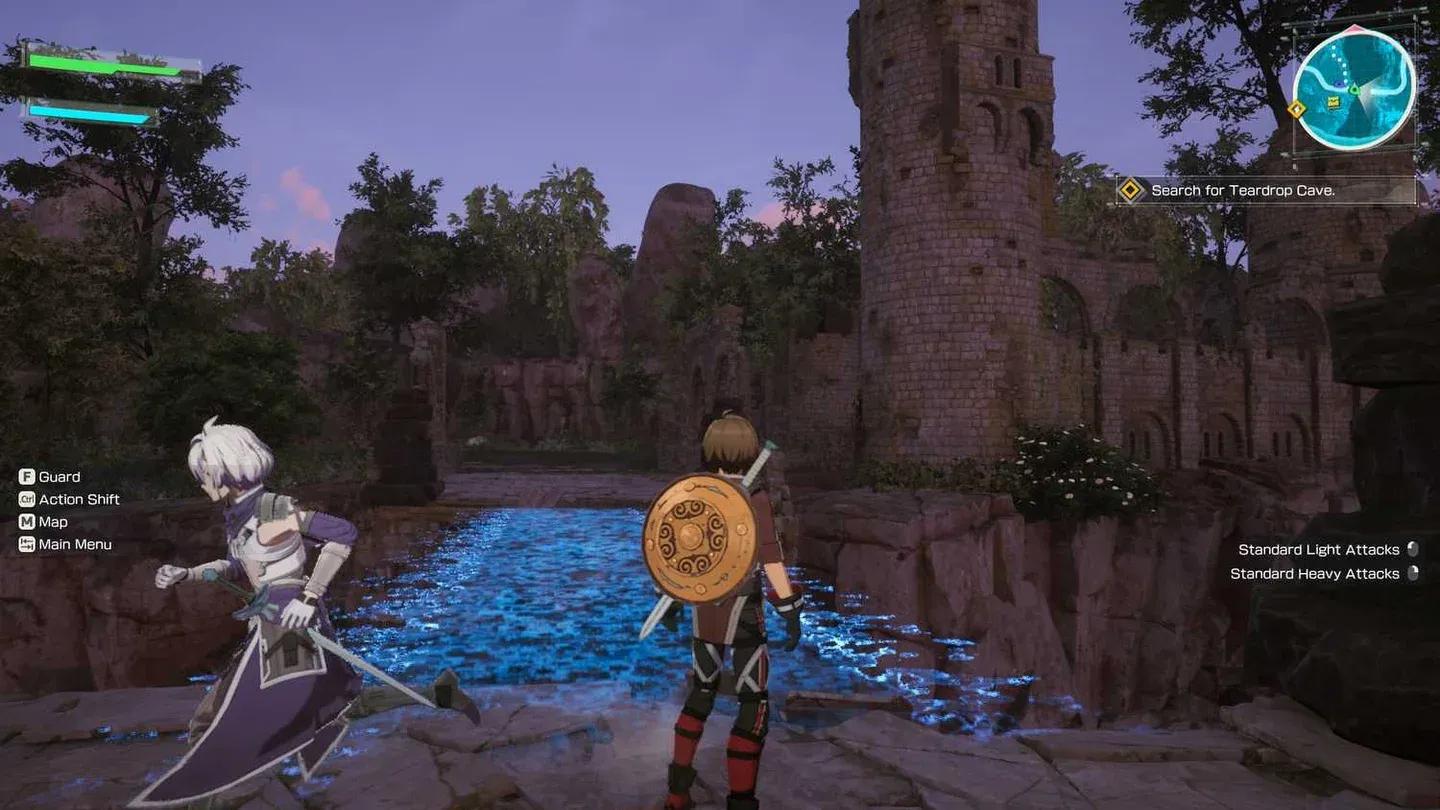
Equip up to three Sword Skills
You can only swap weapons between quests while inside the Town of Beginnings, so the choice matters before you head out. After testing all six weapon types against early enemies, Sword and Shield is the safest starting direction. The shield gives you guard and parry options that other weapon types lack, which buys time to learn enemy patterns without dying to mistakes.
That said, every weapon has a distinct role. Here is how they break down:
| Weapon type | Role | Key note |
|---|---|---|
| Sword and Shield | Balanced offense and defense | Best first pick; guard, parry, and Iori follow-ups available |
| Mace | Defense-breaking pressure | Shield-compatible; excels at staggering and knocking enemies down |
| Rapier | Fast single-target chains | Long reach, flowing combos, shield-compatible |
| Dagger | Mobility and range | Can throw blades at range; no shield slot |
| Two-Handed Sword | Heavy charged hits | Dodge becomes a roll when equipped; no shield slot |
| Two-Handed Axe | Area-of-effect pressure | Strongest against grouped enemies; no shield slot |
Do not judge a weapon by its base ATK number alone. Unique MODs, EX-Mods, scaling stats, proficiency level, and upgrade cost all change which weapon is actually better for your build.
Iori is a full combat partner, not background support. The mode you choose determines how fights feel at a fundamental level.
Free Mode makes Iori fight actively alongside you, either focusing a single enemy down together or clearing multiple enemies one by one. Switch Mode has Iori draw enemy attention, creating breathing room so you can time your own attack safely. If a fight feels chaotic and unreadable, Switch Mode is almost always the better choice until you understand the enemy's patterns.
Support Skills cover healing, defensive buffs, and offensive buffs depending on your partner. Combination Skills are powerful coordinated attacks that trigger after dealing enough damage. Assign them to your action wheel before starting a quest, because fumbling through menus mid-fight costs you the opening they create.
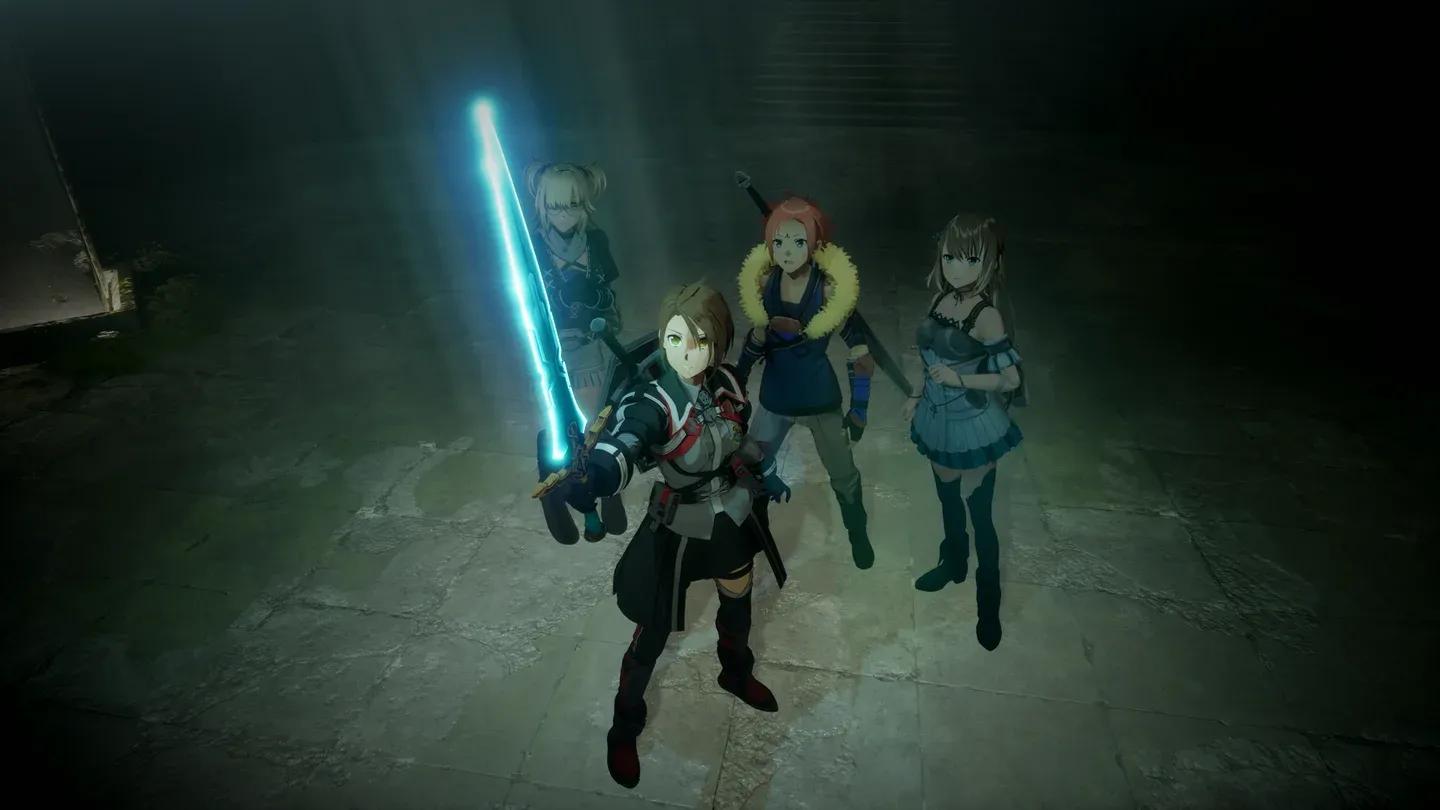
Switch Mode creates breathing room
Character progression runs through three interconnected systems. Understanding all three together matters more than mastering any one of them.
Growth Points come from leveling up by defeating monsters. You spend them at the Inn on core stats: STR, DEX, AGI, INT, VIT, END, and Mind. These stats affect damage output, HP, stamina capacity, and SP effectiveness depending on your weapon and skill choices. If your damage feels low but your weapon looks fine, unspent Growth Points are usually the culprit.
Cardinal Rank rises when you complete Main Quest segments or discover new towns. It is not cosmetic. A higher rank unlocks better shop inventory, improves monster loot quality, scales up enemy difficulty, and advances partner ability growth. The practical implication: every time your Cardinal Rank increases, visit the Inn and the Smithy before pushing into new content.
| Stat | What it supports |
|---|---|
| STR | Physical damage-oriented weapon paths |
| DEX | Precision-focused weapons and skills |
| AGI | Mobility and faster playstyles |
| INT | Certain scaling paths and future systems |
| VIT | HP and survival comfort |
| END | Stamina capacity and sustained pressure |
| Mind | SP effectiveness and support-oriented builds |
The Smithy turns a weapon from a stat stick into a build decision. Four main functions are available: enhancement (raising a weapon's level using materials or other weapons), synthesis (combining weapon abilities), forging (crafting new equipment from recipes), and selling items for Col.
Two distinct progression tracks exist for every weapon. Weapon level is the upgrade tier you raise at the Smithy. Weapon Proficiency is a separate system that grows through combat use of that weapon type. Both matter and neither replaces the other.
EX-Mods are randomized extra effects that appear on gear. Combining two weapons of the same type pools their EX-Mods onto the resulting weapon, up to a maximum of 4 effects when the slot count allows. This is the primary way to stack multiple useful modifiers onto a single weapon. The same-type restriction is firm: EX-Mod pooling does not work across different weapon categories.
Unique MODs are built-in weapon effects that define a weapon's playstyle identity. Two weapons with identical base ATK can play completely differently depending on their Unique MOD. Always read the full weapon panel before deciding what to keep, sell, or synthesize.
Crafting recipes come from exploration, quest completion, and Cardinal Rank increases, so new Smithy options can open up simply by progressing the story.
Bosses in Echoes of Aincrad do not let you retreat once the fight starts. The encounter runs until one side is defeated, so everything you skip in preparation becomes a problem inside the fight.
The checklist before any boss-class enemy:
Safe areas also function as checkpoints. The last one you rested at becomes your respawn point if the party falls. Resting does respawn normal enemies in the area, but defeated bosses do not return.
Arks are encounter points scattered through dungeons. Clearing an Ark challenge or miniboss reveals the surrounding area on your map, marks points of interest, and can remove Sealing Barriers that block certain paths. Think of them as the game's map-unlock mechanic combined with a combat test.
Environmental obstacles have specific solutions. Rocks require an explosive item. Vines need a fire-based item. Gaps and valleys need a movement or dodge-boost tool. Survey Flags reward exploration with world data. Magical Bridges connect traversal routes and speed up movement across floors.
Combat items like mines, throwing stones, explosive stones, and debuff tools can change a fight before it becomes a pure weapon check. Craft or buy them from the merchant in the Town of Beginnings using Col.
Monsters also respawn in greater numbers if left undefeated. Ignoring every fight to rush forward tends to make the route harder over time, not easier.
| Mistake | Root cause | Fix |
|---|---|---|
| Getting lost in the prologue | Skipping waypoint markers | Check the minimap before searching every wall |
| Shield enemies waste time | Attacking guard with light attacks | Use heavy attack or the taught guard-break option |
| Running out of stamina | Spending everything on offense | Keep stamina for at least one defensive option |
| Sword Skills feel weak | Using SP without a real opening | Spend after stagger, guard break, or partner setup |
| Iori feels useless | Wrong mode or unused team skills | Free Mode for pressure, Switch Mode for breathing room |
| Damage feels low | Unspent Growth Points or outdated gear | Check Inn, Cardinal Rank, Smithy, and Col together |
| Bosses feel unfair | Entering without prep | Rest, refill Healing Crystals, check weapon and Iori plan |
For more help across every system, the full Echoes of Aincrad guides collection covers weapons, builds, boss fights, and upgrade paths in dedicated detail. If you want to know exactly when the game goes live in your region, the Echoes of Aincrad release date and times guide has the breakdown by platform and territory. Echoes of Aincrad sits comfortably among the most system-dense action games releasing this year, and the depth rewards players who take the time to learn rather than rush.