Search games, articles, guides...CtrlK
Sign InGet Started
Master the Enshrouded Barbarian build with the best skills, weapons, armor, and consumables to crush enemies in Embervale.

Written by Nuwel
Content Writer
See more GAMES.GG guides on Google
Add us as a preferred source and our guides show up first in your results.
Enshrouded Paladin Build: Master the Hybrid Mage-Knight Playstyle
Build the ultimate Enshrouded Paladin with the best skills, weapons, armor, and consumables for a hybrid melee-mage playstyle.

Enshrouded Ranger Build Guide: Best Skills, Weapons & Armor
Master the Enshrouded Ranger build with top bow skills, armor choices, and combat tips to dominate at range.
Enshrouded Greatsword Build Guide: Best Skills, Weapons and Armor
Master the Enshrouded greatsword build with top skills, best-in-slot armor, and weapon picks for maximum melee damage in Update 7.
If you want to charge headfirst into packs of enemies, swing a massive two-handed weapon, and walk away with more health than you started, the Barbarian build in Enshrouded is exactly what you need. This build turns the Warrior skill tree's red path into a machine of aggression, stacking Blood Rage damage bonuses and Crash Down Attack AoE hits to tear through anything the Shroud throws at you. It rewards players who stay in the fight rather than retreating, and once it clicks, it feels nearly unstoppable.
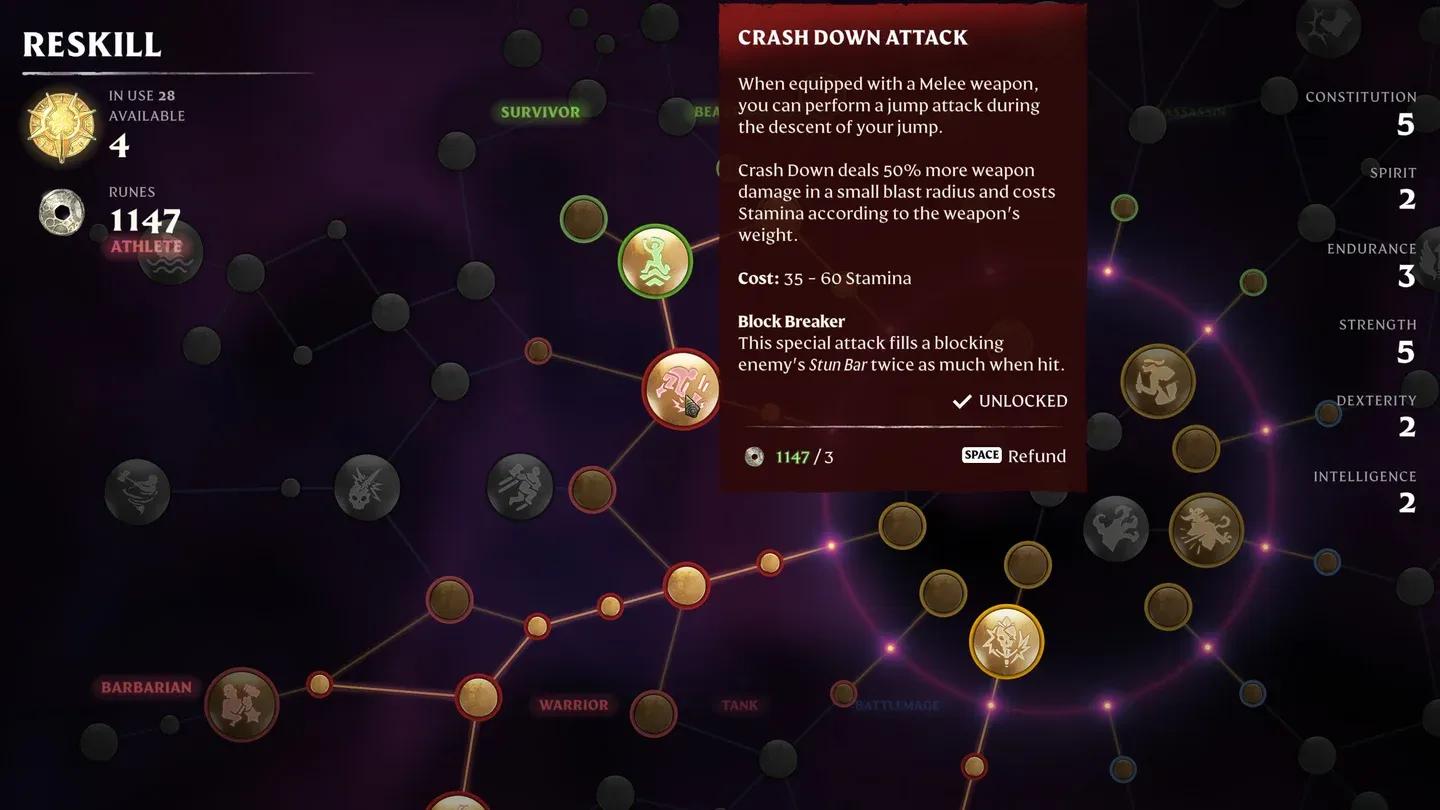
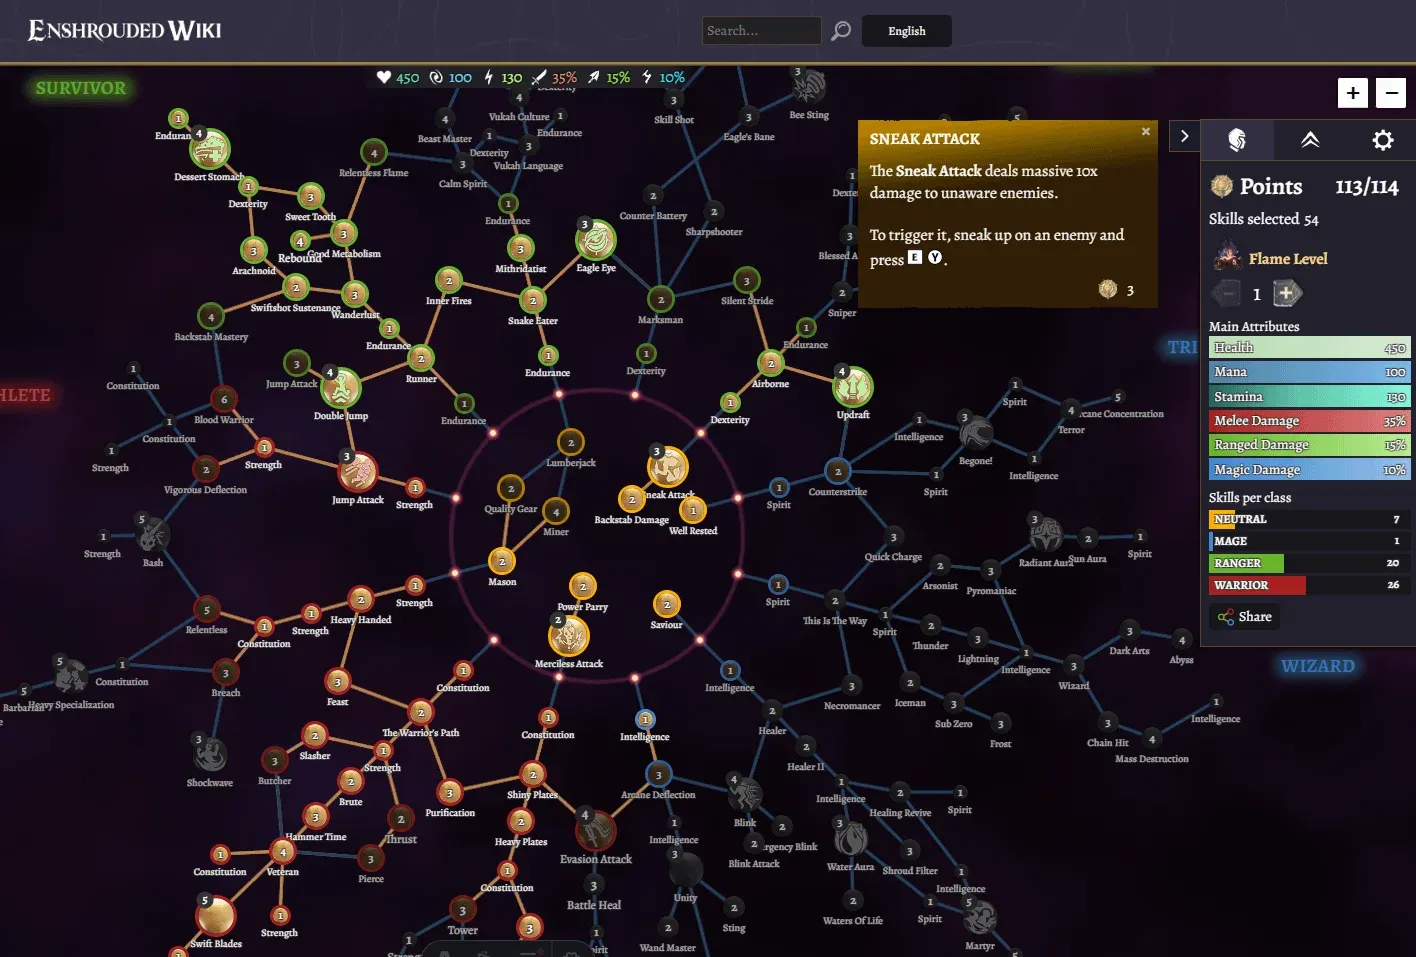
Crash Down Attack skill node
The Barbarian sits in the red fighter branch of Enshrouded's node-based skill tree. Unlike the Wizard or Ranger, which rely on distance and resource management, the Barbarian demands that you stay close, hit hard, and keep killing. Two mechanics sit at the heart of this approach.
Overpowering an enemy fills the silver stun bar beneath their health bar. You can do this by attacking while they block or by landing well-timed parries. Once an enemy is Overpowered, a spinning circle appears above their head, and you can follow up with a Merciless Attack for massive damage.
Blood Rage is the build's primary damage steroid. Every time an enemy dies within 10 meters of you from a melee weapon, your melee damage jumps by 20% for 10 seconds. Chain kills together and this bonus stays active almost permanently in dense encounters.
The combination of these two mechanics, plus the Breach skill that doubles melee damage against Overpowered enemies for 3 seconds, creates damage spikes that few other builds can match at any stage of the game.
| Feature | Detail |
|---|---|
| Primary Attribute | Strength (5% melee damage per point) |
| Secondary Attribute | Constitution (50 health per point) |
| Primary Weapon | Two-handed Axe or Hammer |
| Core Damage Skills | Blood Rage, Breach, Crash Down Attack |
| Core Survival Skill | Battle Heal |
| Best End-Game Armor | Mountain's Shadow Set |
| Best End-Game Weapon | Frost Smasher (Blunt) |
| Max Level | 45 (post Wake of the Water update) |
The build requires roughly 56 skill points for the core setup, with additional skills unlocking as you level toward the current cap of 45. Skill points come from leveling and completing Elixir Wells, so prioritize both as you explore.
Your first goal is to grab Crash Down Attack from the Athlete tree. This jump-and-slam ability deals 50% more weapon damage in a small blast radius, making it your best tool for handling grouped enemies from the start. Follow it immediately with Double Jump from the Survivor tree, since the extra air time makes Crash Down far more reliable and opens up traversal options.
Next, invest in Merciless Attack from the center of the tree, then work toward Battle Heal in the Tank branch. Battle Heal heals you for 5% of your maximum health every time a melee attack critically strikes. It sounds modest early on, but once your health pool grows with Constitution investment, it becomes your primary sustain tool.
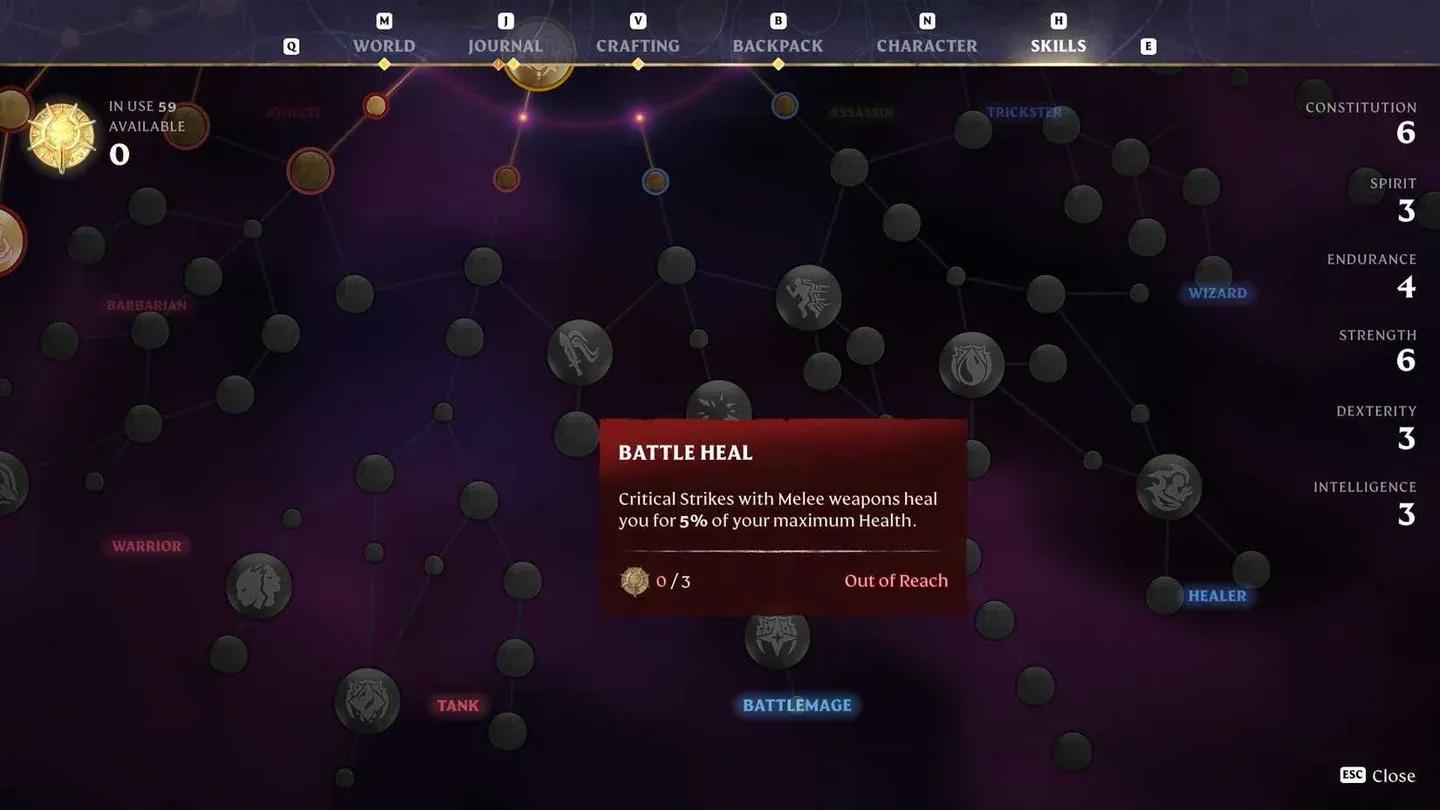
Battle Heal in Tank tree
This phase is where the build truly takes shape. Relentless in the Barbarian tree is a standout pick: landing a critical hit with a two-handed weapon gives your next attack an additional 10% critical chance. Pair this with Battle Heal and you create a loop where criticals generate healing and more criticals.
Heavy Specialization lets you swing two-handed weapons faster, which directly feeds Blood Rage by increasing kill speed. Then grab Blood Rage itself, followed by Breach and Shockwave.
At this stage, commit to one damage type. The Warrior skill tree has separate bonuses for Blunt, Cutting, and Piercing damage. Picking hammers for Blunt damage lets you stack Brute (+10% Blunt) and Hammer (+20% Blunt) from the Warrior tree for a significant damage increase.
For utility, Dessert Stomach from the Survivor tree adds a fourth food slot, which is more powerful than it sounds given how impactful food buffs are in Enshrouded. Warden, Tower, and Earth Aura from the Tank tree all reduce incoming damage and stack together, giving you meaningful damage reduction when surrounded by multiple enemies.
Two-handed weapons are your primary tools. They deal more damage per swing, Overpower enemies faster, and benefit directly from Heavy Specialization and Heavy Handed. The choice between hammers (Blunt) and axes (Cutting) determines which Warrior tree passives you invest in, so pick one and stay consistent.
For end-game, the Frost Smasher is the top pick. It is a two-handed hammer found in level 35 Gold Chests that delivers high Blunt damage at a pace that keeps Blood Rage active almost constantly. The Aurora Sword works well as a secondary weapon for situations where you want the Merciless bonus damage on a weakened target.
For a ranged option, carry a bow with health leech for dealing with flying enemies or pulling distant targets. The Avalanche Starter Bow found in northern map chests is a solid choice if you can find one with health leech attached.
For detailed weapon progression and alternative end-game options across all playstyles, the ultimate Enshrouded Barbarian build breakdown at Hack the Minotaur is worth checking for additional weapon comparisons.
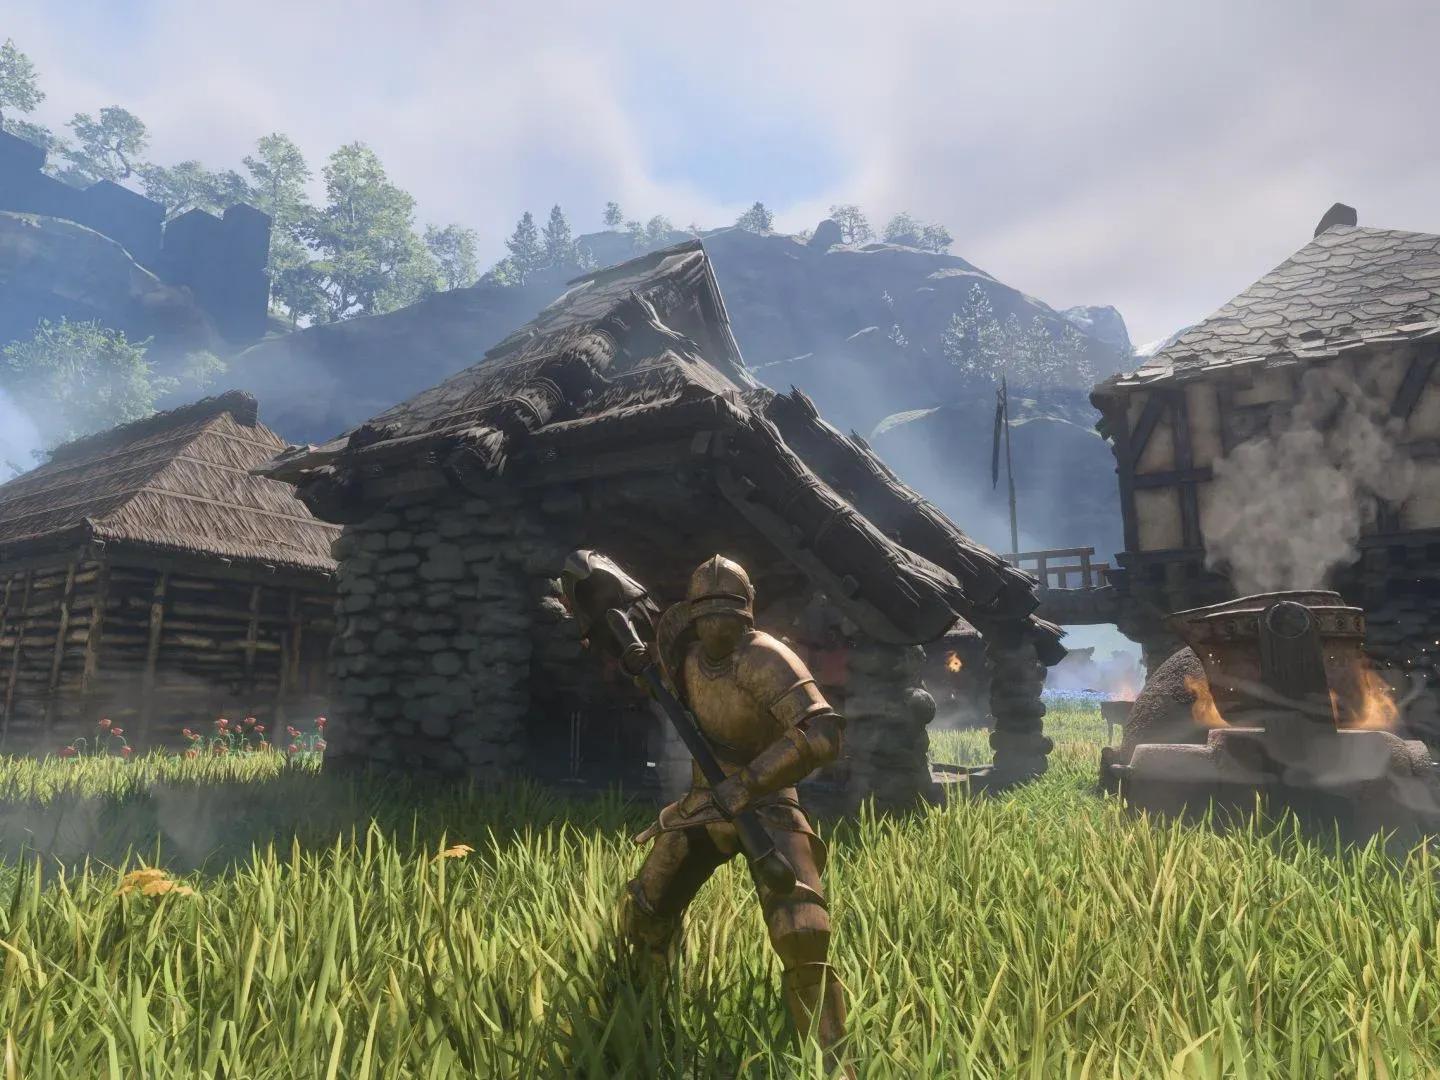
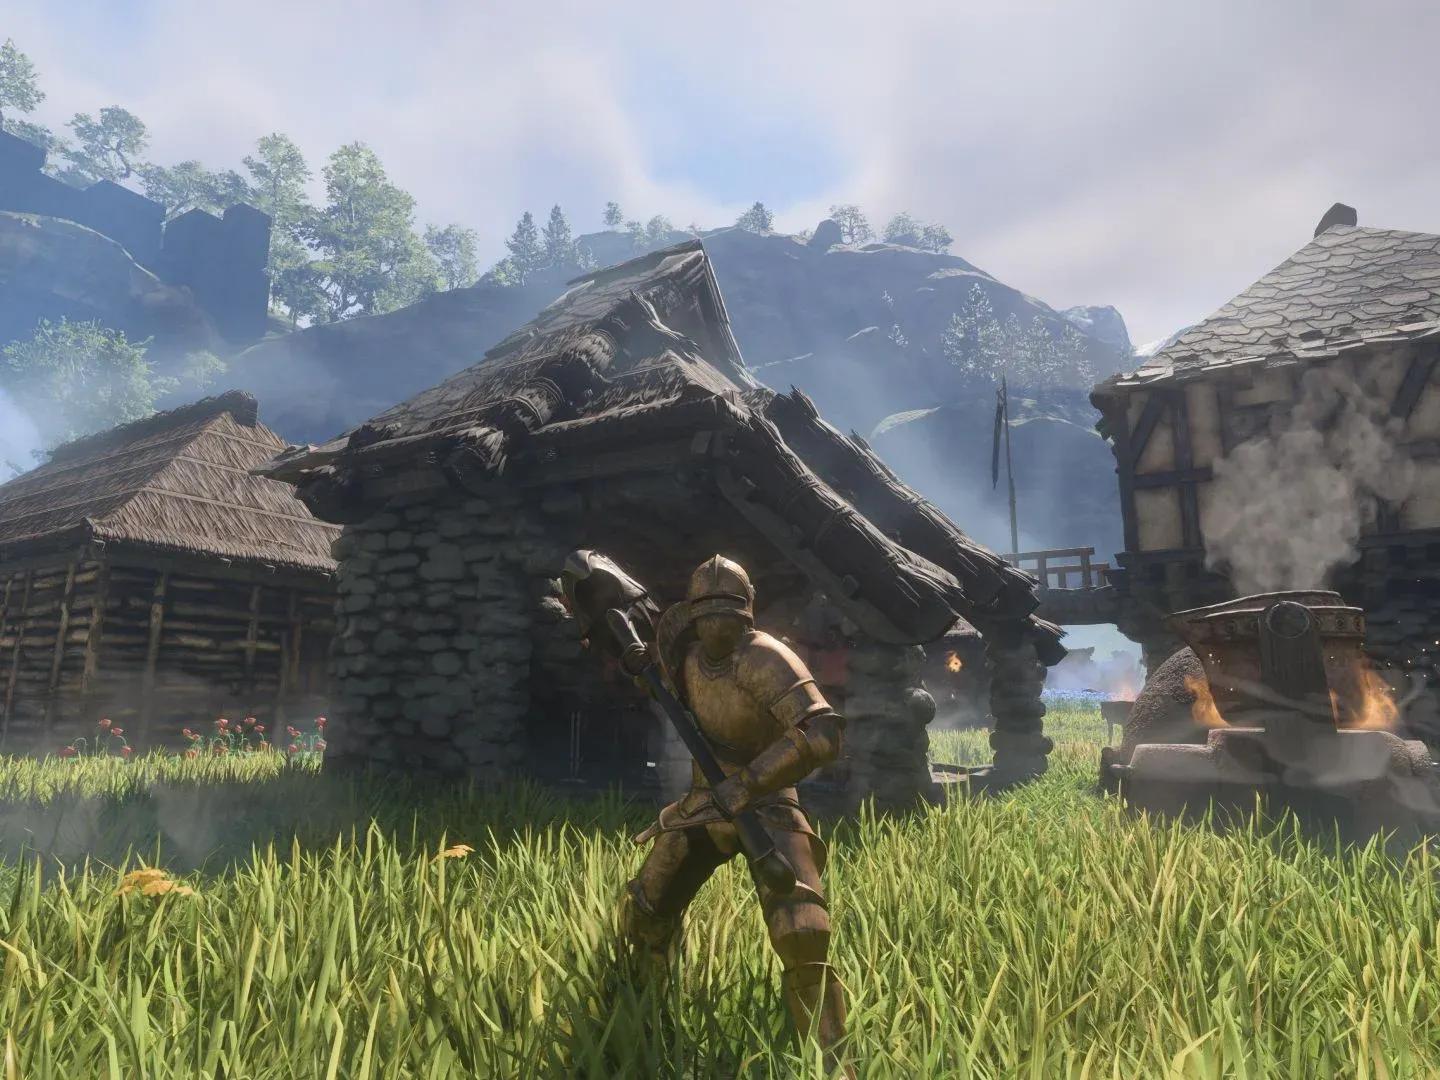
Frost Smasher end-game weapon
Armor progression follows a clear path from early game to end game, with each tier offering better melee damage bonuses and survivability.
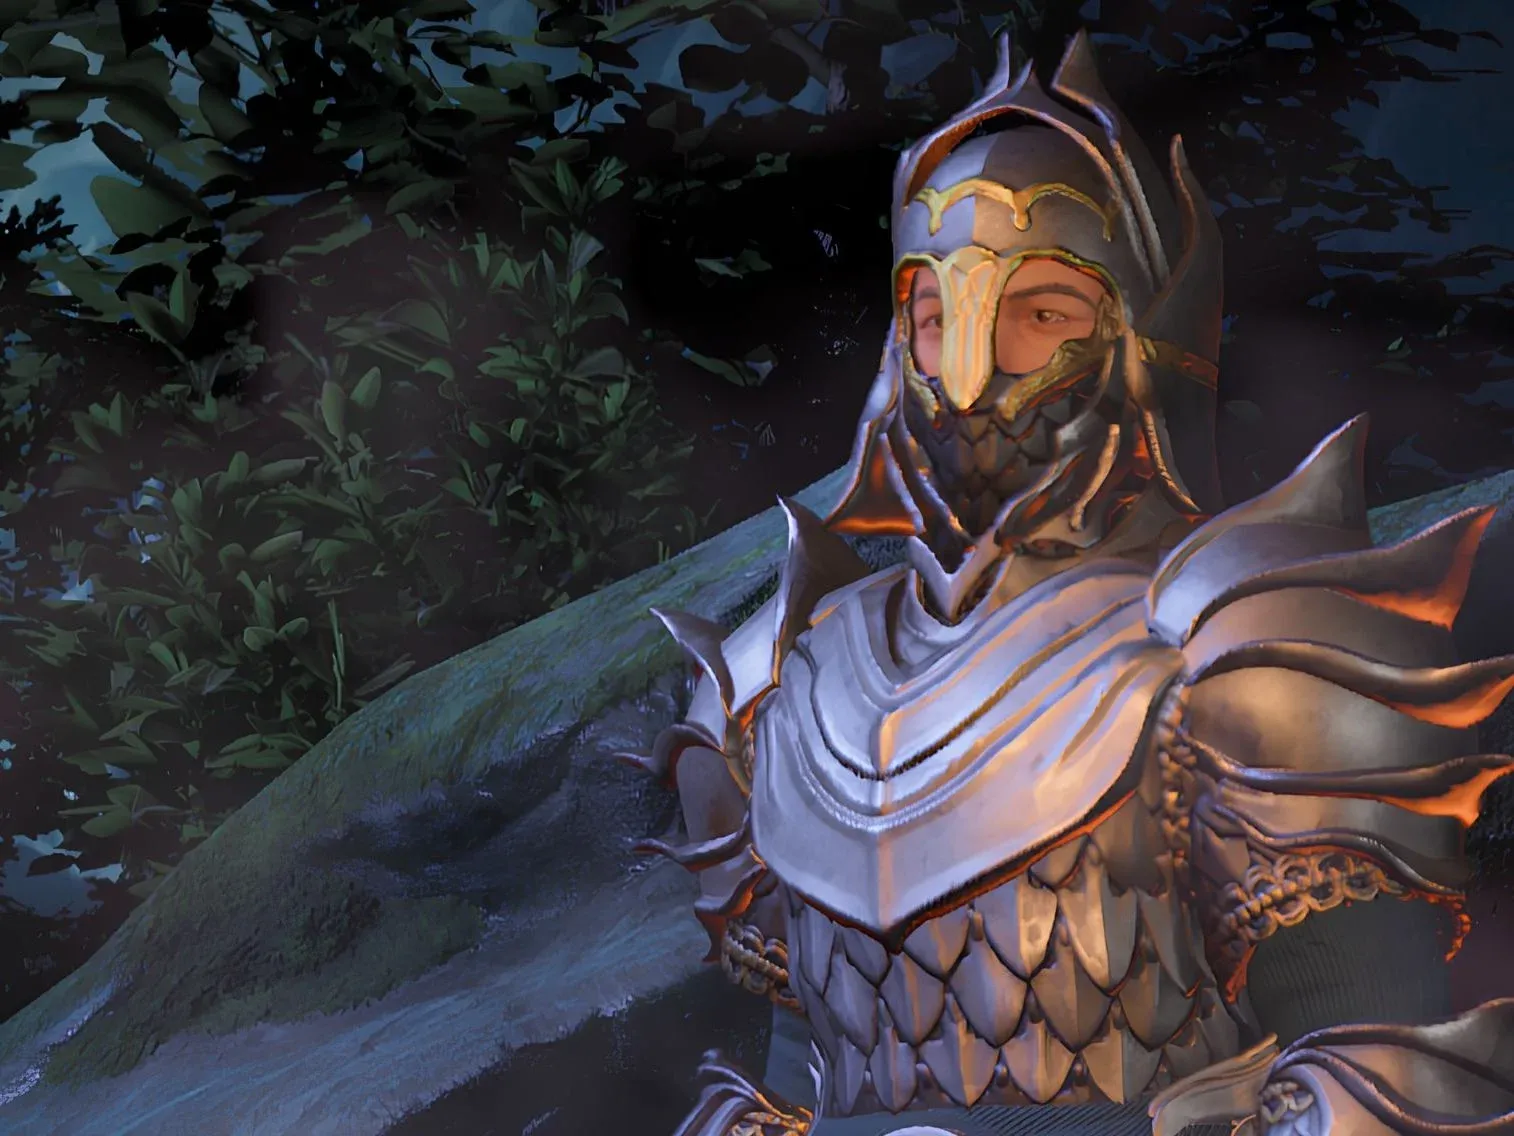
The Mountain's Shadow set is the end-game target. The helmet alone provides 12% critical chance, which feeds directly into Battle Heal's healing loop. Pair it with Gemini Rings (found in the early game near the starting area) for an 8% life leech chance per ring.
| Slot | Item | Key Stat |
|---|---|---|
| Main Weapon | Frost Smasher | Blunt Damage |
| Secondary | Aurora Sword | Merciless Bonus |
| Shield | Mountain Shadow Shield | 25 Block |
| Head | Mountain's Shadow Helmet | 12% Crit Chance |
| Chest | Mountain's Shadow Chest | 90 Health |
| Gloves | Mountain's Shadow Gloves | +12% One-Hand Damage |
| Legs | Trailblazer Trouser | 90 Health |
| Boots | Alpine Antler Boots | +4 Health Regeneration |
| Ring x2 | Gemini Ring | 8% Life Leech Chance |
The optimal loop starts by identifying the weakest enemy in a group and killing it first. This activates Blood Rage immediately, giving you 20% bonus melee damage for 10 seconds. With that buff running, shift focus to the next target and keep the pressure going.
Against single tough enemies, switch to a one-handed weapon and shield. Parry incoming attacks to fill the stun bar faster, then follow up with a Merciless Attack once the enemy is Overpowered. Vigorous Deflection restores 30 Stamina on each successful parry, so aggressive blocking actually sustains your ability to keep attacking.
When surrounded by multiple enemies, double jump and use Crash Down Attack. The AoE blast can hit multiple targets, potentially triggering Blood Rage on a kill and setting up chain damage. Landing a Crash Down critical also feeds the Relentless chain, boosting your next hit's crit chance by 10%.
With the Dessert Stomach skill unlocked, you can maintain four food buffs simultaneously. All advanced foods are crafted at the Farmer NPC. Target foods that boost Strength, Constitution, health regeneration, and stamina regeneration.
For healing items, keep Superior Health Potions (+1000 Health) for emergencies and Improved Bandages (8% healing per second) for sustained recovery. Elixirs provide a +30% damage multiplier and are worth using before boss encounters.
| Pros | Cons |
|---|---|
| High mobility with Double Jump and Crash Down | Weak at range without dedicated bow investment |
| Strong AoE damage in dense encounters | Slow start before Battle Heal is unlocked |
| Passive healing through crits and orbs | Must stay in melee to trigger healing |
| Scales well with Flame Altar upgrades | Crash Down is stamina-intensive |
For players curious about how the Barbarian compares to other playstyles in Enshrouded, the full build tier breakdown at Hack the Minotaur covers the Wizard, Ranger, and Tank alternatives alongside the Barbarian's strengths and weaknesses in detail. You can also browse more gaming guides at GAMES.GG for tips across a wide range of titles.