

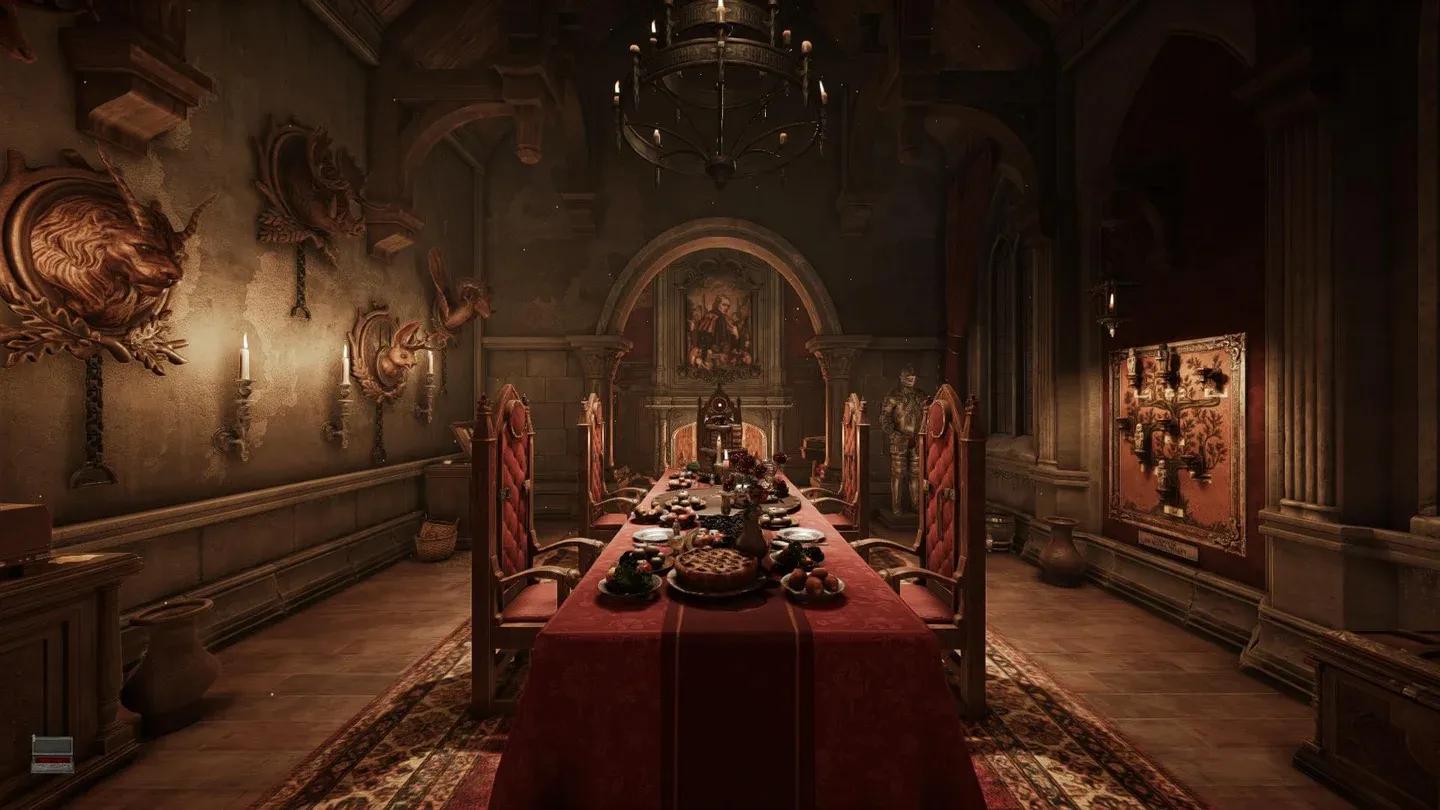
The Feast room in Escape Simulator 2's Dracula's Castle pack is one of the more demanding rooms in the game. You start strapped to a chair at a banquet table, surrounded by cryptic objects and zero obvious exits. There are 11 puzzles standing between you and the door, and several of them require items collected from earlier steps. Miss one piece of paper or one goblet and you'll be spinning in circles. This guide walks you through every puzzle in order, with exact solutions.
The Feast room starting point
How do you escape the starting chair in the Feast room?
You begin seated and unable to move freely. Two puzzles need solving before you can explore.
Triptych puzzle (Ornate Box)
Grab the 3 Metal Tiles sitting on the table and the lazy Susan in front of you, then pick up the Ornate Box. Open the lid and arrange the three tiles inside so they form the shape of a key. The box will open, revealing a Goblet inside. Take it.
The metal tiles only fit one correct configuration. If the image doesn't look like a key outline, rotate the pieces individually until the silhouette clicks into place.
Goblets of the Count puzzle
You now need 4 more Goblets to fill the 5 numbered circles on the table. Here's where to find each one:
- Lazy Susan: spin it to reveal a goblet
- Cake: rotate the cake and remove the pre-cut slice to find one hidden inside
- Table surface: one sits in plain sight beside the cake
- Floor: look down near your chair for the fifth
Each goblet has a symbol on it corresponding to a number from 1 to 5. Place them in the correct slots:
Once all five are seated correctly, the chair releases and you can move around the room.
How do you collect all the paper scraps and seals?
Before tackling the next set of puzzles, you need to gather items from three cabinets along the left wall. This step is easy to rush through and miss pieces.
- First cabinet (bottom right of the animal wall): 2 pieces of Paper, 1 Engraved Seal (one item is inside the cupboard door, not on top)
- Second cabinet (next one left): 1 piece of Paper, 1 Engraved Seal
- Third cabinet (large, far left): 2 pieces of Paper, 2 Engraved Seals, 1 Statuette, 1 Key, and a Book
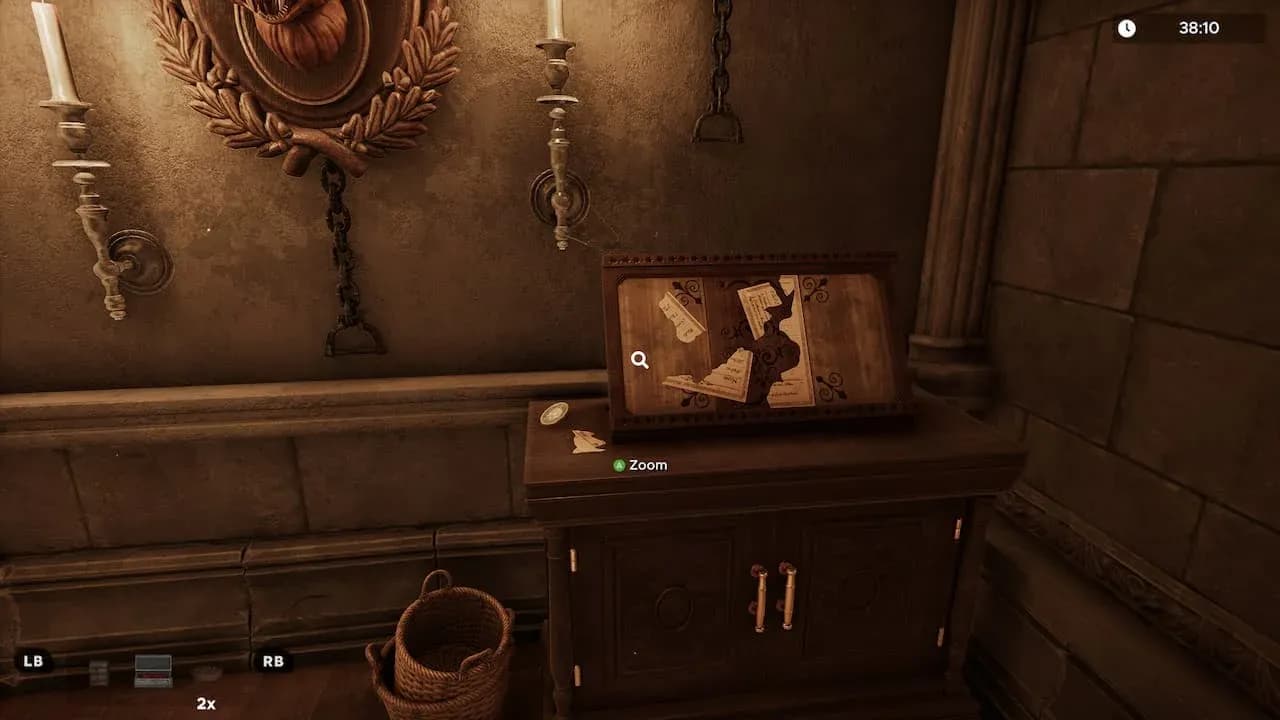
Head to the torn document on top of the first cabinet and add all five paper pieces to assemble the full Note. Pick it up when complete. You'll need it for the family tree puzzle later.
Assembling the torn lineage note
Don't skip the book from the large cabinet. It's the clue for the animal heads puzzle and without it you're guessing blind.
Medallions of Binding puzzle
On a small cabinet sits a puzzle box with 4 open holes. Place all 4 Engraved Seals into the slots. Each tile flips to show either a connecting line or an X depending on whether adjacent tiles share a matching border or symbol.
The goal is to arrange all four seals so every connection shows a line with no Xs visible. You may need to reposition seals already sitting in the box. Once solved, a Statuette drops out.
Mythic Menagerie puzzle (animal heads wall)
Five wooden animal heads are mounted on the wall, each with a hanging chain. The Book from the large cabinet tells you the correct order to pull them.
Pull the chain on the winged goat on the right first, then work left to right starting from the two-headed deer. A Statuette appears when the sequence is correct.
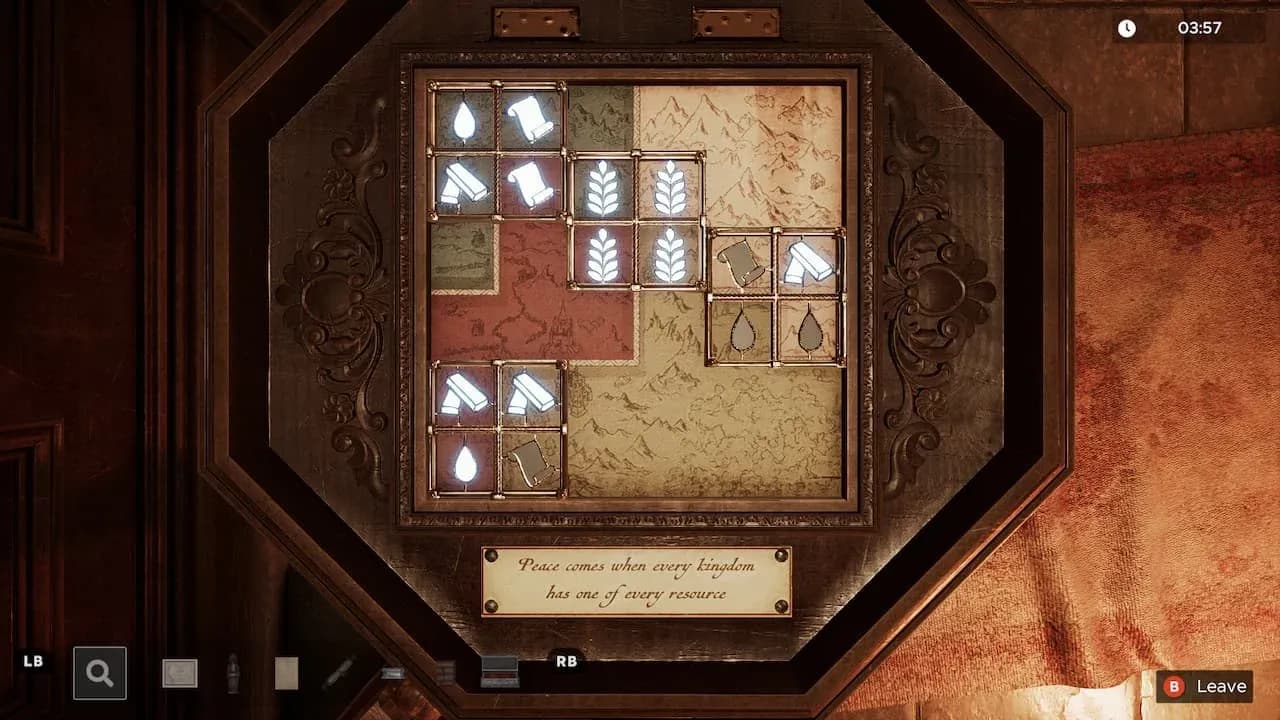
Wealth of the Lands puzzle (fireplace table)
Use the Key from the large cabinet to unlock the table near the fireplace. A tile-sliding puzzle opens up. The plaque beneath the table describes the rule: each colored region must contain exactly one of each resource type.
Rearrange the four tiles to satisfy that condition and collect the Statuette that appears.
Fragments of the Family puzzle (family tree)
Before placing statuettes, grab the fourth one from the pillar near the fireplace.
With all 4 Statuettes in hand, interact with the family tree on the wall. The assembled Note tells you which members of the Counts of Dracula Valley lineage are alive (knight figure) or dead (skeleton figure). The layout from the note reads:
Placing them correctly triggers the lights to turn red and the room atmosphere shifts. The food on the table will appear rotten.
Family tree statuette solution
For a deeper look at how the Feast room connects to the rest of the castle's story, the Dracula's Castle Walkthrough on IGN covers all four rooms and their narrative context.
Weapons of Honor puzzle
A metal Cloche now sits on the banquet table. Twist its layers until the engraved pattern on the outside forms a complete image. Lift the lid to reveal 3 crests with weapon positions marked beside them.
These crests match the suits of armor around the room. Collect the weapons embedded in the chairs and assign them correctly. Hand placement matters:
The game distinguishes between a single-bladed axe and a double-bladed axe. Putting the wrong one in the right hand counts as incorrect even if the weapon type is close.
Once solved, the suits of armor move and the fire in the fireplace goes out.
Twin Visions puzzle (fireplace painting)
With the fire extinguished, crouch and enter the fireplace. Look at the wall behind you to find a painting with several movable circular sections. Outside the fireplace, the same painting hangs on the mantle in its complete form.
Click each movable part inside the fireplace until it matches the arrangement shown on the exterior painting. A Key appears when the images align.
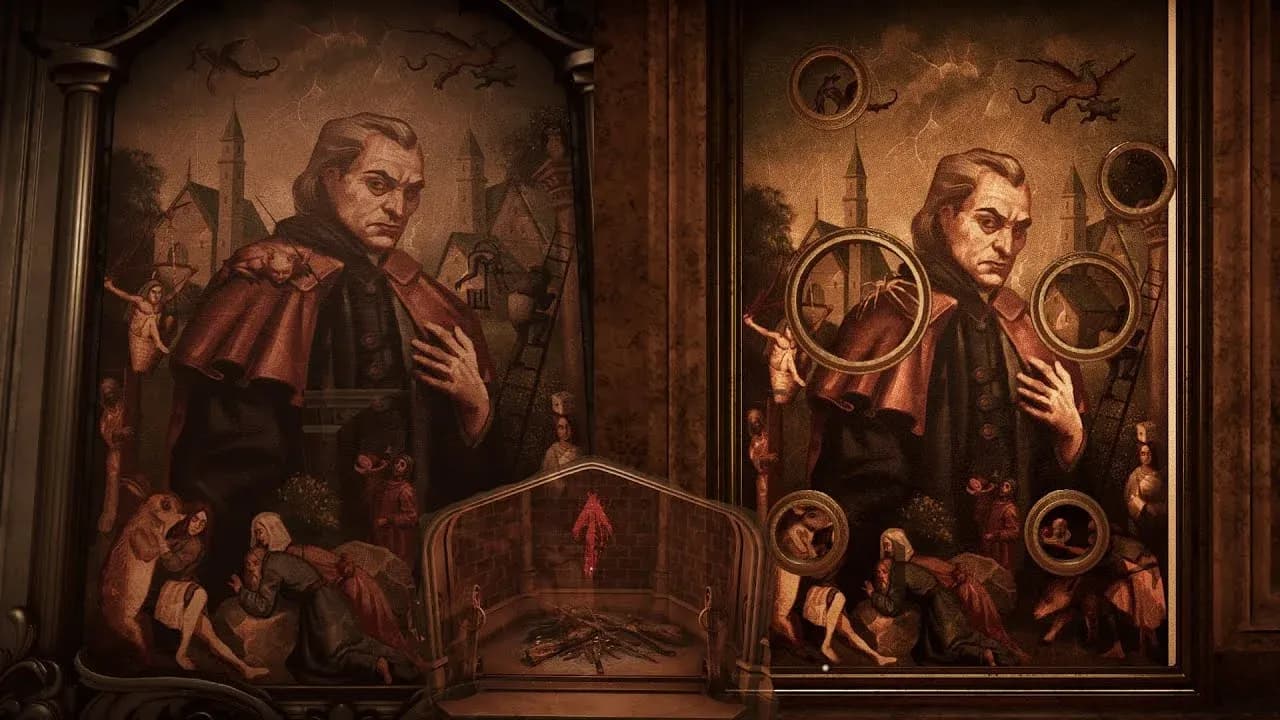
Match the fireplace painting
The Scriptkeeper's Key puzzle
Examine the Key from the fireplace. It has sliding letter segments that spell out a four-letter word. The painting beside the fire provides the clue.
The answer is DEUS. Arrange the letters to spell it out, then use the key on the wooden chest sitting on the floor beneath one of the windows. Inside is the Master Key.
The letter segments on the key can be easy to misread. Zoom in fully when examining it so you can see each character clearly before locking in the word.
The Hungry Lock puzzle (final door)
Examine the Master Key and adjust its teeth to match the unusual lock on the main door. The shape of the lock tells you exactly how the key's segments need to be positioned. Once the configuration matches, insert the key and the door opens.
You're out.
Quick reference: all 11 Feast room puzzles
The Feast room rewards players who collect everything before trying to solve anything. Rushing the cabinet section almost always means backtracking. For additional solutions covering the Feast zone's collectible tokens and other puzzle details, the Escape Simulator 2 Feast guide at Into Indie Games has solid supplementary coverage. For more puzzle game walkthroughs and escape room guides, browse the full guides section at GAMES.GG.