
The Sweet Dreams room in Escape Simulator 2's Dracula's Castle pack is no pushover. Fifteen puzzles stand between you and the exit, and several of them chain together in ways that aren't immediately obvious. This guide walks through every solution in order, explains the logic behind each one, and points out the collectible tokens you can grab along the way.
Herald's Rest chest lock
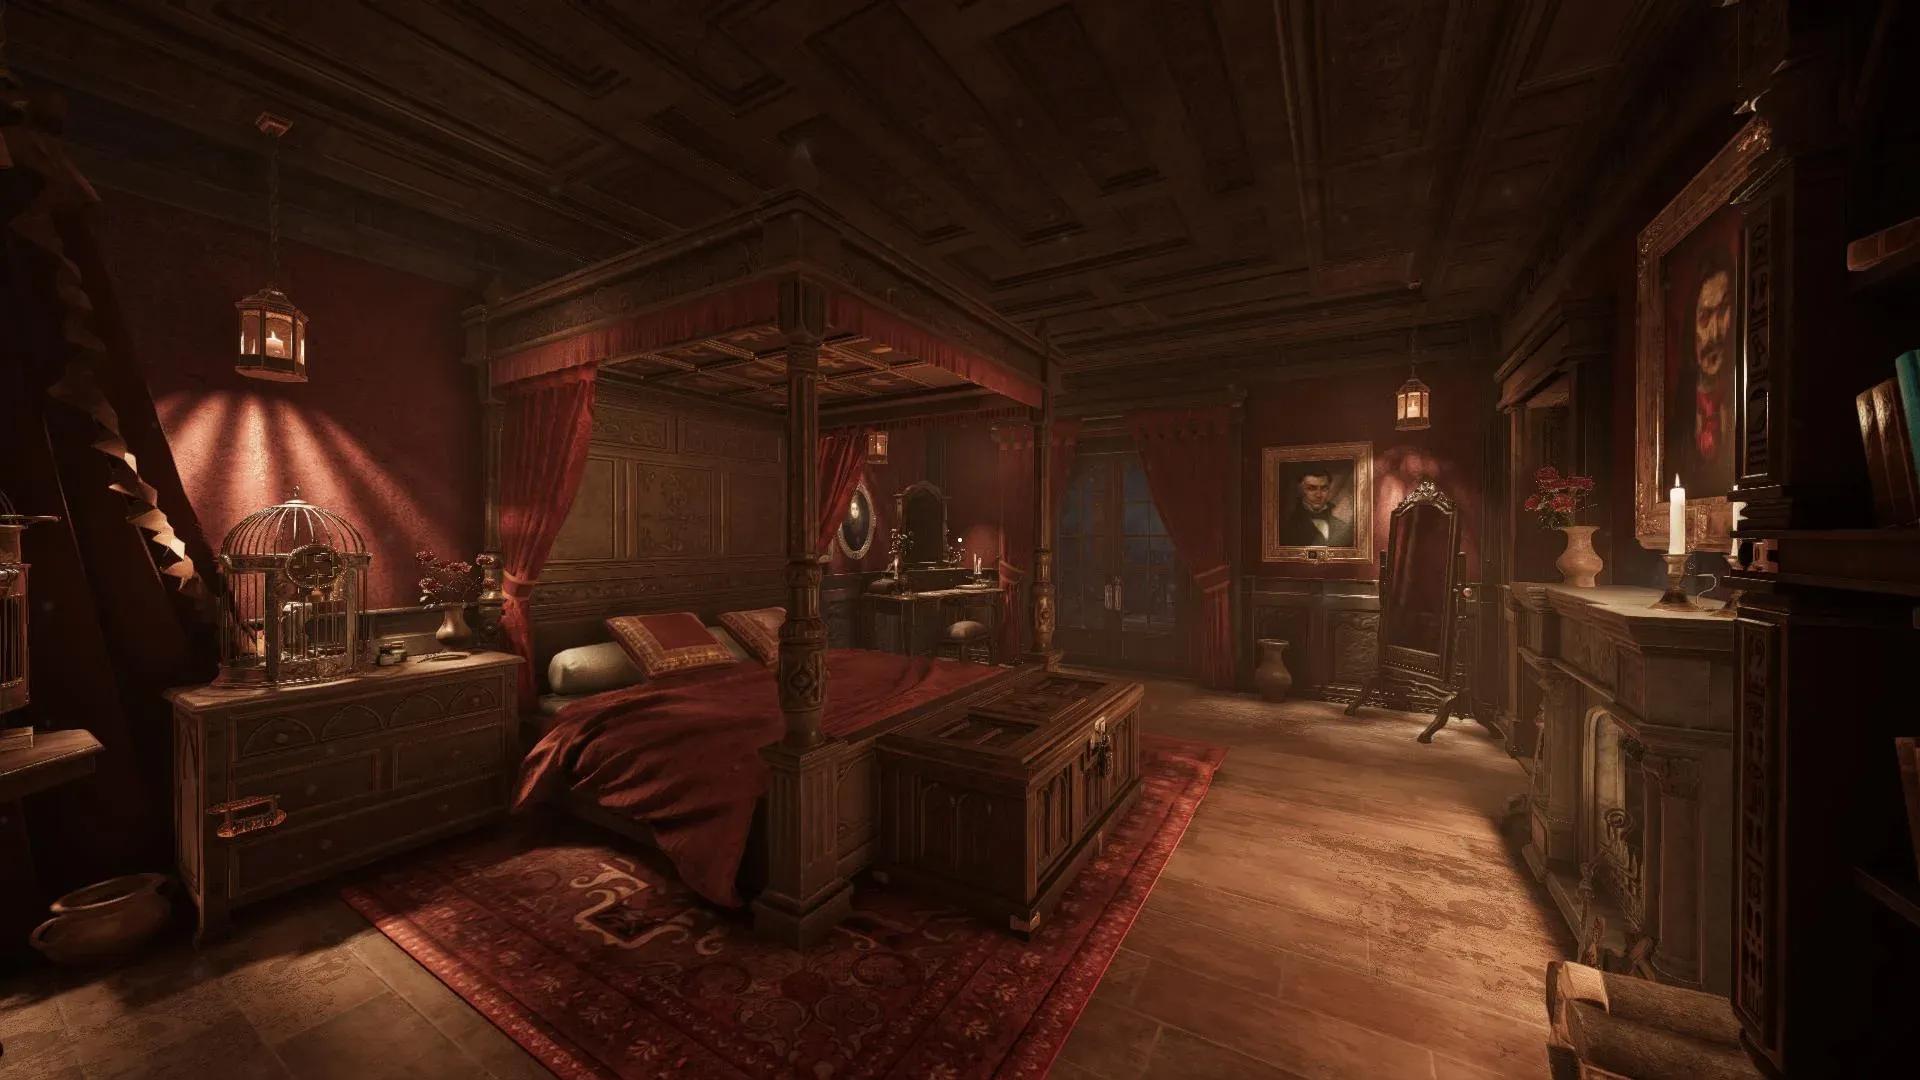
What's in the Sweet Dreams room?
Sweet Dreams is the third room in the Dracula's Castle pack, developed by Pine Studio and released with Escape Simulator 2 on October 21, 2025. The room has a 45-minute trophy time target and contains 15 puzzles rated as hard difficulty, with an estimated completion time of 20 to 30 minutes for players who know what they're doing. Eight hidden Tokens are scattered throughout the space. You can tackle the four Dracula's Castle rooms in any order, but starting from the left follows the story naturally.
For a broader look at the full Dracula's Castle chapter, the Dracula's Castle Walkthrough on IGN covers all four rooms and their trophy times in one place.
The Herald's Rest puzzle
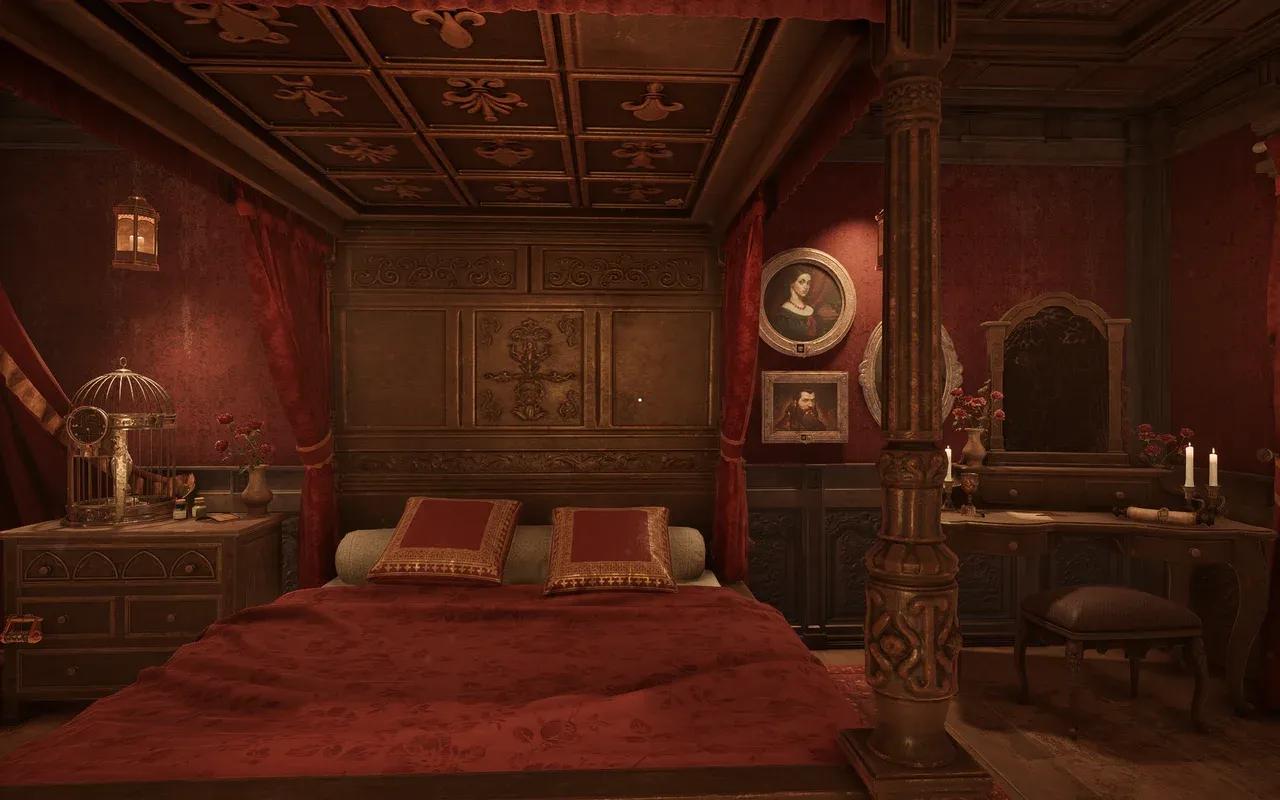
The moment you enter the room, look down. There's a chest at the foot of the bed with a symbol on its lid and a lock with 11 flippable blocks. The symbol on the chest lid is your key.
Walk to the bed and interact with it to lie down. Look up at the canopy ceiling — the pattern mirrors the lock layout, and certain symbols on the ceiling share the same shape as the one on the chest lid. Note which positions match.
Solution: Flip the blocks at these positions:
- Top row: right
- 3rd row: middle and right
- Bottom row: right
The chest opens. Take the Statue and one Metal Plate. Then check the vanity nearby and collect two more Metal Plates from its drawers.
Lying down on the bed gives you the clearest angle on the canopy symbols. Don't try to decode them while standing.
The Library of Forgotten Tongues puzzle
Grab the turquoise book from the large bookshelf in the corner. The four pillars of the bookshelf each have a combination dial and distinct symbols carved into them.
Open the book. Its two pages show mirrored images with red circles marking symbol relationships between left and right sides. Pin the book to your screen, then match each pillar's symbol to the corresponding position on the left page of the book. Count the objects shown in those areas on the right page to get your number.
Solution: 6 7 8 9 (left to right)
A hidden door opens in the middle of the bookshelf. Collect the two Metal Plates inside.

Bookshelf pillar dials
The Reflections of the Damned puzzle
Head to the large mirror beside the paintings. Seven paintings hang in the room, each with a small slider at the bottom of the frame that toggles between human teeth and vampire teeth.
Stand at the mirror and look at each painting through its reflection. Portraits that cast no reflection in the mirror are vampires. There are four vampires total.
Solution: Set the slider on each vampire portrait to show vampire teeth. The four portraits without mirror reflections are your targets.
The Torn by Claws puzzle
Completing Reflections of the Damned causes the mirror to shatter and symbols to appear on each of the four vampire paintings. Note down all four symbols.
Head to the left side of the bed and zoom in on the lock attached to the nightstand drawer. There's also a Metal Plate sitting on top of the cabinet — grab it before you forget.
Solution: B VI Star 4
The lock falls away. Take the Key from inside the drawer. This key opens the balcony door.
Pick up the Metal Plate from the top of the cabinet before you leave this area. Missing it will block your progress on Dragon's Wrath later.
The Peaks and Valleys puzzle
Before heading to the balcony, stop at the vanity table and check its drawers. Two more Metal Plates are hiding there, bringing your total to six.
Use the key to unlock the balcony door. On the railing at the center of the balcony, pick up the Journal and Spyglass. Open the Journal — its entries describe a journey to Castle Dracula with specific location descriptions tied to dates.
Turn toward the wall beside the balcony door. A map hangs there with movable name tags for different cities. Equip the Spyglass and use it to observe the locations visible in the distance. Cross-reference what you see through the Spyglass with the Journal's descriptions to place each city tag on the correct spot.
Solution: Match each city label to its correct map position based on the Journal entries and Spyglass observations. Once all labels are correctly placed, a hidden compartment opens and reveals a Statue.
The Balancing Act puzzle
Back inside, find the Maze Cage sitting on the left bedside cabinet. This is a tilt-maze puzzle: a ball sits inside and you need to rotate the panel to guide it down to the exit hole at the bottom.
Rotate the cage freely — gravity moves the ball. The path is straightforward once you treat it as a standard tilt puzzle. When the ball drops through, the cage door opens and a Statue pops out.
The Dragon's Wrath puzzle
Turn left from the Maze Cage to find a larger Picture Cage. You can see a fourth Statue locked inside, and the upper rim of the cage has a design that matches your six Metal Plates.
Rotate the cage to access different sections, then slot all six Metal Plates around the upper rim to complete the picture. The door opens. Collect the Statue.
The Feathers in Formation puzzle
Head back to the balcony and grab the final Statue from the left railing. You now have all five bird statues: Owl, Falcon, Bat, Crane, and Raven.
Locate the five slots on the balcony railings. Placing a statue in the wrong slot causes the tiles beneath the railing to shift back to an open position. Placing the correct one locks them closed.
Solution (left to right): Owl, Falcon, Bat, Crane, Raven
Once all five tiles close, a hidden compartment near the center railing unlocks. Take the Key inside. This key opens the bathroom door.
If a tile stays open after placing a statue, that statue belongs in a different slot. Swap them systematically rather than guessing randomly.
The Treasure Box puzzle
Use the new key to unlock the bathroom door. Three items need collecting immediately: the Winding Key from the bench beside the tub, the Box on the chair behind the tub, and the Jewelry Box on the bench below the window.
Inspect the Box and rotate it to find an empty slot on its side. Insert the Winding Key into that slot. Now rotate the cranks on both sides of the box — at a certain point the lid will stutter and start to close. When that happens, switch to the crank on the opposite side to continue opening. Once the lid is fully open, take the Key inside.
Use that key on the Jewelry Box to unlock it. Take the Note and Pendant from inside.
The Pendant's Silent Plea puzzle
Pin the Note to your screen and read it carefully. Then inspect the Pendant and flip it over to find a rotating dial on the back.
The Note gives you a hint pointing toward a specific phrase. Use the dial to spell it out letter by letter.
Solution: DROWN ME
Once solved, the dial on the Pendant spins on its own and the front face starts to glow. The Pendant is now activated.
The Phantom Grasp puzzle
Look at the mirror on the wall behind the bathtub. Steam has left handprint patterns on its surface. Six handprints are visible, running from top to bottom.
Three pull handles hang above the tub, each with unique ridges. The handprints tell you which hand (left or right) would create each ridge pattern, and therefore which handle to pull.
Solution (top to bottom): Right, Left, Middle, Middle, Left, Right
Pulling in the correct sequence opens four floor grates, each containing a square Pipe.
Phantom Grasp handprint clues
The Pipe Dream puzzle
Collect all four Pipes from the floor grates. Each pipe has a specific set of openings that corresponds to the existing plumbing running through the chambers.
Solution (slot order): 2, 3, 4, 1
Once all four pipes are placed correctly, a faucet rises from the floor. Turn it to fill the bathtub.
The Whispers of the Drowned Heart puzzle
With the tub full, take the activated Pendant and drop it into the water. The water turns black. That's your cue.
The Obsidian Soak puzzle
Interact with the black water to shift into a dark version of the room. Three marked spots glow on the floor: two show candelabra symbols, one shows a footprint symbol. Note their exact positions.
Interact with the black water again to return to the normal room. Locate the two candelabras — one is already in the bathroom, the second is outside near the bookshelf. Drag each one to the positions you memorized from the dark world.
With both candelabras placed, stand on the footprint spot inside the bathroom. A short cutscene plays and a white key appears floating above the tub. Interact with it and the key drops into the water. Fish it out.
Into the Eternal Night puzzle
Take the final Key to the door beside the bookshelf. Use it to unlock the exit and complete Sweet Dreams.
Where are all 8 tokens in Sweet Dreams?
Tokens can be collected in any order. Six are available from the start; two require puzzle progress first.
Tokens 7 and 8 are locked behind puzzle progress. Token 7 unlocks after the Painting Code (Peaks and Valleys), and Token 8 unlocks after the Balcony Statues (Feathers in Formation).
For a complete breakdown of all puzzle solutions across the full chapter, the Escape Simulator 2 Sweet Dreams guide on IntoIndieGames covers the room in detail with screenshots for each step.
Quick puzzle order reference
The puzzles flow in a logical sequence, but a few items need collecting early to avoid backtracking. Here's the recommended path:
- Herald's Rest (chest at bed foot)
- Library of Forgotten Tongues (bookshelf code)
- Reflections of the Damned (vampire mirror)
- Torn by Claws (nightstand lock, get balcony key)
- Collect remaining Metal Plates from vanity
- Peaks and Valleys (balcony map)
- Balancing Act (maze cage)
- Dragon's Wrath (picture cage, use 6 Metal Plates)
- Feathers in Formation (bird statues, get bathroom key)
- Treasure Box (winding key mechanism)
- Pendant's Silent Plea (dial spells DROWN ME)
- Phantom Grasp (handprint mirror handles)
- Pipe Dream (floor pipe placement)
- Whispers of the Drowned Heart (pendant in tub)
- Obsidian Soak + Into the Eternal Night (dark world, final key)
For more puzzle guides and walkthroughs across all genres, browse the latest guides on GAMES.GG.