
The Release All Souls challenge is one of the most satisfying objectives in Far Far West, and it repeats across every map in the game. Each region hides exactly 10 graves (with the Desert being the exception at 10 confirmed by itemlevel.net sources, though one source cites 12), and none of them register until you successfully extract via the train. Die after the tenth grave and the run resets. The reward for a clean run on the Far West map is 1,000 Souls, paid out on the post-extraction summary screen.
How does the grave system work in Far Far West?
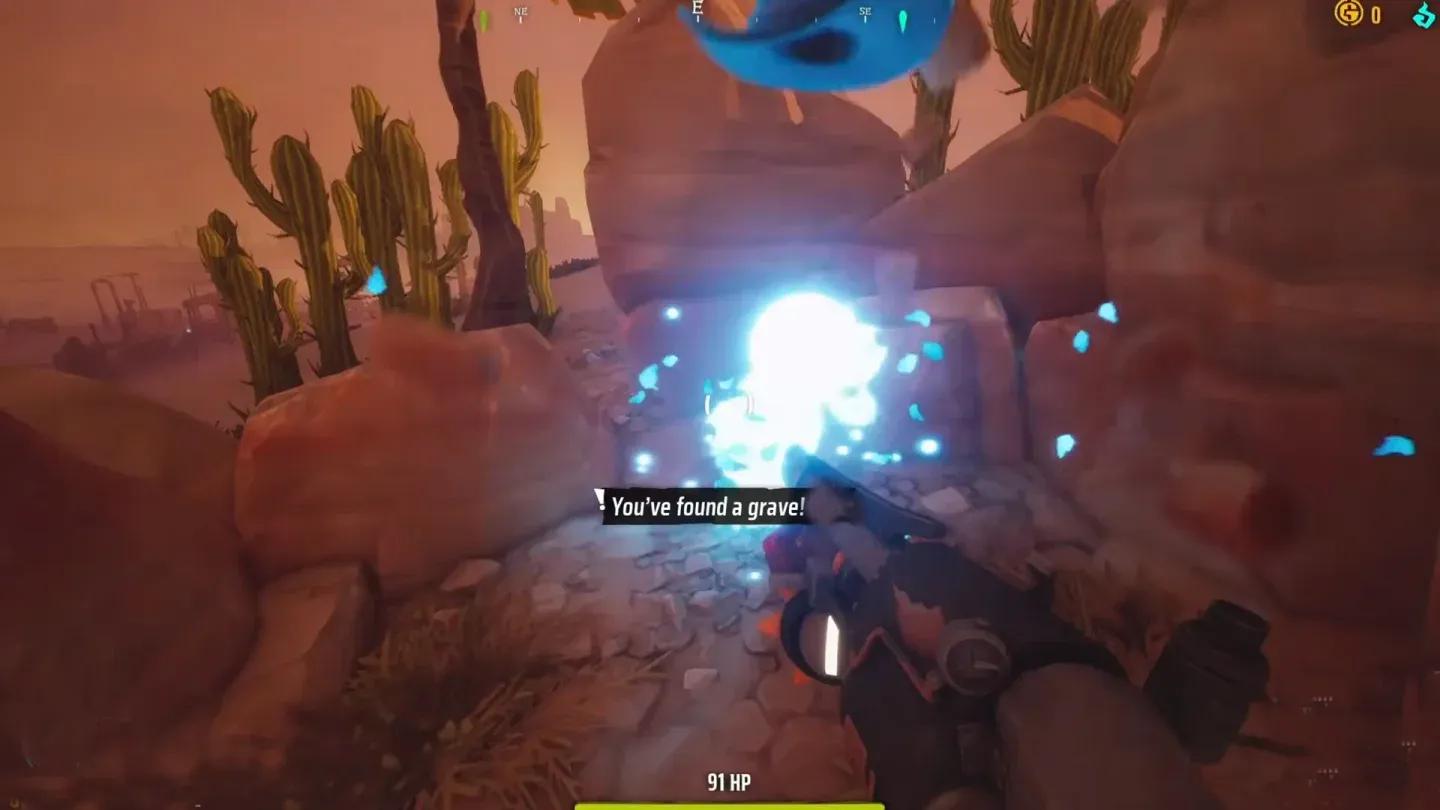
Every grave on a map holds a single trapped hunter soul. Interacting with the headstone releases it and increments your counter. The counter carries through the rest of the run but only locks in once you extract alive. Difficulty setting affects enemy pressure around the graves but does not change their physical positions on the map, so running Easy is a legitimate strategy if you only want to tick off the challenge without fighting through elite enemies on cliff faces or in cave systems.
The same 10-graves-per-map structure (confirmed by allthings.how) repeats across the Far West, Desert, Jungle, Canyon, Woodlands, Area 41, and Far North regions. The routing habits you build on the Far West carry directly into every region that follows.
All Far West grave locations
The Far West is the starting map and the cleanest introduction to the grave system. No vine swings, no dynamite puzzles. The main obstacles are a cliffside that requires parkour or extra-jump abilities and a cave entrance that trips up players still following older guides.
Grave 1 and 2: Southern start and the cliff
Begin at the southern water's edge. Grave 1 sits out in the open at ground level, making it the cleanest pickup on the map. From there, push slightly north toward the cliff faces. Grave 2 rests on an elevated ledge marked by a yellow toxic waste barrel. You need a build with extra jumps or careful parkour off the lower rocks to reach it. A flat run without movement abilities makes this the one spot that can slow you down.
Graves 3 through 5: Coastal town to the saloon
Drop off the cliffs and follow the train tracks east to a small abandoned beach town. Grave 3 is pressed against the shoreline behind the building with the wooden water tank. Easy to walk past if you stay on the main road. Hop back on the rails and continue north for Grave 4, tucked behind a small rocky outcrop on the right side of the tracks. Then cut south to the destroyed town with the half-collapsed saloon for Grave 5, sitting in the rubble beside the main building.
Graves 6 through 8: Outhouse, willow, and UFO
Grave 6 is inside a standalone wooden outhouse on the western edge of the map. It is not a headstone in the traditional sense, the soul is just waiting inside. Push north toward the willow tree area for Grave 7, tucked directly behind one of the willows on a small island past the tracks. Grave 8 is inside a small tunnel next to the crashed UFO in the center-north section.
Graves 9 and 10: Northern coast and the relocated cave
Grave 9 sits at the foot of the northern sea cliffs, behind large rock formations along the water's edge. Grave 10 moved during the January 2026 playtest update. Older guides point to a train wreck location near a rail worker, but that spot is now empty. The correct location is a cave at the northern end of the train tracks. Drop in and turn immediately left. According to allthings.how, if your counter shows 9/10 after a thorough run, this relocated cave grave is almost certainly the one you missed.
All Desert grave locations
The Desert map holds 10 graves according to itemlevel.net's guide (verified May 2026). The challenge here is navigation rather than parkour. The map is wide, landmarks are sparse, and a few graves are tucked into spots that are easy to walk past without slowing down.
Desert water tower grave spot
Grave 1 starts on the pipes near the river island area. Hop on and follow them to the end. From there, head west past a marauder camp to the coast. Grave 2 is at the tip of a darker, pointed section of land off the shoreline. Clear or avoid the camp before you push through.
Grave 3 is on the northern coast between two rocks just past the treeline. Move inland and uphill for Grave 4, right inside the cave entrance near the main objective. Grave 5 is in the middle of a water pool to the northeast, and Grave 6 is directly under the water tower a short distance away.
Grave 7 is the one most players miss. It sits between cacti and rocks in the area near the water tower. Slow down and check carefully. Grave 8 is on top of a small pyramid structure with stairs, a straightforward climb. Head to the eastern islands for Grave 9 under a wooden structure, then drop into the southern ravine for Grave 10 near a rope stretched across the floor.
All Jungle grave locations
The Jungle is the hardest map for the grave challenge. According to itemlevel.net's guide, some routes require vine swings across distances of roughly 180 meters, dynamite to blow open blocked passages, and precise timing through trap corridors. Before starting, the guide recommends removing the Chunky card if equipped, since it interferes with the precise movement several graves require. Low gravity cards, jump cards, or the Boing ability make the harder sections noticeably easier.
Grave 1 is in an outhouse in the northwest village, which is the game being generous before things escalate. Grave 2 requires climbing a rope, jumping across rocks, and riding a zipline south of the first location. Grave 3 is the first real test: vines to a bridge, then a zipline accessible only through water spouts. Having Thunder Strike shortens the route significantly.
Grave 4 is inside stone ruins catacombs slightly east of Grave 3, and is an easy pickup by comparison. Grave 5 is roughly 180 meters away and demands precise vine swings. Missing a swing means retracing a significant portion of the route, so take your time.
Grave 6 is in the area recognizable from the jungle teaser image, reached by zipline and a short bridge. Grave 7 is behind a waterfall with no tricks involved. Grave 8 requires dynamite to open a blocked entrance, then a second dynamite charge to blow open a sealed path at the end of a trap corridor. The traps deal limited damage and will not re-trigger once set off. As a bonus, continuing past Grave 8 leads to extra gold.
Grave 9 is inside a large crying skull structure on the other side of the island. Grave 10 is on the eastern shore along the water's edge.
What do you get for completing the Release All Souls challenge?
On the Far West map, successfully extracting after collecting all 10 graves pays out 1,000 Souls, confirmed by allthings.how. The challenge registers on the post-extraction summary screen. The Desert and Jungle completions follow the same structure, rewarding you for thorough map exploration rather than combat performance.
Beyond the currency payout, clearing graves on each map forces you to learn the terrain properly. By the time you finish the Far West, you will know every shortcut and landmark well enough that future runs for other objectives move much faster.
For more Far Far West guides and the latest coverage across all maps, browse more guides at GAMES.GG.