
Far Far West punishes aimless runs hard. Every bounty you take from the Sheriff can end in a clean extract loaded with upgrades, or it can spiral into a messy skeleton parade because you wandered the map without a plan. The game's loop is simple on the surface: take a contract, pick a loadout, clear objectives, beat the boss, extract, spend rewards. The depth lives in everything stacked inside that loop, and knowing how those systems connect is what separates a productive run from a 20-minute lesson in greed.
Far Far West Beginner Guide: Progress Fast With These Tips
How do spell combos actually work in Far Far West?
Spell combos are the biggest mechanical system beginners skip. The current spell lines are Pyro, Acid, Electric, Voodoo, and Cactus, and each one pushes a different playstyle. Some deal direct damage, some lean into utility, and several become dramatically stronger when paired with another element.
The practical lesson here is that raw damage numbers on a single spell tell you less than you think. A spell combo that turns a chokepoint into free damage is worth more than the highest-damage spell on paper. Build your loadout around how spells interact during real fights, not how they look on the selection screen.
For a full breakdown of confirmed combo interactions across Acid, Fire, Electric, Voodoo, Portal, and Cactus, the spell interactions guide at GamerBlurb covers current combinations in detail.
Why should you use every spell line early?
Spell progression is tied directly to usage. Stronger abilities in each elemental line unlock as that line levels, so ignoring a spell type early locks you out of useful tools later when runs get harder.
The habit to build is casting each available spell line at least once per run when the opportunity is safe. Each element carries a one-time-use XP bonus per run, and that bonus matters most early when low-level spells generate minimal XP on their own. Low cooldown spells are the most efficient for this because they can be cast repeatedly instead of sitting unused.
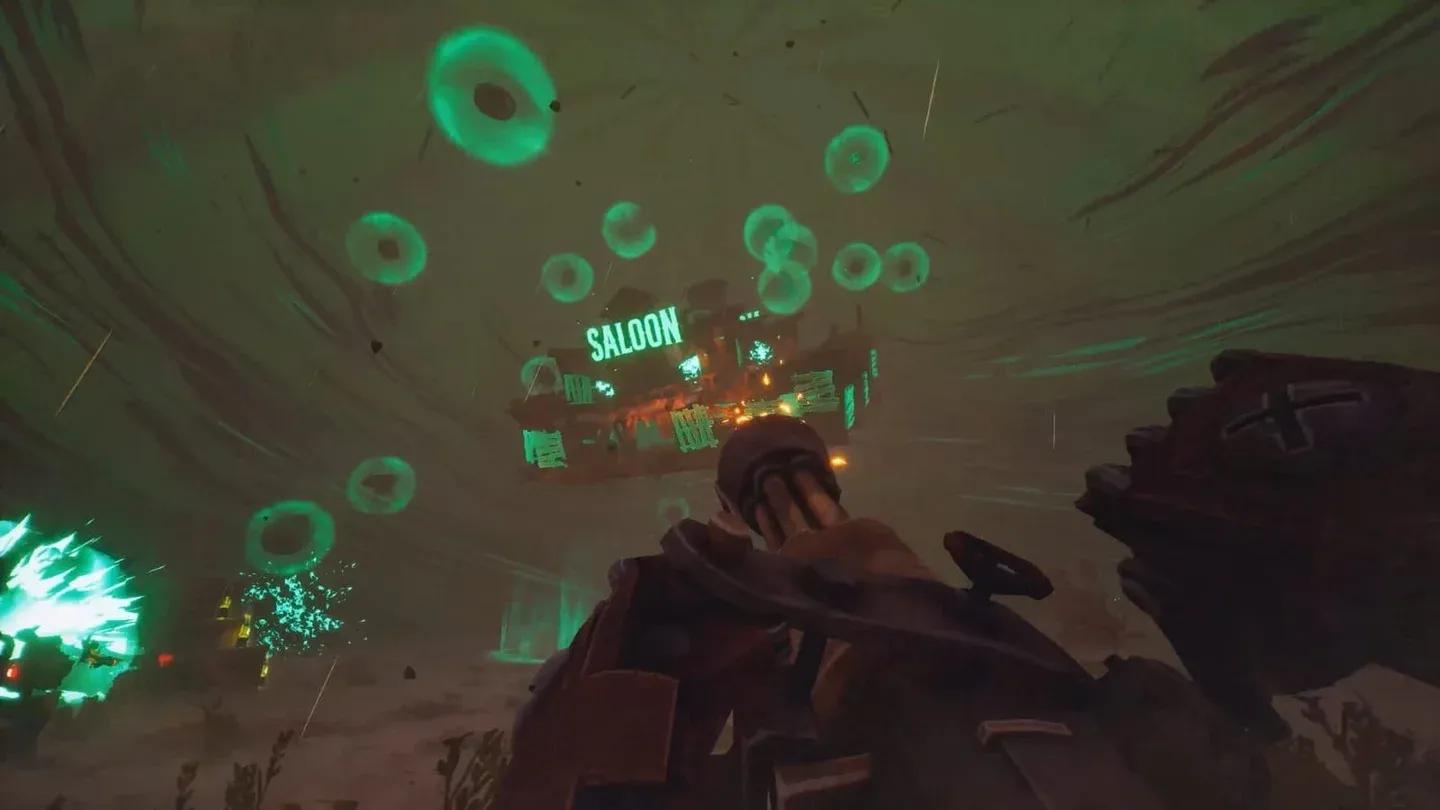
Voodoo deserves specific attention. Recovery tools can decide whether a bad fight ends in a wipe or a save, and Voodoo's utility can pull a team back from situations where pure damage spells offer nothing useful.
Voodoo spell cooldown overlay
Picking the right secondary weapon element
Secondary weapons support elemental attributes, and the three main options each solve a different problem during runs:
- Pyro deals 2 damage every tick while the target burns. It is the cleanest choice when you want straightforward damage over time with no conditions attached.
- Acid deals 1 damage per tick but applies a slight enemy slow. That slow is more valuable than it looks during objectives where your team needs time to reposition, reload, or cast.
- Electric also deals 1 damage per tick but has a chance to jump to nearby enemies after hitting a target. Against grouped enemies, that spread can generate more total damage than Pyro's single-target burn.
The right pick depends on what the run demands. Pyro is easy to understand and consistent. Acid buys space. Electric multiplies value in crowds. Elemental choices can also feed into spell combos, so switching elements and testing interactions is time well spent.
Why you must set weapon fragments manually before every run
Weapon and utility unlocks require fragments, but the game does not automatically redirect fragment progress after you finish an unlock. You have to change the target manually.
This is the most common silent mistake in early Far Far West. A run can feel productive because enemies died and rewards came in, while the wrong fragment target quietly delays the weapon unlock you actually need. Once the early unlocks are done and remaining options require focused investment, that wasted progress stings.
Fragments also feed gun skins later, but skins come after practical unlocks. Early on, point fragments at the tools that make runs cleaner and safer. Style can wait until the loadout actually works.
When should you fight the boss?
Boss timing is one of the clearest skill gaps between new and experienced players. After the boss dies, the map starts spawning enemies in infinite waves. That is useful for kill grinding, but it turns any unfinished side content into a frustrating cleanup with constant interruptions.
The clean sequence is: clear valuable side objectives, finish the main contract path, then commit to the boss. Side rewards worth grabbing before the boss include graves, music discs, medallions, gold veins, soul camps, and haunted huts.
Solo players feel this most. Some objectives that a team can split and handle quickly become much harder with enemies piling in from every direction after an early boss kill. Start the boss when the map is ready, not when the health bar looks tempting.
What is the best grind route for each reward type?
Far Far West has multiple reward types, and each one responds to a different run strategy. Trying to farm all of them the same way is one of the main reasons early progression stalls.
For blueprints, speedrunning easy mode to the boss is the move. Kill loot goblins along the way and use wells when they appear. For gold, dynamite on veins is faster than the pickaxe, and the Golden Tooth joker stacks well on higher difficulty enemy farming. For weapon XP, the weapon being leveled needs to be in your hands doing damage, not decorating your loadout. For souls, haunted huts and soul camps add meaningfully on top of enemy kills and should not be skipped on soul-focused runs.
For a deeper look at which weapons are worth prioritizing for those XP runs, you can browse more guides covering Far Far West loadouts and weapon rankings.
How to route maps efficiently
Far Far West maps are large, and Roach (your horse) is the answer to wasted travel time. Riding between objectives is dramatically faster than walking, and that time gap compounds across a full run covering side objectives, medallion searches, and boss setup.
The best approach is to treat Roach as part of the route rather than a random transport. Start near the contract objective, sweep nearby side rewards that match the run goal, collect resources along the path, and commit to the boss once the important cleanup is done.
Beyond the horse, the core routing principle is simple: the reward you need decides the path. A gold run prioritizes veins and side objectives. A soul run looks for haunted huts and soul camps. A blueprint run pushes toward the boss path first. A broad progression run can justify fuller map cleanup on a safer difficulty where the extra time pays off.
Skip icons that do not serve the run goal. Not every marker on the map is worth a detour. Good routing is knowing when extra rewards are worth the time and when they are just bait wearing a question mark.
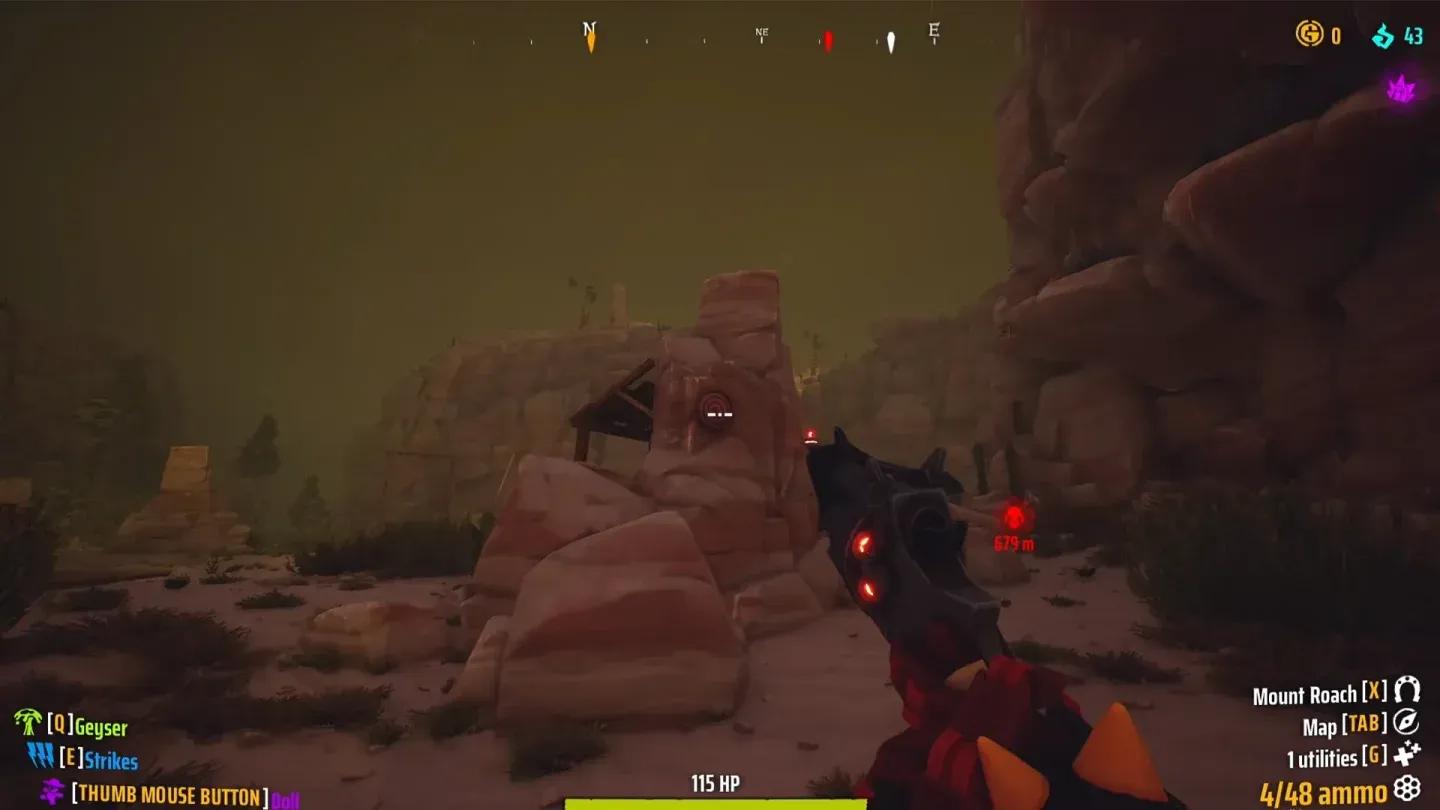
Canyon medallion and gold vein route
What difficulty should beginners run?
The best difficulty is the hardest setting that still produces consistent extracts. A failed high-difficulty run is not better progression than a clean easier run. It just looks more impressive right up until the reward screen.
Easy mode is genuinely useful for blueprint farming and learning map layouts. Normal is better for stable reward farming. Higher difficulties become worthwhile once your weapons, spells, upgrades, and team coordination can absorb the extra pressure without the run falling apart.
Random modifiers on harder settings, including tornadoes, fireballs, and tougher enemy pressure, can add rewards but also punish sloppy routes hard. Stack difficulty when the loadout supports it.
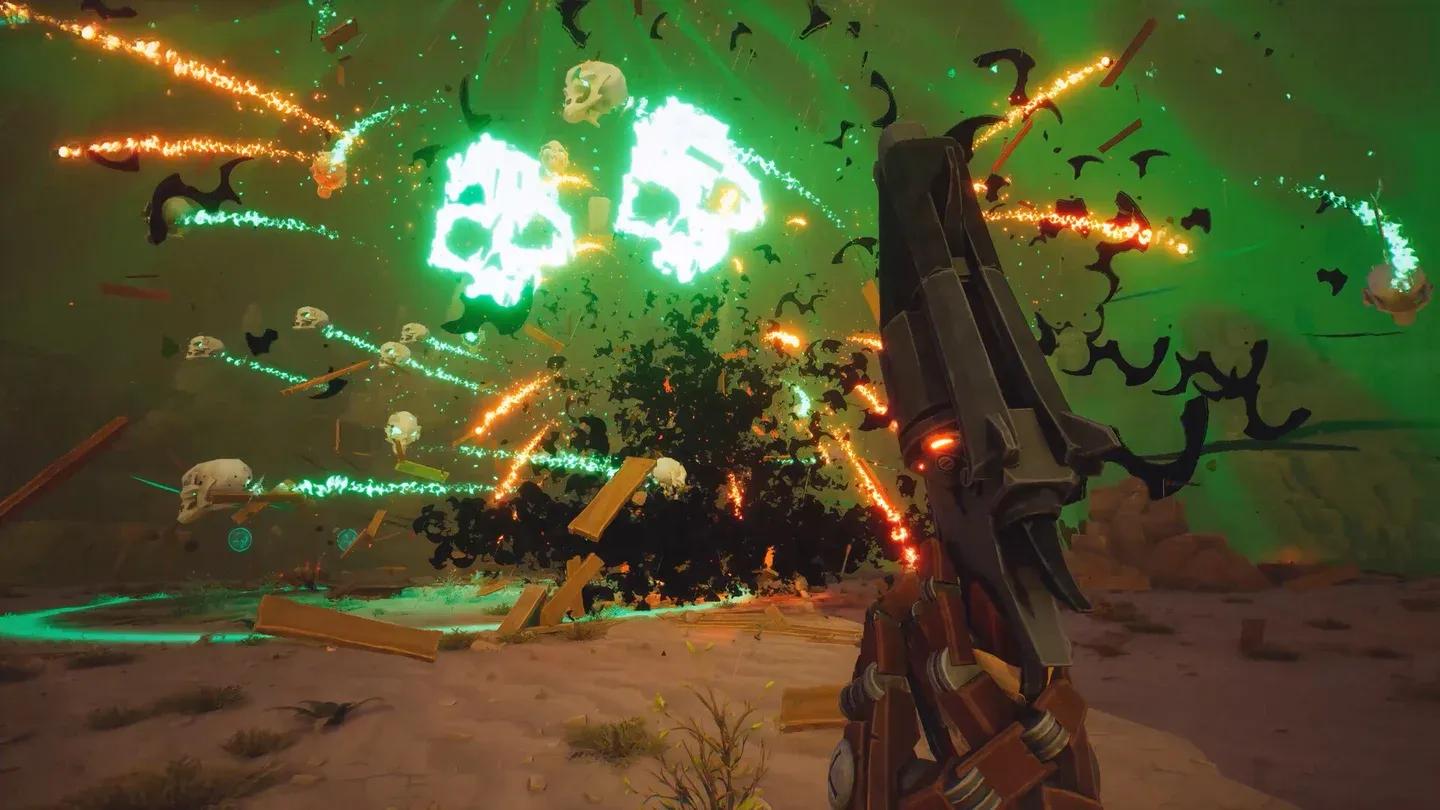
Combat basics: breaking bones and reading enemy types
Basic skeletons can stand back up unless their bones are broken, which means half-finished enemies create extra pressure during objectives and revives. Clean kills matter.
Enemy variety also demands attention. Flying enemies, snakes, shield enemies that require flanking, bazooka enemies, and gatling gun enemies all punish predictable movement in different ways. A loadout that only solves one combat problem will run into trouble.
This is exactly why elemental choices and spell combos feed back into combat. Acid slows incoming pressure, Electric spreads damage through grouped enemies, and Pyro keeps burning damage ticking on priority targets. The best setup handles what is actually showing up in the run.
Party size also changes how combat and routing play out. Solo players need tighter routes and more careful objective timing, while a full group can split pressure and clear content faster. Planning runs around your actual group size makes a real difference in what you can safely accomplish.
Far Far West rewards players who treat each run as a tool with a specific job. Spell combos carry fights, elemental weapons shape damage and space control, fragments unlock gear faster when aimed correctly, and smart boss timing keeps the map from becoming an infinite enemy problem. Pick your goal before the run starts, build the route around it, and extract with actual progress instead of a lesson in what not to do next time. For more tips and strategy content across all your favorite games, browse more guides at GAMES.GG.