
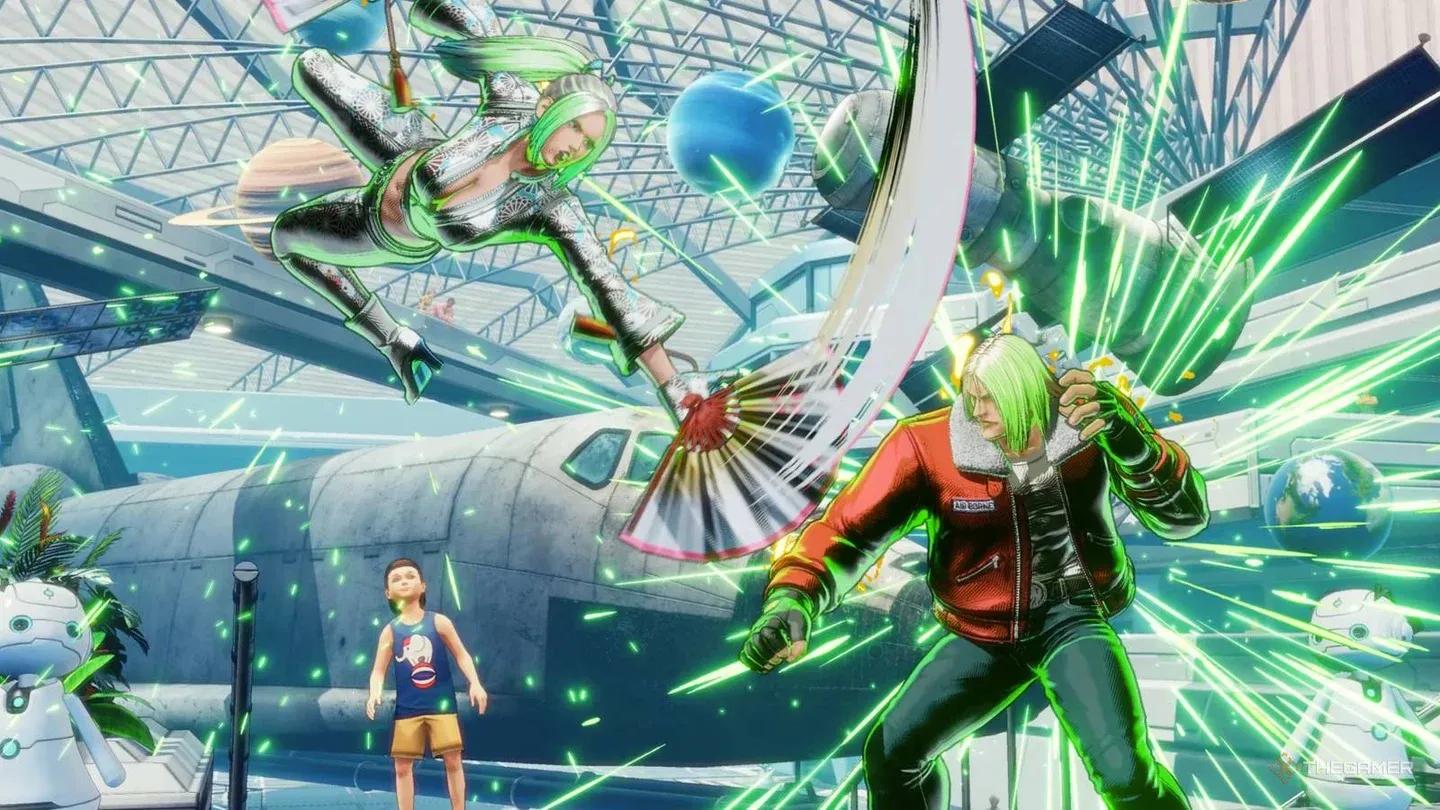
Who is Andy Bogard and why should you play him?
Andy Bogard is one of the most straightforward characters in FATAL FURY: City of the Wolves, but straightforward doesn't mean simple. His gameplan is built around getting in, applying relentless pressure, and conditioning opponents into making mistakes that he can punish hard. He doesn't rely on gimmicks or secondary win conditions. What he has instead is a tight, well-connected toolkit that rewards players who read their opponents and stay unpredictable in their decision-making.
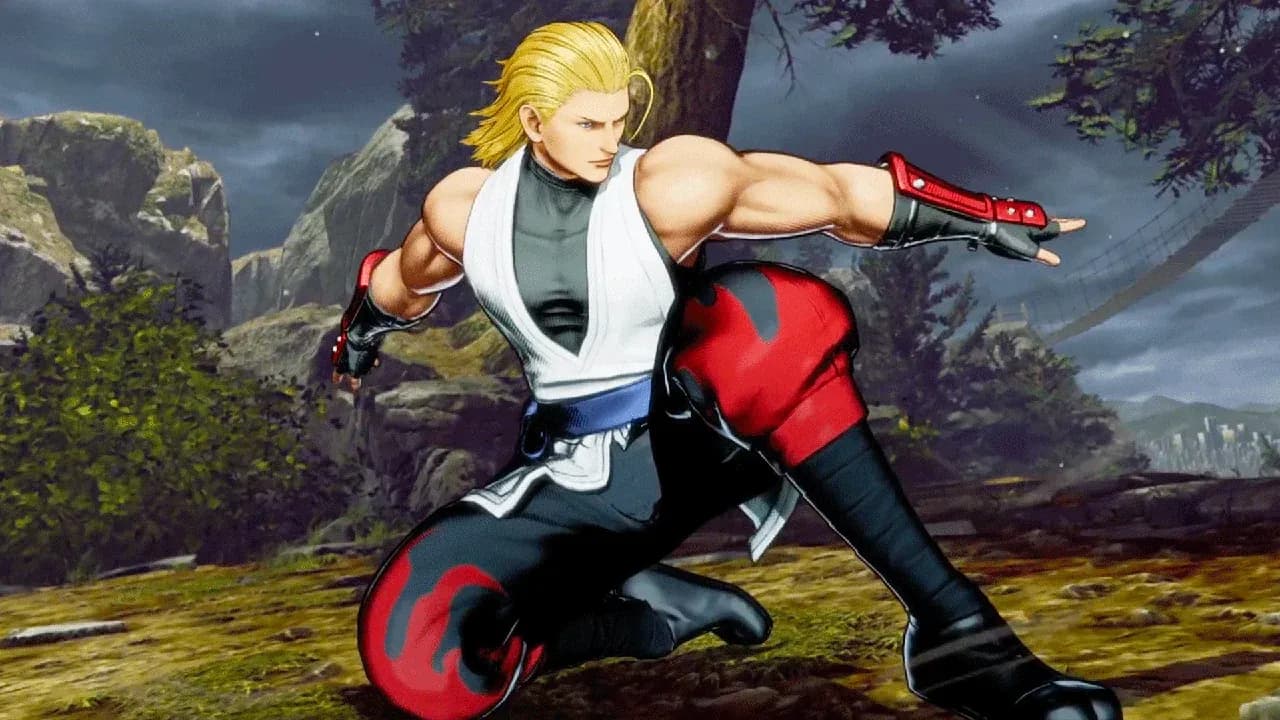
Andy Bogard mid-range stance
What is Andy's core gameplan?
Andy thrives at mid-range. That's where his normals are most effective, where his fireballs become genuinely threatening, and where he can begin the conditioning process that defines his playstyle. His movement is solid, and his 236A/C special can double as a mobility tool. Extending it with 236R~A/C lets him close distance quickly when the opponent isn't expecting an approach.
His fireballs aren't built for traditional zoning. The full-screen 214BD~C is telegraphed and easy to punish if the opponent is ready for it, but it's a useful gauge of how familiar they are with the matchup. Mid-range 214A/C is the real workhorse: it's often plus on block and controls space effectively. Jump or hop versions of the same move bait reactive anti-airs, though the landing recovery is punishing if you whiff or get crossed under.
On the ground, 2A, 2B, and f.A are your mid-range checks. f.C has excellent reach and works well in footsies, best used for Wild Punishes. It can't be special canceled, so it loses some utility, but it's negative on block without being directly punishable, which sets up Guard Cancel opportunities. f.B leads into the f.B > f.D Target Combo, which can chain into a Hard Knockdown if S.P.G. is available via REV Blow cancellation.
For aerial approaches, j.D off a hop is your best jump-in since it's harder to anti-air on reaction. In air-to-air situations, j.A and j.C are most reliable. The j.A > j.C Target Combo can also disrupt attempts at air Just Defends. j.B is your cross-up tool.
How to apply pressure with Andy Bogard
Once Andy gets in, the pressure sequences start branching. cl.B, cl.C is a reliable frametrap against impatient opponents who mash A to interrupt strings. A counter-hit cl.C links into 2C after a feint. cl.D, feint, 2C is another solid starter that doubles as a pressure sequence, though it has a gap where certain reversals can interrupt it. After the 2C, Andy can feint into a microdash throw if timed correctly.
If the opponent starts respecting that sequence and goes passive, escalate with cl.D, feint, microdash cl.D into further branches: 2C, a microdash throw, or the 214B~A/AC command grab. Finishing pressure with 214A after a 2C poke is a safe, consistent way to end your turn.
Combination Attack is another pressure layer. Mix up the enders: use ~6D to check whether the opponent mashes or goes for an invincible reversal, finish the string early into a throw if they're mashing throw tech, or hop j.D for a big punish if they're trying to tech. Never be linear here.

Command grab follow-up options
Okizeme and throw loops
Getting a hard knockdown changes everything for Andy. After a throw, 214D puts him right back in close, setting up a looping RPS:
- Throw again if the opponent is passive
- cl.D if they wake up mashing
- Micro walk into a delayed D to Wild Punish a wake-up tech
- Wait for a reckless reversal after conditioning them with two or three consecutive throws
If the opponent is cornered and jumping to avoid the situation, the ~B follow from his flip still leaves Andy plus or neutral on block depending on height. That's not a bad outcome.
For combo routes, 236236B generally gives better okizeme than 236236A, and the damage difference at high scaling tends to be negligible. Limit REV Accel in a combo to 2 or 3 activations unless running Final S.P.G., since going beyond 3 often reduces total damage.
What are Andy's best mixup setups?
Andy's command flip sweep follow-up, Meaty Shibuki (214D~D), is the foundation of his mixup game. The idea is to connect with the later active frames of the move, generating enough frame advantage to link into further options. Here's how the main setups compare:
For teleport cross-up pressure, 214BD~C is a reaction check tool. Against opponents who abuse 2CR for anti-airs, punish them with the command grab follow-up 214BD~A instead. Once they start second-guessing their anti-air habits, Andy's aerial approaches become far more threatening.
The 214R~AC gimmick off a knockdown performs an instant backdash j.214AC that stuffs many moves and remains active even if Andy gets hit, meaning it can trade in his favor.
How does Andy's defense work?
Andy's defensive options are layered. His standard reversal is 623A, a 5-frame invulnerable move that can blow through gaps in pressure and meaties. Use it carefully: whiffing it opens Andy to counter-hit starters that can deal 40 to 70% depending on the opponent's resources. Passive players bait reckless reversals after jump-ins, so save 623A for situations where you're confident it will connect.
236236B is rarely useful as a reversal except in specific setups like a meaty Kaiser Wave. 236236C with two bars is usually the stronger option, only one frame slower than Hidden Gear but with a higher damage ceiling on counter hit.
Guard Cancels are Andy's most reliable defensive layer:
- GC 623C* sets up a launch even without counter hit, and upper-body invincibility can blow through certain attacks
- GC 236A is easy to buffer off Just Defend or Hyper Defend, though the follow-up is weak (links into f.B only)
- GC 214B~B/C has the highest damage potential by linking into cl.D, but is matchup-dependent and situational
- GC REV Blow is easy to perform but risky; avoid it against opponents in S.P.G.
For air Guard Cancels, GC j.CD beats most anti-air attempts (2CR and DP Brakes) and inflicts a Hard Knockdown. GC j.214AC enables high-damage follow-ups including 623A for meterless, j.CD cancel for Hard Knockdown under S.P.G., or a super for both.
Safe jump setups
These setups carry a frame advantage of +34 or +39, making them effective against 5-frame or slower reversals. Here are the main routes:
Meaty Low Dodge Attack setups
These setups provide strong frame advantage off various knockdown routes:

Meaty Low Dodge Attack setup
How to counter Andy Bogard
Andy's normals are serviceable but not standout. His biggest vulnerability is whiff punishment: if you can bait his pokes and punish the recovery, his offense falls apart. His 214A/C fireball has punishing landing recovery if you cross under him during the move, essentially giving you a free Wild Counter. His f.D can be crouched and punished easily.
His reversal 623A has a 5-frame startup but leaves him exposed on whiff. Condition him to throw it by baiting with passive play after jump-ins, then punish the recovery. His 236236B super is slow on startup and punishable on block or whiff, so recognizing when he's going for it gives you a large punish window.
For more character matchups and advanced strategy across the full roster, the FATAL FURY: City of the Wolves guides collection covers every character in depth.
Final thoughts on mastering Andy
Andy Bogard rewards players who think in sequences rather than individual moves. His pressure is only as good as the reads behind it. Condition the opponent to respect your throws, then punish their defensive habits. Condition them to fear the reversal, then walk them into a command grab. The throw loops, meaty setups, and Guard Cancel opportunities all feed into one another once you understand the rhythm.
He's one of the best entry points into the deeper systems of fighting games precisely because his gameplan is clear without being shallow. If you're looking to expand your knowledge of other characters and systems in the game, check out everything available on the FATAL FURY: City of the Wolves page.