
The first hour of Fatekeeper is a lesson in commitment
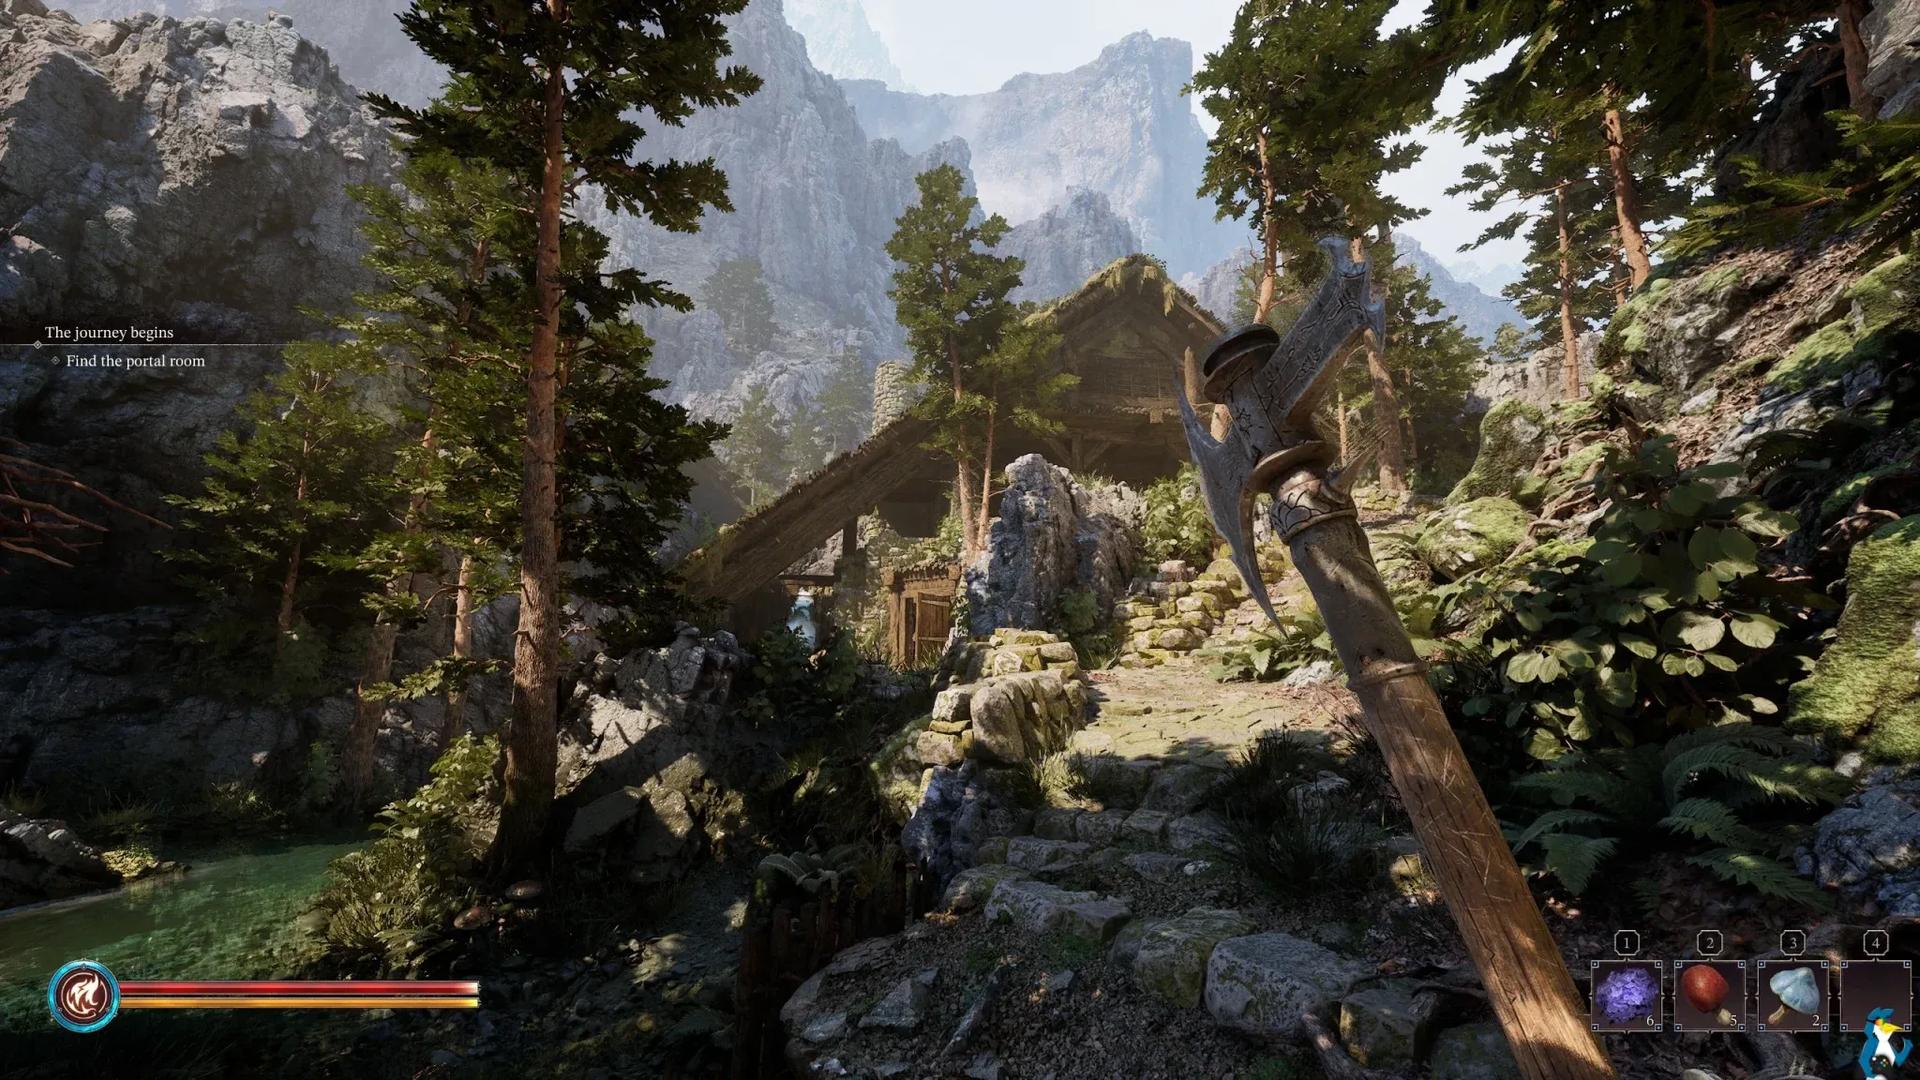
Fatekeeper is a first-person action RPG developed by Paraglacial and published by THQ Nordic, and it pulls no punches from the moment you step into Haven. Your attacks have recovery frames, your stamina bar runs out faster than you expect, and enemies punish greedy swings without mercy. The game draws clear inspiration from the Dark Messiah of Might and Magic era, which means the environment is just as dangerous as anything swinging a sword at you. Get comfortable with that idea early, and the rest falls into place.
What should you do first in Fatekeeper?
The safest first-hour route is straightforward: explore Haven, complete portal training, craft at the alchemy table, then enter Ancient Hallways prepared. Each step builds on the last. Haven gives you time to check your weapons and open the skill tree without pressure. Portal training covers block, kick, stamina management, telekinesis, and spell use in a controlled environment. The alchemy table lets you prepare healing, mana, or weapon support before you face anything serious. Skipping any of these steps means walking into Ancient Hallways underprepared, which is where most early deaths happen.
Haven is your pre-fight checklist
How does combat actually work in Fatekeeper?
The biggest trap new players fall into is treating Fatekeeper like a fast hack-and-slash. Attacks have commitment. If you swing and miss, you are exposed. If you block every hit, your stamina drains faster than you can recover it. The game rewards players who read enemy timing, create openings, and use the environment rather than trading blows head-on.
Here is a breakdown of the core mechanics and where players go wrong:
Why kick is your most important tool
Kick sends enemies flying. That sounds like a minor detail until you realize the maps are full of pit holes, spiked walls, cliff edges, pressure plates, destructible platforms, and oil puddles. Every one of those hazards can end an enemy in a single interaction, which is far more efficient than chipping through a health bar.
The positioning trick that works consistently: stand next to the hazard and wait for the enemy to swing. Dodge to the opposite side so the enemy is now between you and the drop, then kick. You do not need to be fast or precise, just patient enough to let the enemy commit first.
Telekinesis works the same principle in reverse. Stand on the far side of a pit or behind a spiked wall and pull the enemy toward you. Archers perched on elevated platforms are especially vulnerable since dragging them off their ledge removes the threat entirely and often sends them to their death.
Kick into hazards, not just guards
Perfect dodge versus blocking: which should you use?
Dodging costs significantly less stamina than blocking. Blocking a single hit drains a large portion of your stamina bar, which becomes unsustainable in rooms with multiple enemies or ranged attackers. Blocking also does nothing against arrows, so staying mobile is the better default.
The reward for timing a dodge correctly is a brief slow-motion window. That window is your free hit. Charging a heavy attack while backpedaling as an enemy swings lets you skip the first part of the attack animation, so when the window opens you are already partway through your swing. Heavy attacks deal significantly more damage than standard swings, making this the most efficient damage pattern in the game.
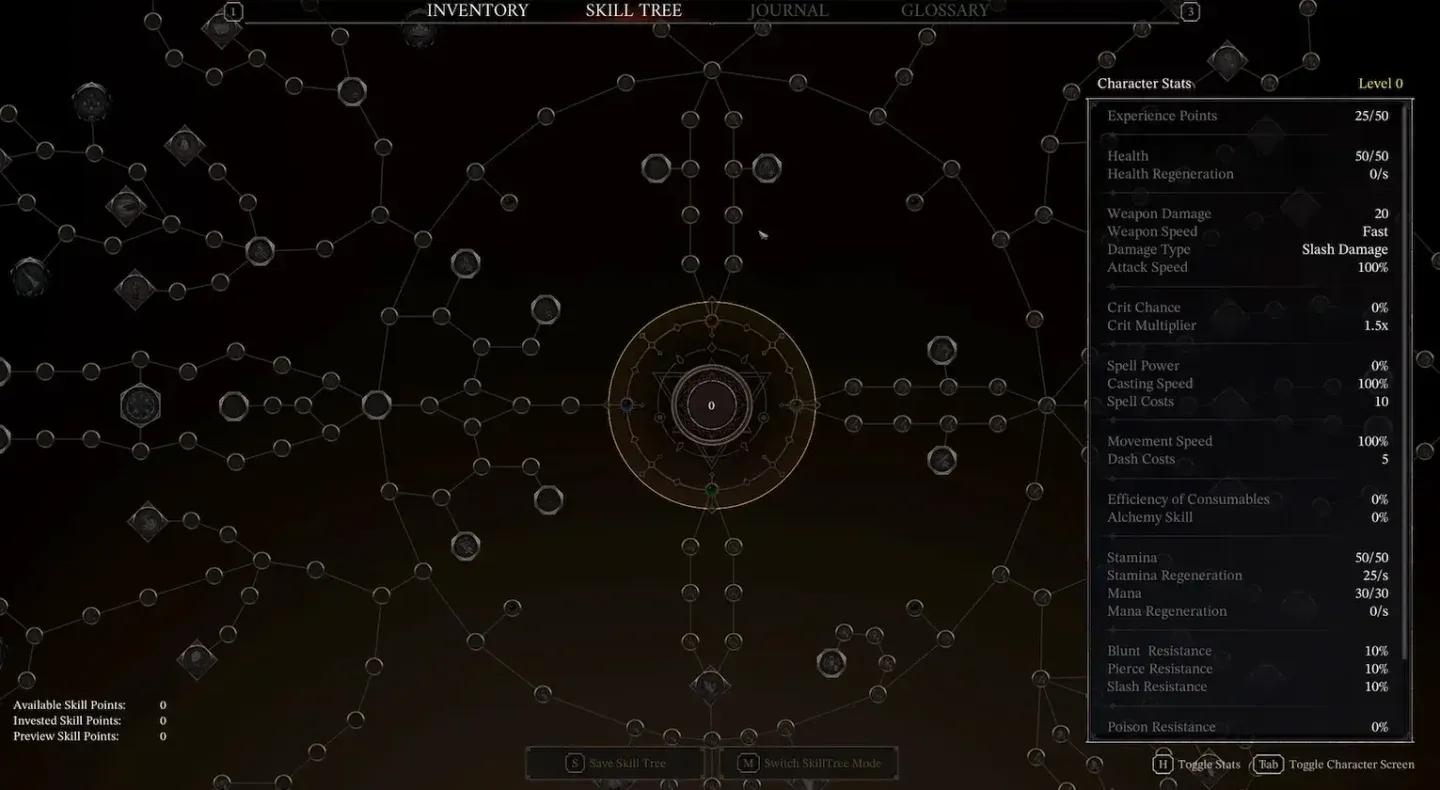
What is the best build for beginners?
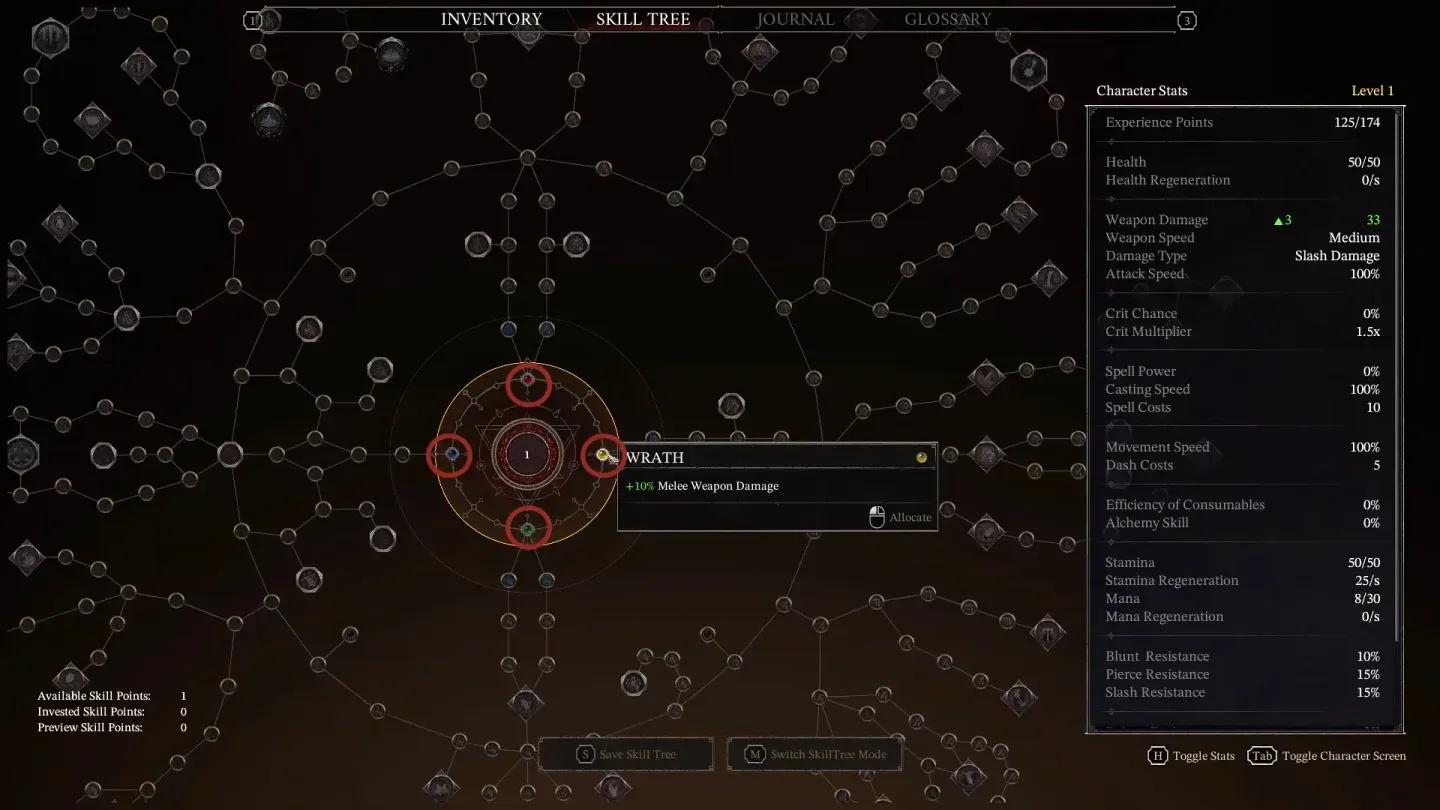
The skill tree splits into four broad sections: weapon damage on the right, alchemy at the bottom, stamina on the left, and health at the top. For new players, stamina and health are the highest-priority investments. Stamina lets you dodge, kick, and sprint more often. Health gives you room to survive mistakes while you learn enemy patterns.
Weapon damage matters less when environmental kills are faster and safer than direct combat. Build survivability first, then layer in your damage route once you understand how your weapons and spells interact.
Here is how the available build routes compare:
For most first runs, safe melee or fire is the right starting point. Alchemy, shatter, and telekinesis need more setup before they pay off. Wind and dagger builds demand tight mana management or precise dodge timing that is hard to execute while still learning the basics.
Skill tree: survive first, damage second
Which weapons should you use early?
Weapon choice in Fatekeeper is not just about the highest damage number. Rhythm, recovery time, stamina cost, and damage type all factor into whether a weapon actually works for your playstyle.
The Blade of the Sentinel is the stronger starting option on paper at 30 slash damage, but the Axe of the Sentinel's one-handed feel is easier to recover from while you are still reading enemy timing. The Burning Axe is worth picking up if you are running a fire build, since its 15 fire damage complements fire spell upgrades rather than competing with them.
How does alchemy work, and why does it matter?
Alchemy in Fatekeeper does not use recipes. Every potion is a direct combination of raw ingredients, so three red mushrooms that each heal 5 health become a single potion that heals 15. You can mix different ingredients into one potion to get multiple effects simultaneously, such as combining a healing material, a mana restorer, and a stamina restorer into a single three-effect brew.
The plants and mushrooms scattered across every map are your primary healing source outside of leveling up. Picking them up consistently is not optional. Shelves and wall fixtures also hold rarer crafting materials like metal shards for bombs or toxic coatings for weapon vials that apply poison.
Two alchemy items worth knowing specifically: Kutracite supports fire damage output and pairs well with fire spell routes, while Guards Vermillion gives +5% Life Leech and +10% increased Stance for 15 seconds. Life Leech in Fatekeeper is currently confirmed as an alchemy sustain mechanic through Guards Vermillion rather than a standalone spell-tree route.
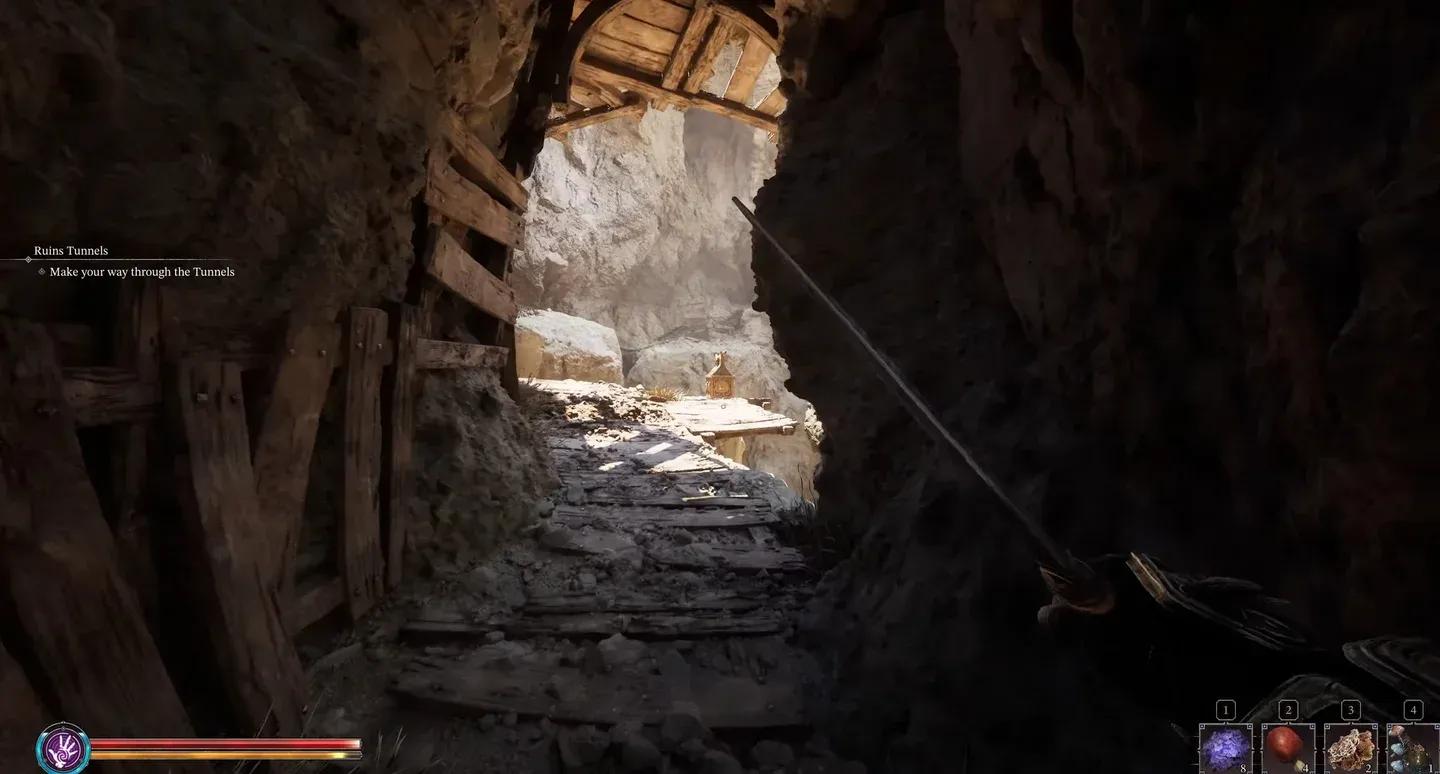
Exploration tips: what are you missing?
Fatekeeper does not mark every useful path with an obvious indicator. Locked doors, side routes, hidden areas, and NPC rescue opportunities are easy to walk past if you are focused only on the main route.
- Look up. Rocky outcrops, stacked boxes, and elevated ledges often lead to hidden weapons or progression shortcuts. Checking above you regularly catches secrets that ground-level sweeps miss.
- Break planks. Boards blocking doorways or holes in walls can be knocked down with a sword swing or a kick, opening new paths that lead to loot or alternate routes.
- Track locked doors. The Ornate Copper Key is an early example of a key-gated door you will encounter before you have the item. Remember the door location and return once the route gives you the key.
- Rescue NPCs. Saved NPCs return to Haven and can unlock services, gear shop options, or skill point refund support.
- Use telekinesis for levers. Doors that say they open "elsewhere" usually have a lever or pulley placed somewhere out of direct reach. Telekinesis interacts with these remotely.
- Ignite oil puddles. The shimmering wet patches on the ground are oil. A fire spell aimed at one creates a burning hazard that damages any enemy walking through it.

Track locked doors, return with keys
What about the final Early Access boss?
The corrupted roots fight (referred to as "Sacred Roots" in some dialogue, though this is not confirmed as the official name) is the current hard wall in Early Access. The same habits that carry you through normal rooms will get you killed here: greedy attacks, late dodges, panic healing mid-combo, and ignoring adds.
The preparation checklist before entering:
- Healing potions crafted and equipped
- Mana support if you cast spells regularly
- Weapon recovery and stamina feeling stable
- A plan for clearing adds before focusing the main target
Fire damage and short melee punish windows are the most reliable damage patterns. Jump or move early for stomp attacks rather than reacting after the animation starts. Phase two punishes greed harder than phase one, so tighten your windows rather than extending them.
For deeper coverage of every build route and spell pick, the Fatekeeper guides collection covers builds, weapons, spells, and boss strategy in dedicated pages.
Fatekeeper sits firmly in the adventure games space that rewards patience and environmental awareness over raw damage output. The players who struggle longest are usually the ones trying to out-damage enemies rather than out-position them. Get the positioning right, keep your stamina healthy, and the rest of the game opens up considerably.