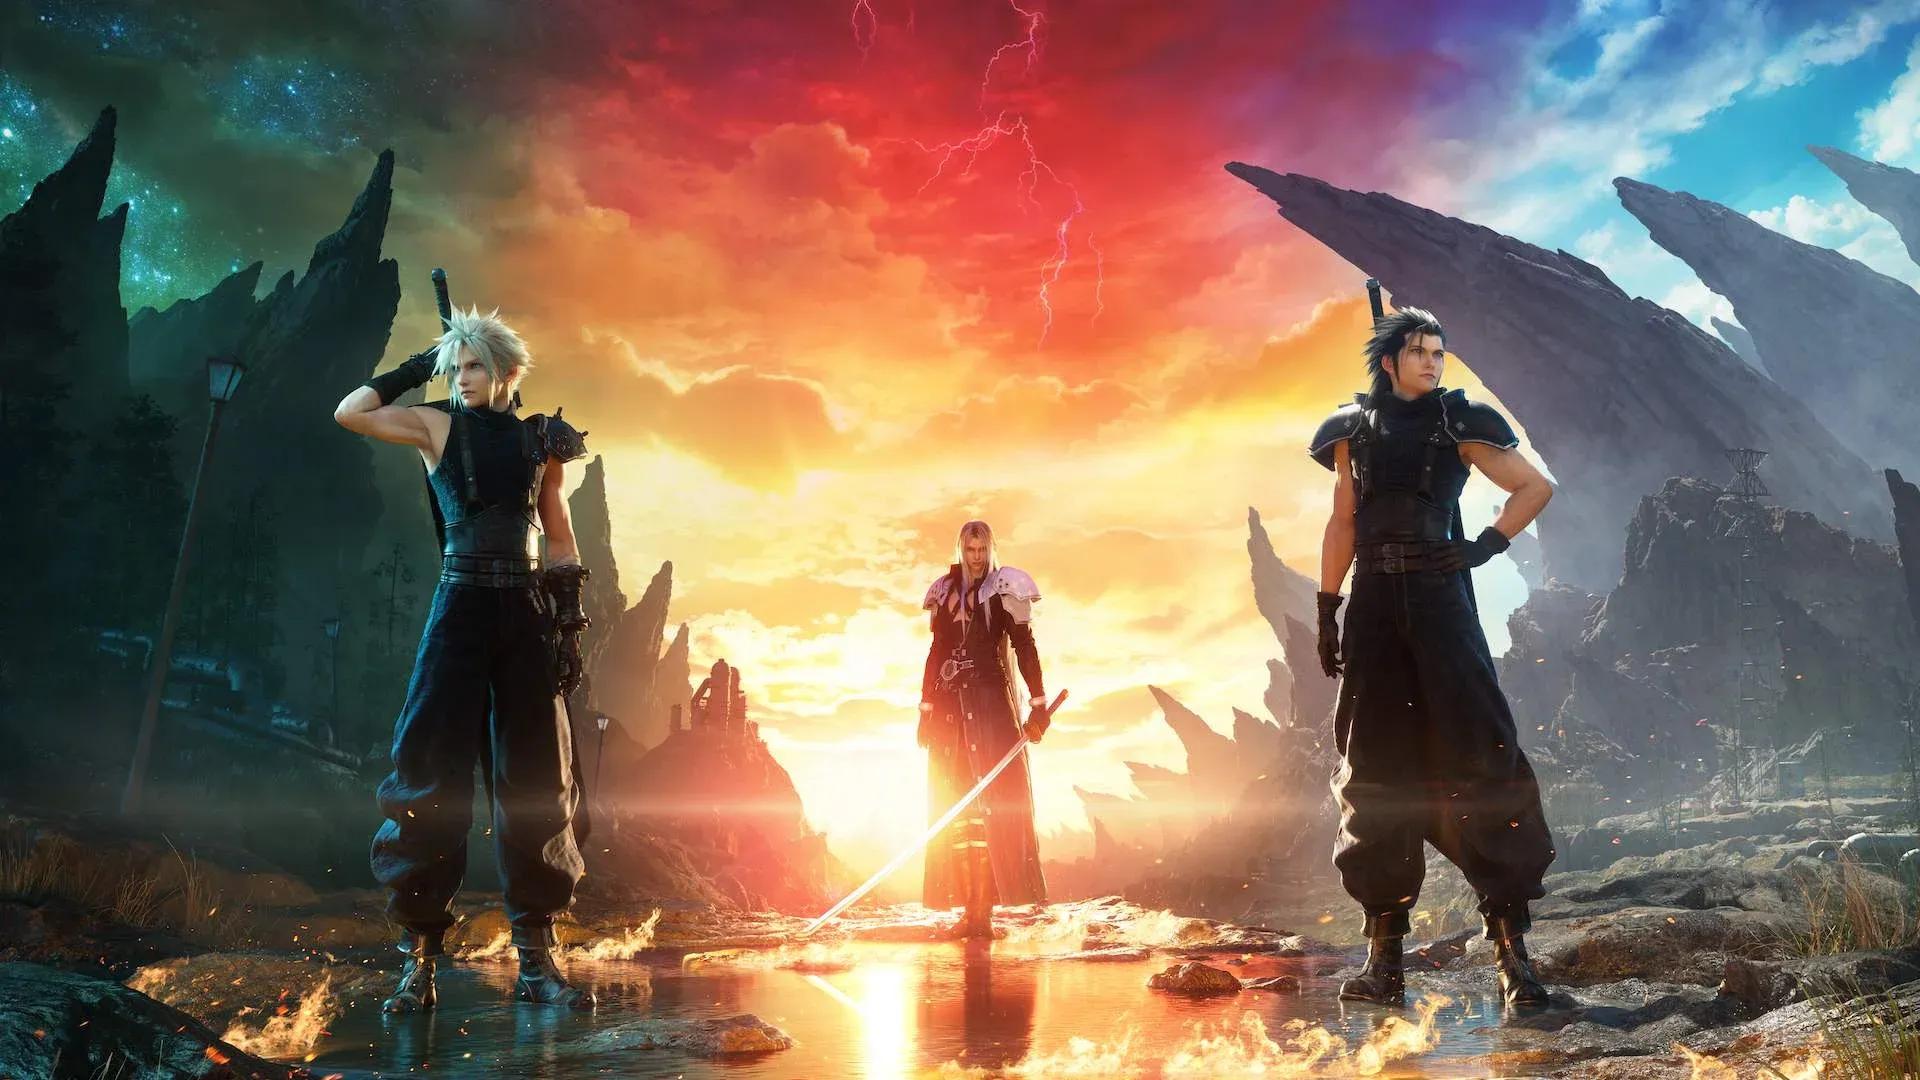

The complete FF7 Rebirth combat guide: weapons, synergies, and the toughest secret boss
Final Fantasy VII Rebirth packs one of the most layered combat systems in recent jrpg games, and the gap between players who understand it and those who don't shows up fast. Weapons shape your stats and unlock permanent abilities. Synergy Gauges open up some of the most damaging moves in the game. And Gilgamesh, the secret boss locked behind every Protorelic in the game's six regions, will punish any party that isn't properly prepared. This guide covers all three.
Equip weapons via Materia menu
What do weapons actually do in FF7 Rebirth?
Weapons serve three functions at once: they raise your ATK and M. ATK stats, provide Materia slots for customization, and grant each character a unique weapon ability. That last part is where most players leave value on the table.
Every weapon ability builds proficiency as you use it in combat. Fill the proficiency bar completely and that ability becomes permanently available regardless of which weapon you have equipped. Some abilities also have proficiency bonuses tied to specific conditions, such as Cloud's Focused Thrust gaining extra proficiency when it staggers an enemy.
The ATK versus M. ATK split matters for builds. A weapon like the Kaiser Knuckles (Tifa, ATK 227, M. ATK 50) is built for pure physical damage, while the Rune Blade (Cloud, ATK 63, M. ATK 189) flips that completely and turns Cloud into a spell-slinger. Matching your weapon to your intended playstyle is the first decision worth making before any fight.
All weapon locations by chapter
Weapons are distributed across chests, minigame rewards, and side quest completions throughout the game's 14 chapters. Here's a breakdown of key weapons you can miss if you don't know where to look.
Chapters 1 through 5: starter weapons and early finds
Most characters join with a default weapon already equipped. Cloud starts with the Buster Sword (ATK 126, M. ATK 126, ability: Focused Thrust), Aerith with the Guard Stick (ATK 101, M. ATK 151, ability: Arcane Ward), Barret with the Gatling Gun (ATK 107, M. ATK 107, ability: Focused Shot), Red XIII with the Mythril Collar (ATK 139, M. ATK 113, ability: Stardust Ray), and Tifa with the Leather Gloves (ATK 151, M. ATK 101, ability: Divekick).
The first weapons you can actually miss are in Chapter 2. The Timeless Rod for Aerith sits in a purple chest next to Chloe at Bill's Ranch. The Sleek Saber for Cloud is at the Abandoned Dock in the Grasslands, which you visit during the main story. The Hi-Caliber Rifle for Barret is on a small island in the Swamplands where you spot one of the cloaked figures.
In Chapter 3, the Renegade's Collar for Red XIII is next to the first rest station after you switch to Barret's perspective following the Elena and Rude fight. The Sylph Gloves for Tifa are beside a Crystalline Crab in the Mythril Mine, reached by climbing a ladder near the platform.
Chapter 4 has two notable pickups. Aerith's Empress's Scepter (ATK 121, M. ATK 106, ability: Radiant Ward) requires talking to Aerith in the Under Junon inn after defeating the Terror of the Deep boss, then opening the chest behind her. Cloud's Rune Blade (ATK 63, M. ATK 189, ability: Disorder) is in a chest by the rest station after completing the Parade minigame.
Tifa's Kaiser Knuckles (ATK 227, M. ATK 50, ability: Overpower) appear in Chapter 5 inside a chest in the Cargo Hold of the Shinra-8. Climb the small stairs to find it.
Unlock abilities through proficiency
Chapters 6 through 10: mid-game weapons worth hunting
Yuffie joins in Chapter 6 with both the 4-Point Shuriken (ATK 113, M. ATK 113, ability: Elemental Ninjutsu) and the Savage Dagger (ATK 96, M. ATK 130, ability: Blindside) already in her inventory. The Silver Collar for Red XIII requires placing first in the Run Wild minigame at Costa Del Sol.
Chapter 7 adds several chest weapons in the Coal Mines. The Barrage Blaster for Barret (ability: Lifesaver) is near a cliff edge after fighting two Cockatrice. The Twin Viper for Yuffie (ability: Windstorm) is on the ground level. The Wizard's Rod for Aerith (ability: Lustrous Shield) is left of a Rest Station at the foot of Mt. Corel. The Amethyst Collar for Red XIII (ATK 97, M. ATK 153, ability: Supernal Fervor) is at the end of the cave in the Of Robed Men and Ransoms side quest.
Cait Sith joins at the end of Chapter 8 with the Yellow Megaphone (ability: Roll o' the Dice) and Iron Megaphone (ability: Fortune Telling). The Dragon Claws for Tifa (ATK 174, M. ATK 86, ability: Starshower) require scoring 42,000 points in the Desert Rush minigame in the Dustbowl.
Chapter 9 in Gongaga is dense with weapons. The Crystal Sword for Cloud (ATK 107, M. ATK 145, ability: Infinity's End) is in the freight corridor of Gongaga Reactor. The Golden Collar for Red XIII (ATK 208, M. ATK 57, ability: Watcher's Respite) is across a broken platform requiring a puzzle with green and red crates. The Fafnir Rifle for Barret (ability: Point Blank) requires completing the Pursuit of Perfection quest. The Red Megaphone for Cait Sith (ability: Moogle Kaboom) is in a purple chest reached by jumping from the river boat and swimming left.
Chapters 11 through 13: late-game and missable weapons
Chapter 11 has the Igneous Saber for Cloud (ATK 189, M. ATK 63, ability: Blade Burst) on the Northern Ridge behind a climbable wall. The Crystal Gloves for Tifa (ATK 76, M. ATK 151, ability: Unfettered Fury) are near a storage shed on the way to the Nibel Mako Reactor. The Gjallarhorn for Cait Sith (ATK 217, M. ATK 54, ability: Lady Luck) requires unlocking the Chocograss Collector during the Esoteric Secrets of the Elders side quest and buying it for 45 Chocograss.
Chapter 13 in the Temple of the Ancients contains weapons for nearly every character. The Gambanteinn for Aerith (ability: Noble Sacrifice) is down the stairs after learning about Vessels of Life. The Battle Cry for Barret (ability: Turbulent Spirit) is in a corner of a tower in the Hall of Life. The Slipstream Saber for Cloud (ATK 120, M. ATK 139, ability: Counterstance) is at the top of a vine after changing gravity in the Labyrinth Ceiling. The Fuma Shuriken for Yuffie (ability: Purification) is through an entrance partway down the spiral staircase after the Hall of Resurrection trials.
How do Synergy Abilities work?
Synergy Abilities are two-character combo attacks that activate once a character fills their Synergy Gauge, represented by five vertical lines below their name in the battle HUD. Spending ATB charges on commands from the Commands Menu fills this gauge. Once full, open the Commands Menu, select Synergy Ability, and choose which combo to execute.
You unlock Synergy Abilities through each character's Folio skill tree, spending Skill Points (SP) at Maghnata Books. Some require reaching a certain level or unlocking prerequisite nodes first.
What effects do Synergy Abilities have?
Synergy Abilities fall into three main effect categories:
- Limit Level Increase (raises your Limit Break meter)
- Temporary 3-charge ATB Gauge (grants a brief window with three ATB charges instead of two)
- Temporary Unlimited MP (free spellcasting for a short duration)
- Attack Power Boost / Staggered Time Extension (only triggers on staggered enemies)
The stagger-conditional abilities are the ones to save for when an enemy's stagger bar breaks. Relentless Rush (Cloud and Tifa), Sweet-and-Sour Salvo (Barret and Aerith), and Call of the Wild (Red XIII and Tifa) all fall into this category and can dramatically extend how long an enemy stays staggered.
United Refocus is available to most characters paired with various allies and grants the 3-charge ATB gauge, making it one of the most universally useful Synergy Abilities for keeping pressure up in long fights.
How to unlock and beat Gilgamesh
Gilgamesh is the hardest optional boss in FF7 Rebirth. Getting to him requires completing four separate prerequisites.
What are the requirements to unlock Gilgamesh?
- Collect all Protorelics from all six regions (Grasslands, Junon, Corel, Gongaga, Cosmo Canyon, Nibel). This triggers the Phenomenon Intel leading to Gilgamesh Island.
- Obtain all Summon Materia from the Combat Simulator (Titan, Phoenix, Alexander, Kujata, Bahamut Arisen, Odin).
- Progress to Chapter 12 to unlock the Tiny Bronco as a sea vessel, then sail north of Midgar to Gilgamesh Island.
- Defeat three paired summon fights on the island: Titan plus Bahamut Arisen, Phoenix plus Kujata, and Alexander plus Odin.
Only after clearing all three paired fights can you enter the Enkidojo and face Gilgamesh himself.
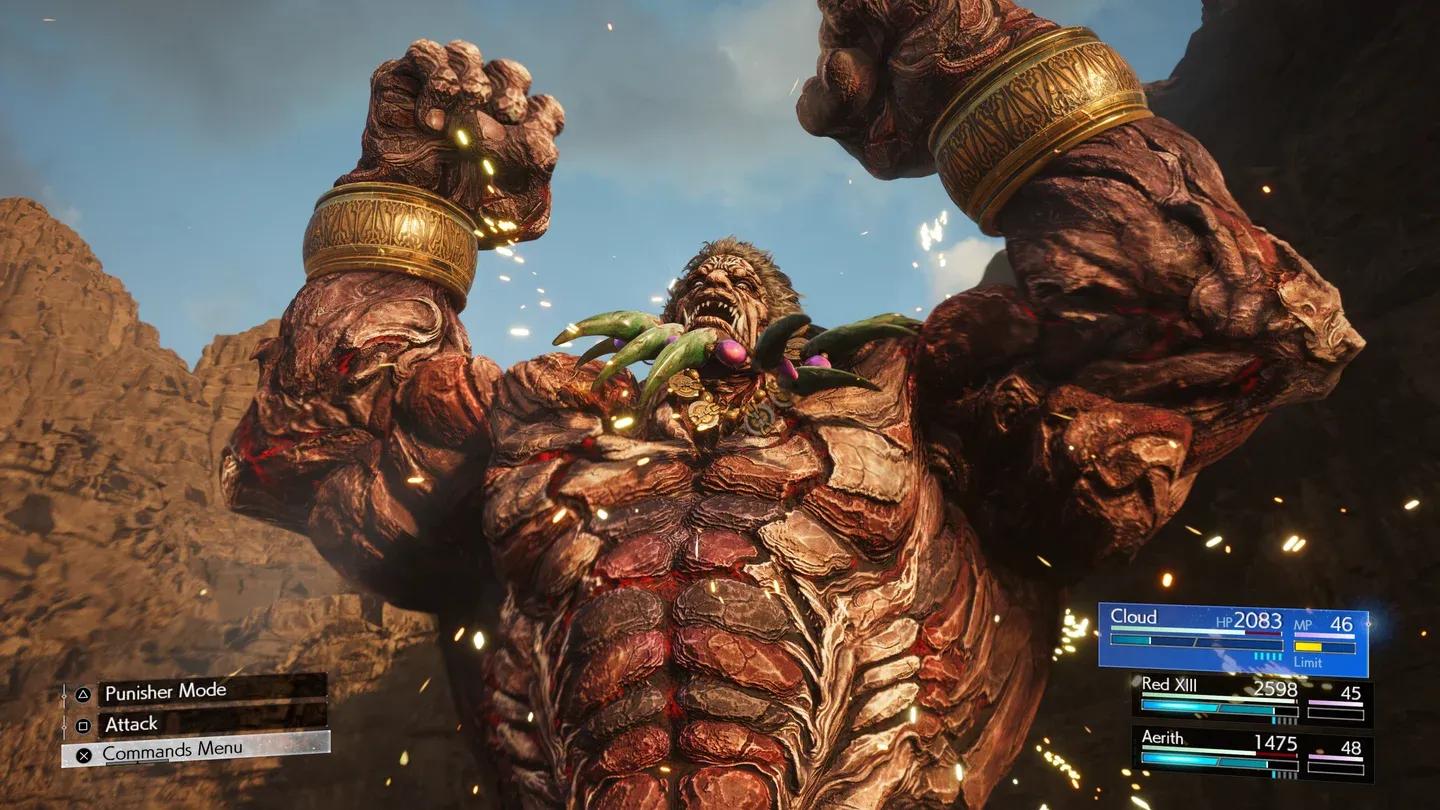
Gilgamesh has 101,228 HP on Normal difficulty. The recommended level is 70, though players with strong Materia setups have cleared him around level 60.
What are Gilgamesh's weaknesses?
Gilgamesh is weak to Fire and Poison. He resists fixed damage and sleep, and is immune to proportional damage, berserk, slow, silence, stop, stone, and petrify. Most of his attacks deal physical damage, which means defensive buffs like Protect and Barrier go a long way.
His Genji Shield mechanic is the fight's biggest complication. While active, the shield absorbs all incoming damage. You need to reduce the shield's HP to zero before Gilgamesh becomes vulnerable again. The shield also clears all debuffs you've applied and grants him buffs, which you can remove with Dispel (though the shield itself stays until destroyed).
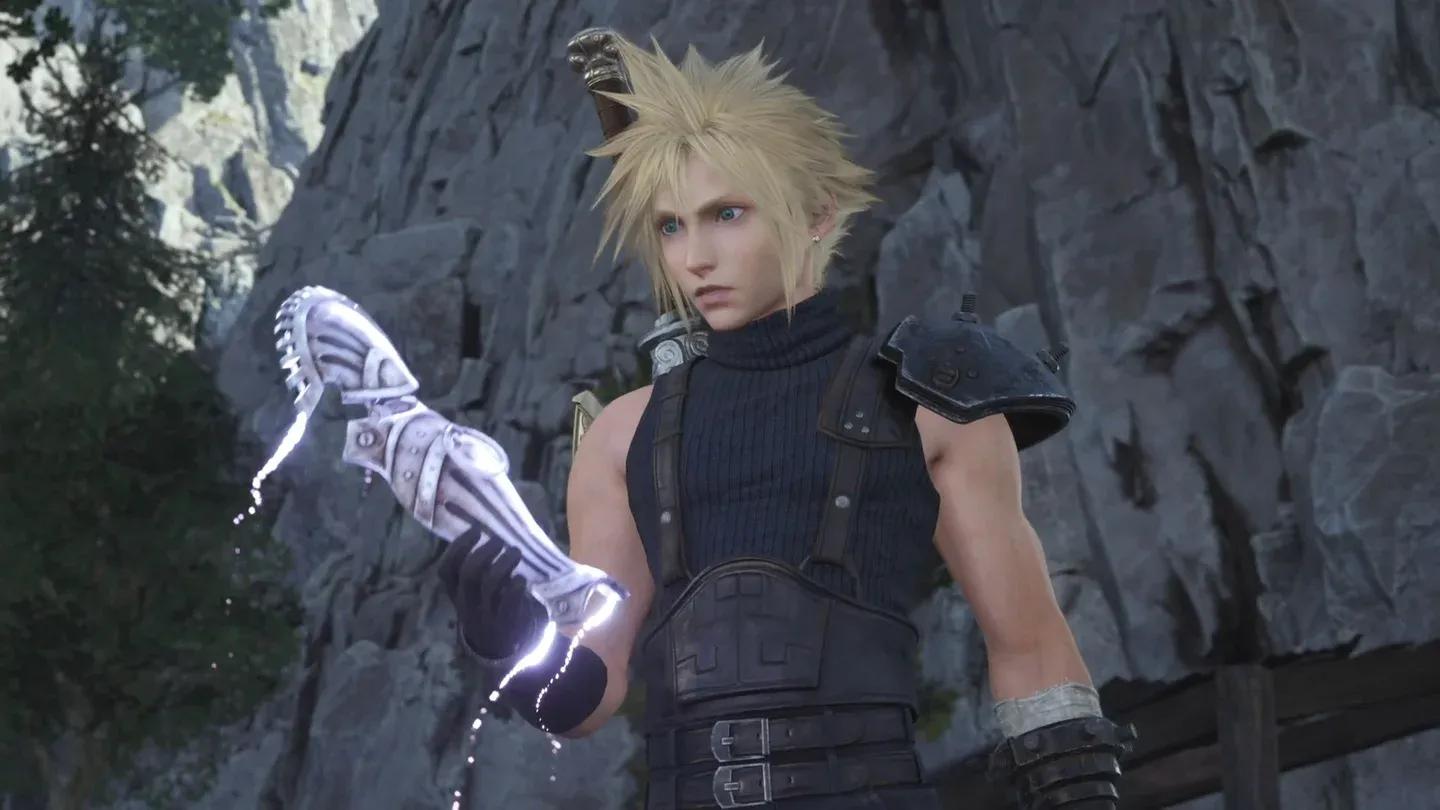
Pressuring Gilgamesh requires either dealing enough damage or perfectly blocking his attacks. Cloud's Counterstance ability from the Slipstream Saber is particularly effective here since a perfect parry both pressures him and deals damage simultaneously.
What's the best party for Gilgamesh?
After testing the fight extensively, Yuffie, Cloud, and Tifa handle Gilgamesh most reliably.
Yuffie is the primary damage dealer. Her Ninjutsu attacks combined with Fire spells and Banishment give her multiple avenues to exploit Gilgamesh's Fire weakness. Attacking at range also makes it easier to read and perfectly block his attacks.
Cloud handles support duties. He casts healing spells, applies Protect and Barrier, and uses Haste via Time Materia. His Punisher Mode counterattacks satisfy both pressure conditions at once, and Focused Thrust builds the stagger meter. Equip the Igneous Saber and pair Elemental Materia with Fire for passive fire damage on every swing.
Tifa is the stagger specialist. Once Gilgamesh's stagger bar breaks, switch to Tifa immediately and chain Rise and Fall, Omnistrike, and True Strike to maximize the damage multiplier. Her Enervation Materia applies Deprotect and Deshell, and Disempowerment handles Debrave and Defaith.
Gilgamesh's Genji Shield removes all debuffs when it activates. Reapply Deprotect, Deshell, Debrave, and Defaith after destroying the shield each time.
For his ultimate move countdown in the second half of the fight, save Limit Breaks and use them one at a time to interrupt the countdown. After each interruption he restarts immediately, so spacing them out is more effective than burning all three at once.
When Gilgamesh equips Excalibur and begins Sloppy Swordplay, dodge sideways rather than trying to perfect-block it. The attack is fast enough that a well-timed dodge is more consistent than a parry for most players.
Gilgamesh Island boss arena
What do you get for beating Gilgamesh?
Defeating Gilgamesh drops Gilgamesh Materia and the Genji Armaments Transmuter Chips, which unlock crafting recipes for three powerful accessories once you reach Craftsmanship Level 16:
Completing all Phenomenon Intel (which Gilgamesh's fight is part of) also unlocks the Brutal and Legendary Combat Simulator fights, which reward manuscripts and high-tier equipment.
Where to go from here
Weapons, Synergy Abilities, and Gilgamesh are three of the most interconnected systems in the game. Getting the right weapon on each character feeds into which Synergy Abilities you prioritize, and both matter enormously for the Gilgamesh fight. The Slipstream Saber on Cloud specifically earns its slot in that fight through Counterstance alone. For more builds, boss strategies, and everything else the game throws at you, the Final Fantasy VII Rebirth strategy guides at GAMES.GG have you covered.