

The best builds in FF7 Rebirth, broken down by character and game stage
Final Fantasy VII Rebirth gives you seven playable party members, each with distinct combat roles, unique mechanics, and enough materia slot variety to build in several directions at once. Getting the most out of each character means matching the right weapon, armor, accessory, and materia loadout to your current chapter, then updating that setup as better gear becomes available. This guide covers optimal builds from the opening hours through Hard Mode post-game for every character in the roster.
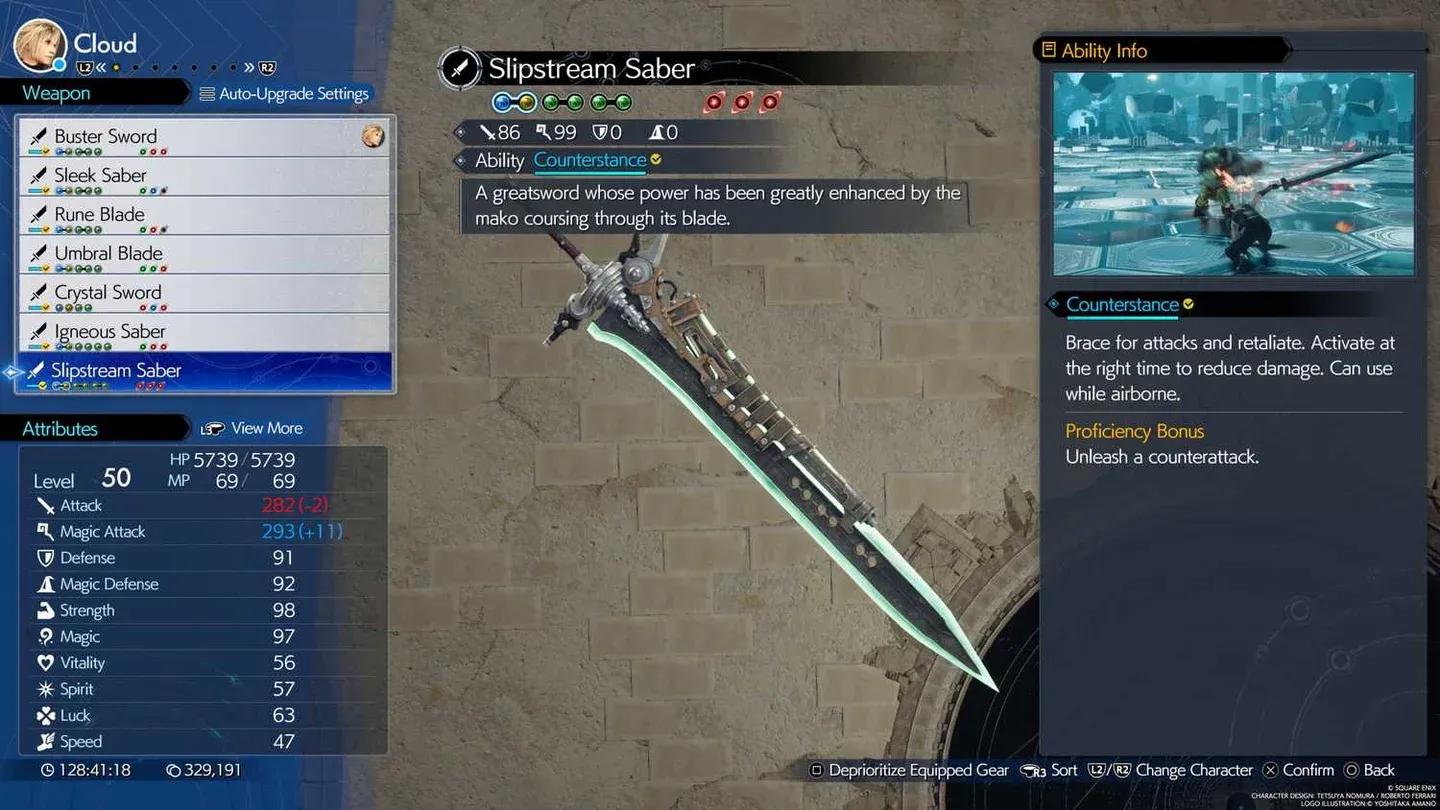
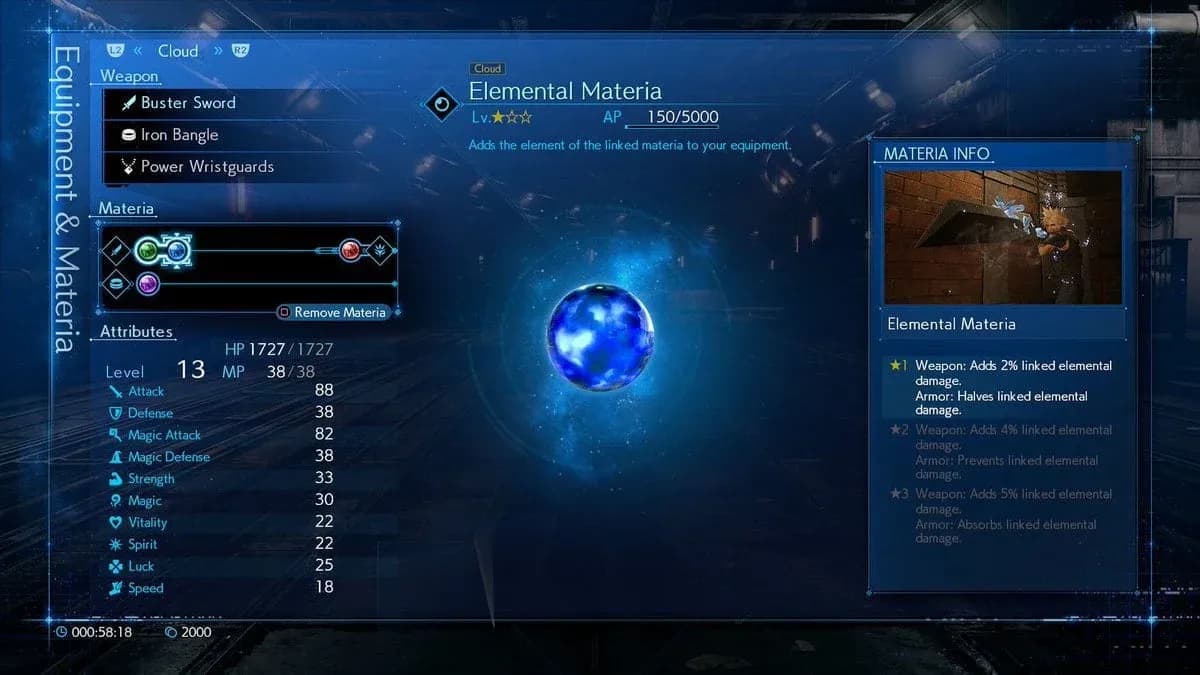
Cloud's endgame weapon setup
How do build phases work in FF7 Rebirth?
Builds in FF7 Rebirth are not static. Each character has at least three distinct phases: early game (Chapters 1 through 6), mid game (Chapters 7 through 10), and late or endgame (Chapter 11 onward, including Hard Mode). Weapons gain materia slots as you level them up, armor availability expands as you explore new regions, and key materia like HP Absorption, Elemental, and Magnify only become accessible through Chadley's Research at specific points in the story.
The builds below are designed to maximize each character's potential as the active party lead. For team-wide compositions that account for gear overlap and role distribution, check the Final Fantasy VII Rebirth Guides collection for party setup resources.
Cloud builds
What is Cloud's best endgame build?
Cloud's Hard Mode setup centers on the Igneous Saber at Weapon Level 7, paired with the Cetran Bracer for 8 materia slots. The core materia kit includes Elemental linked with Fire and Ice, Steadfast Block, Precision Defense Focus, Skill Master, HP Up, and the Odin summon in the weapon. The bracer slots HP Absorption paired with Enemy Skill, Darkside linked with Chakra, First Strike linked with Limit Siphon, and Auto-Unique Ability paired with Auto-Weapon Ability.
The Gotterdammerung accessory fills Cloud's Limit gauge at battle start and continues charging it during combat, enabling frequent use of Ascension and Finishing Touch. Swap Fire and Ice for any element materia depending on the fight.
Skill Master rewards varied ATB command use by partially refilling the ATB gauge. Three reliable combos to activate it:
- Operator Mode: Prime Mode → Disorder → Triple Slash (airborne)
- Punisher Mode: Disorder → Prime Mode → Focused Thrust
- Punisher Mode: Disorder → Firebolt Blade → Braver
Disorder switches Cloud between Punisher and Operator stances while granting an ATB boost on hit, making it the backbone of most combo extensions. Weapon skills to prioritize: Stalwart Punisher, Unrelenting Punisher, and Limit Gauge Stagger.
Darkside significantly boosts ability damage but costs HP on each use. If no other party member is running it, Cloud can carry it. If Red XIII already has Darkside equipped, swap it for something else.
Cloud late game build (Chapter 11 onward)
Switch to Igneous Saber at Weapon Level 5 with Valkyrian Bangle (6 slots, 3 links). Key materia: Auto-Unique Ability, Auto-Weapon Ability, Steadfast Block, Precision Defense Focus, Skill Master, HP Up, and Odin. Bracer slots: HP Absorption + Enemy Skill, Darkside + Chakra, First Strike + Limit Siphon. Run the Speed Demon Keychain accessory to restore ATB on weapon ability use.
The Igneous Saber is found in a purple chest at Northern Ridge, 160m area at Mt. Nibel. Valkyrian Bangle drops from Nidhogg Grotto on the far southwest island of the Nibel Region, requiring a Chocobo with Chocojet.
Cloud mid and early game builds
From Chapter 7, Sleek Saber with Abyssal Bangle handles the mid game well. Slot Enemy Skill paired with HP Absorption, Fire and Ice, Wind, HP Up, Precision Defense Focus, and Chakra. The Hi-Power Wristguards accessory adds 5% Strength and 250 max HP.
For the early game before Midgardsomr, keep Cloud on Sleek Saber with Hunter's Bangle, running Fire and Ice, HP Up, MP Up, Assess, and Precision Defense Focus. The Sleek Saber is a free purple chest pickup at the Abandoned Dock.
Aerith builds
What is Aerith's best endgame build?
Aerith's Hard Mode setup turns her into a status-inflicting burst caster. The Plumose Rod at Weapon Level 8 holds Poison and Petrify paired with Swiftcast, First Strike paired with HP Up, Vitality Up, MP Up, and the Phoenix summon. The Hades Armlet carries three Magnify materia, each linked with an element or healing spell: Healing + Magnify, Fire and Ice + Magnify, Lightning and Wind + Magnify, plus ATB Boost.
Chocoking's Cape fills one ATB charge at battle start. Combined with First Strike and ATB Boost, this lets Aerith cast a max-level spell from an Arcane Ward on the first turn, doubling the initial burst through the ward's echo effect.
Against bosses, open with Petrify to immobilize them early and safely build ATB for follow-up combos. Poison is only worth casting when an enemy has a weakness to it. Against enemies immune to both status effects, swap in Time materia to apply Slow, Stop, or Haste.
Weapon skills to unlock: Ward Shift Mastery, Enduring Ward, Not-So-Fleeting Familiar, and Max HP +200.
Cast one Arcane Ward before using ATB Boost to get full value from the doubled ATB charge. This only applies when Chocoking's Cape is equipped.
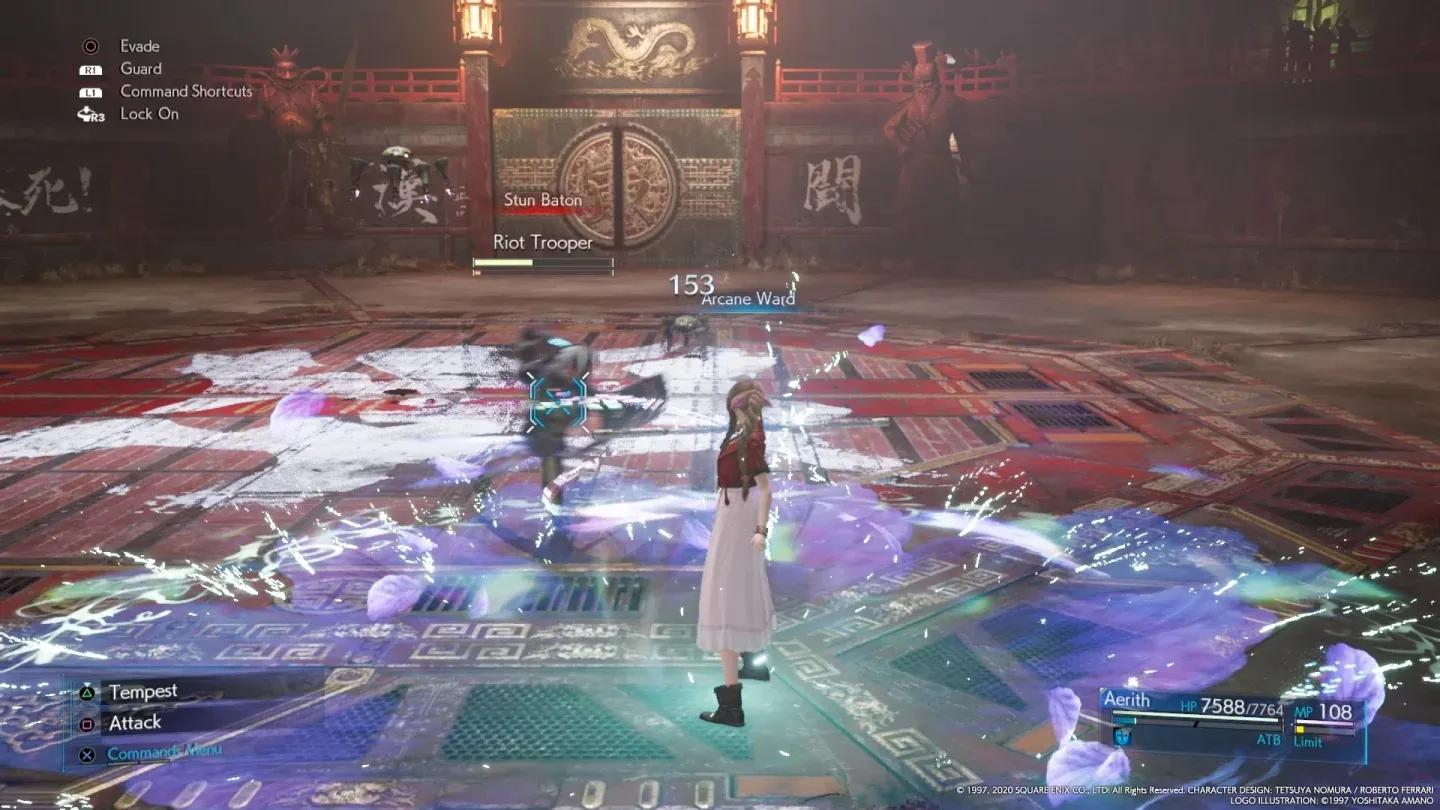
Arcane Ward burst setup
Aerith late game build (Chapter 11 onward)
Timeless Rod at Weapon Level 5 with the Enhanced Yggdrasil Armlet (6 slots). Materia: Healing + Magnify, Lightning and Wind, Time, Phoenix in the weapon; Fire and Ice + MP Absorption, Prayer + ATB Boost, First Strike + MP Up in the armlet. The Circlet accessory raises max MP by 10% and magic power by 5%. It is found in a treasure box at the Seabreeze Storehouse after Corel's Chocobo Ranch.
Magnify is the linchpin: it applies any linked spell to all enemies or all allies simultaneously. Haste from Time materia accelerates ATB charge for the whole party when cast through Magnify.
Aerith mid and early game builds
From Chapter 7, run Wizard's Rod with Abyssal Bangle. Slot Fire and Ice paired with Lightning and Wind, Empowerment + Fortification, MP Up in the weapon, and Healing + Magic Efficiency plus HP Up in the armor. The Wizard's Rod is a free purple chest near the vending machines entering Mt. Corel.
Early game, Timeless Rod with Copper Bracer handles everything through Chapter 4. Run Healing + Fire and Ice, Wind, HP Up, and MP Up. The Timeless Rod is in a purple chest to the right of Chloe's Shop at Bill's Ranch.
Tifa builds
What is Tifa's best endgame build?
Tifa's endgame setup balances constant ability spam with self-sustaining HP recovery. Járngreipr at Weapon Level 8 slots Assess + Strength Up, Steadfast Block + Precision Defense Focus, HP Up + Speed Up, and Bahamut Arisen. The Cetran Armlet carries Enemy Skill + HP Absorption, Chakra + Empowerment, Auto-Unique Ability + Auto-Weapon Ability, and Spirit Up + Luck Up.
Speed Up accelerates ATB charge, which synergizes directly with the Plasma Discharge ability from Enemy Skill. Paired with HP Absorption, every ATB gauge fill that triggers Plasma Discharge also siphons health back to Tifa.
The Karmic Cowl accessory adds 30 Vitality and Spirit while granting immunity to Slow and Instant Death, addressing Tifa's survivability in late Hard Mode fights. Weapon skills: Utterly Unbridled Strength, Critical Hit Rate +5%, Critical Hit Damage +10%, and ATB Charge Rate Up.
Tifa late game build (Chapter 11 onward)
Crystal Gloves at Weapon Level 6 enable magic damage on basic attacks and add stagger with each hit via Unfettered Fury, making Magic Attack nearly as relevant as Attack. Run Precision Defense Focus + First Strike, Chakra, Speed Up, Auto-Weapon Ability, Skill Master, and Bahamut Arisen in the weapon. The Hades Armlet holds Enemy Skill + HP Absorption, Strength Up + Steadfast Block, Time + Barrier, and ATB Stagger. Use Full Throttle Wristguards for 10% Strength and 500 max HP.
The key timing trick: keep Unfettered Fury active while building the Stagger gauge, then switch to Unbridled Strength the moment the gauge fills. Unfettered Fury raises stagger damage but increases the multiplier less than Unbridled Strength, so the switch at the right moment maximizes total burst damage.
Mind Blast from Enemy Skill fills enemy Stagger gauges quickly but can only be used once per battle. Save it for when you need a fast stagger on a difficult target.
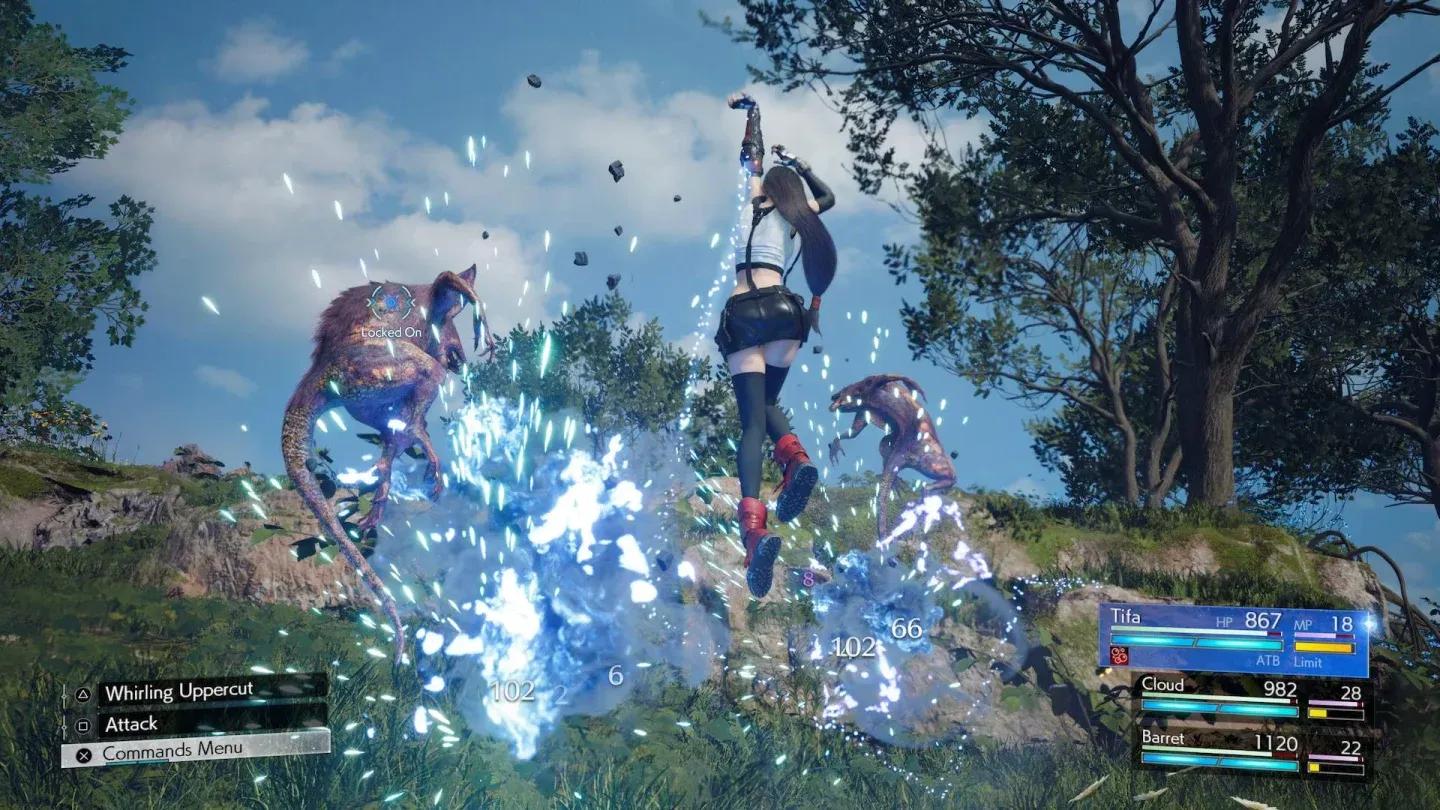
Tifa's stagger ability tree
Tifa mid and early game builds
From Chapter 7, Kaiser Knuckles with Gold Coral Armlet shifts Tifa to a full physical build. Slot HP Up + Enemy Skill, Chakra + Assess in the weapon, and Precision Defense Focus, First Strike, Steadfast Block, ATB Stagger in the armor. The Aureate Pinion adds 10 Speed.
Early game, Sylph Gloves with Hunter's Bangle covers both physical and elemental needs. Run Chakra, Fire and Ice, Precision Defense Focus in the weapon, and Lightning, HP Up in the armor. The Reverse Gale ability from Sylph Gloves handles wind-weak enemies.
Red XIII builds
What is Red XIII's best endgame build?
Red XIII's Hard Mode build prioritizes survivability to fuel his Vengeance Gauge. More hits absorbed means more Vengeance charges, and more Vengeance means harder ability hits. Golden Collar at Weapon Level 8 carries Healing + Auto-Cast, Vitality Up + Spirit Up, Precision Defense Focus, Darkside, and Alexander. The Celestial Bangle holds Barrier + Magic Focus, Provoke, Auto-Weapon Ability, HP Up, and Steadfast Block.
Combat flow: cast Chilling Roar for additional Vengeance Gauge buildup when Red takes hits, then activate Darkside to amplify Sidewinder, Crescent Claw, and other attack abilities. Health lost to Darkside and tanking can be recovered through Cure, Siphon Fang, and the Lv1 Limit Break Bloody Fang.
Gi Warrior's Charm increases Limit gauge fill rate by 10%, enabling frequent Limit Break use. Options include Bloody Fang for HP and MP recovery, Howling Moon to trigger a longer Vengeance Mode instantly, or Wrath of the Land for maximum damage output.
Weapon skills: Vengeance Gauge Charge Rate Up, Invigorating Vengeance, Opening ATB Bonus, Max HP +200.
Unlock Retaliation in Red's Folio for a stronger counterattack than Sentinel Stance. Use it only when the Vengeance Gauge is nearly depleted, since activating it ends Vengeance Mode immediately.
Red XIII late and mid game builds
From Chapter 11, Golden Collar at Weapon Level 5 with Garm Bangle works well. Slot Fire and Ice + Elemental, Steadfast Block, Speed Up, HP Up, and Bahamut Arisen in the weapon; Empowerment + Magic Efficiency, Auto-Weapon Ability + Auto-Unique Ability, and Darkside in the armor.
From Chapter 7, Renegade's Collar with Abyssal Bangle focuses on Vengeance buildup. Key materia: Poison, Ice, HP Up, Precision Defense Focus in the weapon, and HP Absorption + Enemy Skill plus Steadfast Block in the armor. HP Absorption and Enemy Skill pair to restore health on every Enemy Skill use.
Barret builds
What is Barret's best endgame build?
Barret's Hard Mode role is tank-support. Battle Cry at Weapon Level 8 holds HP Up + MP Up, ATB Assist + Skill Master, Precision Defense Focus, Steadfast Block, and Alexander. The Cetran Bracer carries First Strike + ATB Stagger, Prayer + Chakra, Reraise + Healing, and Vitality Up + Spirit Up.
Whistlewind Scarf slightly fills ATB at battle start, letting Barret use Turbulent Spirit immediately to accelerate ATB charge. ATB Assist and ATB Stagger then help the whole team build materia AP faster. Barret's lower MP ceiling makes Prayer, which costs 2 ATB instead of MP, the preferred party heal.
With Lifesaver and Steelskin active alongside Provoke, Barret redirects large amounts of incoming damage away from squishier party members. This makes him especially effective as an AI-controlled damage soak when you are actively controlling Yuffie or another character. Weapon skills: Opening ATB Bonus, ATB Charge Rate Up, Weapon Ability ATB Recovery, Massive Recharge.
Barret late and mid game builds
From Chapter 11, Calamitous Bazooka at Weapon Level 5 with Celestial Bangle handles the support tank role. Key materia: Auto-Unique Ability, Auto-Weapon Ability, Steadfast Block, Provoke, HP Up, ATB Stagger, Alexander in the weapon; Barrier + Magic Efficiency, Vitality Up, Synergy Support, ATB Boost, Prayer in the armor.
From Chapter 7, the Gatling Gun with Abyssal Bangle is the mid game standard. Elemental paired with Lightning gives Barret's ranged attacks elemental properties, exploiting enemy weaknesses to boost both damage and stagger buildup. Elemental materia is obtained by completing Junon Battle Intel: Conqueror of the Skies.
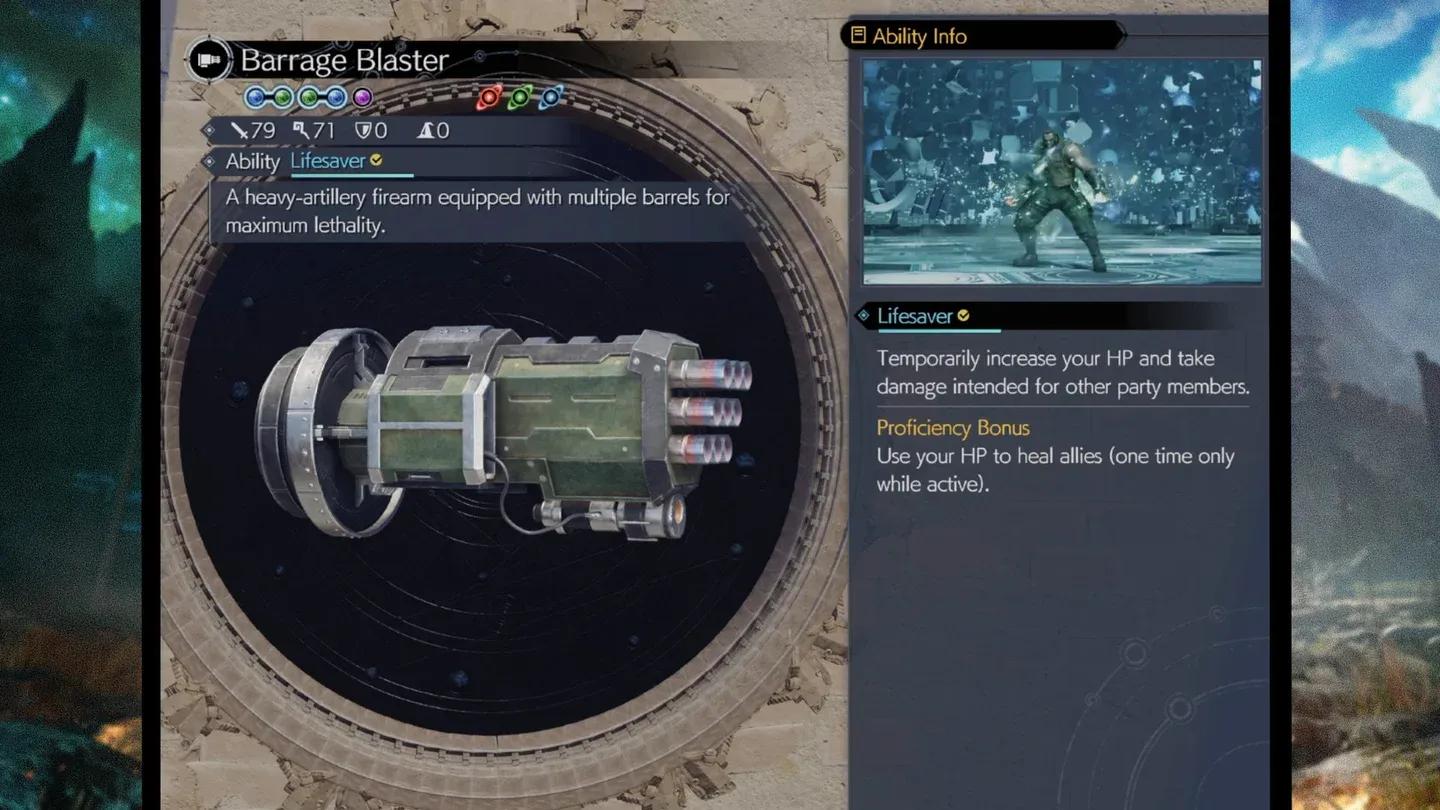
Barret's Hard Mode weapon slots
Yuffie builds
What is Yuffie's best endgame build?
Yuffie's endgame build maximizes Magic Attack to amplify Ninjutsu and Banishment damage. Crescent Sickle at Weapon Level 8 holds Empowerment + Magic Efficiency, Subversion + Warding, ATB Assist, Luck Up, and Bahamut Arisen. The Cetran Bracer carries Time + Magic Focus, ATB Stagger + Skill Master, First Strike + Speed Up, and Prayer + Assess.
Combat flow: cast Haste on Yuffie at battle start, activate Doppelganger, match the enemy's weakness with Ninjutsu, then spam ATB commands to charge Banishment to maximum. ATB Assist triggers by repeating the same ATB command twice, which Yuffie can do efficiently with Blindside, Windstorm, and Art of War.
The Corsair's Compass accessory partitions the ATB gauge into 3 segments after using 5 types of commands, enabling Storm's Fury, Yuffie's ultimate ability from the Folio tree. Two reliable combos to trigger it:
- Haste → Doppelganger → Ninjutsu → Shooting Star → Blindside, then Storm's Fury → Banishment III
- Art of War → Shooting Star → Windstorm → Blindside (spam until Banishment maxes) → Banishment III
Weapon skills: ATB Charge Rate Up, Opening ATB Bonus, Synergy Damage Up, Limit Break Damage +10%.
Yuffie late and starter builds
From Chapter 11, Crystalline Cross at Weapon Level 7 with Valkyrian Bangle shifts to a physical-leaning hybrid. Run Healing + Magnify, ATB Assist, HP Up, MP Up, Luck Up, and Alexander in the weapon; Subversion + Warding, Auto-Weapon Ability + Prayer, First Strike + Item Economizer in the armor. Use Art of War twice in each combo to boost subsequent attacks and trigger ATB Assist.
Yuffie joins at the end of Chapter 6. Immediately swap her 4-Point Shuriken for Savage Dagger to gain a Magic stat boost while mastering the weapon ability. Run Healing + Empowerment in the weapon and Precision Defense Focus + Steadfast Block plus ATB Stagger in the Oldebeast Bracelet.
Cait Sith builds
What is Cait Sith's best endgame build?
Cait Sith's endgame build is built entirely around spamming Limit Breaks. Gjallarhorn holds Elemental + Lightning and Wind, First Strike + Limit Siphon, Steadfast Block + Chakra, and Kujata. The Valkyrian Bangle carries HP Up + MP Up, Warding + Poison and Petrify, and Luck Up + Skill Master.
Gotterdammerung fills the Limit gauge at battle start. First Strike and Skill Master paired with the Opening ATB Bonus weapon skill let Cait use Let's Ride immediately and fire off a Limit Break on turn one. Then use Limit Siphon to pull Limit gauge charges from allies, and with the ATB Limit weapon skill, a second Limit Break follows quickly.
Between Limit Breaks, cast Moogle Magic or Lightning and Wind spells to hit elemental weaknesses. The Moogle Magic ability from the Crystal Megaphone is required to access Kujata's elemental abilities, Blazing Horn and Chilling Horn.
Weapon skills: Opening ATB Bonus, Lucky Jockey, ATB Limit.
Cait Sith late game build
From Chapter 11, Crystal Megaphone at Weapon Level 5 with Valkyrian Bangle focuses on ATB support for the team. Slot First Strike, ATB Stagger, HP Up, Precision Defense Focus, Steadfast Block, and Odin in the weapon; ATB Boost + Level Boost, Luck Up + AP Up, Assess, and ATB Assist in the armor. Spam Roll o' the Dice or Fortune Telling repeatedly to trigger ATB Assist for allies.
These builds are tuned for each character as the active party lead. Gear like the Cetran Bracer, Valkyrian Bangle, and Gotterdammerung appears in multiple builds because they are the strongest pieces in the game, but only one character can equip each piece at a time. Prioritize based on who you play most.
Materia pairing in armor slots
For more strategies across every system in the game, the full Final Fantasy VII Rebirth guide collection covers everything from boss fights to world intel. If you are exploring the broader JRPG games genre, FF7 Rebirth sets a high bar for build depth and party customization that is worth understanding thoroughly before tackling Hard Mode.