
Gothic 1 Remake drops you into the Colony as a nameless prisoner with no gear, no map, and no idea where to go. Enemies don't scale to your level, quest markers don't exist, and the first wolf you meet will probably kill you. That's not a bug. That's Gothic. The good news is that once you understand the systems, the opening hours click into place and the game becomes genuinely rewarding. This guide covers everything you need to know to stop dying and start making progress.
What makes Gothic 1 Remake different from modern RPGs?
Most rpg games today guide you with objective markers, scaled enemies, and waypoints for every quest. Gothic 1 Remake does none of that. The world exists independently of your character's power level, which means wandering into the wrong area at level 2 ends exactly how you'd expect.
The flip side is that every bit of progress feels earned. When you finally take down a wolf that wiped you three times earlier, it lands differently than a scripted difficulty spike in a modern open-world game. The colony is harsh by design, and respecting that design is the first skill to develop.
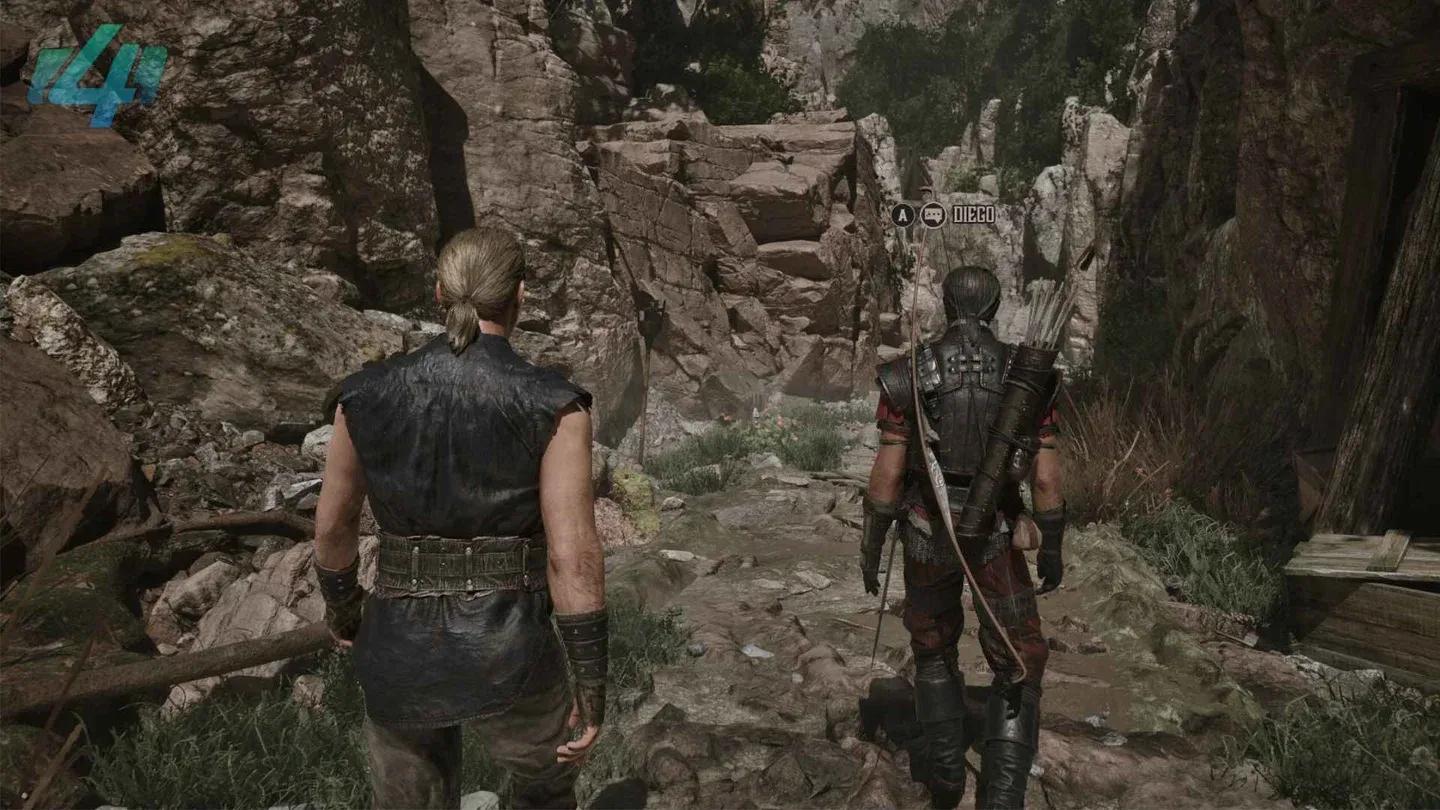
Follow Diego to stay safe
How do you survive the opening minutes?
Follow Diego, then explore the Exchange Zone
After arriving in the Colony, you meet Diego. Talk to him thoroughly before moving anywhere. He'll escort you toward the Old Camp, and his presence keeps you alive through sections you can't handle solo yet.
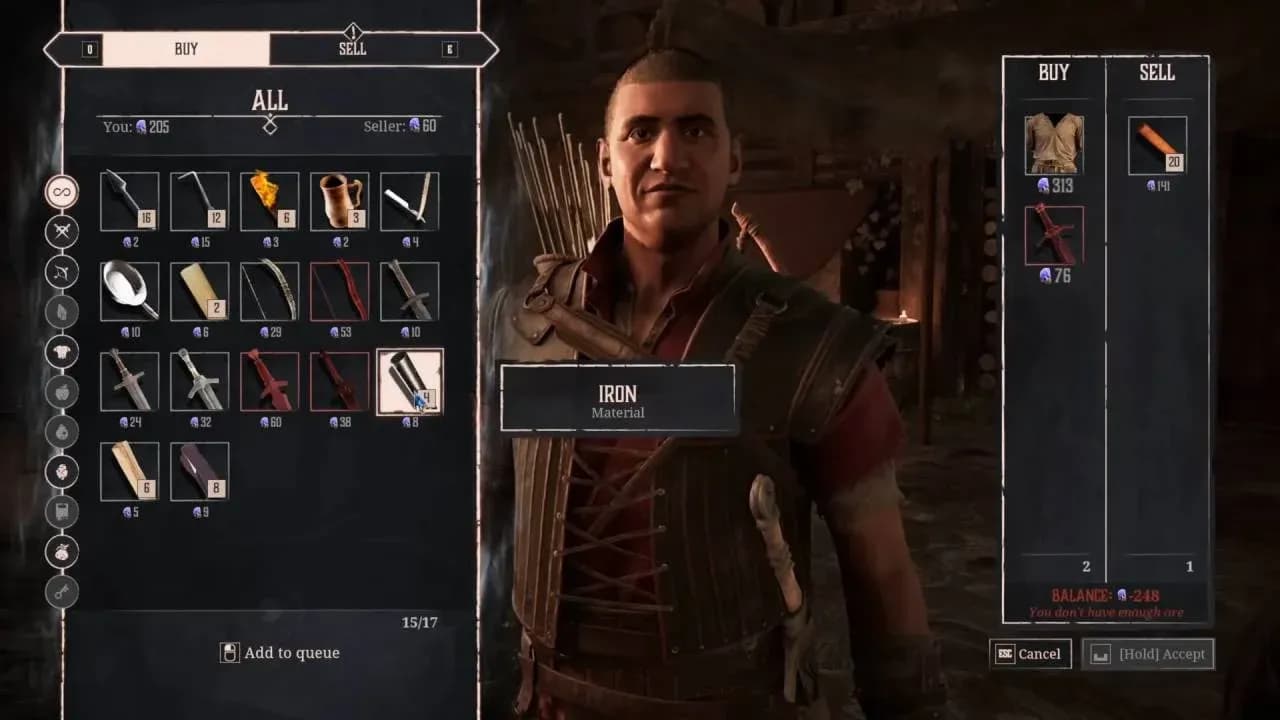
Before following the road down, detour to the small wooden structure near the landing point. This is the Exchange Zone, a trading post where supplies from outside the barrier get sorted. You can pick up a piece of Ore here along with a few other items. Pay attention to item text colors: tan means you can take it freely, red means it belongs to someone and grabbing it counts as theft if you're caught.
Find your first weapons early
Ore is the colony's currency, so don't spend it on weapons when you can find them for free. Here's where to look:
- Pickaxe: Inside the mine entrance just past the gate with guards. It's an awkward weapon but better than nothing.
- Rusty Sword: On the far side of the bridge near the first Molerat. Save before approaching because the Molerat will aggro when you go for it. You can fight it or grab the sword and run, but equipping items requires opening your inventory and time doesn't pause, so create distance first.
- Second Rusty Sword: In the Old Camp arena, through the metal gate on the right side of the corridor.
- Guard's Sword: Lure beasts or orcs toward guards near the ruined tower. When a guard falls, pick up his weapon. This tactic works anywhere guards patrol outside the camp.
Good armor is harder to source early. Joining a faction is the most reliable path since each camp provides its own gear. Alternatively, digger's clothing can be found at the Free Mine behind the New Camp.
Rusty sword near the bridge
How does the Old Camp work for new players?
Once you reach the Old Camp, stay there and work through the available tasks before venturing out. Talk to everyone. Snaf the cook sends you to find recipe ingredients, which is an easy first quest. Whistler asks you to buy a weapon from Fisk, another low-stakes task that gets you familiar with the camp layout.
Speak with Thorus at the castle entrance and push him for a job. He won't hand one over immediately, but persistence pays off. After that, talk to Diego again to learn about getting accepted into the Old Camp, at which point he becomes available as a Strength and Dexterity trainer. Then find Fingers near the arena to learn about theft and lockpicking.
Get a map as soon as possible
With no mini-map or quest markers, a physical map is one of the most valuable early items in the game. Dexter and Graham in the Old Camp both sell one for 28 Ore. You can get Graham's for free by first talking to Diego about the Test of Faith (which sends you to the Old Mine), then returning to Graham and threatening him until he hands it over.
Get Graham's map for free
Which trainers should you prioritize?
Gothic 1 Remake has no class system. You build your character entirely through trainer interactions, spending Learning Points earned at level-up. Each level gives you 10 Learning Points. The catch: you can't spend them in a menu. You have to find trainers in the world and pay them directly.
Here are the trainers you can access early:
Drax is worth unlocking immediately. He's standing on the road between the starting area and the Old Camp, and all it costs to access his training is one Beer (which you can find in an unlocked chest near the Exchange Zone). He still charges Ore per skill, but getting him unlocked costs nothing beyond that single item.
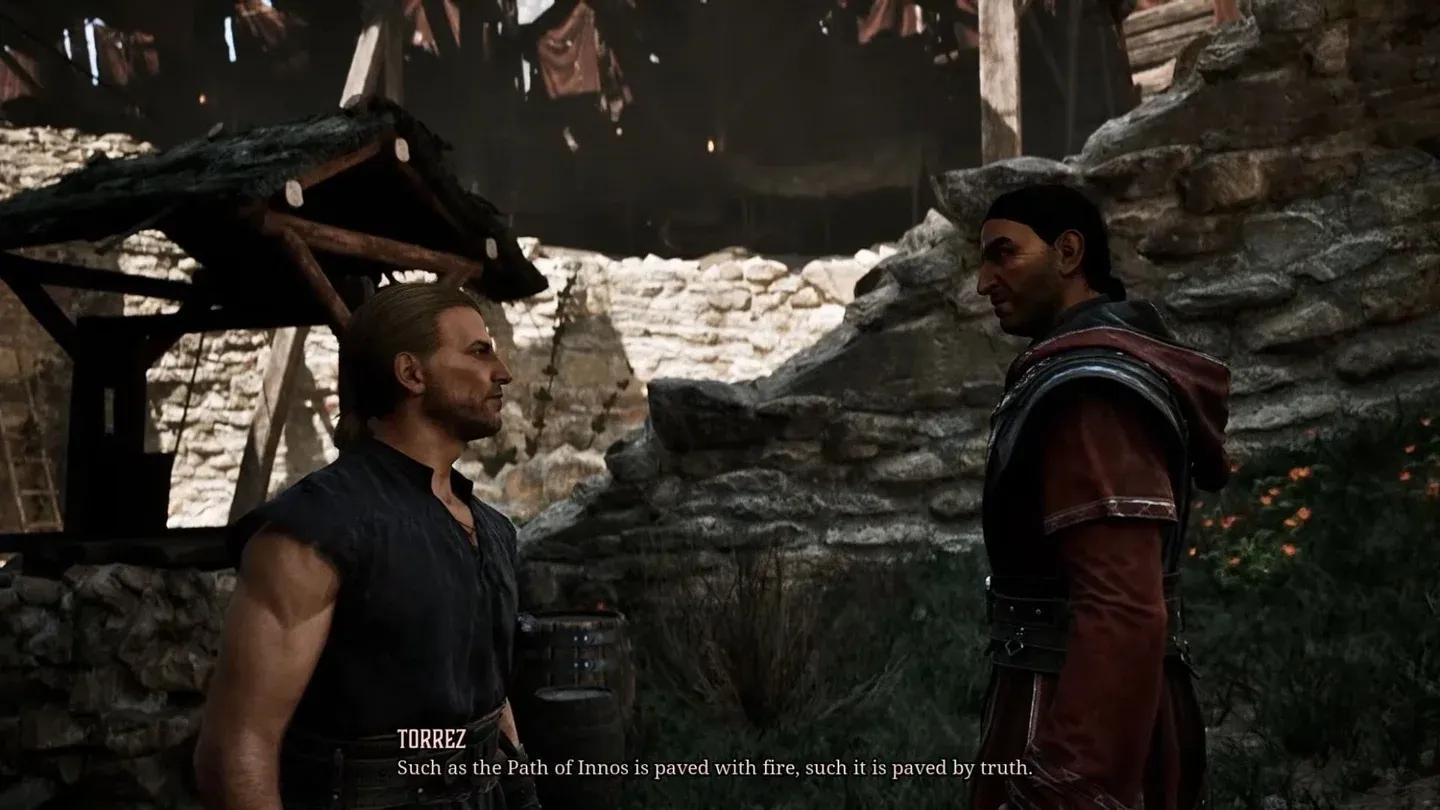
For magic, Torrez in the Old Camp won't train you until you complete "The Price of Magic." That quest requires a Blank Parchment (buy from Graham) and two Wolf Claws from a killed wolf. Wolves are dangerous early on, so consider buying a bow and arrows to handle them at range.
What enemies should you fight first?
Not every creature in the Colony is appropriate for your current level, and the game won't warn you. After testing the early enemy spread, here's a practical breakdown:
- Meatbugs: Completely defenseless. Kill them for meat, which is one of the few early healing sources.
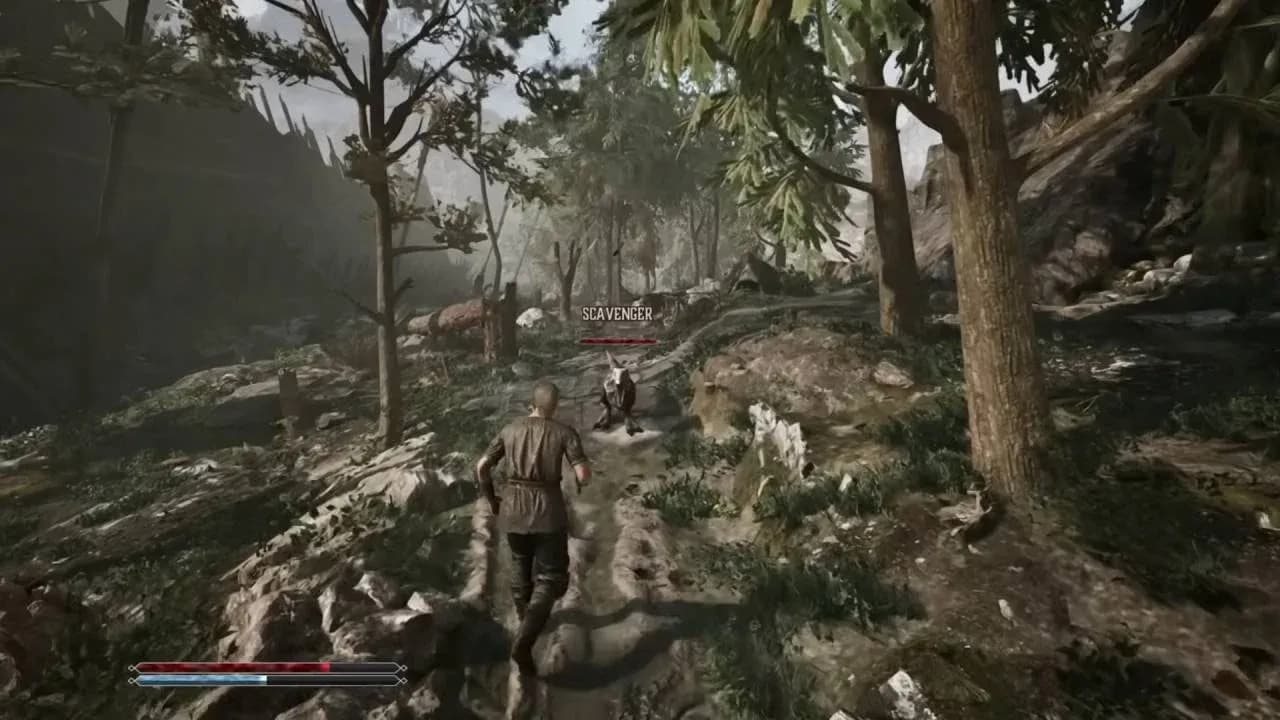
- Junior Scavengers: Manageable with basic weapons. Fight them for XP and meat.
- Molerats: Tougher but beatable with patience. The one near the bridge is a good practice target.
- Wolves: Dangerous. Only engage once you have better gear and some combat training.
- Bloodflies: Avoid swarms entirely until you're significantly stronger.
The single most important combat habit to build early is pulling enemies individually. Groups will kill you. One enemy at a time is survivable.
Combat itself has four directional attack inputs tied to different directions: left, right, up, and down. Early on, timing and dodging matter more than input selection. Dodging appears to have invincibility frames if timed correctly. Blocking reduces damage but doesn't eliminate it entirely.
Practice combat on molerats first
How do you heal in Gothic 1 Remake?
Healing options are limited:
- Food and potions: Consume them directly from your inventory to restore health.
- Healers: Once you find one in the colony, you can pay them to restore health.
Sleeping in your hut advances time and restores Mana, but the relationship with health restoration from sleep appears inconsistent based on conditions. Don't rely on it as your primary healing method. Keep food in your inventory at all times. Wild Berries grow along the road from the starting area, and Meatbug and Scavenger meat drops regularly from early enemies.
Understanding the three factions before you commit
You don't need to choose a faction immediately, and you shouldn't. Visit all three camps first.
- Old Camp: The most organized faction. Politically dominant, resource-rich, and the easiest starting point for new players due to its structure.
- New Camp: Rebellious and independent, with alternative questlines and a different perspective on life inside the barrier.
- Swamp Camp (Brotherhood): A religious faction focused on spiritual and magical practices. Appeals to players who want a magic-heavy playstyle.
Each camp provides its own armor, trainers, and quest paths. Your faction choice locks certain options, so making it with full information is worth the extra time spent exploring.
NPCs like Mordrag (near the south gate, after receiving Thorus' task) and Baal Parvez (at the marketplace) can escort you to the other camps safely. Use them. The XP from enemies they kill during travel still goes to you.
Using the glossary and logbook effectively
The in-game menu contains a glossary that functions like a manual. It records NPCs, explains mechanics, and catalogs wildlife. You can filter NPCs by camp or trainer status, which makes tracking down specific training opportunities much faster than wandering aimlessly.
All quests log automatically. The list view shows objectives more clearly than the journal format, though both are available. Take your own notes regardless. Conversations contain directions and hints that the logbook doesn't always capture in full detail.
Failed quests won't permanently block progress, but careless decisions can make certain paths harder. Some faction choices prevent specific quest completions. Think before committing.
For more walkthroughs, faction guides, and advanced tips, the Gothic 1 Remake strategy guides collection covers everything from lockpicking to mount taming as you progress through the Colony.