
Getting started in Gothic 1 Remake without dying constantly
Gothic 1 Remake does not ease you in gently. You get thrown through a magical barrier, land in hostile territory, and immediately face enemies that can kill you in one or two hits on the default Gothic difficulty. The game expects you to learn fast, save often, and respect every encounter until you've built up your character through leveling and skill training. This guide covers everything you need to survive the opening hours: your core stats, how combat actually works, where to find skill trainers, and a step-by-step path to the Old Camp.
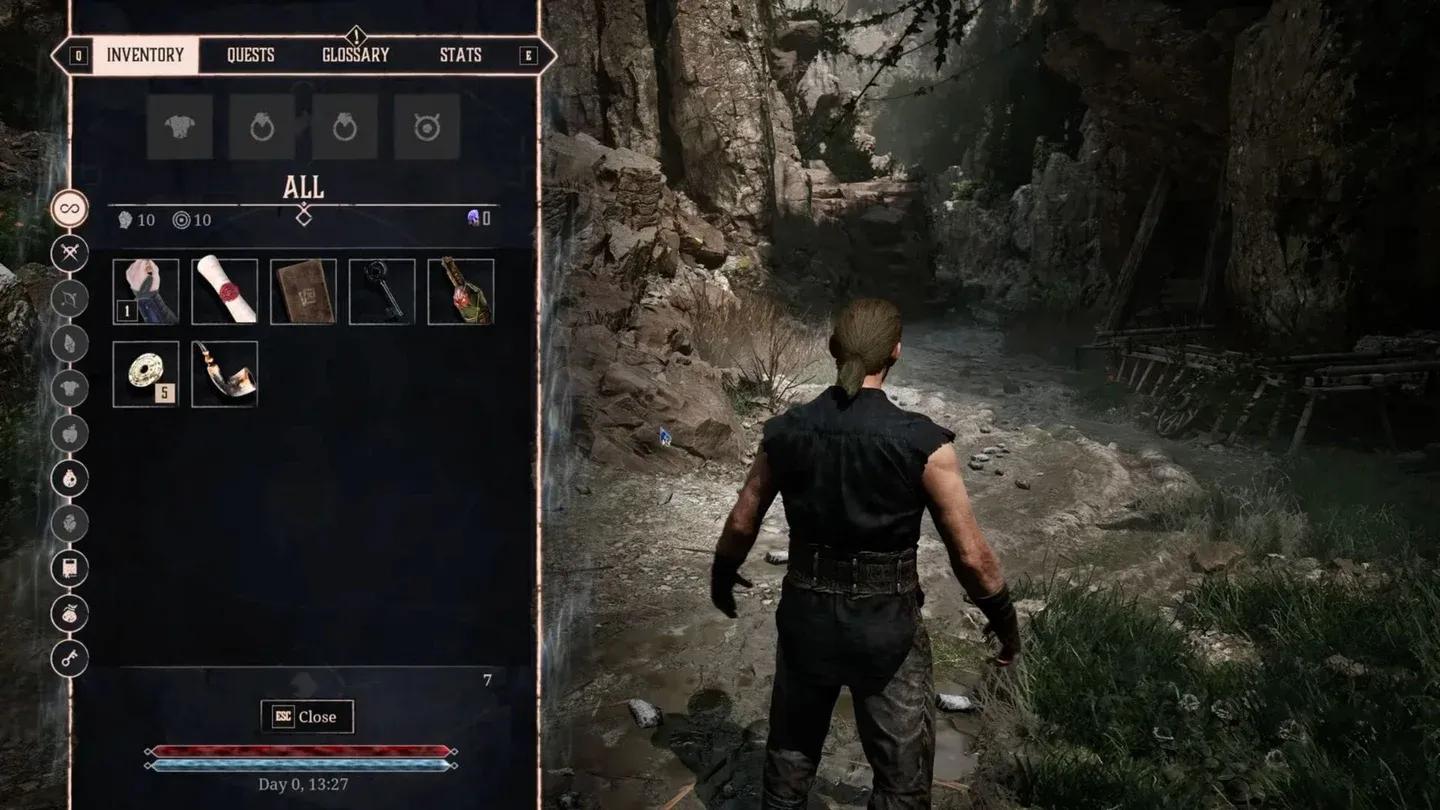
Core stats at game start
What do your core stats actually do?
Before you touch a single enemy, open the Stats page in the menu and understand what you're working with. There are four core stats at the start:
- Health: Your life total. Reaches 0 and you're dead. Every level-up increases this.
- Mana: Powers your spells. Mana does not regenerate from eating or potions; you recover it by resting after enough time has passed. You also can't cast spells at all until you complete a specific quest for Torrez in the Old Camp.
- Strength: Determines melee damage output and sets the minimum requirement for equipping most melee weapons.
- Dexterity: Tied to ranged combat effectiveness and pickpocketing success rates.
As you train skills with various trainers throughout the world, your skill ranks appear on this same page alongside your core stats.
How does combat work in Gothic 1 Remake?
Combat has a steep learning curve, and the game makes no apologies for it. Unlike most action RPGs, attacks are split across four directional inputs: left, right, up, and down. In the early game, the direction you choose matters less than your timing. Dodging and blocking are your survival tools.
Blocking does not fully negate incoming damage; it only reduces it significantly. Dodging, timed correctly, appears to grant brief invincibility frames that let you avoid damage entirely. Practice this distinction early, because enemies hit hard.
Later in the game, the directional inputs become the foundation for executing combos. Getting comfortable with them now pays off later.
One important distinction between enemy types: hostile creatures die when downed, but human enemies enter a "downed" state and will eventually get back up to flee or resume fighting. You can loot downed humans, but if you're fighting multiple opponents, finishing them off prevents a dangerous situation from restarting.
Ranged attacks and magic work as you'd expect once you have access to them: aim and fire. Neither is available at the very start of the game.
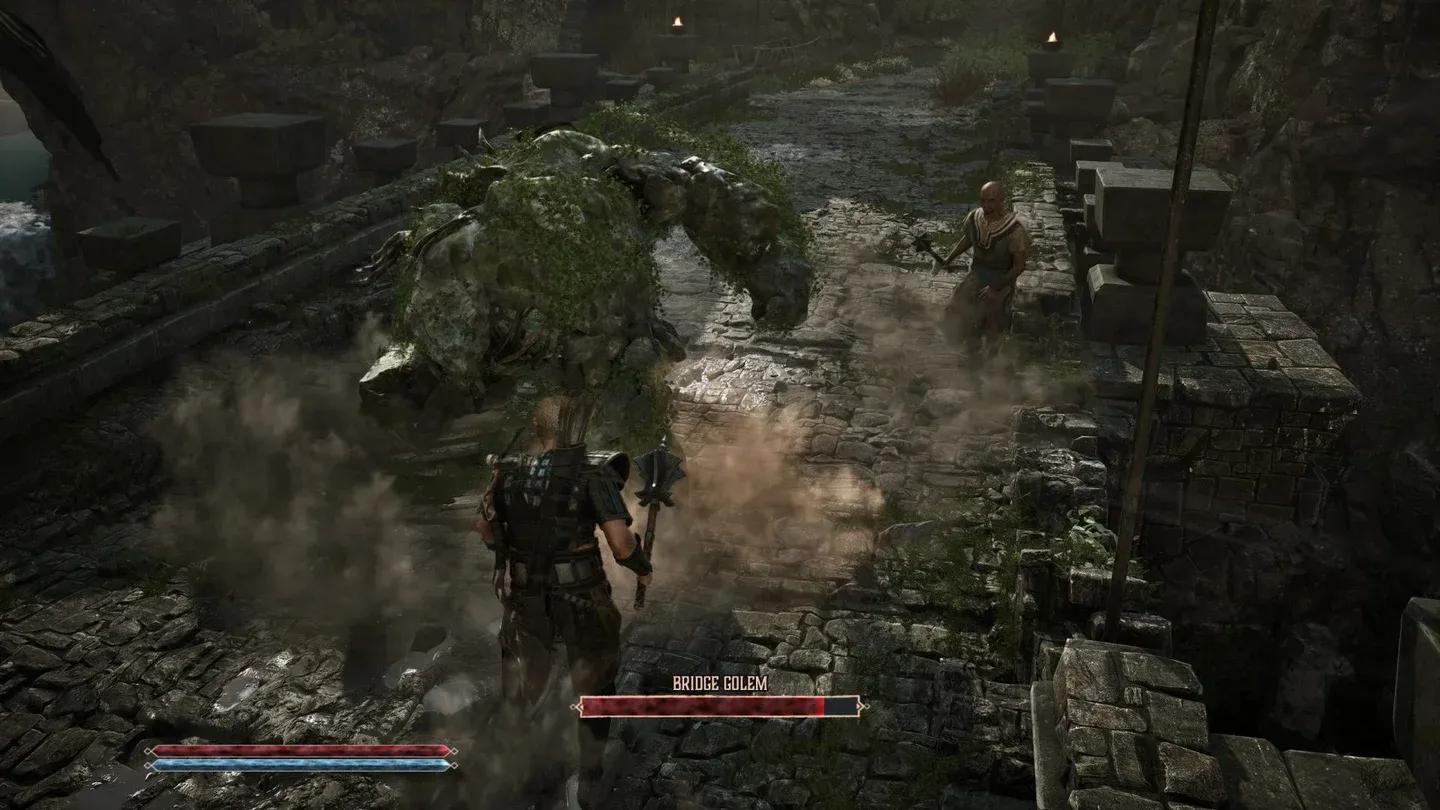
The Molerat bridge encounter
Why saving constantly is non-negotiable
The autosave system in Gothic 1 Remake is not frequent enough to protect you from the game's two biggest threats: bad combat luck and poor dialogue choices. A conversation that goes wrong can start a fight you have absolutely no chance of winning. A moment of overconfidence against an enemy can erase significant progress.
Save manually before every fight you haven't done before. Save before interacting with NPCs you haven't spoken to yet. Save before attempting any theft. The game flags items belonging to others in red text; touching them counts as a crime if someone sees you, and the consequences can spiral quickly.
How do you heal in Gothic 1 Remake?
There are two reliable ways to restore Health:
- Eat food or drink a potion.
- Pay a healer once you locate one.
Sleeping in a bed advances time and restores Mana but does not restore Health in the same way food and potions do. Collect every piece of food you find in the early game: Wild Berries, Meatbug meat, and Apples all count. They're your primary healing resource before you can afford potions.
How do skill trainers work?
Leveling up by killing enemies and completing quests earns you XP. Each level-up increases your Health and grants 10 Learning Points. Those Learning Points are the currency you spend at skill trainers to unlock or improve abilities.
Not every trainer will work with you immediately. Some require quest completion first. Others want payment in Ore (the game's currency) on top of your Learning Points. A few want specific items. Here's a breakdown of the trainers you'll encounter earliest:
Diego is the most accessible early trainer. Once he returns to the Old Camp, he'll trade Learning Points directly for Strength or Dexterity increases: 1 LP for +1 to a stat, or 5 LP for +5.
Drax is on the road before you even reach the Old Camp. Hand him a Beer (there's one in an unlocked chest near the Exchange Zone at the start) and he'll unlock hunting training. He still charges Ore for each skill: Remove Claws costs 150 Ore, Remove Teeth costs 175 Ore, and Remove Fur and Skin Reptiles both cost 250 Ore each. These let you extract valuable materials from wildlife to sell.
Torrez handles magic and requires you to complete "The Price of Magic" first. You'll need a Blank Parchment (buy it from Graham, the mapmaker) and two Wolf Claws from a killed wolf. If your melee skills aren't strong yet, buying a bow and arrows to kill the wolf from range is a reasonable approach. Once the quest is done, Torrez unlocks Rune Magic for 5 LP and lets you choose between a Firebolt spell and a Healing spell. He also starts selling magical items.
Torrez unlocks rune magic
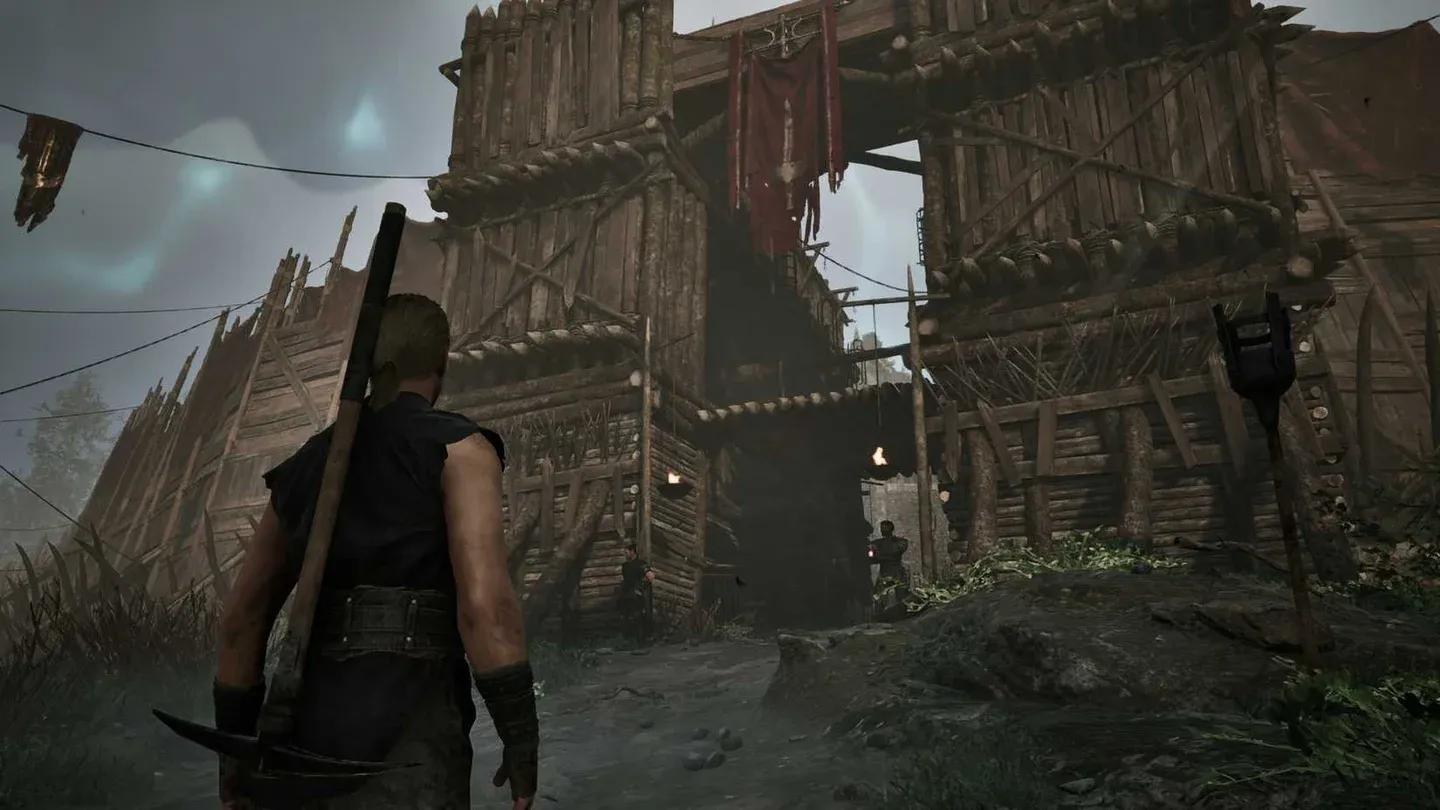
The road to the Old Camp: step by step
Starting area and the Exchange Zone
After landing in the Colony and meeting Diego, resist the urge to follow him immediately. The small wooden structure nearby is the Exchange Zone, a trading post where incoming goods get sorted. You'll find a piece of Ore here, a Beer on the ground, and a Pipe in the outhouse.
Pay attention to item text colors. Tan-colored items are free to take. Red-colored items belong to someone and stealing them is a crime if witnessed. The Beer you need for Drax is in an unlocked chest on the road, so you don't need to steal anything to get it.
Down the road and into the wilderness
Head down the road Diego used. Explore the sides of the path; two Wild Berries sit on the grass to the left near the start. A short distance ahead, you'll encounter Meatbugs. These are completely defenseless and their meat is free early-game healing. Kill them.
Climb the ladder at the gate and speak with Orry for information about what's ahead. There's an Apple on the upper deck you can safely take. Continue forward to find a chest with loot, then enter the nearby mine entrance to pick up a Pickaxe. It's an awkward weapon, but it's better than fighting bare-handed.
The fork and the high ground detour
At the fork in the road, take the left path to the high ground before heading to the Old Camp. This detour leads to a bridge and another mine entrance containing a Torch and a second Pickaxe. The second Pickaxe has no combat value over the first, but you can sell it for Ore later.
At the bridge, save your game. The Rusty Sword sticking out of the ground is guarded by a Molerat, and you cannot grab it without drawing its attention. Your two options are fighting the Molerat with your Pickaxe, or grabbing the sword and running far enough away to equip it before it catches you. Remember: the inventory stays open in real time, so the Molerat will keep attacking while you're switching weapons.
Use this Molerat fight as a training exercise. Reload as many times as needed until you can kill it without taking damage. That habit will save you repeatedly throughout the game.
After the fight, check the cliff to the left of the bridge for a Widow's Veil plant, and look under the right side of the bridge for two Hellcap mushrooms.
Inventory stays open in real time
The clearing and Junior Scavengers
Continue down the road to a clearing. Ore Nuggets sit in the cart on the left. On the right, there's a Club and some Arrows near a Junior Scavenger. Save, fight, kill it for meat. Another Junior Scavenger waits just ahead; kill that one too.
Do not assume the adult versions of these enemies are equally manageable. They are significantly tougher than the juveniles.
Meeting Drax and Ratford
At the bottom of the descent, you'll find Ratford and Drax, identified by their blue scarves. Talk to both. Drax is your first skill trainer opportunity; give him the Beer to unlock his hunting training even if you can't buy anything from him yet.
If you get overwhelmed by enemies near this area, run back to Ratford and Drax. They're competent fighters and will kill enemies for you. You won't get the XP, but you can still loot the bodies freely. The same tactic works with Guards and other allied NPCs throughout the game.
From here, the road splits again. The left path goes directly to the Old Camp and is the safer route. The right path runs through several dangerous enemies. Take the left path on your first run through.
For more strategies on skills, combat, and the full Colony, browse the Gothic 1 Remake strategy guides collection. If you're looking for more RPG games with similar depth and challenge, the genre page has plenty of options worth your time.