
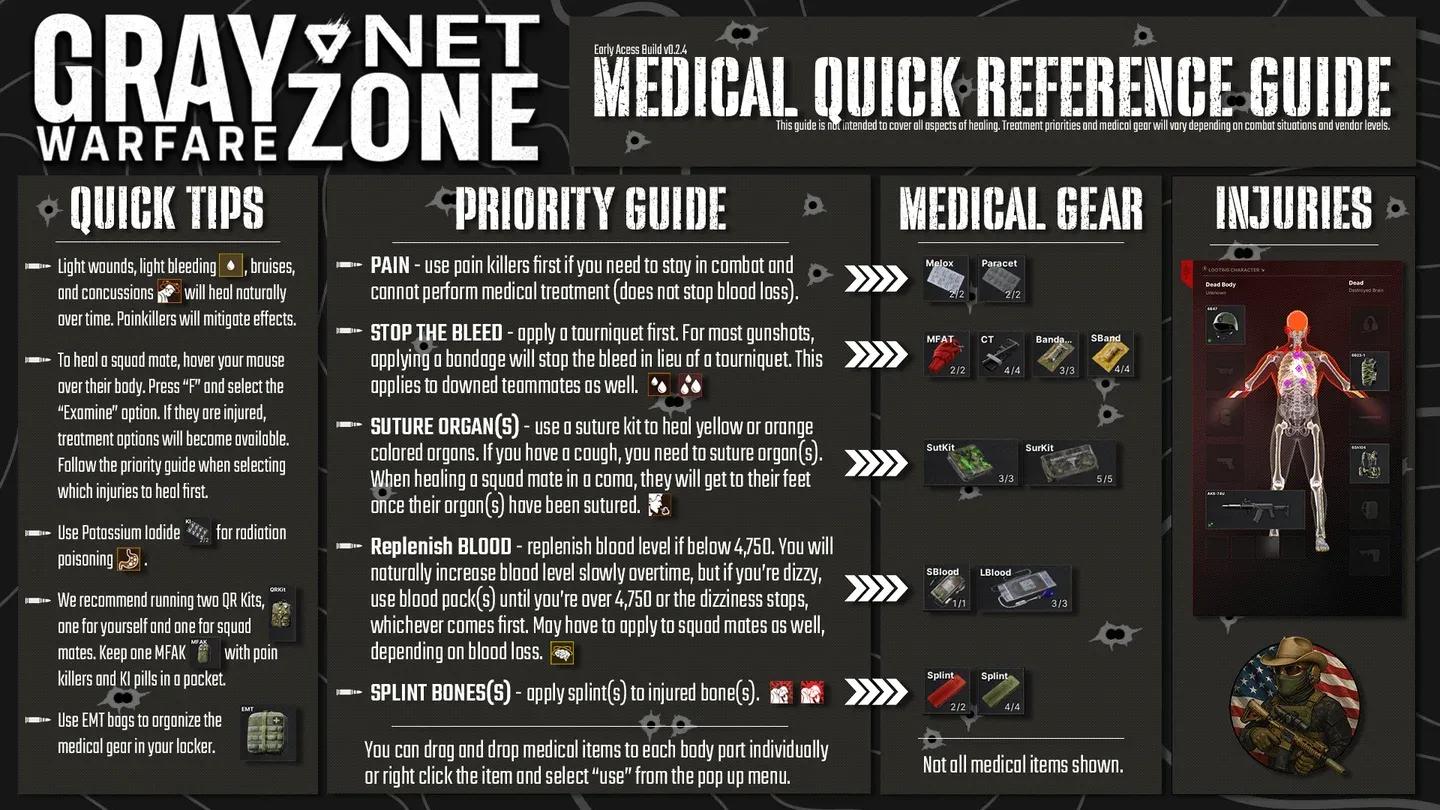
Lamang does not forgive careless players, and nowhere is that more obvious than in the medical system. Unlike shooters where a single medkit wipes the slate clean, Gray Zone Warfare tracks blood volume, organ integrity, and bone fractures independently. A heavy bleed left untreated for ten seconds can drop you into a coma before you even find cover. Understanding exactly what each injury icon means and which item fixes it is the difference between extracting with loot and respawning empty-handed.
What does the health UI actually tell you?
Press Tab and navigate to the health tab to pull up a detailed anatomical diagram of your operator. Every body part is tracked individually, and the icons overlaid on each region tell you exactly what is wrong.
Three core metrics govern your survival:
- Blood Volume: Measured in liters. A healthy operator sits between 5.0L and 6.0L. Drop below approximately 2.0L and your character enters a coma, screen going black-and-white and nearly unusable.
- Hydration: Depletion causes dizziness and stamina penalties. Water, sodas, and energy drinks keep this topped off.
- Energy: Low energy causes exhaustion during long map traversals. MREs, canned food, and snacks are your solution.
Blood does regenerate naturally, but the rate is slow enough to be almost irrelevant mid-raid. Natural recovery can take upward of 10 to 15 real-time minutes to meaningfully restore blood volume, and that figure depends on your hydration and energy levels being healthy. If you are sitting in the "Miserable" state with a blurry, desaturated screen, a blood bag is the only practical fix.
Health tab injury overview
What medical items should you always carry?
Items placed in slots marked with a lightning bolt icon on your rig or pockets can be triggered via hotkey (hold H by default). This is not optional knowledge. If a heavy bleed hits mid-engagement and your tourniquet is buried in your backpack, you will not survive long enough to dig it out.
The Surgery Kit comes in two variants: the "Suck Kit" with 3 uses and the "Sur Kit" with 5 uses. For longer raids where you expect multiple non-lethal chest hits, the 5-use Sur Kit is worth the extra cost. Keep it in your Secure Container so it survives even a full gear wipe.
Medical hotkey slot setup
How do you treat each injury type?
Multiple injuries can stack simultaneously after a firefight, and treating them in the wrong order wastes precious seconds. Follow this priority sequence.
Bleeding: the immediate threat
Bleeding is shown as blood drop icons on the UI.
- Light bleeds (one drop): These drain blood slowly. You can usually finish a short engagement before needing a bandage, but do not ignore them for long.
- Heavy bleeds (two or more drops): These are lethal within seconds. Apply a Tourniquet to the affected limb immediately. Nothing else stops the drain fast enough.
Fractures: movement and accuracy penalties
Yellow bone icons indicate a fracture. A broken leg kills your sprint speed and movement, while a broken arm introduces severe weapon sway that makes landing shots at any real distance nearly impossible. A Splint fully restores functionality to the affected limb.
Organ damage: the silent killer
Yellow or orange icons in the torso region mean organ damage. The most noticeable symptom is persistent coughing, which audibly signals your position to nearby enemies. Only a Surgery Kit repairs organ damage. No other item touches it.
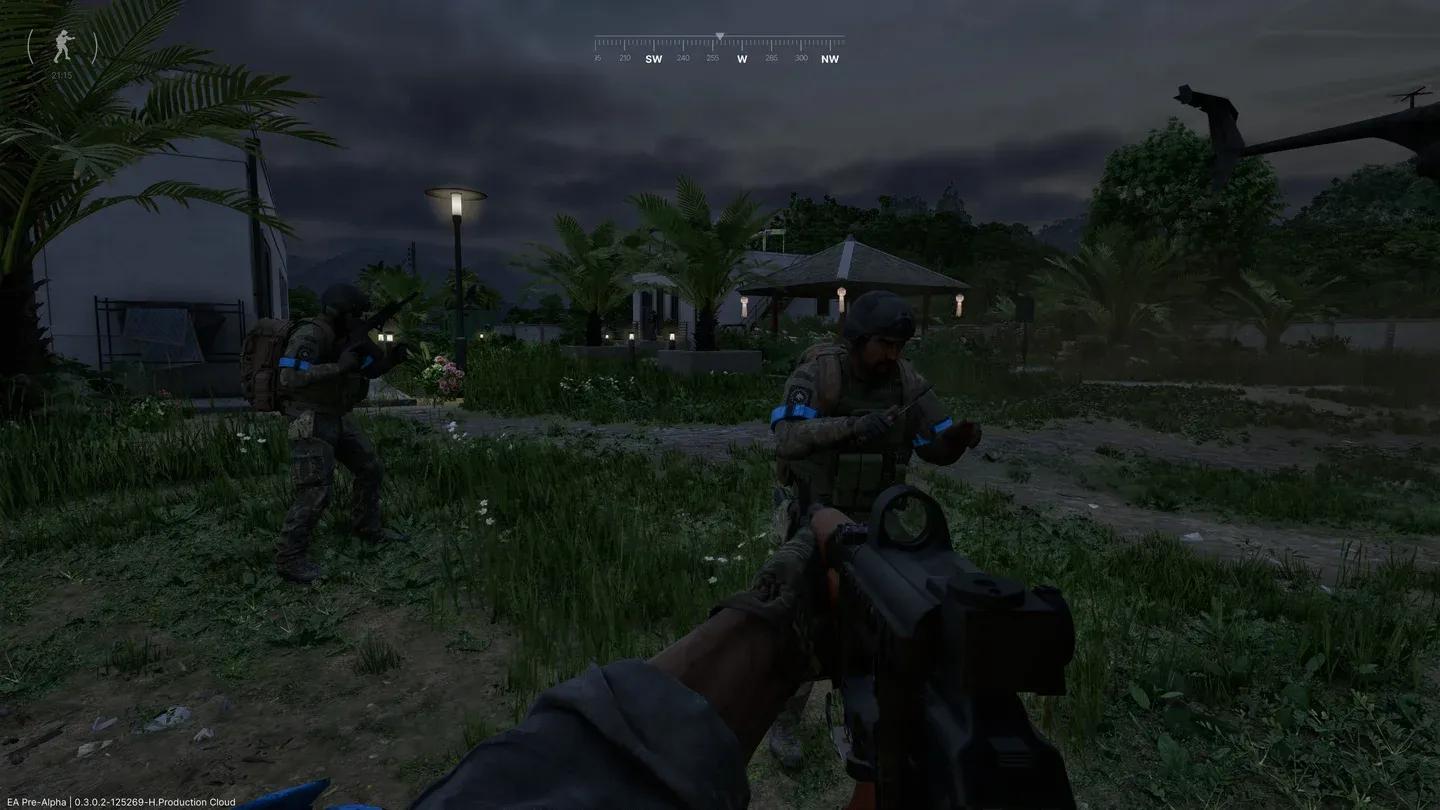
How do you revive a teammate in a coma?
The coma mechanic sets Gray Zone Warfare apart from most tactical shooters. When a squadmate's blood volume collapses or they take a critical incapacitating hit, they go down but are not immediately dead. They can see icons representing their own needs and should call them out over VOIP.
Here is the revival sequence:
- Drag to cover first. Use the interaction prompt to drag the body before doing anything else. Healing an exposed teammate gets both of you killed.
- Read the POV icons. The downed player sees their own injury indicators. A blood droplet means bleeding, a stomach icon means organ damage, a brain icon means critically low blood, and a bone icon means a severe fracture.
- Check your rig slots. Medical items must be in your rig, tactical belt, or pockets (lightning bolt slots) to use on an ally. Items in your backpack cannot be applied to someone else.
- Prioritize bleeds, then blood volume, then organs. Stop active bleeding first with a Tourniquet or Bandage, then restore blood with a Blood Bag if needed, then address organ damage with a Surgery Kit.
Combat survival habits that actually matter
Knowing the items is only half the picture. How you use them under pressure separates experienced operators from players who die with bandages in their hands.
Cancel animations when pushed. Right-clicking immediately cancels any healing animation and raises your weapon. Taking a little more bleed damage is better than dying mid-bandage because an enemy rushed your position.
Pre-medicate before breaches. Popping Painkillers before a known engagement means the pain blur effect from a non-lethal hit will not cloud your screen at the worst possible moment.
Loot scavenger pockets. Most AI enemies carry basic bandages and food. After clearing a group of scavengers, check their pockets before moving on. Restocking basic supplies from the map reduces how much you need to budget for medical gear before a raid.
Secure Container discipline. Bandages and Tourniquets are cheap. Keep them in your rig for fast hotkey access. Expensive multi-use items like the 5-use Surgery Kit and a Large Blood Bag belong in your Secure Container where they survive death.
Frequently asked questions
Can you heal while moving? No. Virtually every medical action requires you to stay stationary. Moving cancels the animation. Always find hard cover before starting any treatment.
Why won't the surgery kit work on a teammate? The kit needs to be in a lightning bolt slot on your rig, tactical belt, or pockets. Backpack storage does not count for teammate interactions.
What does a "blacked out" limb mean? Severe organ damage or stacked fractures render a limb non-functional. A Surgery Kit restores organ function and a Splint addresses fractures. The limb does not disappear, but it remains useless until treated.
For more tactical guides across all genres, browse more guides on GAMES.GG to keep your edge sharp across every game in your rotation.