
What is the Unlisted Flight quest in Gray Zone Warfare?
Unlisted Flight is a main story quest added in update 0.4 Spearhead, handed out by the trader Lab Rat. A passenger jet called NZ209 has gone down in the jungle west of the Sawmill region, and nobody can explain why it was flying over the island of Lamang when the airspace was supposed to be closed. Lab Rat needs boots on the ground to piece together what happened. The quest takes you across three distinct locations, each with its own puzzle, and the whole thing resets if you die before finishing it.
How to unlock Unlisted Flight
Before Lab Rat offers you this quest, you need enough reputation with the trader to unlock access to the Sawmill region. If the mission isn't showing up yet, keep grinding earlier tasks until that reputation threshold is met. Once unlocked, head to the crash site, which sits at grid coordinates 148,135, a short walk from landing zone Echo 1.
Phase 1: Investigating the NZ209 crash site
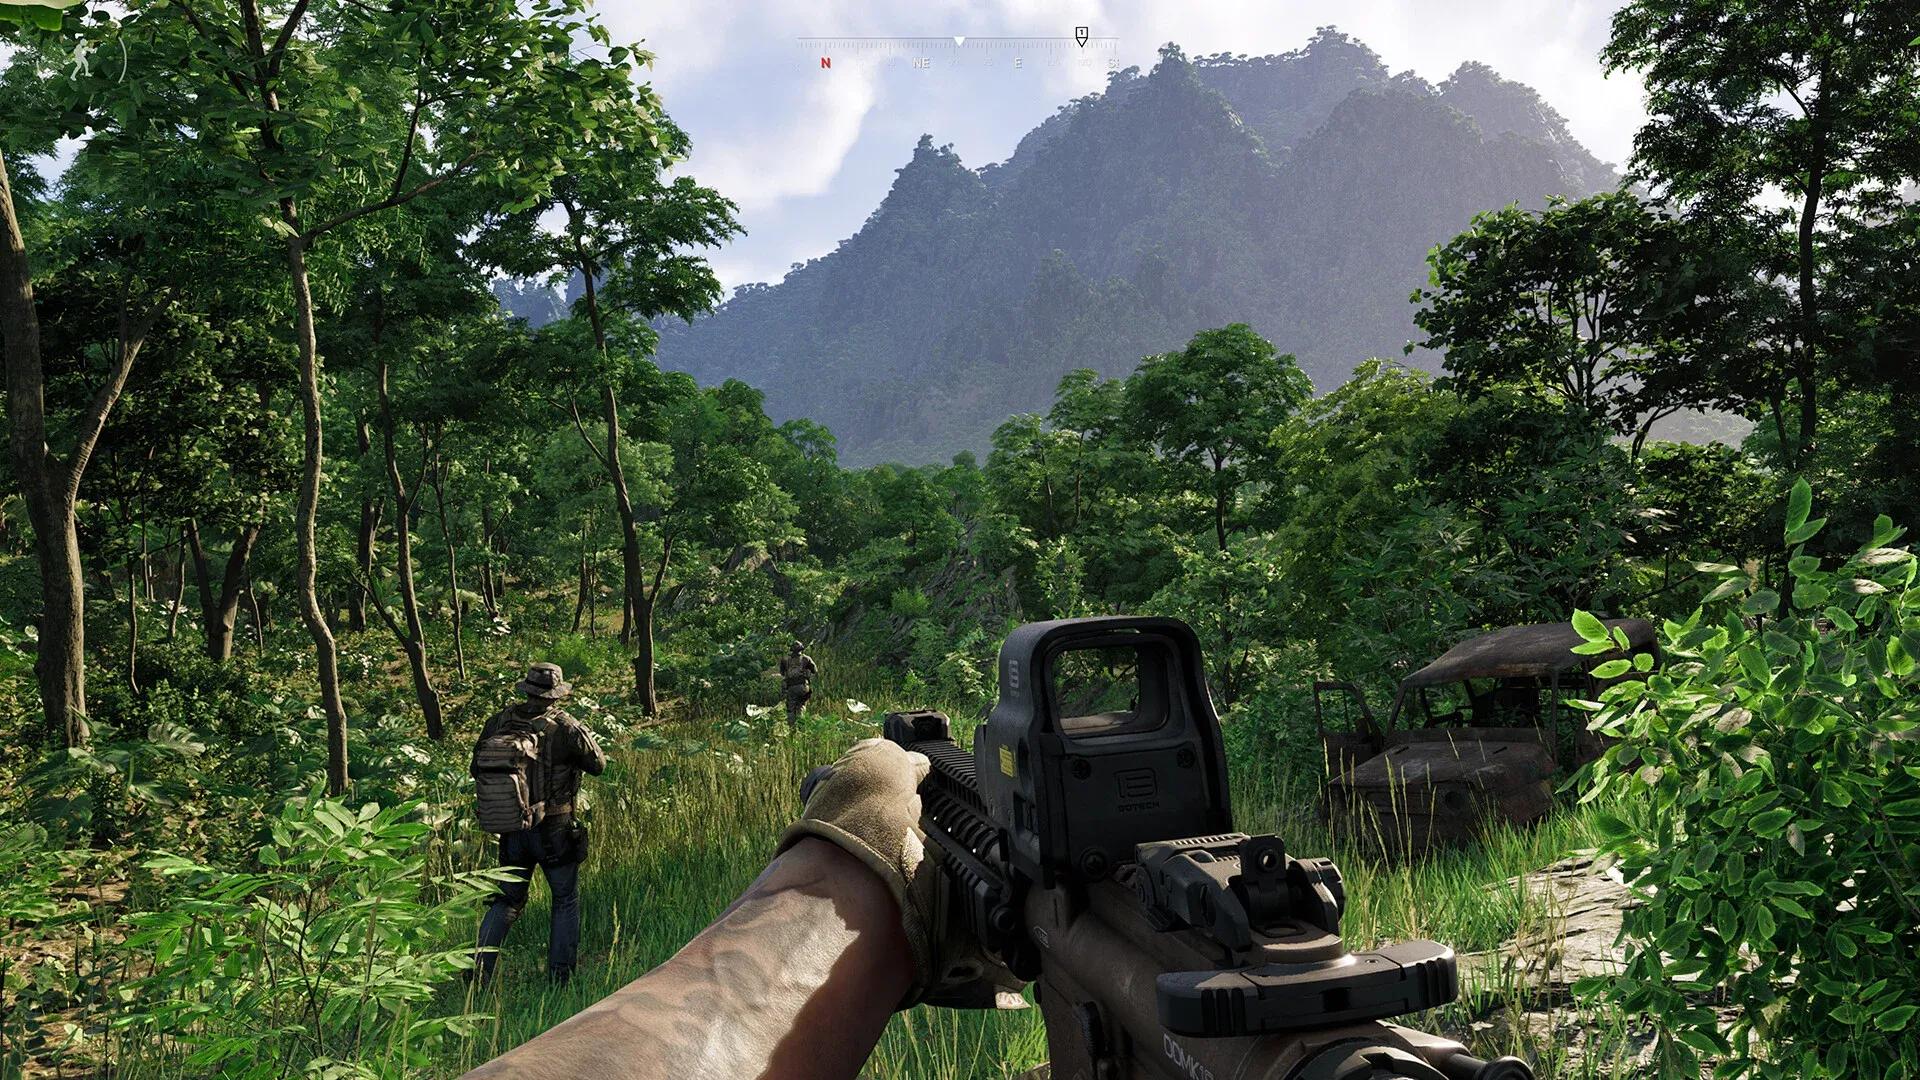
The area around the downed jet is lightly defended. Expect two pairs of soldiers in body armor carrying AK-74 or vz. 58 assault rifles. Clear them before poking around the wreckage, because the four objectives here can be completed in any order.
How to find the missing flight recorder
Approach the fuselage from the east, following the ground scar where the plane skidded in. On the right side of the aircraft, look at the underside of the fuselage for a small open compartment. That's where the black box should be sitting. It's empty. Report back to Lab Rat that the flight recorder is gone.
Where are the crash documents?
Stay on the right side of the plane and walk toward the two cars parked near the small dirt road. Behind the grey SUV, there's a green ice cooler with a lamp sitting on top. Next to the lamp is a piece of paper called the Scavenger's Notes. Read it to satisfy the document objective.
Assessing the situation and reporting casualties
Near the front right of the aircraft, inspect the pile of suitcases to log your assessment for Lab Rat. The site has been picked clean by scavengers. Then go around the nose to the left side of the plane and inspect one of the bodies on the ground to report the passenger status. Both of these are quick interactions once you know where to look.
Phase 2: The wind turbine CCTV recordings
With the crash site wrapped up, Lab Rat points you toward a wind turbine at grid 147,136, barely a minute's walk from the plane. The CCTV footage from the turbine might explain what brought NZ209 down.

Turbine trailer keypad entry
Two trailers sit near the turbine. The access code is written on a sticky note on the passenger window of a red SUV parked nearby. This code is randomly generated, changes every few hours, and is unique to your server. There is no fixed number to memorize.
Here's the exact sequence:
- Locate the red SUV near the turbine and read the sticky note on the passenger window to get the code.
- Activate the generator next to the left trailer.
- Immediately move to the right trailer and punch the code into the keypad before the generator cuts out.
- Inside, press and hold the interact key on the laptop with the blue screen to access the data and send the CCTV recordings to Lab Rat.
The 30-second window is tight but manageable if you pre-position yourself between the generator and the trailer door before turning the power on.
Phase 3: Finding the black box at the Sawmill
This is where the mission gets dangerous. The Sawmill proper is heavily contested, home to a large group of armed hostiles and a regular patrol route for PMCs from all three factions. The enemies here fire 7.62x39mm PS and 5.45x39mm PS ammunition, which tears through lower-tier vests and most helmets. Bring your best gear.
Where to find the black box shack code
The lock code is inside the eastern office building, in a small room with its entry door facing the riverside. Expect at least one enemy directly behind the building. At night, approaching from the Echo 2 landing zone gives you a real advantage: enemies with flashlights are visible from a distance, and a suppressed weapon lets you pick off targets around the office without alerting the whole camp.
Once inside, find the small desk by the windowsill. The Black Box Note is sitting on top, next to a telephone. Like the turbine code, this number is not static and must be retrieved in the same session you plan to complete the quest.
How to open the locked shack and retrieve the black box
From the office, head northwest along the dirt road to the log storage area. A small shack with three doors is guarded by 2 to 3 enemies. You want the third door from the left. Use WASD to dial in the combination from the Black Box Note. The padlock pops open automatically once the correct code is entered.
Inside the shack, to your left, is a literal black box with a note attached. Read the note and report back to Lab Rat. The flight recorder itself isn't here, which opens up the next chapter of the investigation.
Survival tips for completing Unlisted Flight without dying
After running this mission multiple times against different threat levels, a few patterns stand out:
- Suppress everything at the Sawmill. The enemy density is high enough that a single unsuppressed shot can pull multiple groups at once.
- Night raids on the Sawmill office are worth it. Flashlight-carrying enemies are easy to spot and isolate, which makes the code retrieval much cleaner.
- Pre-position at the wind turbine before activating the generator. Standing at the trailer door before you hit the power switch removes almost all the time pressure from the keypad step.
- Clear the crash site enemies before interacting with anything. The objectives themselves are safe, but getting shot mid-interaction wastes time and gets you killed.
For more Gray Zone Warfare mission breakdowns and tactical guides, browse the latest guides on GAMES.GG.