
Molds are the backbone of your offensive toolkit in GRIME II. Every enemy you kill has a chance to leave one behind, and absorbing it gives you that enemy's attack as your own. They cost Paint to use, and the right ones at the right time can flip a fight you were losing. The wrong ones just sit in your loadout doing nothing. Here's exactly which four are worth hunting down before you go anywhere else.
Mold selection screen
What are Molds in GRIME II?
Molds are dropped abilities in GRIME II, developed by Clover Bite and published by Kwalee Ltd. When you defeat an enemy and absorb its Mold, you gain access to that enemy's attack pattern as an active ability. Each Mold costs Paint charges to activate, and most of them scale with two stats simultaneously, so your build choices feed directly into how powerful they become. Knowing which Molds to target early saves you from wasting time grinding the wrong enemies.
Where to find the best early Molds
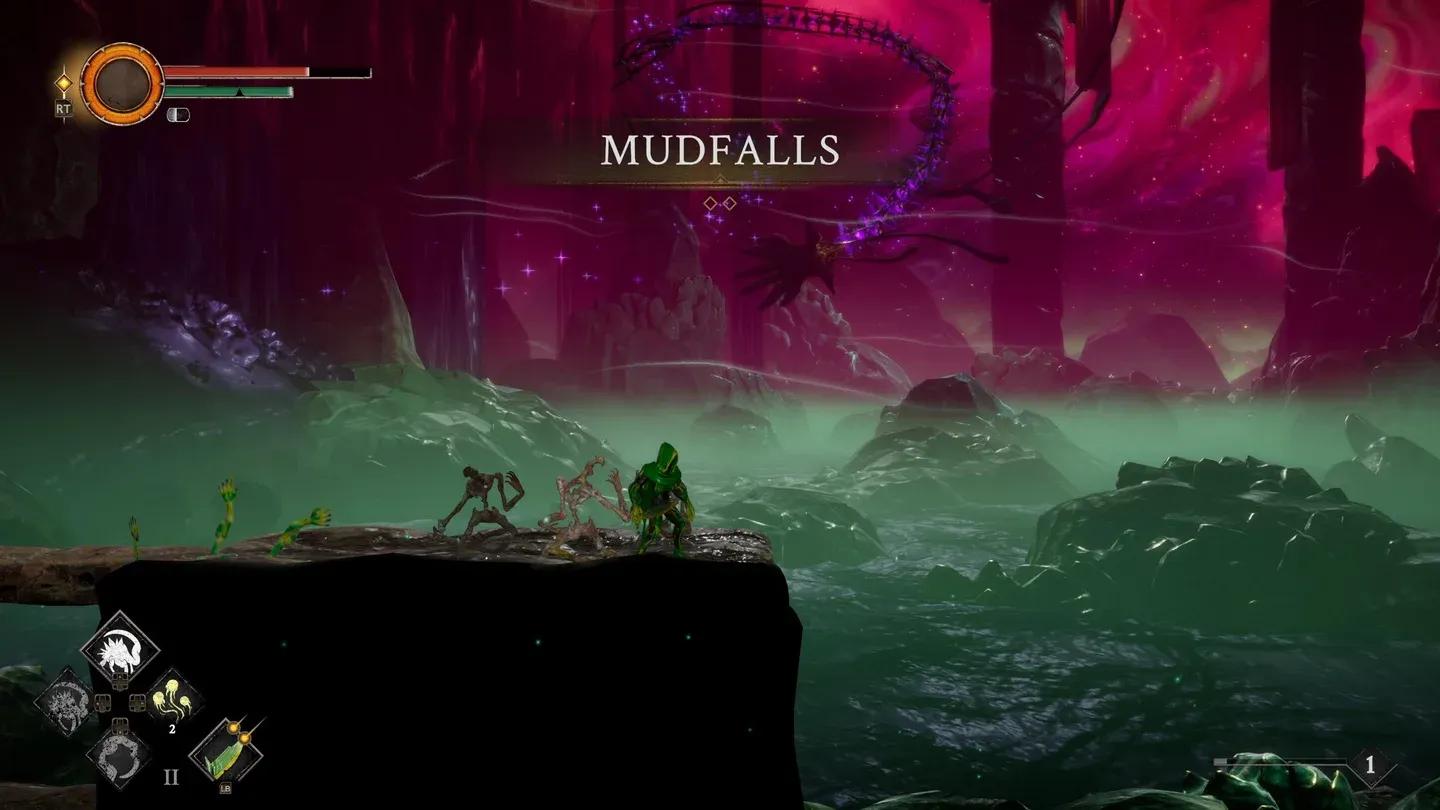
Hardened Halfmade (Mudfalls)
The Hardened Halfmade Mold comes from the Mudfalls area, and these enemies are not easy to bring down. The reward justifies the effort. Once absorbed, this Mold gives you a 0.8 second window of invulnerability. Any hit that connects during that window triggers a lunge counterattack that scales with Pliability and Strength. It's a defensive tool that punishes aggression, rewarding players who hold their ground rather than dodge everything.
This one suits a tank or counter-heavy playstyle more than a fast, evasive one. If you're investing in Strength, this is probably the most valuable early pickup in the game.
Hardened Halfmade in Mudfalls
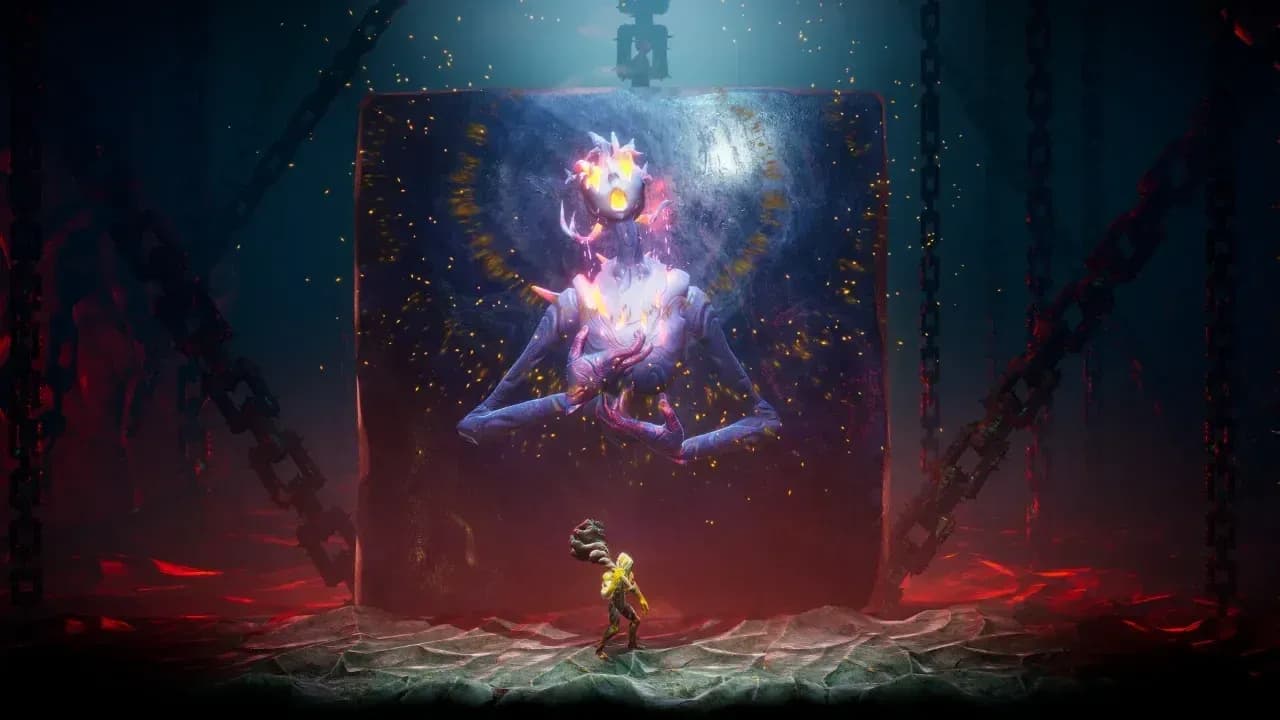
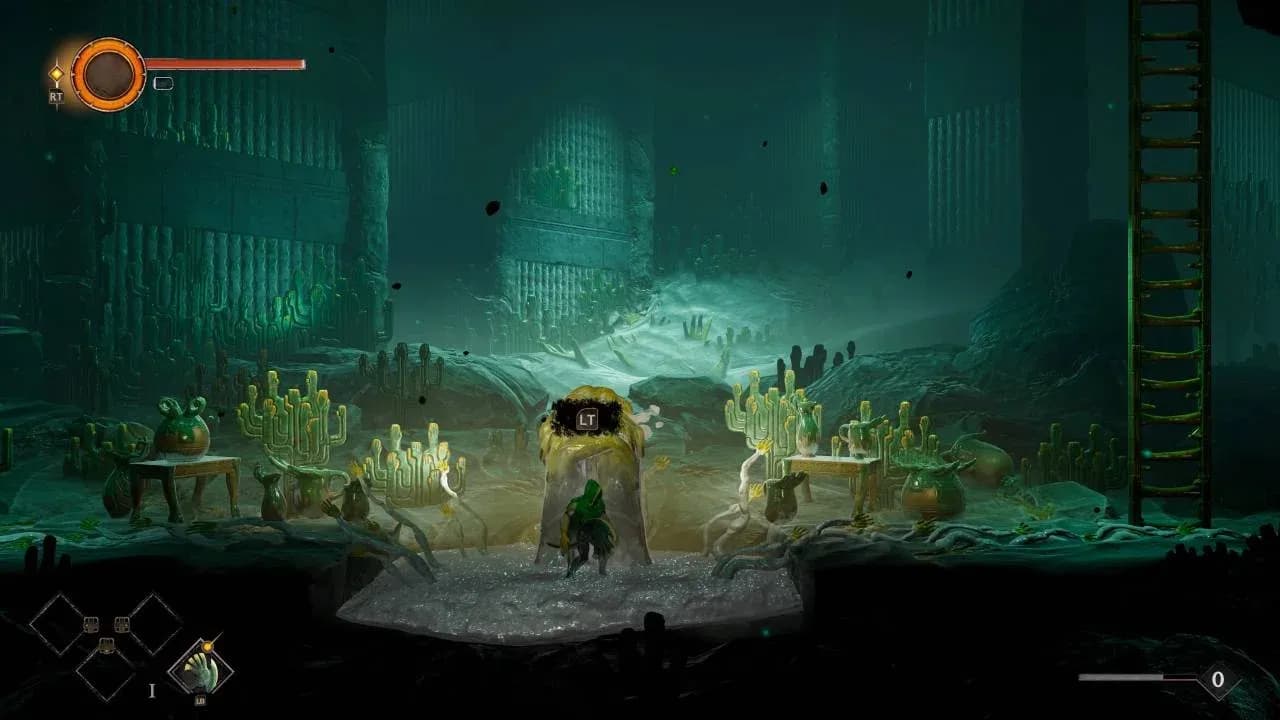
Plunging Finger (Temple of Hands)
The Plunging Finger sits in the Temple of Hands, which is close to the game's starting area. That proximity makes it one of the first Molds you can realistically grab. Using it transforms you into a large hand-like form that launches enemies upward. Enemies caught in the center of the attack take more damage than those on the edges, so positioning matters.
It scales with Pliability and Dexterity, which makes it a natural fit for fast, agile builds. One thing to keep in mind: casting it leaves you exposed. There's no built-in invulnerability during the animation unless you pick up the Cast Evasion Talent separately. If you're running a dexterity build, pair this Mold with Cast Evasion as soon as you can.
Plunging Finger launch attack
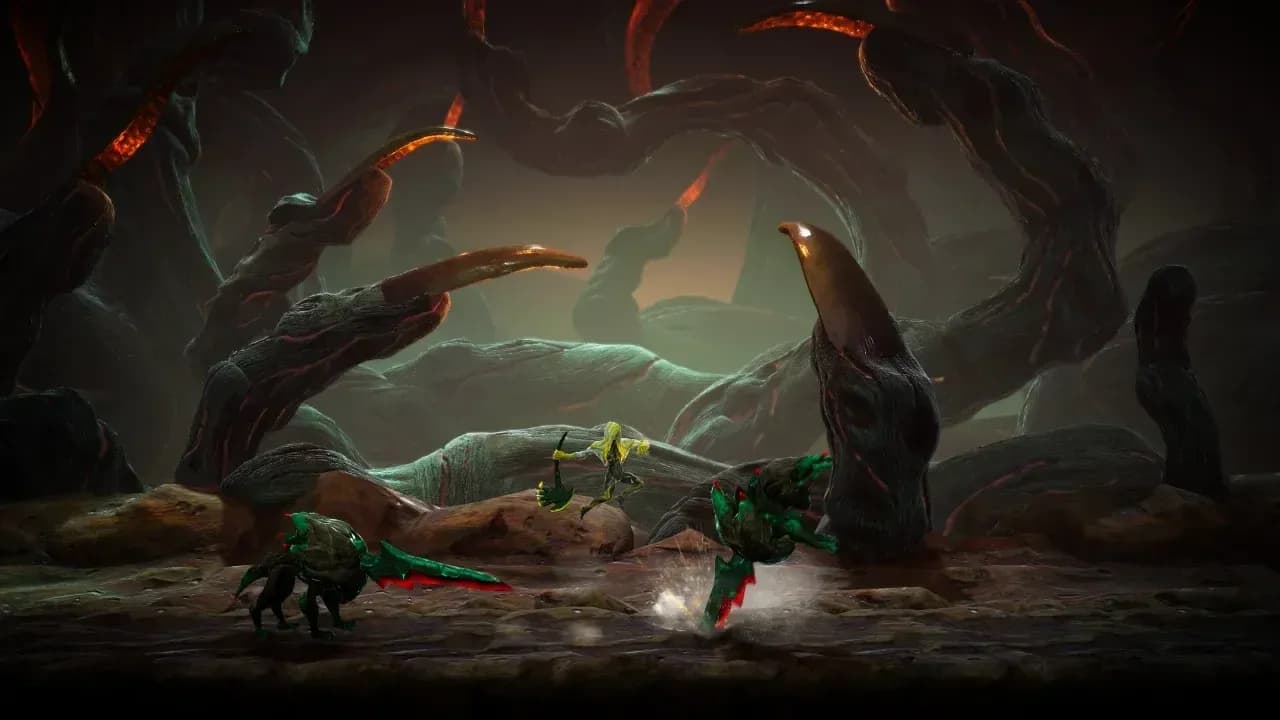
Faceless Charger (Faceless Mountains)
The Faceless Charger Mold requires more commitment to unlock. You need to kill 8 Faceless Chargers in the Faceless Mountains zone before the Mold becomes available. Once you have it, using it sends you charging forward with active damage reduction, and it hits hard against groups.
The cost is 2 Paint charges per use, which is higher than most Molds at this stage. That tradeoff makes sense given what it does: it's built for moments when you're surrounded and need to punch through fast. It scales with Pliability and Strength, so it overlaps well with the Hardened Halfmade if you're committing to a tanky, strength-focused build.
Forged Broken (ranged build support)
The Forged Broken Mold is the pick for ranged players. Its spring attack creates distance between you and your target, which pairs directly with weapons that need space to function effectively. The source material doesn't specify its exact stat scaling or location beyond its role in ranged builds, so treat it as a situational pickup rather than a universal priority.
Mold comparison table
Faceless Charger farming zone
Which Mold should you prioritize first?
The answer depends on where you're putting your stats. If you're building toward Strength, go to the Mudfalls for the Hardened Halfmade first, then grind 8 kills in Faceless Mountains for the Faceless Charger. You'll have two complementary Molds that both scale off the same stats.
If you're going Dexterity, the Temple of Hands is your first stop. Plunging Finger is accessible early and fits a fast playstyle. Just remember to grab Cast Evasion Talent before leaning on it in tough encounters.
Ranged players should track down Forged Broken as a priority, since the repositioning it provides directly solves the problem of enemies closing distance on you.
For more guides on building your character in GRIME II and other games, browse more guides at GAMES.GG.