
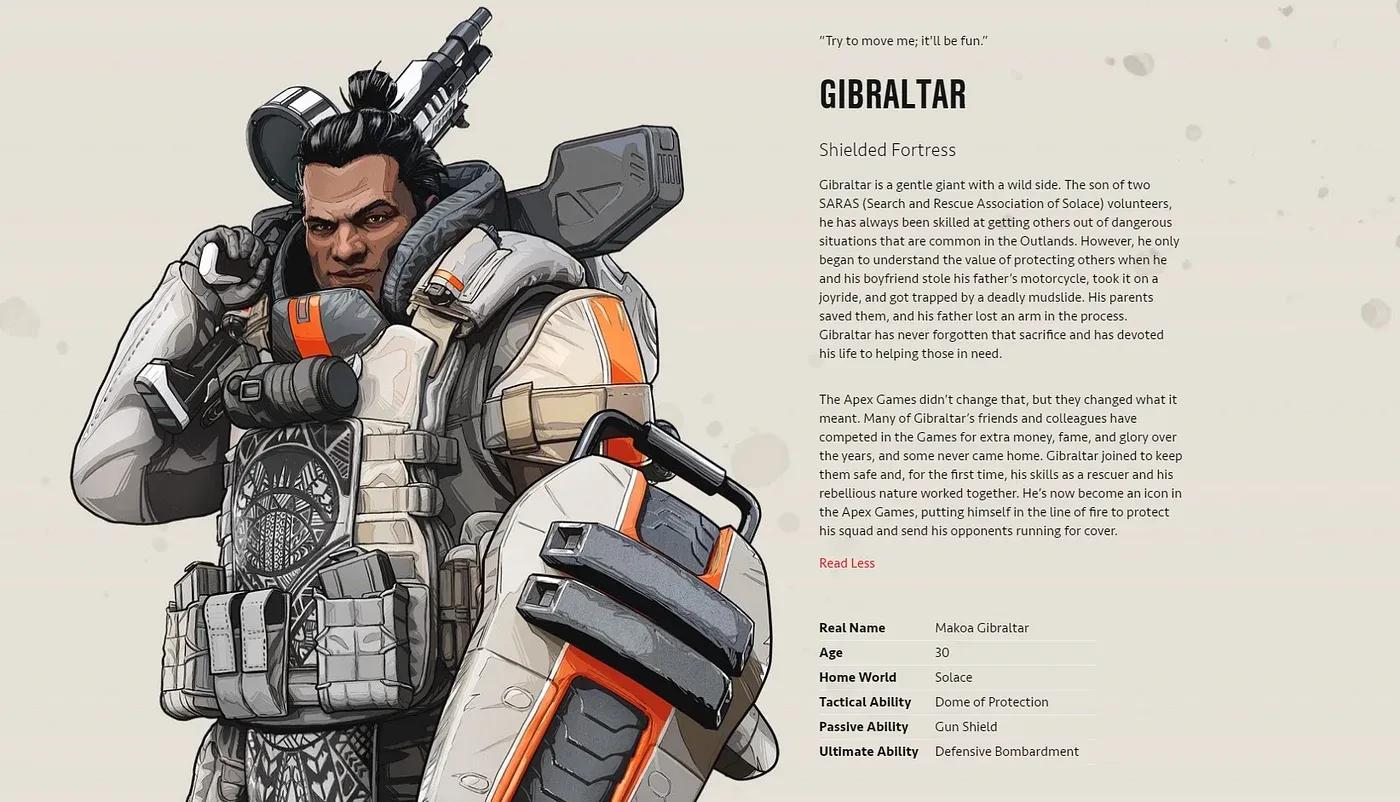
Apex Legends में Gibraltar कौन है?
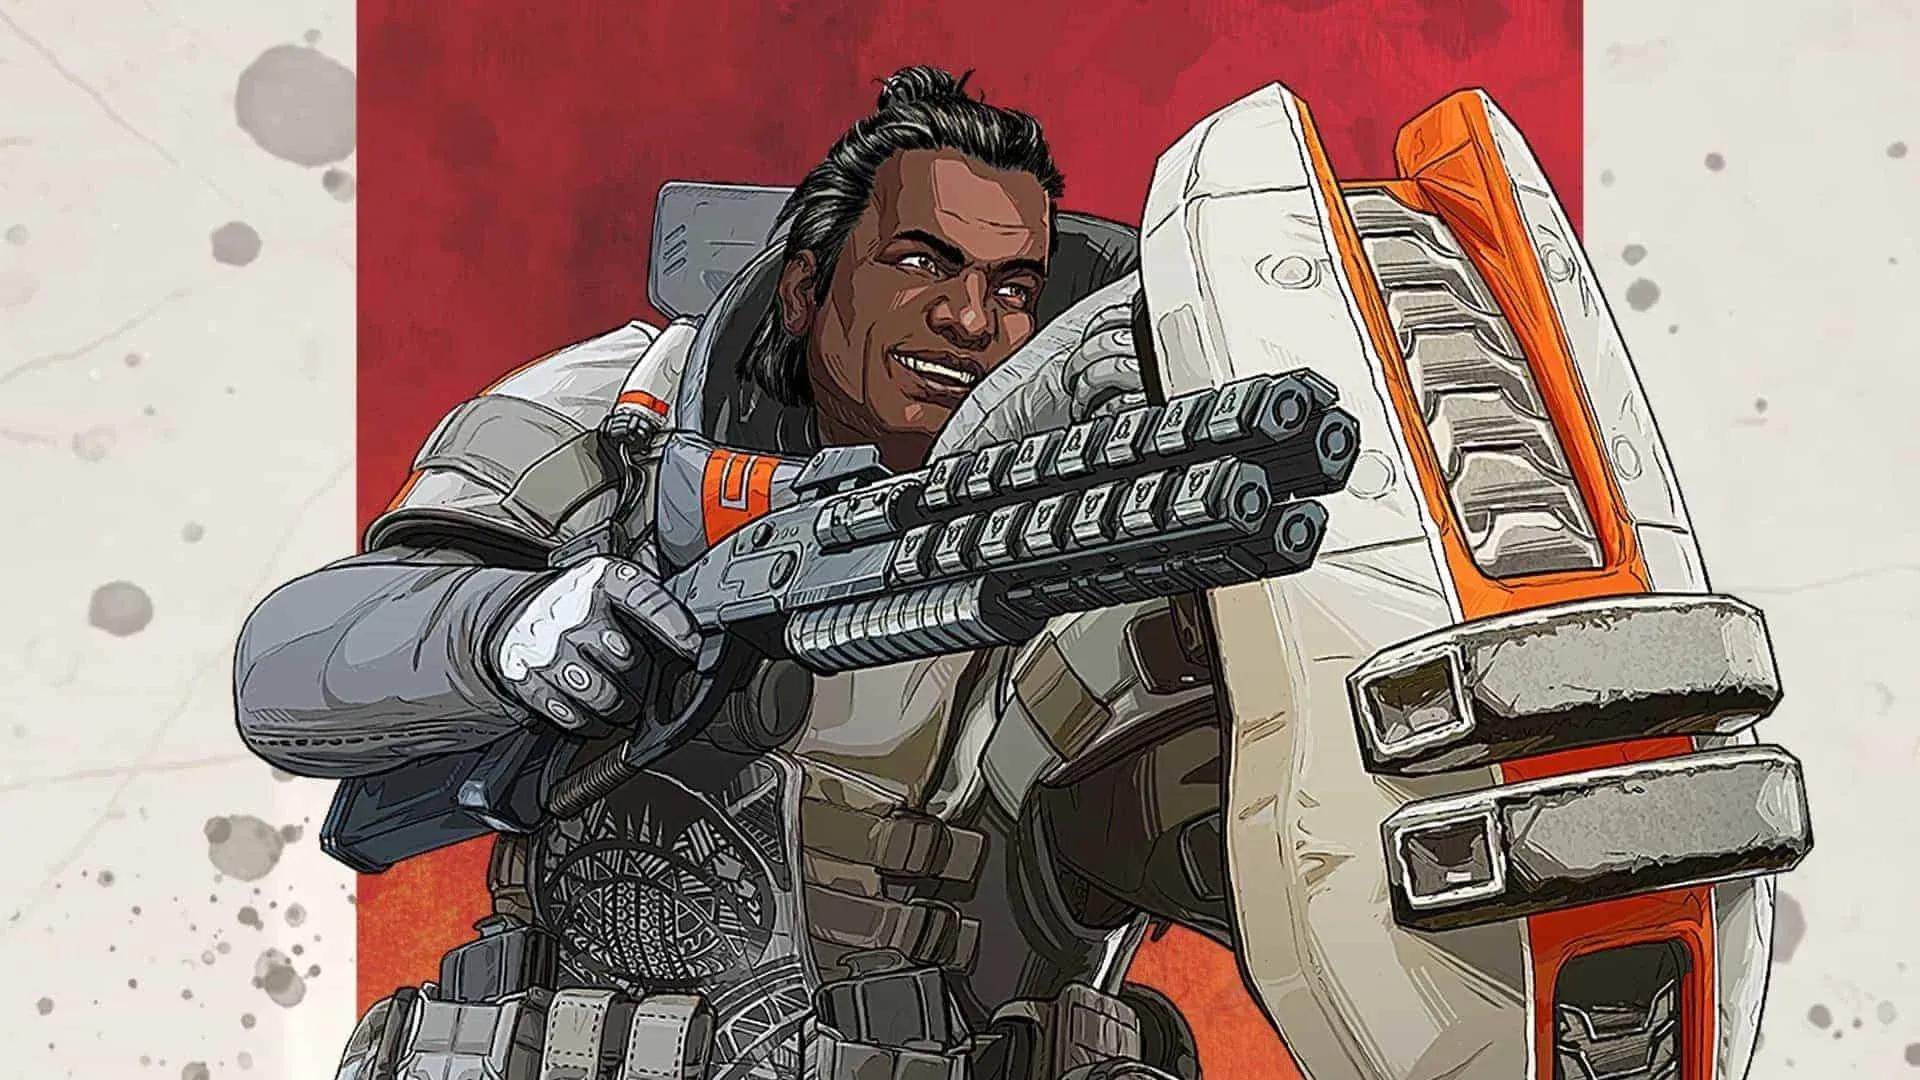
Makoa Gibraltar, Apex Legends के ओरिजिनल Support Legends में से एक है, जो बिना किसी टोकन को खर्च किए शुरुआत से ही अनलॉक रहता है। 6'5" की हाइट और 292 lbs वजन के साथ, गेम में उसका hitbox सबसे बड़ा है, लेकिन उसकी एबिलिटीज इस नुकसान की भरपाई कर देती हैं। Gibraltar कई सीज़न तक एक लो-पिक Legend रहा, लेकिन Season 28 Split 2 में मिले बड़े बफ्स (buffs) ने उसे वापस कॉम्पिटिटिव गेमप्ले के लिए काबिल बना दिया। उसका Dome of Protection टैक्टिकल अब उन दुश्मनों को स्टन (stun) कर देता है जो इसके अंदर घुसने की कोशिश करते हैं, और उसके Defensive Bombardment अल्टीमेट को तीन चार्जेस मिल गए हैं, जिससे वह मौजूदा पैच में एरिया-डिनियल (area-denial) के लिए सबसे मजबूत टूल बन गया है।
Gibraltar's Dome of Protection
Gibraltar की एबिलिटीज क्या हैं?
हर एबिलिटी में महारत हासिल करना जरूरी है। वे एक-दूसरे के साथ कैसे तालमेल (synergize) बिठाती हैं, यह समझना ही एक सामान्य Gibraltar प्लेयर और एक डोमिनेंट प्लेयर के बीच का अंतर है।
Gun Shield (Passive)
जब भी आप ADS (aim down sights) करते हैं, तो Gibraltar के धड़ (torso) के सामने 50 HP का एक एनर्जी शील्ड तैनात हो जाता है। यह डैमेज को सोख लेता है, Arc Stars को डिफ्लेक्ट करता है, और खत्म होने के बाद 9 सेकंड में रिचार्ज हो जाता है। ADS के दौरान शील्ड की हेल्थ आपकी स्क्रीन के दोनों तरफ दिखाई देती है, जिससे आपको अपनी सुरक्षा का लगातार पता रहता है।
अगर डैमेज 50 HP की क्षमता से ज्यादा होता है, तो वह सीधे Gibraltar की हेल्थ पर लगता है, इसलिए लंबी फाइट्स के दौरान सिर्फ इस पर निर्भर न रहें। Seer का Focus of Attention टैक्टिकल शील्ड को पूरी तरह से डिसेबल कर देता है, यह एक जरूरी बात है जिसे रैंक मैचों में याद रखना चाहिए।
शील्ड एक चमक पैदा करती है जो छिपने पर आपकी लोकेशन रिवील कर सकती है। जब छिपना जरूरी हो, तो PC पर H या कंसोल पर Down दबाकर इसे टॉगल ऑफ कर दें।
Dome of Protection (Tactical)
Gibraltar एक डिस्क फेंकता है जो 6-मीटर रेडियस का हाफ-डोम बनाता है, जो 12 सेकंड तक रहता है और इसका कूलडाउन 13 सेकंड है। यह बैरियर दोनों तरफ से आने वाले सभी प्रोजेक्टाइल्स और गोलियों को रोकता है। प्लेयर्स डोम के अंदर-बाहर आ-जा सकते हैं, जो टैक्टिकल मौके और कमजोरियां दोनों पैदा करता है।
सबसे कम आंका गया पहलू: Gibraltar डोम के अंदर डाउन हुए साथियों को 33% तेजी से रिवाइव करता है, जिससे स्टैंडर्ड 6-सेकंड का रिवाइव टाइम लगभग 4.5 सेकंड हो जाता है। यह स्पीड का अंतर ही कांटे की टक्कर वाली फाइट्स जिताता है।
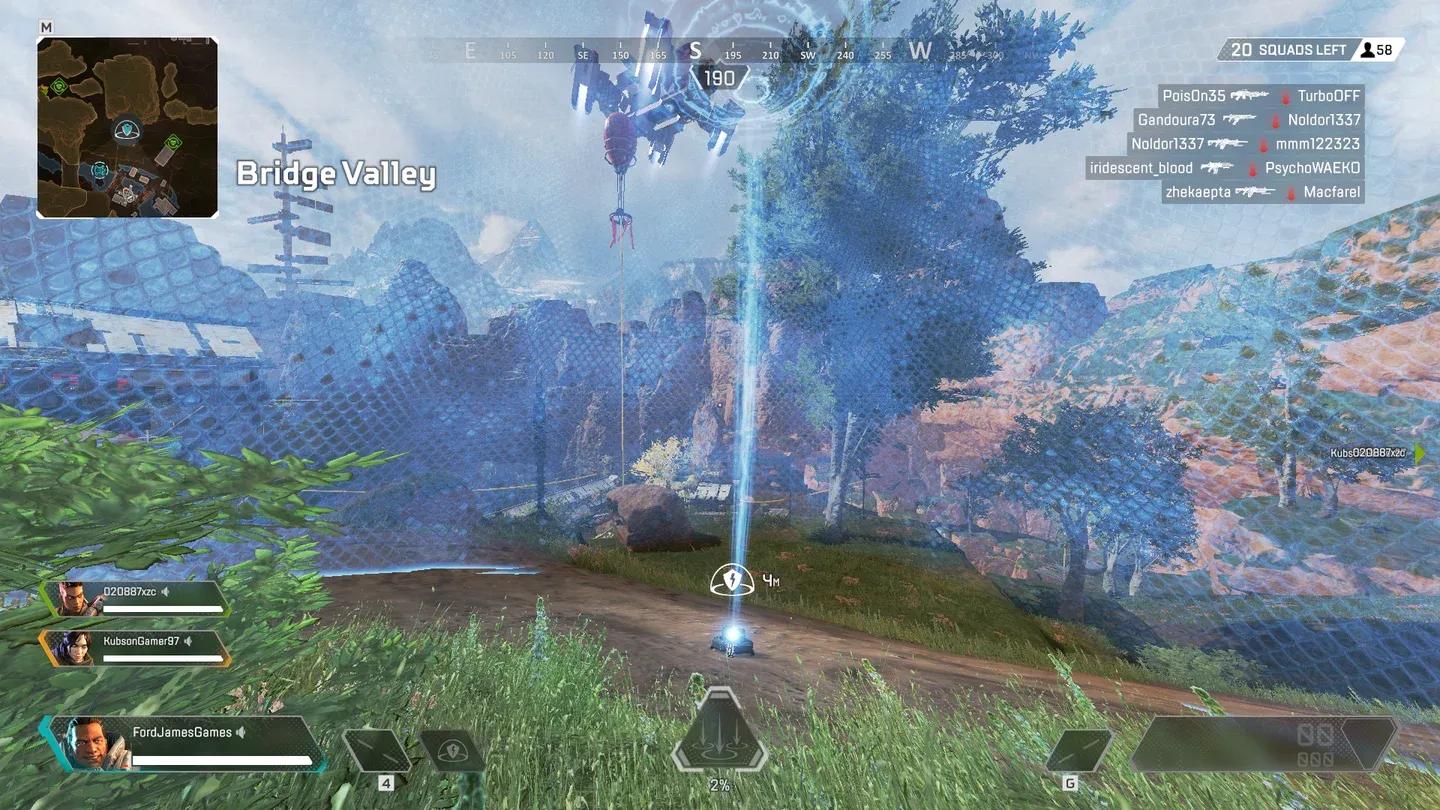
Dome radius is 6 meters
दो Legend Upgrades लेवल 3 पर इस एबिलिटी को बदलते हैं:
- Baby Bubble: छोटा डोम जिसका कूलडाउन घटकर 12 सेकंड हो जाता है
- Bubble Bunker: स्टैंडर्ड डोम जिसकी ड्यूरेशन बढ़कर 16 सेकंड हो जाती है
Baby Bubble आमतौर पर रैंक मैचों में बेहतर काम करता है क्योंकि इसका कूलडाउन जल्दी आता है, जिससे आपको बार-बार सुरक्षा मिलती है। Bubble Bunker उन लेट-गेम सर्कल्स में काम आता है जहाँ फ्रीक्वेंसी से ज्यादा कवर की ड्यूरेशन मायने रखती है।
Defensive Bombardment (Ultimate)
Gibraltar एक स्मोक कैनिस्टर फेंकता है जो 24-मीटर रेडियस को आर्टिलरी फायर के लिए मार्क करता है। 6 सेकंड तक मोर्टार शेल्स बरसते हैं, जिनमें से हर एक 40 डैमेज देता है और स्ट्राइक ज़ोन में आने वाले किसी भी व्यक्ति को शेल-शॉक कर देता है। अल्टीमेट 3 मिनट में चार्ज होता है, लेकिन Season 28 Split 2 ने कुल तीन चार्जेस जोड़ दिए हैं, जिससे ऑफेंस और एरिया-डिनियल के लिए इसकी टैक्टिकल फ्लेक्सिबिलिटी काफी बढ़ गई है।
सबसे बेहतरीन कॉम्बिनेशन: बॉम्बार्डमेंट कॉल करें, फिर तुरंत स्ट्राइक ज़ोन के किनारे के पीछे Dome of Protection तैनात करें। दुश्मनों को या तो मोर्टार डैमेज झेलना होगा या आपके डोम से होकर आपकी इंतज़ार कर रही स्क्वाड के सामने आना होगा। दोनों ही सूरतों में फायदा आपका है।
Fortified (Passive Perk)
Fortified आने वाले डैमेज को 15% कम करता है (हेडशॉट्स को छोड़कर) और बुलेट स्लोडाउन इफेक्ट्स से पूरी इम्यूनिटी देता है। प्रैक्टिकली, यह 15% की कमी का मतलब है कि ज्यादातर फाइट्स में आप लगभग एक अतिरिक्त गोली झेल सकते हैं। अकेले यह बहुत ज्यादा नहीं लगता, लेकिन Gun Shield और अपग्रेडेड Evo Shields के साथ मिलकर, कुल डैमेज मिटिगेशन काफी ज्यादा हो जाता है।
एक लगातार बना हुआ बग: Body Shields या Evo Shields पहनने पर Gibraltar को उम्मीद से ज्यादा ग्रेनेड डैमेज मिलता है। यह अनचाहा इंटरेक्शन कई पैच से चला आ रहा है।
Gibraltar की किट एक साथ कैसे काम करती है?
Gibraltar की असली ताकत उसकी एबिलिटीज को अलग-अलग इस्तेमाल करने के बजाय एक के बाद एक चेन में इस्तेमाल करने से आती है।
डोम-डांसिंग (Dome-dancing) के लिए खास प्रैक्टिस की जरूरत होती है। फायर के दौरान डोम के अंदर-बाहर जाने से दुश्मन आपकी ट्रांजिशन के दौरान गोलियां बर्बाद करने पर मजबूर हो जाते हैं। जब दुश्मन रिलोड करें तब बाहर निकलने का टाइम सेट करें, और आप उन फाइट्स को भी जीत जाएंगे जो उनके हक में होनी चाहिए थीं।
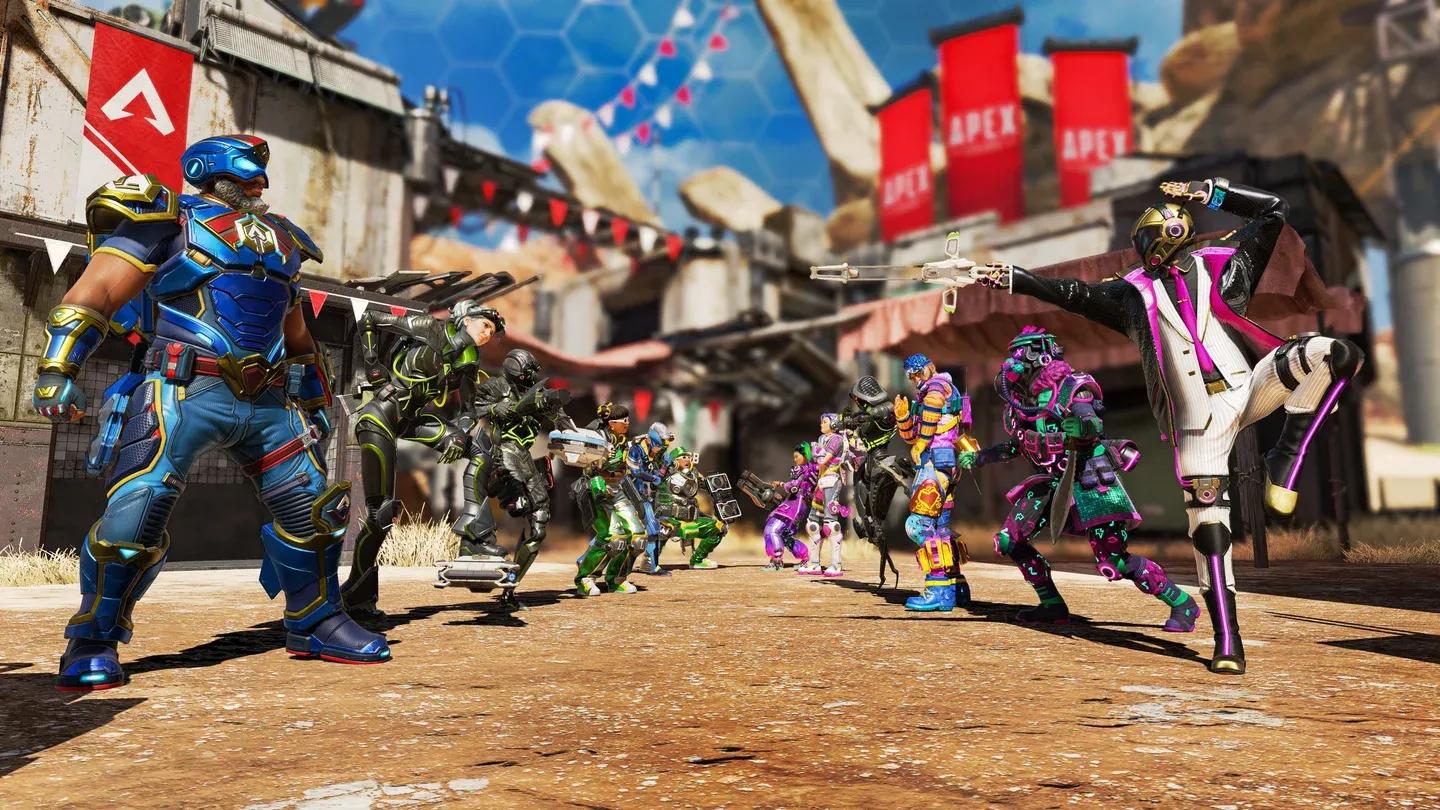
Gibraltar के लिए बेस्ट टीम कॉम्प क्या है?
Gibraltar की डिफेंसिव टूलकिट उन Legends के साथ सबसे अच्छा तालमेल बिठाती है जो दुश्मनों को बॉम्बार्डमेंट ज़ोन में धकेल सकते हैं या डोम कवरेज का फायदा उठा सकते हैं।
Bangalore सबसे मजबूत जोड़ी बनाती है। उसका Smoke Launcher और Gibraltar का बॉम्बार्डमेंट मिलकर ऐसे डिनियल ज़ोन बनाते हैं जिन्हें Bloodhound के स्कैन के बिना पार करना लगभग नामुमकिन है। दोनों अल्टीमेट्स को एक साथ इस्तेमाल करना मौजूदा मेटा प्ले में सबसे घातक कॉम्बिनेशन में से एक है।
Wattson डिफेंस-फोकस्ड स्क्वाड्स में स्वाभाविक रूप से फिट बैठती है। उसका Interception Pylon Gibraltar के डोम के अंदर शील्ड्स को रिचार्ज करता है और आने वाले ऑर्डनेंस को रोकता है, हालांकि अगर गलत तरीके से रखा जाए तो यह Gibraltar के बॉम्बार्डमेंट को भी नष्ट कर देता है। प्लेसमेंट को सोच-समझकर करें। Season 28 Split 2 ने Wattson के Pylon को Hardlight meshes को रिइंफोर्स और रिपेयर करने की क्षमता दी है, जिससे Gibraltar के साथ उसकी डिफेंसिव सिनर्जी और मजबूत हो गई है।
Bloodhound इस कॉम्प को प्रभावी ढंग से पूरा करता है। उसका Beast of the Hunt अल्टीमेट Gibraltar की ज़ोनिंग के साथ मिलकर पुश-पुल प्रेशर बनाता है: Gibraltar दुश्मनों को कवर से बाहर निकालता है, और Bloodhound बढ़ी हुई मूवमेंट और थ्रेट विज़न के साथ उनका शिकार करता है।
Gibraltar fits most squad compositions
Gibraltar को हाई लेवल पर खेलने के लिए टिप्स
- छिपते समय Gun Shield को डिसेबल करें। इसकी चमक कोनों के आसपास और गैप्स में आपकी पोजीशन रिवील कर देती है। बिना स्पॉट हुए एंगल होल्ड करते समय इसे टॉगल ऑफ रखें।
- डोम को रेंज से फेंकें। डिस्क काफी दूर तक जाती है। आपको उस जगह खड़े होने की जरूरत नहीं है जिसे आप कवर करना चाहते हैं।
- डोम का इस्तेमाल चारे (bait) की तरह करें। दुश्मन अक्सर यह सोचकर डोम पर रश करते हैं कि वे रिवाइव रोक देंगे। इसे खाली छोड़ें, बाहर पोजीशन लें, और आक्रामक पुश को पनिश करें।
- स्नाइपर लोडआउट्स को प्राथमिकता दें। Gun Shield Gibraltar को लंबी दूरी की ड्यूल्स में एक ठोस फायदा देता है जो ज्यादातर Legends के पास नहीं होता। स्नाइपर्स और मार्क्समैन राइफल्स इस ताकत का सीधा फायदा उठाते हैं।
- बॉम्बार्डमेंट को जमा करके न रखें। तीन चार्जेस होने का मतलब है कि इसे बचाने का कोई कारण नहीं है। इसे ज़ोनिंग के लिए आक्रामक तरीके से इस्तेमाल करें, न कि सिर्फ पैनिक ऑप्शन के तौर पर।
रैंक और अनरैंक दोनों मोड्स में व्यापक टेस्टिंग के बाद, सबसे आम गलती डोम को एक स्थायी अभयारण्य (sanctuary) मानना है, जबकि यह एक खास काम करने के लिए 12-सेकंड की विंडो है: रिवाइव, हील, रिलोड या एस्केप। जो प्लेयर्स उस टाइम लिमिट की कद्र करते हैं, वे डोम के अंदर कैंप करने वालों की तुलना में इसका कहीं बेहतर इस्तेमाल करते हैं।
पूरी एबिलिटी स्टैटिस्टिक्स और ऐतिहासिक पैच बदलावों के लिए, Apex Legends Wiki पर Gibraltar एंट्री सबसे व्यापक संदर्भ प्रदान करती है। अतिरिक्त Apex Legends गाइड्स और मौजूदा मेटा एनालिसिस के लिए, GAMES.GG पर और गाइड्स ब्राउज़ करें।