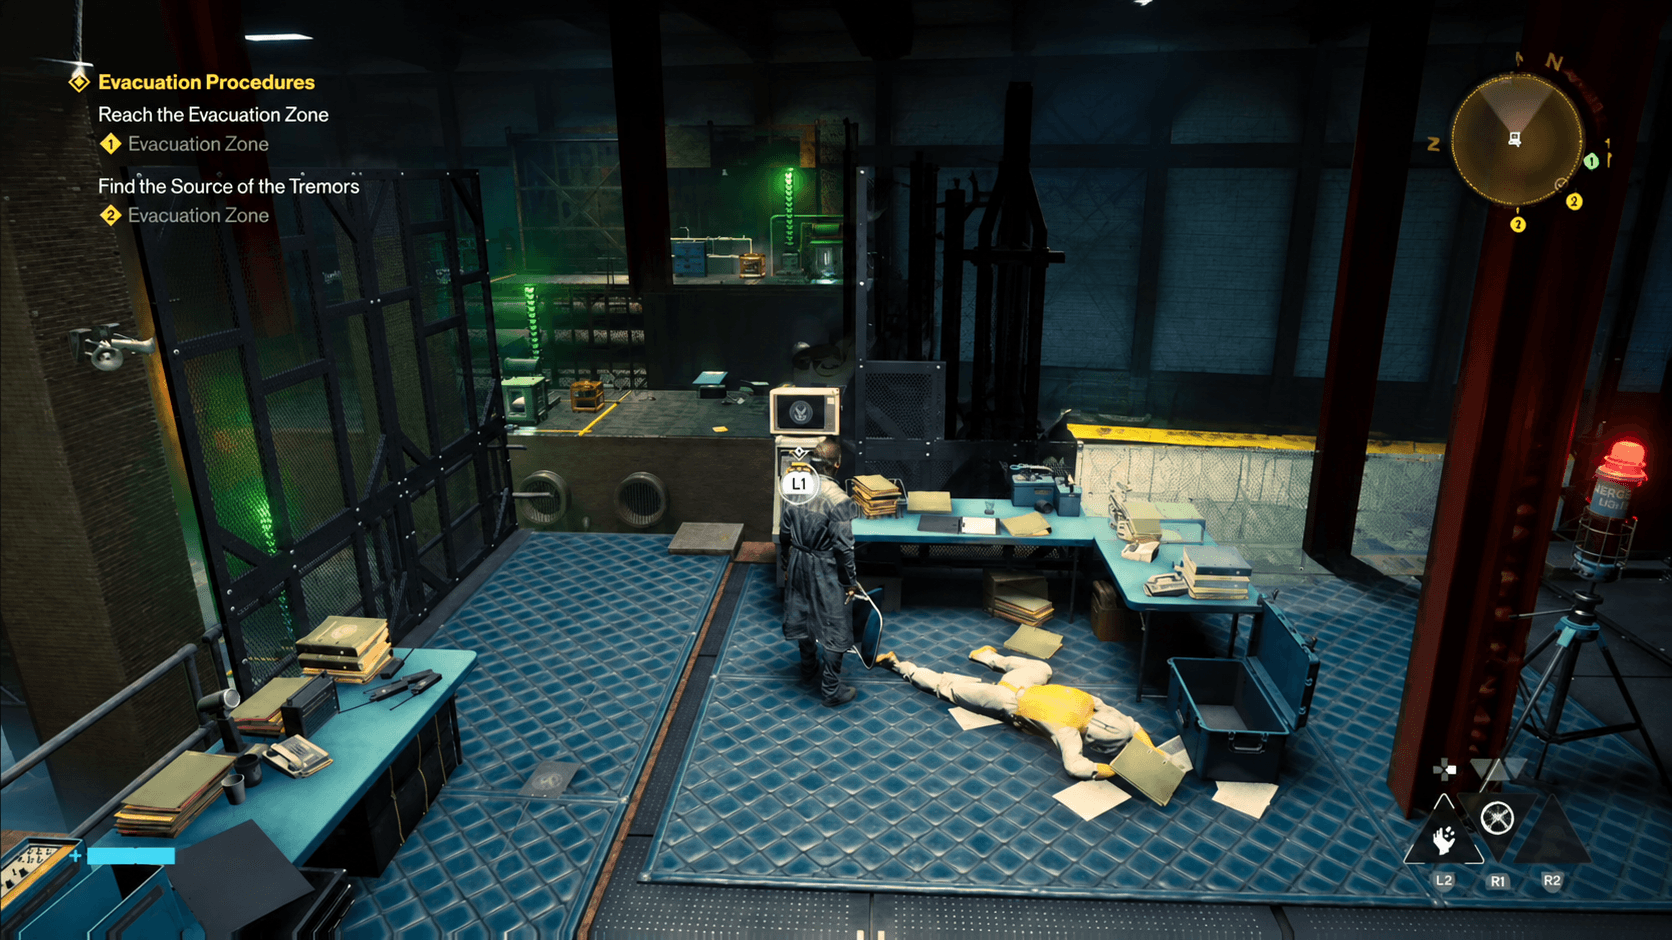


CONTROL Resonant का Unsupervised Science side quest आपको Manhattan में फैली छह underground Testing Facilities को ढूंढने के लिए भेजता है। पेंच यह है: मैप पर facility के coordinates तो मार्क हैं, लेकिन उनके असली entrances नहीं, जो कि पूरी तरह से underground हैं। आप किसी एक के ऊपर से भी गुजर सकते हैं और आपको पता भी नहीं चलेगा कि वह वहां है। यह गाइड हर entrance location और puzzle solution को कवर करती है ताकि आप बिना किसी frustration के इन्हें पूरा कर सकें।
Unsupervised Science quest कैसे शुरू करें?
एक Testing Facility के terminal पर एक note है जो आपको सभी छह locations के coordinates देता है। जैसे ही आप इसे pick up करते हैं, sites आपके मैप पर मार्क हो जाती हैं। समस्या यह है कि वे markers खुद underground facility की ओर इशारा करते हैं, न कि street-level entrance की ओर। हर entrance के लिए आपको पास की किसी खास building या landmark को ढूंढकर नीचे जाने का रास्ता खोजना होगा।
छह facilities में दो तरह के puzzles हैं। तीन में Soda Dispenser state-change mechanic का इस्तेमाल होता है, और बाकी तीन में Power Core charge-transfer mechanic का। यह जानने से कि आप किस तरह के puzzle में जा रहे हैं, आप अंदर कदम रखने से पहले ही मानसिक रूप से तैयार हो सकते हैं।
सभी 6 Testing Facility locations और solutions
Downtown
Downtown facility का entrance zone के east side में स्थित Testing Facility Reade building के अंदर है। building अभी बन ही रही है, इसलिए जब आप अंदर जाएं तो Hiss enemies के लिए तैयार रहें। उन्हें clear करें, फिर underground entrance के लिए अंदर देखें।
अंदर, आपको Soda Dispenser puzzle मिलेगा। एक terminal note बताता है कि default state Soda Dispenser पर सेट है। कमरे में कई interactable items हैं, और आपका काम हर एक को center box तक ले जाना है। ट्रिक yellow lines में है: किसी item को एक line से गुजारने पर उसकी state बदल जाती है। उसे दोबारा गुजारें तो वह फिर बदल जाएगी।
terminal के ऊपर वाला whiteboard diagram के जरिए समझाता है कि अगर आप बीच में confuse हो जाएं तो state changes कैसे काम करते हैं। दो अन्य facilities में भी यही puzzle type है, इसलिए यहाँ इसे सीखने में बिताया गया समय बाद में दो बार काम आएगा।
Rewards: Power Upgrade, A Note From Dr. Milbeck's Cardiologist (File)
Central
Patterned Factory (वह इलाका जहाँ आप Deserter Resonant boss से लड़ते हैं) के east की तरफ जाएं और एक construction site ढूंढें। underground entrance पास ही है। यह facility Downtown से बिल्कुल अलग puzzle पर चलती है।
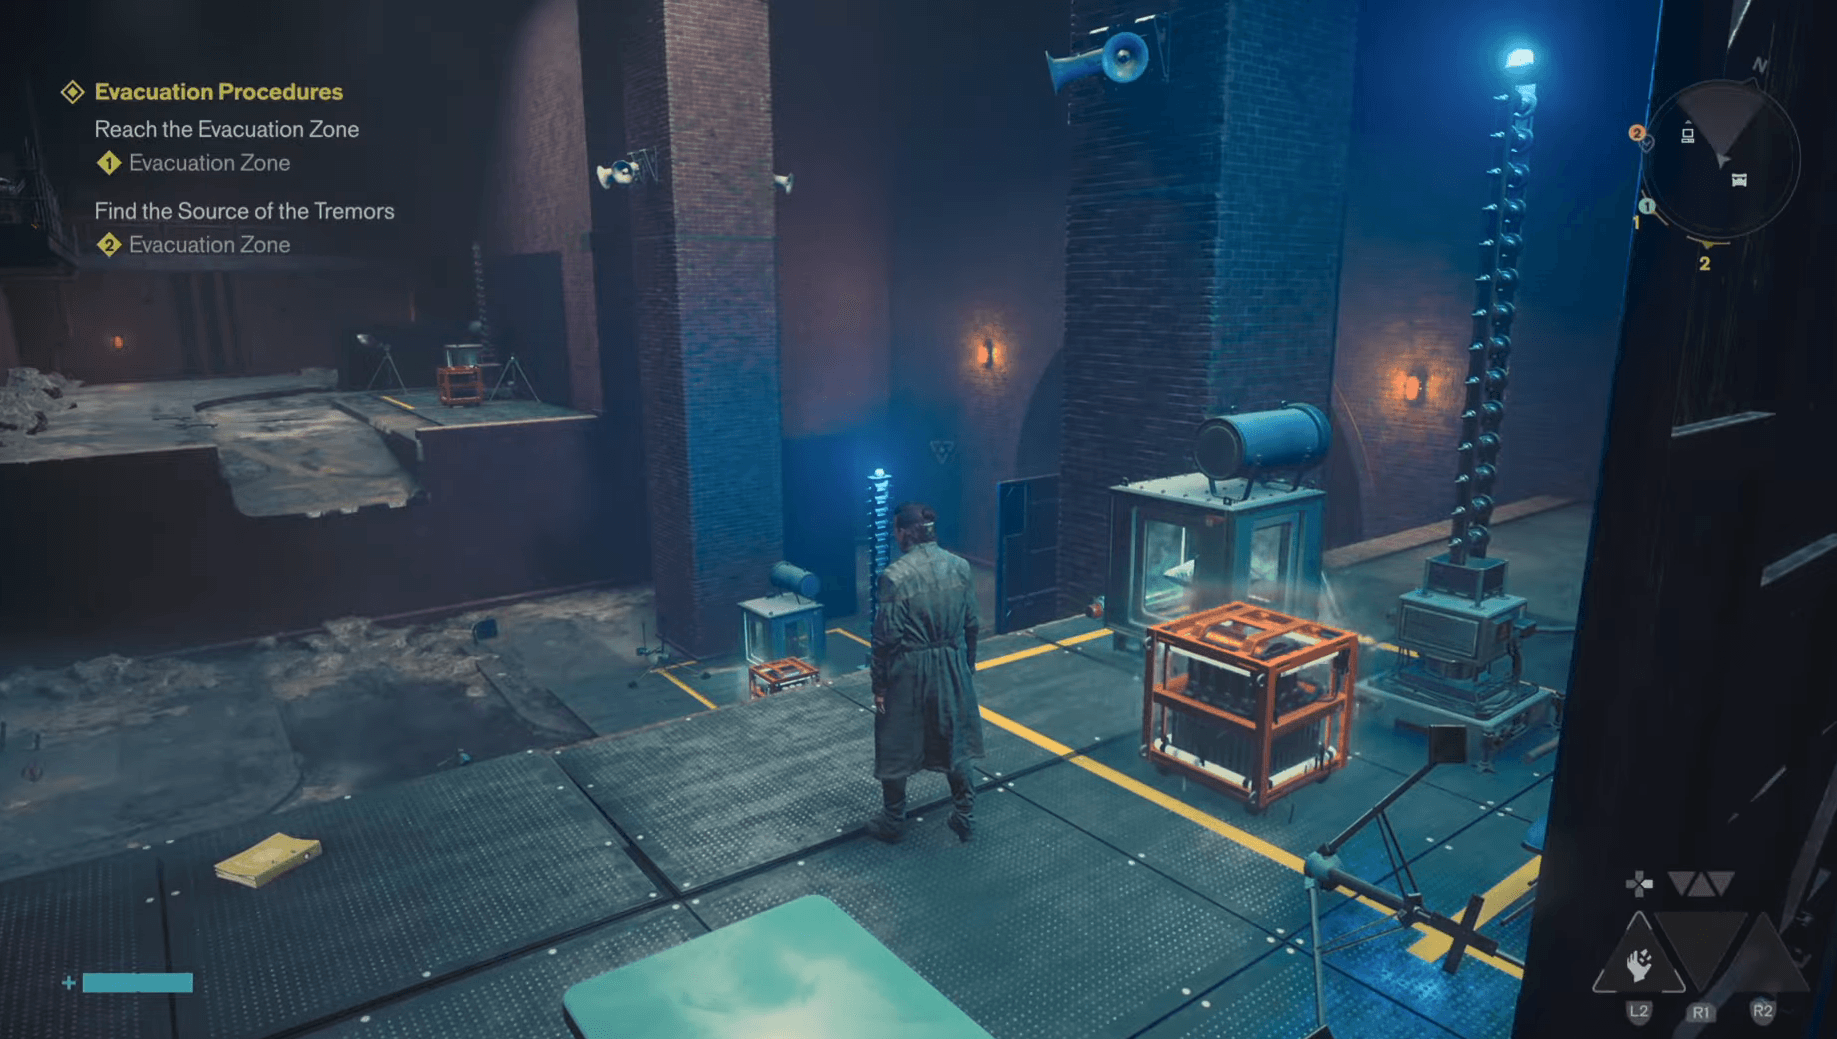
Power Core charge-transfer mechanic 60-second timer पर काम करता है। कमरे में चार Power Cores हैं, जिनमें से दो शुरू में charged होते हैं। जब shutdown sequence शुरू हो, तो dead Power Cores पर blinking red light देखें। वह blink आपका signal है कि live core से charge लेकर उसे red flashing वाले core में transfer करें। gate खोलने के लिए पूरे 60 seconds तक cores के बीच charge को rotate करते रहें।
Rewards: Power Upgrade, Notes From Dr. Puchalski (File)
Control Resonant Unsupervised Science Quest Guide: All Experiment Locations
Evacuation Zone
यहाँ का entrance zone के south side में Survivalist's Bunker Fast Travel point के ठीक बगल में है। इसे ढूंढना आसान है क्योंकि fast travel landmark को miss करना मुश्किल है।
यह facility फिर से Soda Dispenser puzzle लेकर आती है। वही rules लागू होते हैं: item states को cycle करने के लिए yellow lines का उपयोग करें, और एक बार जब item Soda Dispenser बन जाए, तो उसके फिर से बदलने से पहले उसे lines के उसी set के अंदर एक box में रखने की कोशिश करें।
Rewards: Power Upgrade, Testing Facility Coordinates (File)
West Incursion Zone
यह facility House of Mirrors के south में, मैप के नीचे से दूसरी lane पर है। एक बार जब आप entrance ढूंढ लें और underground चले जाएं, तो आप तीसरी और आखिरी बार Soda Dispenser puzzle पर वापस आ जाएंगे।
इस पॉइंट तक mechanic routine जैसा लगना चाहिए। items को yellow lines से cycle करें, हर Soda Dispenser को box में रखें, और shutdown trigger करें।
Rewards: Power Upgrade, Notes From Dr. Janson (File)
The Park
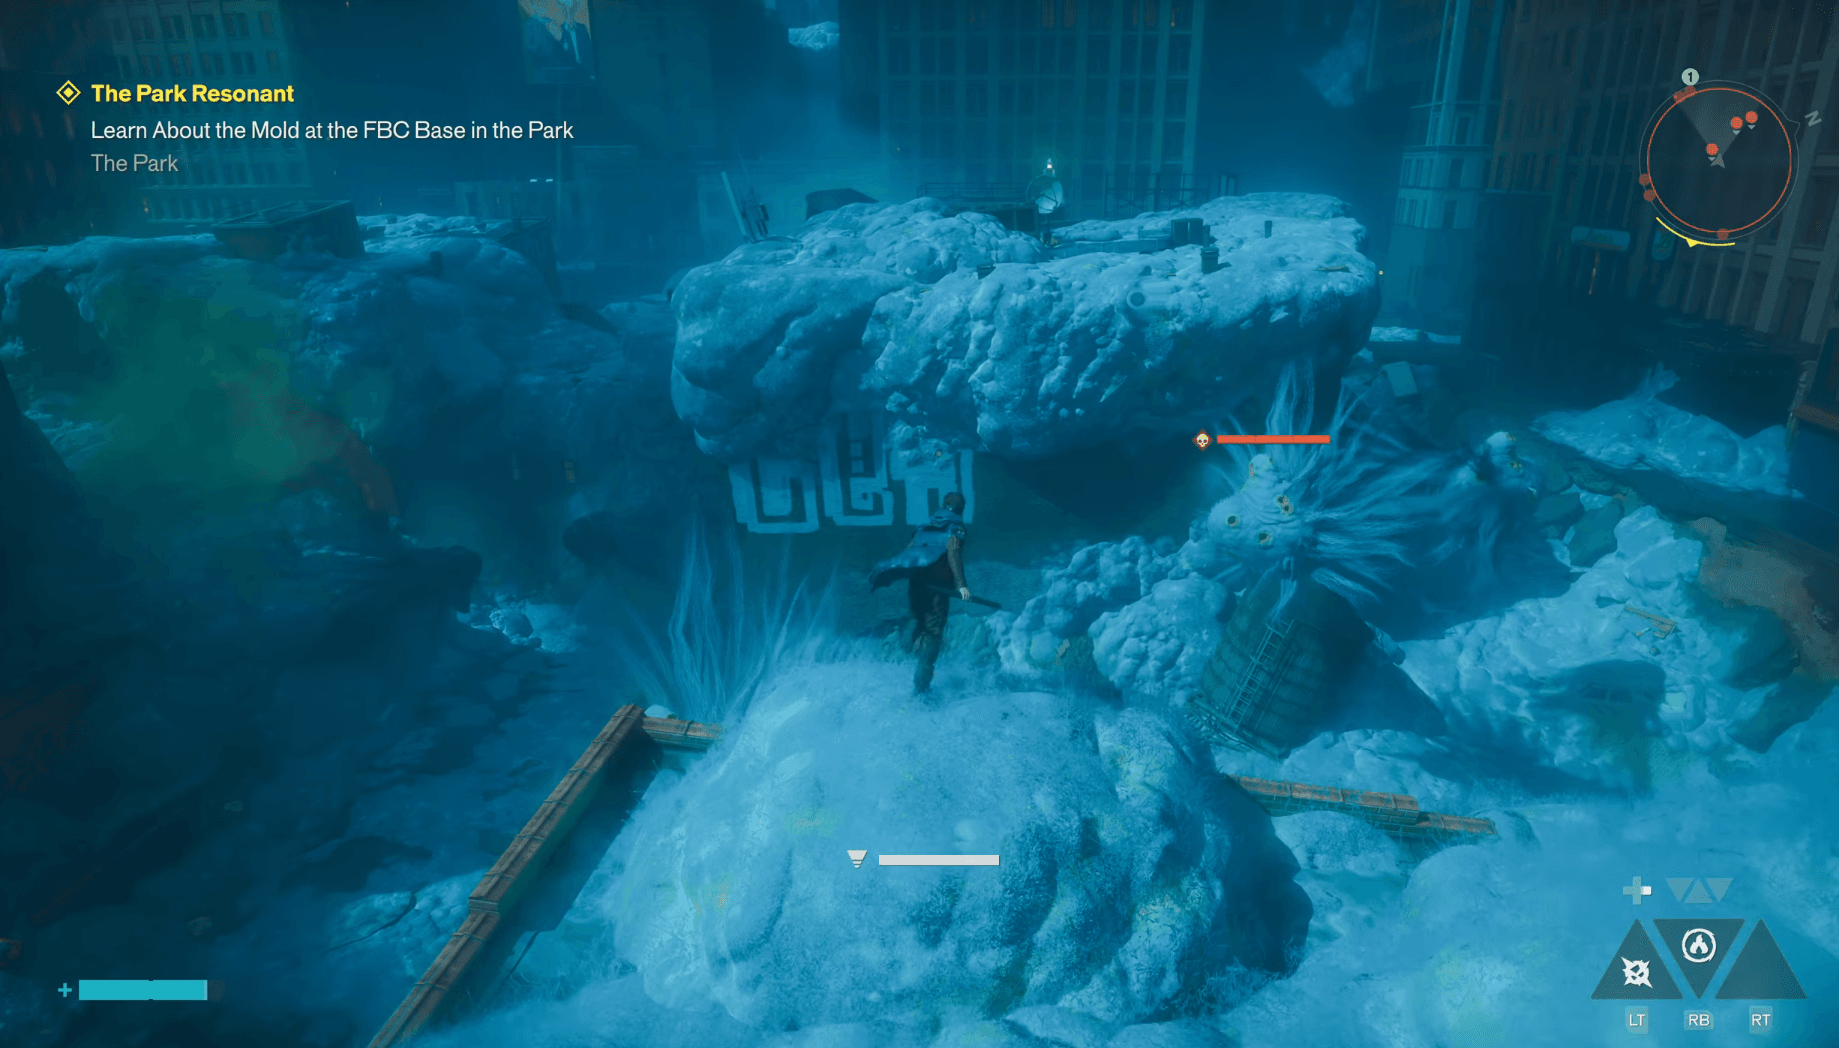
The Park facility zone के northeast section में है और वहाँ पहुँचने के लिए दो sewer entrances हैं। अगर आपने New Growth quest को unlock करने के लिए काफी progress कर ली है, तो आप वैसे भी उस quest के हिस्से के रूप में इस facility में जाएंगे, इसलिए शायद यह आपके radar पर पहले से ही हो।
यहाँ का puzzle Central facility जैसा ही है: 60-second countdown पर Power Core charge transfers। वही approach अपनाएं। dead cores पर blinking red lights का ध्यान रखें और charge को move करते रहें।
Rewards: Emergency Hood (Accessory), Notes From Dr. Roth (File)
Control Resonant Unsupervised Science Quest Guide: All Experiment Locations
Unknown
आखिरी facility Unknown region में है, उस area के मैप पर Fast Travel point के middle-west के पास। इसमें चार के बजाय पांच Power Cores हैं, जो shutdown sequence के दौरान ट्रैक करने के लिए थोड़ा और काम बढ़ा देते हैं।
Rewards: Firebreaker Goggles (Accessory), Notes From Dr. Grant (File)
Puzzle types एक नज़र में
सभी छह experiments को shut down करने के बाद क्या होता है?
एक बार जब सभी छह facilities clear हो जाती हैं, तो Unknown facility के अंदर Threshold खुल जाता है, ठीक उस कमरे के बगल में जहाँ से आपने Firebreaker Goggles pick up किए थे। entrance से, आपको फर्श पर बाईं ओर Janson और सीधे सामने Puchalski लिखा हुआ दिखाई देगा।
- बाईं ओर जाने पर आप एक कुर्सी में बदल जाएंगे।
- सीधे जाने पर आप एक टेलीफोन बूथ में बदल जाएंगे।
उनमें से किसी भी रास्ते पर आपको नहीं जाना है। इसके बजाय दाईं ओर जाएं, अंत में बोर्ड को हिट करें, फिर Power Core से electric charge लेने के लिए बाईं ओर का रास्ता लें। वहाँ से, सीधे जाएं, और split पर बाईं ओर मुड़कर उस charge को dead Power Core पर इस्तेमाल करें। कमरे के अंदर materials इकट्ठा करें, split पर वापस आएं, और एक लाश (corpse) खोजने के लिए सीधे जाएं जिससे आप interact कर सकते हैं।
वह interaction quest को पूरा करता है।
Final rewards: Dr. Grant's Final Report (File), Untapped Scrunchie (Artifact Recipe), Threshold Researcher Achievement/Trophy
क्या Unsupervised Science करना फायदेमंद है?
सिर्फ Power Upgrades ही इसे जल्दी से कम से कम पहली कुछ facilities को clear करने लायक बनाते हैं। The Park और Unknown से मिलने वाली Accessories एक बोनस हैं, और अगर आप full completion के लिए जा रहे हैं तो Threshold Researcher trophy जरूरी है। यह platinum roadmap में कैसे फिट बैठता है, यह देखने के लिए Control Resonant trophy list and achievement guide देखें।
गेम में बाकी सब कुछ जो ऑफर है, उसके लिए पूरी Control Resonant strategy guides collection में side quests, collectibles, और बहुत कुछ के लिए walkthroughs मौजूद हैं।