
Running a fractured mercenary band back to full strength is one of Crimson Desert's most satisfying systems. As Kliff, you'll rebuild the Greymane faction from a handful of survivors into a thriving settlement at Howling Hill, sending recruits on missions, expanding your base, and eventually liberating an entire region. This guide breaks down every mechanic you need to get your camp running at full capacity as quickly as possible.
How Do You Start the Greymane Camp in Howling Hill?
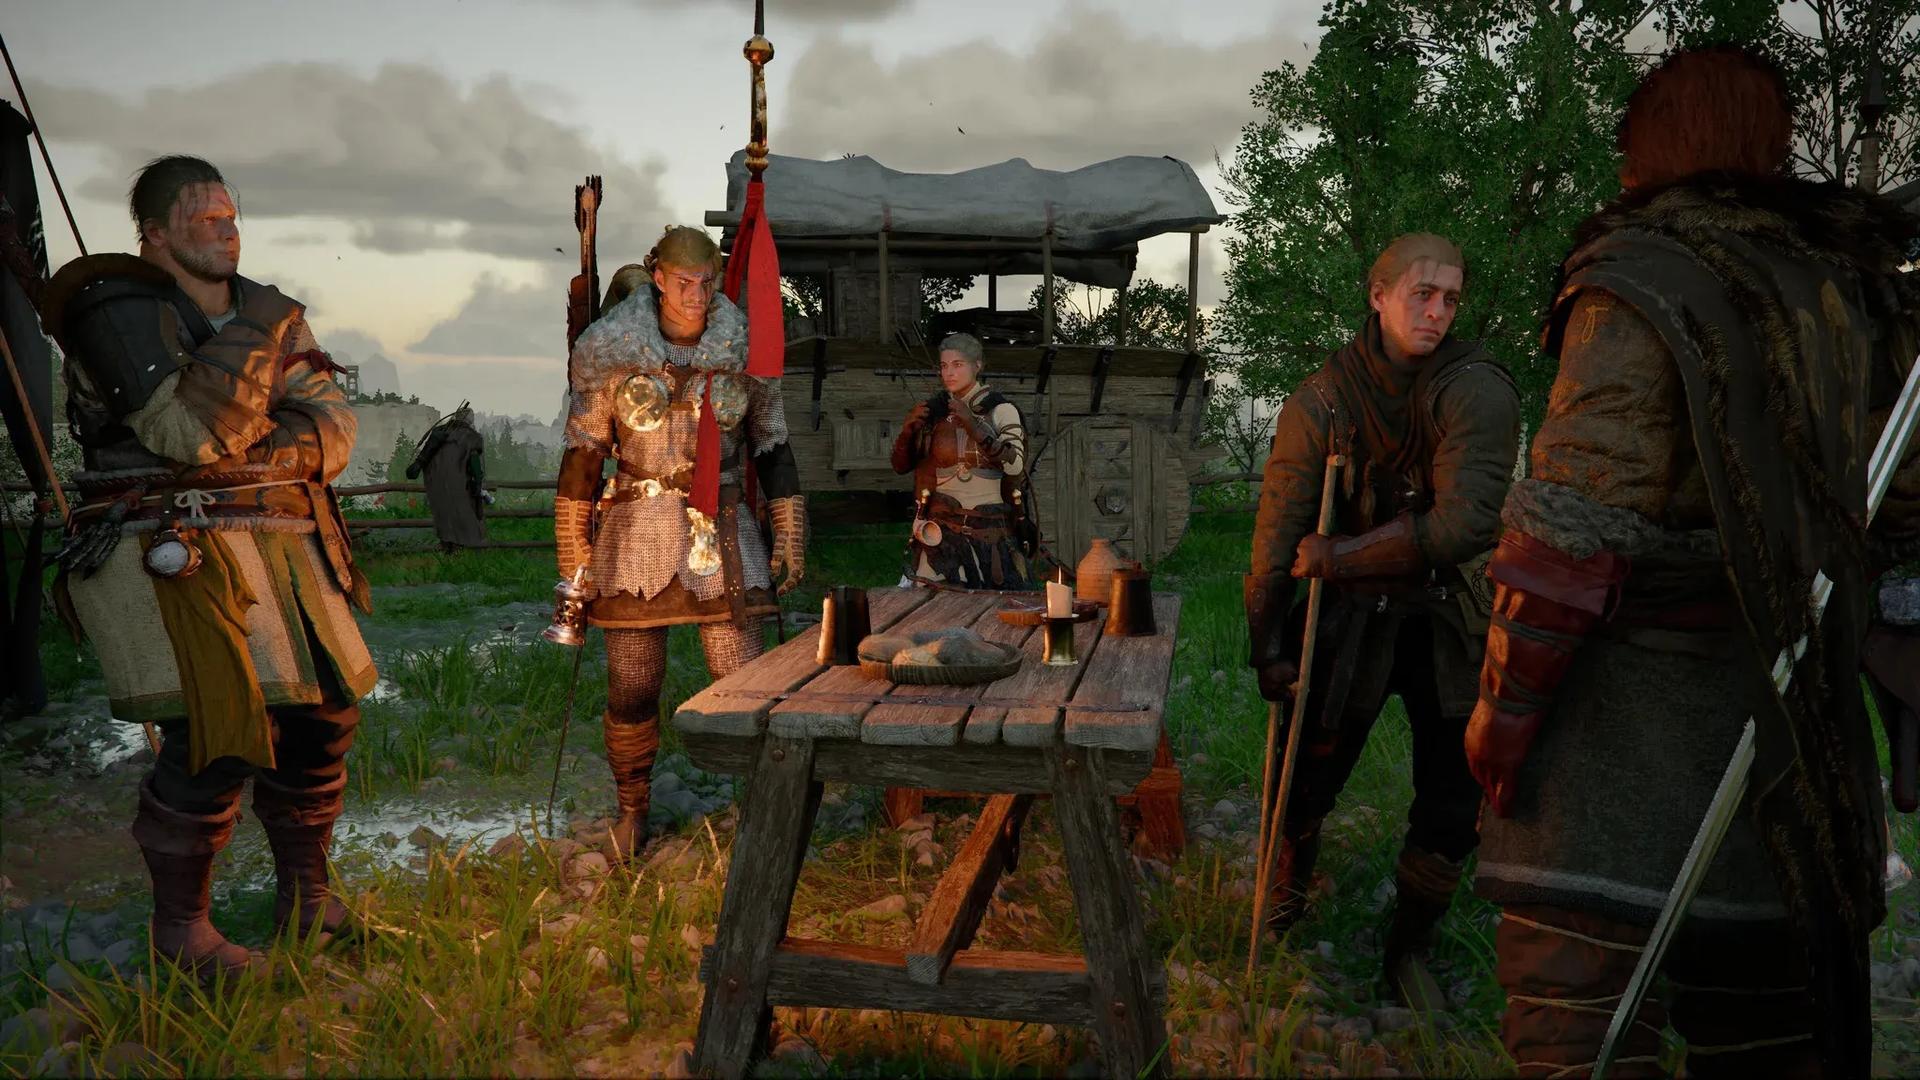
The camp system opens up during Chapter 3: Howling Hill - Homestead. When you arrive, you'll reconnect with an old comrade named Marius, and shortly after, Marquis Serkis of Hernand grants the Greymanes a fief. From there, a short sequence has you securing a tent, hauling supplies, and planting a banner to claim the territory.
This is also the point where Damiane becomes a playable character, so it's a significant story milestone beyond just camp setup. After cooking 2x Modest Clear Soup at the nearby pot, you'll escort Marius to the camp. Two recruits, Carl and Ross, join immediately, giving you your first taste of what the system offers.
What Are the Greymane Faction Quests?
Once the camp is established, open the Journal and navigate to Faction Quests. You'll find three tabs dedicated to the Greymanes:
- Scattered Embers: Side quests from supporting characters like Naira, Yann, and Oongka. Some of these only become available after story progression.
- Grounds of the Sunrise: Camp expansion projects and locations of scattered Greymane survivors. These are the objectives Marius assigns as you upgrade your camp level.
- Greymane Commissions: Requests from rescued Greymanes already living in your camp, typically asking for specific materials or weapons.
Greymane Commissions deserve special attention. Each completed commission rewards a Medium Bag, which adds +3 inventory slots. With 27 total commissions available, you can earn up to +81 inventory slots by finishing them all. That's a meaningful quality-of-life gain that makes looting far less painful in the late game.
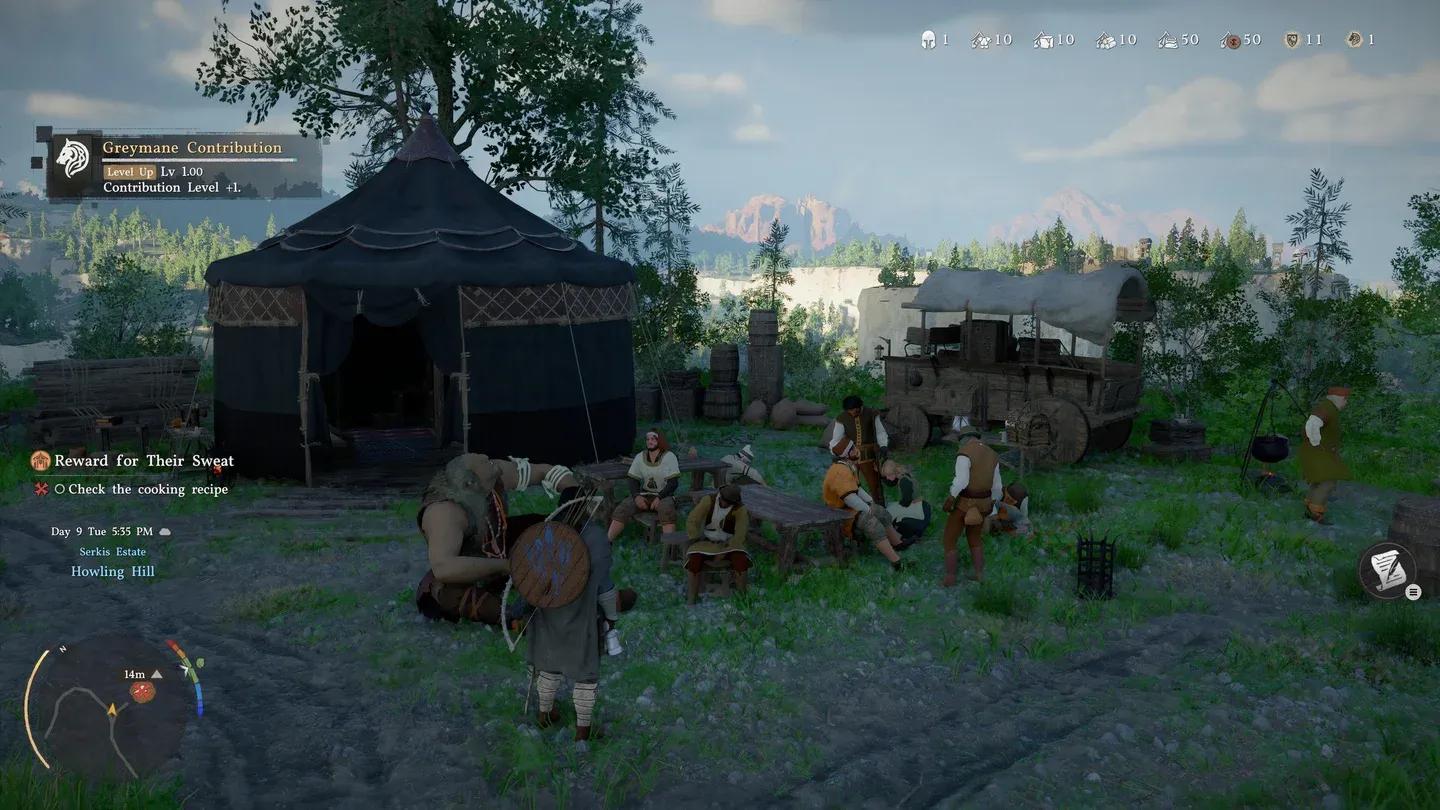
Claiming Howling Hill for the Greymanes
How Do Camp Resources and the Supply Chest Work?
Carl manages provisions at camp. Behind him sits the Supply Chest, which collects loot from completed missions and items produced within the settlement. Many of these feed directly into crafting and cooking systems.
The Camp Provisions function lets you donate resources manually to build up the collective pool. That pool is what fuels dispatch missions, so keeping it stocked matters. Resources are split into five categories:
Carl's Supply Chest resource menu
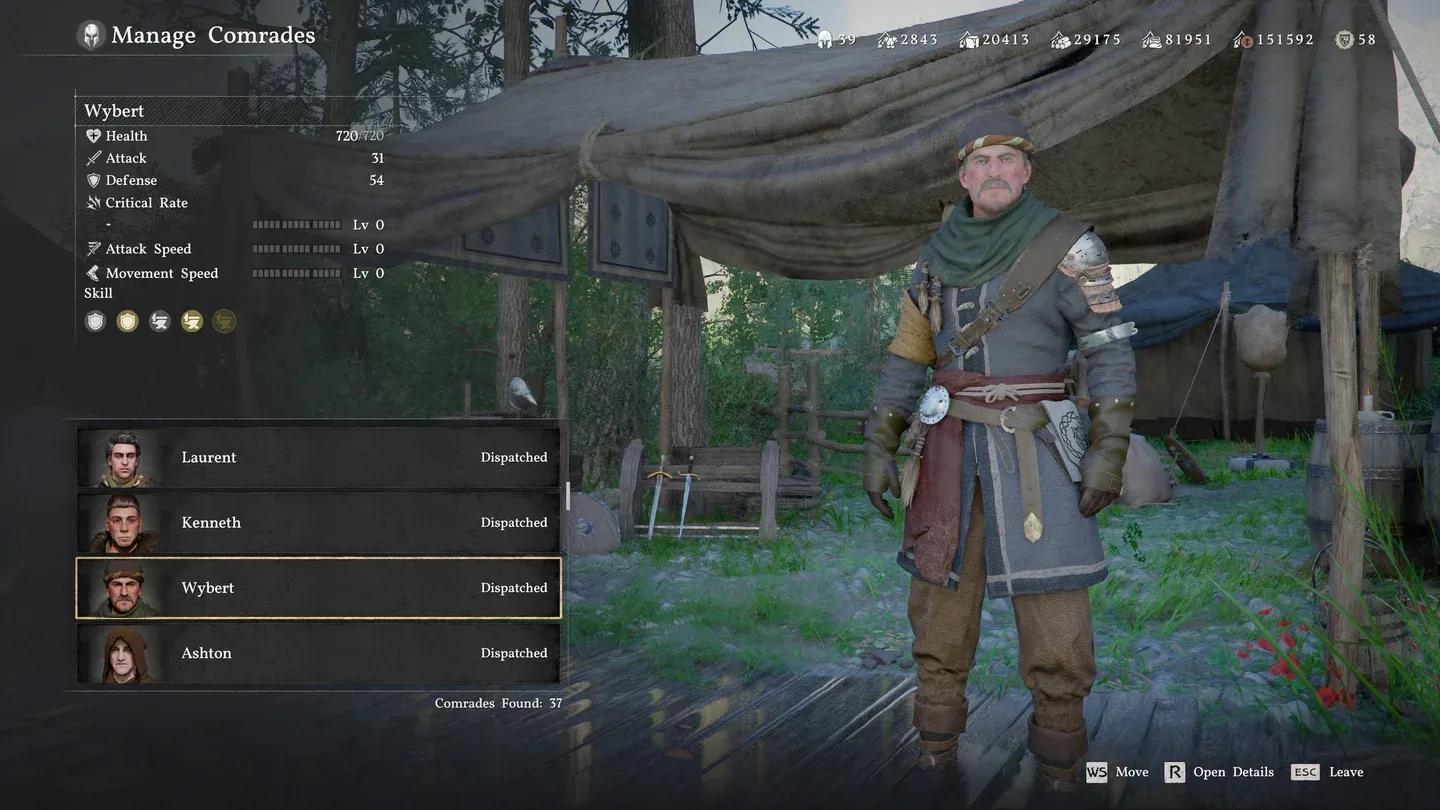
Greymane Skills for Dispatch Missions
Luke handles dispatch assignments at camp. Before sending anyone out, check each recruit's skill profile. Skills fall into two functional groups:
Efficiency boosters (increase yields for matching mission types):
- Escort, Farmer, Rancher, Fisherman, Smith, Logger, Miner
Required skills (at least one recruit with this skill must be assigned):
- Craftsman, Jeweler, Engineer, Cook, Explorer, Painter, Weaver
Matching the right recruits to the right missions isn't just optimal, it's sometimes mandatory. Construction missions, for example, require the Builder skill. Without it, the mission simply won't run.
What Mission Types Can You Run?
Talk to Ross to view available dispatch locations. New locations unlock as you advance through the campaign and explore the world map. Here's the full breakdown of mission types:
Missions run on in-game time. If you need to fast-forward, sleeping in your tent at camp advances the clock. Some mission types auto-restart after completion, which removes the need to reassign recruits manually. Cancelled missions refund their resource cost in full.
Best Early Mission Strategy for Fast Growth
In the opening chapters, your recruit count is low and your resource pool is thin. Prioritize this rotation:
- Run one Escort mission for a steady silver income (Oakenshield Manor in Hernand is a solid early pick).
- Run one Harvest or Ranching mission for food (Capra Pasture in Hernand works well).
- Add Warspike Spearmaker in Hernand once available for armament income.
Once you've rescued more Greymanes and expanded the camp, you can stack multiple missions of the same type. Thornbriar Food Storage, Sungrove Manor, and Azerian Manor in Demeniss are particularly strong money-generating locations in the mid-game. After Chapter 10, Gorthak Ironworks in Delesyia becomes available and produces thousands of armaments per run.
How Do Camp Upgrades Work?
Reconstruction missions drive camp progression. The first Howling Hill Camp Expansion triggers during Chapter 3: Pioneering - Bustling Hill and requires 2 recruits, 100x food, and 250x silver. After 18 in-game hours, the camp levels up and Marius opens new recruitment quests.
Each subsequent expansion demands more recruits and heavier resource investment. The Fourth Expansion, for instance, requires 10 recruits and the large material costs listed earlier. Keeping missions running continuously is the only reliable way to build that stockpile fast.
After completing Chapter 7: Homecoming, you'll unlock the northern region and begin rebuilding Pailune, the Greymanes' homeland. This introduces large-scale reconstruction projects including the Pailune Council and Pailune Institute, giving your dispatched recruits meaningful long-term work.
What Else Can You Unlock at Camp?
Beyond missions and upgrades, several unique functions open up as the camp grows:
- Farm: Plant seedlings and harvest crops on a schedule.
- Ranch: Raise livestock including chickens, cows, and goats.
- Timberturner Wainwright: Build trade wagons for delivering packaged goods to trading posts.
- Emberwind Workshop: Craft Cloudcarts (rideable hot air balloons).
- Klinden Workshop: Produce Kuku Pots for storing puzzle pieces and machinery parts.
Naira's side quests unlock pets and color dyes for Kliff. Yann's quests introduce the Royal Trading system. Both are worth pursuing alongside the main camp expansion track.
Key Takeaways for Efficient Camp Management
Building the Greymane camp efficiently comes down to a few consistent habits: keep missions running at all times, prioritize commissions for the inventory slot rewards, match recruits to missions by skill, and never let your food reserve hit zero. The camp system rewards players who treat it as an active management loop rather than a background feature.
For more Crimson Desert strategies and tips, browse the latest guides on GAMES.GG to stay ahead of the meta as the game continues to expand.