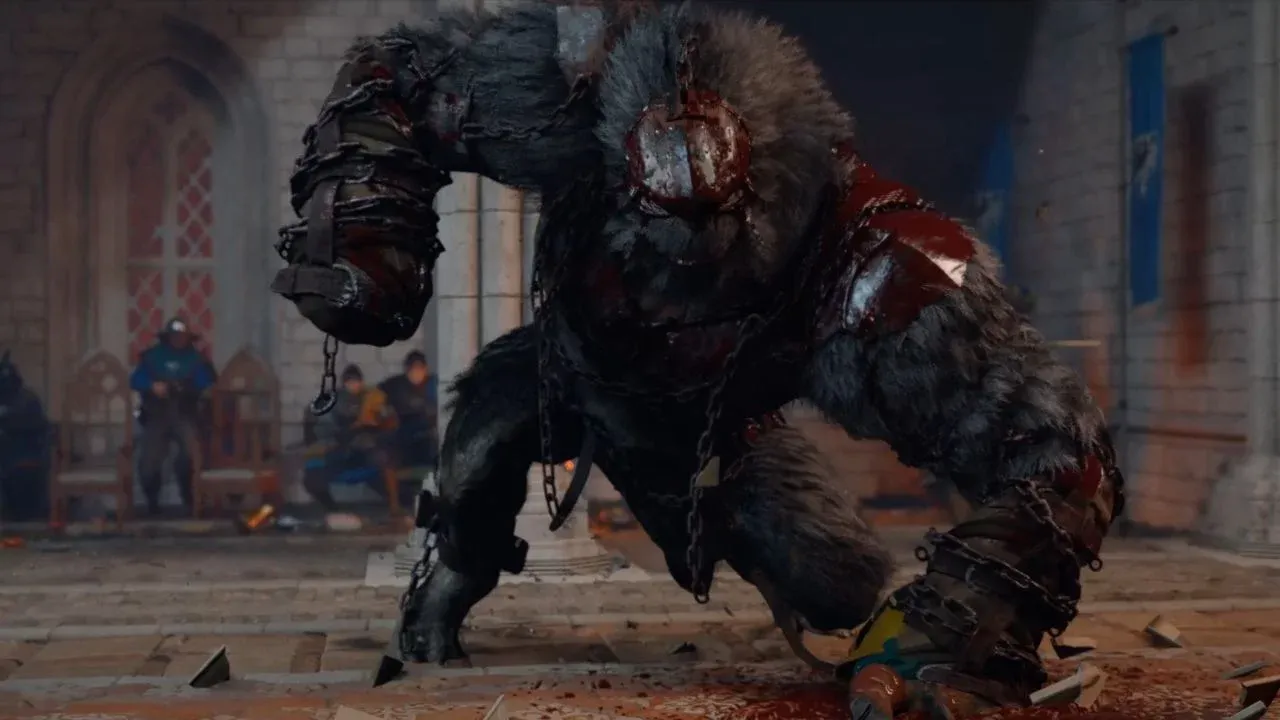

Kearush the Slayer, Crimson Desert के लॉन्च होने के बाद से ही चैप्टर 5 का बॉस रहा है जिसने players को रोक रखा है। यह विशाल orc-जैसा brawler Hernand Castle में एक royal banquet को crash करता है, और उसकी तीन health bars, relentless combo chains, और grab attacks उसे early game में hit करने वाली सबसे मुश्किल walls में से एक बनाते हैं। अच्छी खबर यह है: clear, repeatable strategies हैं जो काम करती हैं। उसे हराने के लिए आपको जो कुछ भी जानने की ज़रूरत है, वह यहाँ दिया गया है।
Kearush से लड़ने से पहले क्या लेकर जाएं?
इस fight में preparation, early-game fights की तुलना में ज़्यादा important है। unprepared जाना मतलब phase 2 शुरू होने से पहले ही अपने healing items को खत्म कर देना है।
- अपने weapons और armor को Blacksmith पर कम से कम Level 4 तक upgrade करें। ज़्यादा damage fight को छोटा करता है, और बेहतर armor आपके health bar को एक combo में delete होने की संभावना को कम करता है।
- healing items स्टॉक करें। cooking pot पर ingredients से बने Soups सबसे accessible option हैं। जितना आपको लगता है उससे ज़्यादा लेकर जाएं।
- Fire weapons या fire spears इस fight में सबसे अच्छा tool हैं। Kearush की fire weakness है, और flame damage से hit करने पर वह लुढ़क जाता है, जिससे एक लंबा opening बन जाता है। Fire spears पास के quarry में enemies से drops के रूप में मिल सकते हैं, हालांकि supply सीमित है क्योंकि वहां के enemies indefinitely respawn नहीं होते हैं। एक या दो भी हासिल करना fight को dramatically बदल सकता है।
- parries पर निर्भर रहना avoid करें। Kearush एक brawler है, और उसके attack timing parry attempts को reward नहीं करते हैं। Evasive dodge rolls तीनों phases में कहीं ज़्यादा reliable हैं।
info
अगर आपके पास Axiom Bracelet है, तो इस fight से पहले इसे equip करें। दीवारों पर grapple करने की ability आपको high ground लेने और Kearush के slam sequences से पूरी तरह बचने देती है।
Crimson Desert Boss Guide: How to Beat Kearush the Slayer
Back Hang का इस्तेमाल करके Massive Damage कैसे करें
इस fight में सबसे effective skill Back Hang है, जो Grappling skill tree के final tier पर है। अगर आपने इसे अभी तक unlock नहीं किया है, तो इस boss को attempt करने से पहले कर लें। Game8 walkthrough team के अनुसार, Back Hang आपको कुछ बड़े enemies पर side या rear से mount करने और उनके ज़्यादातर attacks की reach से बाहर रहते हुए repeated stab damage देने देता है।
Skill की एक key restriction है: यह on demand नहीं, बल्कि enemy attack के बाद ही activate होती है। आपको इसे trigger करने से पहले Kearush के side या back पर खुद को position करना होगा। front से इसका इस्तेमाल करने की कोशिश काम नहीं करेगी। एक बार जब आप attack के बाद position में आ जाते हैं, तो प्रति stab damage substantial होता है और आपको उसके fists के सामने खड़े हुए बिना उसकी health chip करने देता है।
Kearush को कैसे हराएं
Phase 1: Blue health bar
यह phase सबसे forgiving है। Kearush के move set ground slams और charge attacks तक सीमित हैं, आमतौर पर 3 से 4 hits के patterns में। यहां का rhythm simple है: उसके combo के माध्यम से पीछे dodge करें, फिर जब वह pause करे तो कुछ strikes के लिए अंदर कदम रखें।
- three-fist charge slam के बाद, Kearush थोड़ी देर के लिए स्थिर रहता है। वह pause आपका main damage window है।
- वह कभी-कभी intimidation stance की तरह पीछे हटता है। उसका पीछा करें और उस movement के दौरान hits लैंड करें।
- धैर्य रखें। combo के बीच में hits trade करने की कोशिश आपको मार देगी।
Crimson Desert Boss Guide: How to Beat Kearush the Slayer
Phase 2: Green health bar
Phase 2 दो नए attacks पेश करता है जो fight को significantly बदलते हैं।
Body Slam (wall jump): Kearush एक दीवार पर कूदता है, थोड़ी देर चिपका रहता है, फिर आपकी position की ओर crash करता है। Dodge timing generous है। जब वह दीवार से लॉन्च हो, तब dodge करें, हवा में होने पर नहीं। इस dodge को लैंड करने पर आपको Back Hang का इस्तेमाल करके एक बड़ा chunk damage करने का clean window मिलता है।
Immunity flurry: Kearush अपनी छाती पीटता है और एक brief immunity phase में प्रवेश करता है, फिर एक slam के साथ समाप्त होने वाली rapid punch flurry को unleash करता है। इसके माध्यम से attack करने की कोशिश worth it नहीं है। Sequence खत्म होने तक उससे दूर spam dodge rolls करें। इस window के दौरान उसकी पीठ पर कूदने का प्रयास संभव है लेकिन risky है, जैसा कि Forbes contributor Paul Tassi ने नोट किया है, जिन्होंने इस approach का परीक्षण किया और evasion route को ज़्यादा consistent पाया।
Kearush आपको पकड़ने और arena में फेंकने के लिए आगे बढ़ सकता है। अगर आप उसे lunging देखते हैं, तो तुरंत बाएं या दाएं dodge करें।
warning
अगर आप phase 2 में critically low हैं तो phase 3 के लिए अपने healing items को save न करें। Dying और restart करने में soup का जल्दी इस्तेमाल करने से ज़्यादा time लगता है।
Phase 3: Red health bar
Phase 3 वह जगह है जहाँ ज़्यादातर players हार जाते हैं। Kearush phase 1 और 2 की सभी चीज़ों को तेज़ी से करता है, standard 3-hit patterns की जगह लंबे combo strings के साथ। वह ज़्यादा बार grab करता है, आपको ज़्यादा aggressively फेंकता है, और ज़्यादा बार immunity phases में प्रवेश करता है।
यहां एकमात्र reliable approach strict patience है। उसके combo खत्म करने के बाद ही attack करें, उसके दौरान नहीं। अपने बचे हुए healing items को विशेष रूप से इस phase के लिए save करें, क्योंकि damage output इतना ज़्यादा है कि एक single misread आपको full health से near-dead तक ले जा सकता है।
Phase 2 का flying body slam आपका सबसे अच्छा damage window बना हुआ है। Dodge timing नहीं बदलता है, और Back Hang follow-up अभी भी cleanly connect होता है।
Kearush क्या drop करता है?
Kearush को हराने पर तीन items मिलते हैं:
- The Grove's Thorn (One-Handed Weapon)
- Gale I (Abyss Core)
- Howling of Chaos (Abyss Core)
दो Abyss Cores character progression के लिए विशेष रूप से valuable हैं, जिससे यह fight सिर्फ story advancement से ज़्यादा worth it हो जाता है।
ज़्यादा Crimson Desert boss guides और tips के लिए, GAMES.GG पर latest gaming guides ब्राउज़ करें ताकि आपका playthrough आगे बढ़ता रहे।