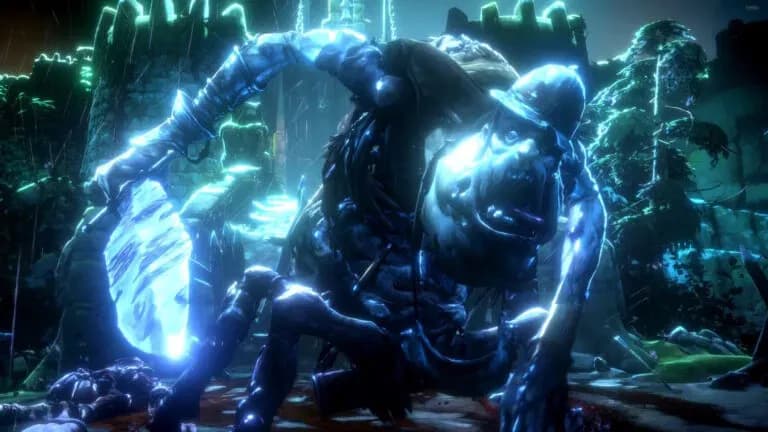

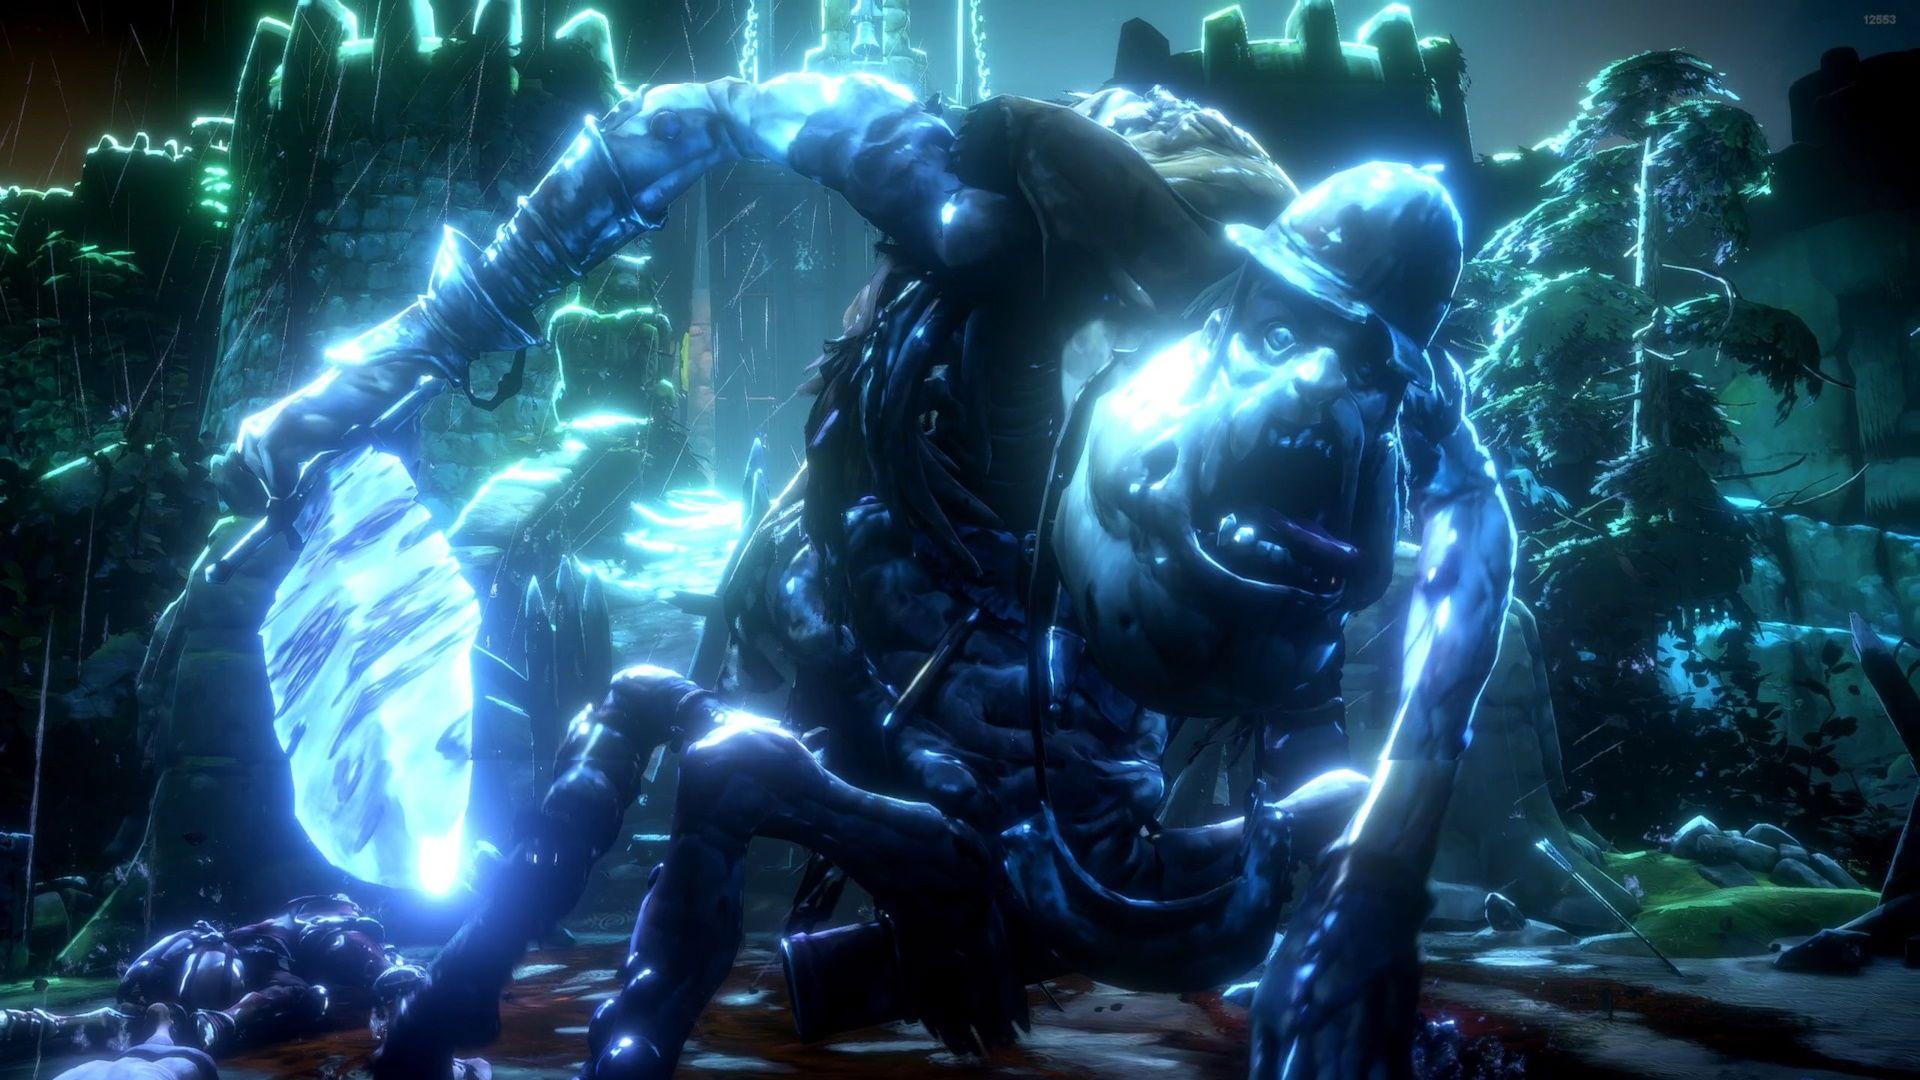
No Rest for the Wicked में आपकी यात्रा तब एक बड़े पड़ाव पर पहुँचती है जब आप Warrick the Torn से मिलते हैं, जो Sacrament के रास्ते को रोकने वाला एक विशाल pestilence-corrupted monstrosity है। यह विशालकाय beast आपको game के demanding combat system से परिचित कराता है, और वह आपके साथ नरमी नहीं बरतेगा। उसे हराने के लिए आपको जो कुछ भी जानने की ज़रूरत है, वह यहाँ दिया गया है।
Warrick the Torn को क्या खतरनाक बनाता है?
Warrick the Torn, Sacrament main quest के दौरान Orban Glades में दिखाई देता है, जो pestilence-infected enemy के खिलाफ आपका पहला असली test है। जो चीज़ ज़्यादातर players को surprise करती है, वह है उसकी विशाल size के बावजूद उसकी deceptively fast movement। उसकी विशाल sword के हर swing से devastating damage होता है, और उसकी reach आपकी उम्मीद से कहीं ज़्यादा होती है।
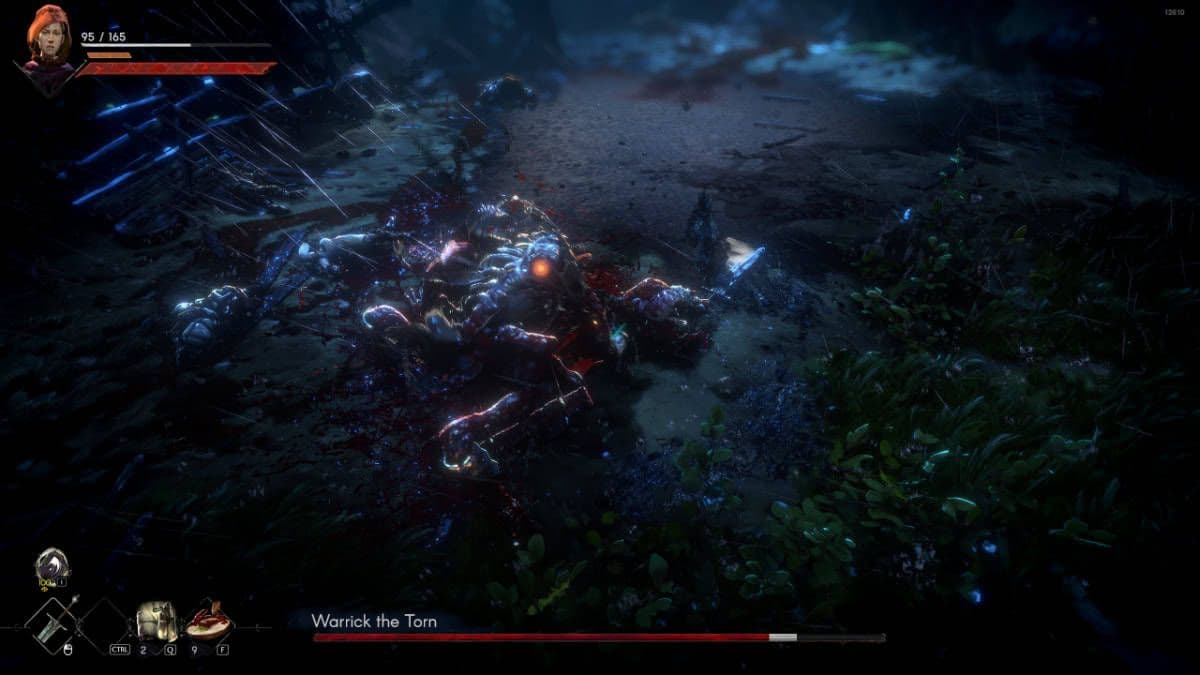
इस fight को attempt करने से पहले आपको कम से कम Level 3 पर होना चाहिए, हालांकि Level 4 या 5 आपको बेहतर odds देता है। Extra health और stamina उसके patterns सीखने के दौरान बहुत बड़ा difference लाते हैं।
No Rest for the Wicked Boss Guide: Warrick the Torn
Pre-Fight Prep
Warrick से engage करने से पहले, properly prepare करने के लिए समय निकालें। Campfire पर cooked foods का stock करें (आपने शायद अपनी journey के दौरान mushrooms और herbs उठाए होंगे)। याद रखें कि healing items के cooldowns लंबे होते हैं, इसलिए उन्हें कब इस्तेमाल करना है, यह timing, आप कितने carry करते हैं, उससे ज़्यादा important है।
अगर आपको कोई blade oils मिले हैं, तो fight के दौरान एक apply करें। Damage boost उसे इस्तेमाल करने में लगने वाले brief window के worth है। साथ ही, nearby Cerim Whisper पर अपने gear को check करें। Blacksmith वहीं दिखाई देता है ताकि आपको keep पर वापस जाने के बिना equipment repair करने में मदद मिल सके।
Stamina Management
यह वो चीज़ है जिसे ज़्यादातर players miss करते हैं: reckless attacking आपको Warrick के किसी भी चीज़ से ज़्यादा तेज़ी से kill कर देगा। आपको emergency dodges के लिए हमेशा एक छोटा stamina reserve बनाए रखना होगा। Stamina के बिना पकड़े जाने का मतलब है कि आप उसके follow-up attacks से बच नहीं सकते, और वे आपको पूरी तरह से wreck कर देंगे।
Arena के कुछ हिस्सों में पानी आपकी movement को slow करता है, जिससे stamina management और भी critical हो जाता है। Warrick के attack wind up होने पर shallow water में फंसने से बचने के लिए अपनी positioning plan करें।
No Rest for the Wicked Boss Guide: Warrick the Torn
Warrick's Attack Patterns
Warrick पांच core attacks पर निर्भर करता है जिन्हें आपको पहचानना और counter करना होगा:
Overhead Slam
उसका सबसे telegraphed move। Warrick अपनी sword को ऊपर उठाता है और फिर उसे सीधे अपने सामने crash करता है। Sidestep करके किसी भी flank पर जाएं और आप damage से पूरी तरह बच जाएंगे। कभी-कभी वह इसे दूसरे attack में chain करता है, इसलिए अपने counterattack को commit करने से पहले follow-up के लिए देखें।
Lunging Thrust
वह अपनी sword को पीछे खींचता है, फिर एक सीधी रेखा में आगे बढ़ता है। Lunge उसे आश्चर्यजनक रूप से दूर ले जाता है, लेकिन बाद में उसे vulnerable छोड़ देता है। बगल में dodge करें और जब वह recover हो रहा हो तो 2-3 quick strikes से उसे punish करें।
Wide Sweeping Slash
यह horizontal swing एक broad arc को कवर करता है और अक्सर दो-hit combo में आता है। पीछे हटकर इसे outrun करने की कोशिश न करें। इसके बजाय, Warrick के पीछे की ओर dodge करें। अगर आप timing से comfortable हैं तो यह parry करने के लिए सबसे अच्छे attacks में से एक है।
Spiral Slash Attack
Warrick अपनी blade को एक wide circle में घुमाते हुए दो बार spin करता है। Momentum अक्सर उसे दूसरे rotation के बाद stumble और fall करने का कारण बनता है। यह आपका सबसे बड़ा damage window है। उसे दोनों spins पूरे करने दें, फिर जब वह खुद को ठीक करने की कोशिश कर रहा हो तो अपने सबसे भारी attacks को unleash करें।
Aerial Leap Slam
वह सीधे ऊपर कूदता है और थोड़ी देर हवा में रहता है, फिर नीचे crash करता है। बहुत जल्दी dodge न करें वरना जब वह land करे तो आप फंस जाएंगे। उसके descend करना शुरू करने का इंतजार करें, फिर roll away करें। Impact zone आश्चर्यजनक रूप से छोटा है, इसलिए आपको ज़्यादा distance बनाने की ज़रूरत नहीं है।
Phase Two
एक बार जब आप Warrick की health को लगभग 50% तक कम कर देते हैं, तो वह ज़्यादा aggressive state में transition करता है। वह एक special leap slam करेगा लेकिन stationary रहेगा, एक powerful roar उत्सर्जित करेगा जो curse-inflicting shockwave जारी करता है।
यह आपका अवसर है: जब वह roar कर रहा हो, तो melee strikes के लिए सुरक्षित रूप से approach करना संभव नहीं है, लेकिन आप उसे ranged attacks या Scrap Bombs जैसी फेंकी जाने वाली चीज़ों से punish कर सकते हैं। यह कुछ क्षणों में से एक है जब वह projectiles के प्रति पूरी तरह से vulnerable होता है।
इस phase transition के बाद, उसकी attack speed noticeable रूप से बढ़ जाती है, और उसके सभी strikes अब आप पर curse meter बनाते हैं। उस meter को बहुत ज़्यादा भरने दें और आपको additional debuffs का सामना करना पड़ेगा। उसकी attack variety समान रहती है, लेकिन वह moves को एक साथ ज़्यादा बार chain करता है।
Combat Strategy Comparison
When to Strike and When to Wait
Warrick को हराने की कुंजी आपके damage windows को पहचानना है। ज़्यादातर single attacks के बाद, उसे recover होने के लिए एक moment चाहिए होता है। यह तब है जब आप light attacks से strike करते हैं और move करते हैं। अगर वह multi-hit combo में है, तो approach करने से पहले पूरी sequence खत्म होने का इंतजार करें।
अगर Warrick आपको hit करता है और यह combo का हिस्सा नहीं है, तो आप heal करने (पहले कुछ distance बनाएं) या उसके recovery period के दौरान सीधे उसे attack करने के लिए comparatively safe हैं। वह एक blow land करने के तुरंत बाद follow up नहीं कर सकता।
आपकी सबसे बड़ी गलतियाँ overcommitting से आएंगी। Heavy attacks charge करना जब आपके पास clear window न हो, आपको vulnerable छोड़ देता है। Stamina खत्म होने तक attacks spam करना आपके escape option को हटा देता है। अपनी stamina management के साथ disciplined रहें।
Parrying Techniques
अगर आप इस fight को trivial बनाना चाहते हैं और future challenges के लिए prepare करना चाहते हैं, तो Warrick के attacks को parry करने का अभ्यास करें। उसके telegraphs clean और consistent हैं, जो उसे इस crucial skill को master करने के लिए एक excellent training dummy बनाते हैं।
Wide sweeping slashes और spiral attacks आपके best parry targets हैं। Successfully parry करने से न केवल damage negate होता है बल्कि Warrick stagger भी होता है, जिससे वह critical hit या extended combo के लिए खुल जाता है। Plus, इस point पर repair costs free हैं, इसलिए practice करने का कोई penalty नहीं है।
जो लोग defensive techniques को master करने में interested हैं, उनके लिए detailed breakdowns of the parry system के लिए हमारे No Rest for the Wicked Guide: Parry Timing को देखें।
Optimal Gear and Stats for This Fight
हालांकि आप लगभग किसी भी setup के साथ Warrick को defeat कर सकते हैं, कुछ stat allocations fight को significantly easier बनाते हैं। अगर आपने अभी तक नहीं किया है, तो यह सुनिश्चित करने के लिए कि आप points wisely invest कर रहे हैं, हमारे No Rest for the Wicked Stats Guide: Best Early Game Build की समीक्षा करें।
Equipment weight matters tremendously। Heavier armor ज़्यादा protection प्रदान करता है लेकिन आपके dodge rolls को slow करता है, जिससे Warrick के sweeping attacks से बचना मुश्किल हो जाता है। Light armor quick repositioning और backstab opportunities की अनुमति देता है जब आप उसके माध्यम से dodge करते हैं।
Pro tip: The Corpse-Smeared Blade sometimes drops from Warrick. This claymore features four rune attacks, giving you incredible combat variety for future encounters.
Common Mistakes to Avoid
Fighting in water: The shallow pools slow your movement. Position yourself on dry ground whenever possible.
Panic rolling: Random dodging burns stamina without purpose. Watch Warrick's animations and dodge with intention.
Greedy attacking: Going for one extra hit often means taking a massive blow in return. Know when to disengage.
Ignoring consumables: Blade oils and food buffs significantly increase your damage and survivability. Use them.
Poor camera management: Warrick's size can block your view. Manually adjust your camera to maintain line of sight on his weapon.
What to Do If You Die
deaths से निराश न हों। यह एक souls-like game है, और failure के माध्यम से सीखना अनुभव का हिस्सा है। प्रत्येक attempt आपको Warrick की timing और patterns के बारे में अधिक सिखाता है।
जब आप respawn करते हैं, तो Blacksmith repairs के लिए Cerim Whisper पर उपलब्ध रहता है। आप attempts के बीच arena के आसपास और cooking ingredients भी gather कर सकते हैं। इस समय का उपयोग restock करने और अपनी strategy adjust करने के लिए करें।
overall difficulty curve से struggling करने वाले players के लिए, हमारा No Rest for the Wicked Ultimate Beginner's Guide fundamental combat principles और progression strategies को कवर करता है जो पूरे game में लागू होते हैं।