
Pokemon Pokopia में Security cameras आपके सबसे practical tools में से एक हैं, जो आपको habitats को monitor करने, Pokemon spawns को track करने और map पर बार-बार दौड़े बिना अपने island को manage करने देते हैं। अगर आप इन्हें ignore कर रहे हैं, तो आप अपनी life को unnecessarily harder बना रहे हैं।
Pokopia में Security Cameras कैसे प्राप्त करें?
एक भी camera लगाने से पहले, आपको उसे actually own करना होगा। Security cameras PC's shop के through purchase के लिए available हैं, जिनकी कीमत 100 Life Coins each है। इसमें कोई crafting involved नहीं है, कोई quest unlock required नहीं है। Shop पर जाएं, अपने Life Coins खर्च करें, और आप अपना surveillance network बनाना शुरू करने के लिए तैयार हैं।
अगर आप multiple habitats को cover करने का plan कर रहे हैं (जो आपको करना चाहिए), तो पहले से कई cameras खरीदने से shop पर बार-बार जाने से बचेंगे। Early stock up करें।

Buy security cameras here
Pokopia में Security Cameras कैसे Place और Configure करें
Security cameras के साथ placement सब कुछ है। आपको प्रत्येक camera को उस specific spot के close position करना होगा जिसे आप monitor करना चाहते हैं, चाहे वह habitat हो, crop area हो, या किसी particular Pokemon के लिए आप spawn zone देख रहे हों।
एक बार जब आप एक camera लगा लेते हैं, तो उसके current view को check करने के लिए उसे immediately inspect करें। Security camera menu से, आपके पास तीन controls available हैं:
- Angle adjustment camera के field of view को shift करने के लिए
- Zoom in frame के अंदर एक specific point पर focus करने के लिए
- Zoom out एक wider area को capture करने के लिए
Camera लगाने के बाद प्रत्येक camera को fine-tune करने के लिए कुछ समय लें। एक poorly angled camera जो आपके target spawn point को miss कर देती है, वह पूरी तरह से purpose को defeat कर देती है।
Adjust camera angle and zoom
Security Camera Live Feed कैसे View करें
Cameras लगाना job का केवल आधा हिस्सा है। उनके feeds को quickly access करना जानना ही है जो system को genuinely useful बनाता है।
अपने cameras को check करने की exact process यहाँ दी गई है:
- अपना Pokedex menu खोलें
- Camera app select करें
- Security Cameras tab पर navigate करें
- अगर आपने multiple cameras लगाए हैं तो प्रत्येक camera के live feed के माध्यम से cycle करें
एक single menu से multiple feeds को cycle करने की ability का मतलब है कि आप प्रत्येक location पर physically travel करने के बजाय seconds में अपने पूरे island का survey कर सकते हैं।
Pokopia में Security Cameras के Best Uses क्या हैं?
Security cameras कुछ specific situations में shine करते हैं। यहाँ वे सबसे अधिक value add करते हैं:
Notification system विशेष रूप से valuable है जब आप एक specific Pokemon का शिकार कर रहे हों। बार-बार एक habitat में दौड़ने और उसे खाली पाने के बजाय, cameras आपको alert करते हैं जब कुछ वहां spawn होता है, ताकि आप सही moment पर respond कर सकें।
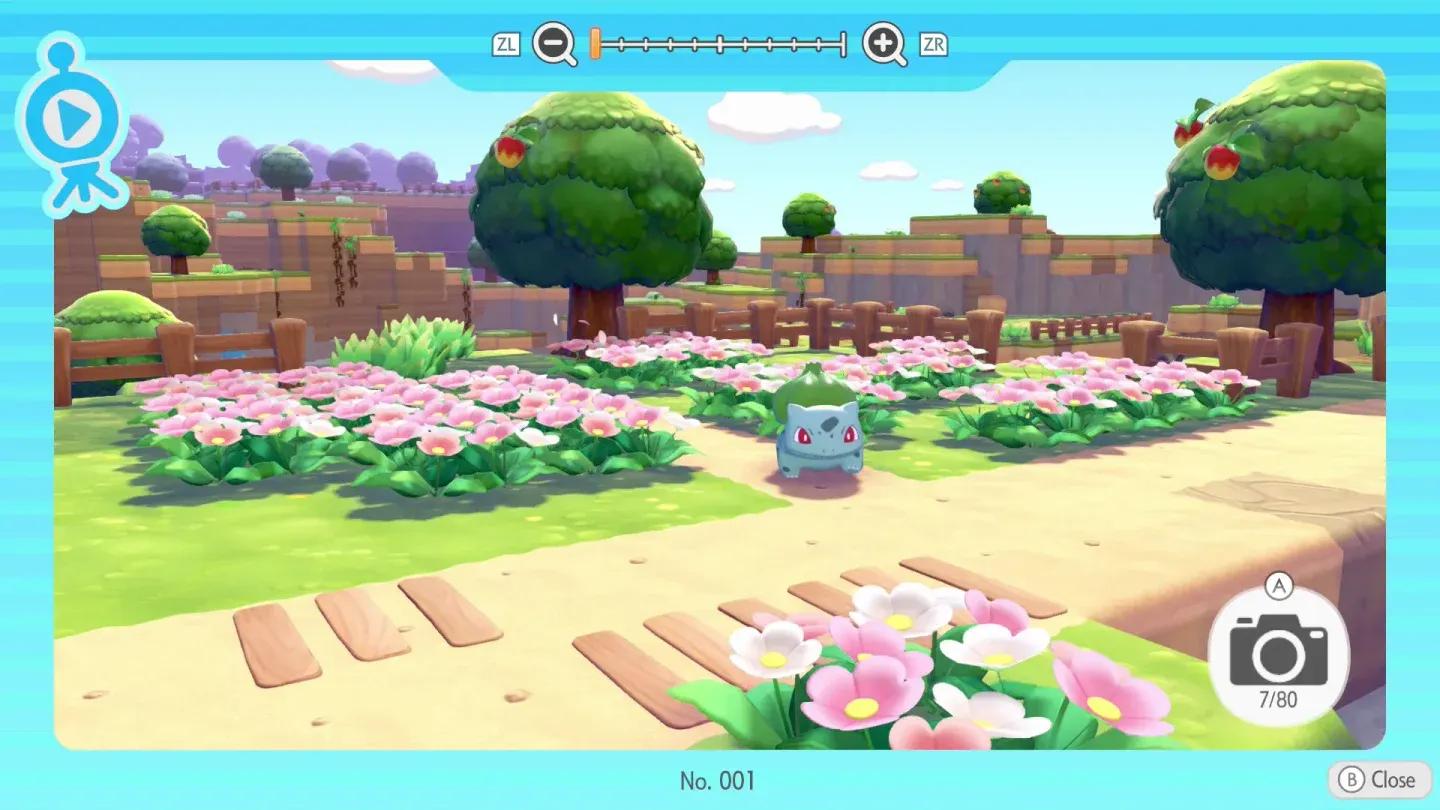
Camera Feeds से Directly Photos लेना
Monitoring के अलावा, security camera menu आपको camera के perspective से pictures लेने की भी अनुमति देता है। यह Pokemon behavior को document करने, reference के लिए habitat shots capture करने, या simply उन angles से screenshots लेने के लिए useful है जहाँ आप physically नहीं पहुंच सकते।
एक solid camera network बनाना Pokopia में अन्य island management strategies के साथ naturally pair करता है। अगर आप habitat mechanics और अन्य systems में गहराई से जाना चाहते हैं, तो game में additional tips के लिए GAMES.GG पर more guides browse करें।